How to Make a Watercolor Christmas Card - Easy Snowy Pine Forest

Card MakingEasy13:179 stepsPart of Crafting for BeginnersBrowse more →
The finished result: How to Make a Watercolor Christmas Card - Easy Snowy Pine Forest
Also in:Painting

By Show Me Step by StepPublished

Based on a video by de Winton Paper Co..

A watercolor Christmas card needs no drawing skill, only water and patience. This one is a quiet snowy pine forest: a pale cloudy sky, a few misty trees in the distance, two crisp pines in front and a white hill of snow. The painter behind the de Winton Paper Co. channel shows it with three colours, a big wet brush and a small pointed one. You can paint a panel in about fifteen minutes once you get the feel.

How to make a watercolor Christmas card: the short version

  • Tape a panel of watercolor paper to your table and pencil in a low hill.
  • Wet the sky and drop in gray so it spreads into soft cloud.
  • While the paper is still damp, scribble in pale distant pines.
  • Let it dry. Paint darker, crisp pines in front.
  • Shade the snow, let it dry, peel the tape and glue the panel to a card.

Paper weight and card size

Use cold press watercolor paper that is 140 lb (300 gsm). Thin paper or plain cardstock ripples as soon as it gets wet and never lies flat again. Tape the panel down on all four sides before you start. The tape holds it flat while it dries and leaves a clean white border.

For a standard A2 card (4.25 x 5.5 in), cut the panel to 4 x 5.25 in. For a 5 x 7 card, cut it to 4.75 x 6.75 in. That leaves a thin frame of the card base showing around the painting.

Wet-on-wet versus wet-on-dry

Wet-on-wet means painting onto damp paper. The colour spreads and the edges go soft and fuzzy. That is how the sky and the far-off trees get their misty look. Wet-on-dry means painting onto paper that has dried completely. The edges stay sharp, so the front trees look close and clear. The trick is patience. If the paper still feels cool on the back of your hand, it is not dry yet.

Mounting the panel and mailing it

When the painting is bone dry, peel the tape slowly, pulling it back low and away from the painting. Glue the panel to a folded card base with a tape runner, or use foam squares for a raised look. A flat card goes in the post with a regular stamp. A card with foam layers or bows can count as a non-machinable letter, which costs extra postage, so ask at the counter.

Variations

  • Colour. Try a navy night sky with white gel pen stars, or dot a few red berries on the front pine.
  • For the grandkids. Watercolor pencils are easier to control. Draw the trees, then brush over them with water. Our Christmas tree drawing guide helps with the shape.
  • Quicker. Skip the misty trees and paint one crisp pine on a hill.

For more practice, see how to paint a forest and how to paint a tree. To build the card itself, start with how to make a card.

Painting a batch for your Christmas card list

Tape a full sheet into six or eight panels and paint them in rounds. Do every sky, then every misty tree, then every crisp pine while the others dry. No two will match, and that is the charm.

Troubleshooting

  • Paper buckled. It was too thin or not taped on all sides.
  • Front trees went fuzzy. The paper was still damp. Wait longer.
  • Trees look like tents. Keep the branches short near the top.
  • Tape tore the paper. Use low tack tape and peel it slowly.

What you'll need

Step-by-Step Guide

9 steps · about 13 minutes.Check off each step as you go and your progress saves automatically.

1

Tape the Watercolor Paper Panel Down and Pencil the Snowy Hill

0:26
Step 1: Tape the Watercolor Paper Panel Down and Pencil the Snowy Hill - How to Make a Watercolor Christmas Card - Easy Snowy Pine Forest

Cut a panel of 140 lb cold press watercolor paper and tape it to your table or a board on all four sides. Low tack masking tape or washi tape works well. With a light pencil, draw one low, gentle hill across the lower third of the panel. Keep the line faint. It only marks where the sky stops and the snow begins, and you will paint right up to it.

Tip

Press the tape down firmly at the edges so water cannot creep under it.

2

Wet the Christmas Card Sky With a Flat Wash Brush

1:12
Step 2: Wet the Christmas Card Sky With a Flat Wash Brush - How to Make a Watercolor Christmas Card - Easy Snowy Pine Forest

Load a big brush with clean water and wet the whole sky above the pencil line. A soft mop brush covers the open space fast. Switch to a flat wash brush along the hill so you can follow the line with a neat edge. Leave the snow below the line dry. That dry paper is what keeps the hill a crisp, clean white later on.

Tip

The paper should look shiny, not puddled. Blot any pools with a paper towel.

3

Drop Payne's Gray Into the Wet Sky for Soft Winter Clouds

1:58
Step 3: Drop Payne's Gray Into the Wet Sky for Soft Winter Clouds - How to Make a Watercolor Christmas Card - Easy Snowy Pine Forest

Mix Payne's gray with a touch of burnt sienna and blue so it is not too cold. Touch the brush to the damp sky and swish a little colour in here and there. This is wet-on-wet painting. The paint spreads by itself into soft, cloudy patches. Leave plenty of white sky between them so the card still feels light and snowy.

Tip

Stop sooner than you think. Colour keeps moving for a minute after you lift the brush.

4

Paint a Misty Pine Tree Into the Damp Watercolor Sky

4:04
Step 4: Paint a Misty Pine Tree Into the Damp Watercolor Sky - How to Make a Watercolor Christmas Card - Easy Snowy Pine Forest

Mix sap green with Payne's gray and burnt sienna to get a dull, gray green. Distant trees look faded through winter haze, so keep them pale. Once the sky has lost its shine but is still damp, use a size 2 round brush. Draw a thin trunk line from the hill up, then scribble short branches out from it. The edges will feather softly, and that blur is the look you want.

Tip

If the tree spreads into a blob, the paper was too wet. Wait a little longer.

5

Add More Pale Pine Trees to the Misty Forest

4:22
Step 5: Add More Pale Pine Trees to the Misty Forest - How to Make a Watercolor Christmas Card - Easy Snowy Pine Forest

Paint two or three more pale pines behind and beside the first one. Start each with a vertical line and keep the brush light and quick. Vary the heights so they read as a forest, not a row. Do not paint below the hill line. The dry paper there stops the colour and leaves a crisp edge where the trees meet the snow. Then let the whole panel dry completely.

Tip

Practice a few trees on scrap paper first to find the scribble motion.

6

Paint a Crisp Dark Pine Tree on the Dry Watercolor Paper

7:16
Step 6: Paint a Crisp Dark Pine Tree on the Dry Watercolor Paper - How to Make a Watercolor Christmas Card - Easy Snowy Pine Forest

Now switch to wet-on-dry. Add more Payne's gray to your green so it is deep and dark. Paint a pine partly tucked behind the hill. Hold the brush low to the paper and work down the trunk line, scribbling branches out to each side. Let small gaps of white show through. Those gaps read as snow on the boughs. Stop at the hill so the tree sinks into the snow.

Tip

Angle the branch strokes slightly downward. It makes the pine look weighed down with snow.

7

Paint the Large Foreground Pine Tree for the Card

8:24
Step 7: Paint the Large Foreground Pine Tree for the Card - How to Make a Watercolor Christmas Card - Easy Snowy Pine Forest

Draw a longer trunk line for the main tree, so you see the whole of it. Build the branches from the top down with the same scribble. Keep the top narrow and only widen near the bottom. If you spread out too fast, the tree looks like a tent. Go in with a bit of confidence. Messy, loose branches look more like a real pine than careful ones.

Tip

Turn the paper as you work so your hand is always comfortable.

8

Soften the Pine Tree Base Into a Snowy Hill Shadow

9:52
Step 8: Soften the Pine Tree Base Into a Snowy Hill Shadow - How to Make a Watercolor Christmas Card - Easy Snowy Pine Forest

Rinse your brush and blot it. Touch it to the wet paint at the bottom of the tree and pull it sideways into the hill. That soft gray becomes a shadow on the snow. Add a few extra streaks of the pale sky mix across the slope. Snow is white, but it shows shade, and these light touches give the hill its shape.

Tip

Keep the shadows pale. A little goes a long way on white snow.

9

Add Dark Low Lights to the Front Pine and Finish the Card

12:04
Step 9: Add Dark Low Lights to the Front Pine and Finish the Card - How to Make a Watercolor Christmas Card - Easy Snowy Pine Forest

With a fine round brush and almost pure Payne's gray, add a few dark marks low on the front pine. This extra depth pulls the tree forward. Let the painting dry fully. Then peel off the tape, trim the panel to size and glue it onto a folded card base with a tape runner. Write your message inside and it is ready to send.

Tip

Sign and date the back. Hand-painted cards often get kept for years.

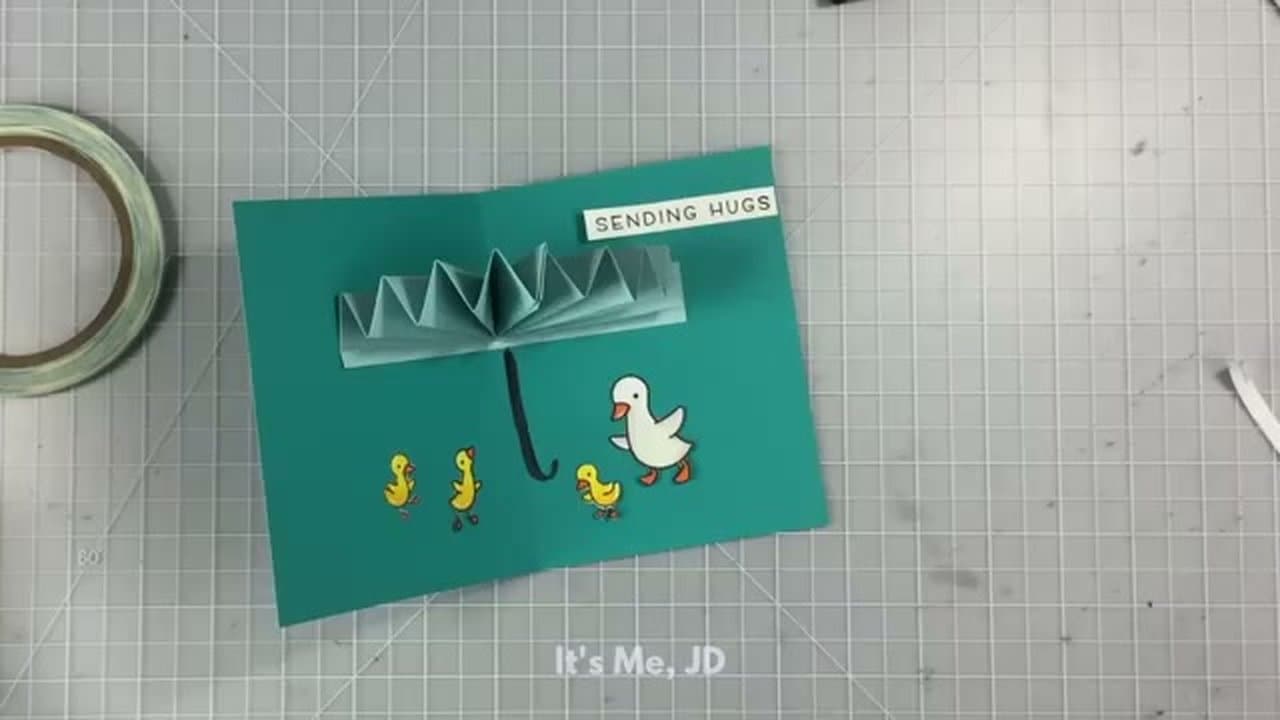
How to Make a Slider Card

Keep going

How to Make a Slider Card

Products Used

The Checklist

How to Make a Watercolor Christmas Card - Easy Snowy Pine Forest

Tools
9
Materials
7
Steps
9
Video
13 min

Tools we recommend

Your Guide

de Winton Paper Co.

As an Amazon Associate we earn from qualifying purchases. Links on this page may be affiliate links - clicking them and buying doesn't change your price, but helps support Show Me Step by Step.

Tags

Sunday How-To

New card making tutorials, every Sunday

One short email with the week's best step-by-step guides. Free, no spam, unsubscribe anytime.

Did this work for you?

What's next

Weekly Digest

Liked this card making tutorial?

Pick the categories you want to hear about. Weekly digest of new step-by-step tutorials. No spam, easy unsubscribe.

Send me tutorials about

We only email about new tutorials. Easy unsubscribe anytime.