How to Make a Slider Card

Card MakingMedium8:1910 stepsPart of Crafting for BeginnersBrowse more →
The finished result: How to Make a Slider Card
Also in:Paper Crafts

By Show Me Step by StepPublished

Based on a video by My Favorite Things.

A slider card has a hidden track. Pull a tab on the side and a piece of the design glides across the front. In this one, Karolyn Loncon from the My Favorite Things design team builds a slimline card where a bunny pilot flies over the clouds and tows a Missing You banner into view. The mechanism is a wavy channel, a pull tab and two small discs that ride in the channel.

It looks complicated. It is mostly careful lining up and a lot of patience with tiny pieces.

How the slider mechanism works

The channel is a slot cut through the front panel. The pull tab sits behind it and slides inside a paper collar that keeps it straight. A disc on the tab pokes through the slot and a small circle on the front locks it in, so whatever you stick to that circle moves when the tab moves. An acetate strip lets the moving piece sit away from the channel, so the airplane can fly through open sky instead of along the slot.

Making a slider card without the matching dies

Karolyn uses a dedicated slider die set, but you do not need one. Cut a straight channel about a quarter inch wide with a craft knife and a metal ruler. Cut the pull tab from heavy cardstock. Two pennies glued face to face through the slot make a classic penny slider stop. A straight channel is the easiest first slider; save the curvy one for your second card.

Card size

This is a slimline card. The base is 7 by 8.5 inches, scored at 3.5 inches and folded, so the finished card is 3.5 by 8.5. The long shape gives the airplane room to travel. A standard A2 card works too, but the slide is shorter, so pick a design that only needs to move a few inches.

Theme ideas

  • A car driving along a road for a new driver.
  • A fish swimming through seaweed for a beach birthday.
  • Santa and his sleigh crossing a night sky at Christmas.
  • A bee visiting flowers for a get well card.
  • A hidden message that appears from behind a cloud or a door.

Grandchildren love pulling the tab over and over. Make the tab sturdy. A word like PULL stamped on the tab end, or a small loop of ribbon glued to it, tells the reader the card does something and gives small fingers an easy grip.

Troubleshooting a sticky slider

Most slider problems are snags. Karolyn's banner tab caught the airplane tail on her first try, and she had to glue it flat. Test the slide after every piece you add. Keep foam squares away from the path of the moving parts. If the tab feels stiff, the collar is too tight or a bit of adhesive has crept into the channel. Double the tab layers if it bends when pulled.

Mailing a slider card

Foam layers make the card thick and a little stiff. A slimline card needs a slimline envelope, and a lumpy or rigid card may need extra postage. Ask at the counter before you mail it.

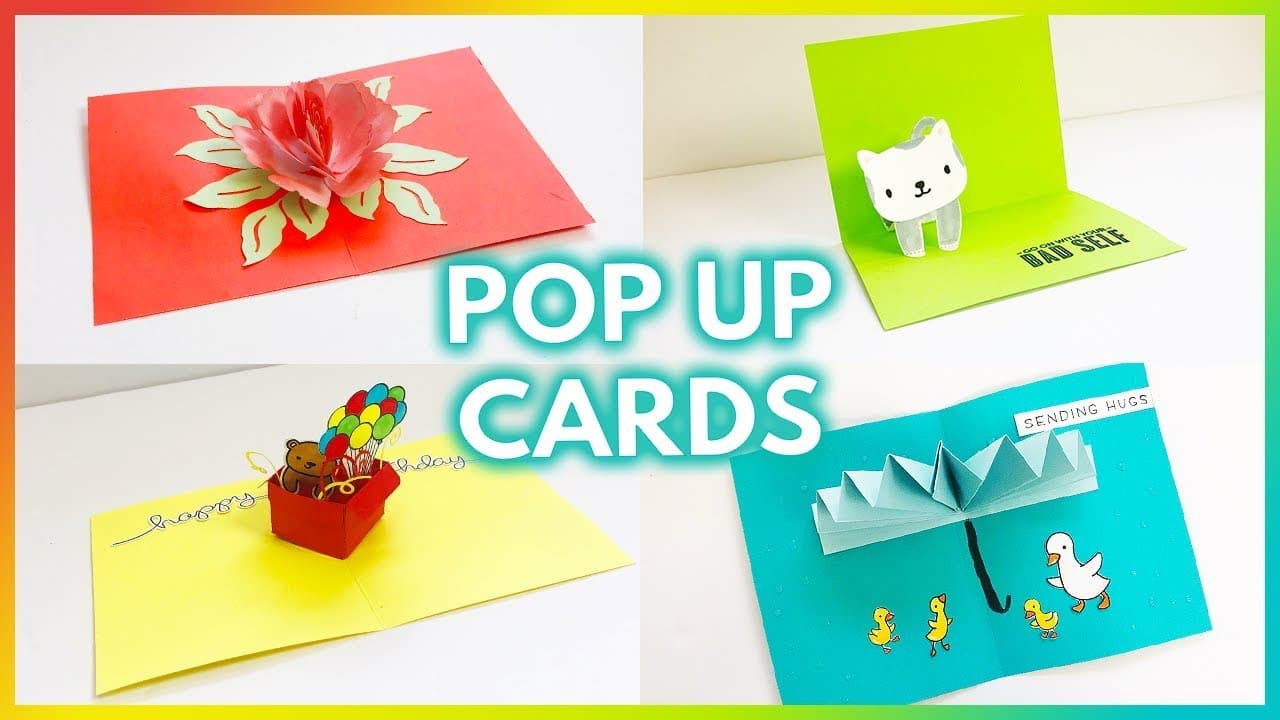
New to card making? Start with how to make a card. For more cards that move, try a waterfall card, a pop up card or a shaker card.

What you'll need

Step-by-Step Guide

10 steps · about 8 minutes.Check off each step as you go and your progress saves automatically.

1

Ink Blend Clouds on the Slider Card Panel

0:31
Step 1: Ink Blend Clouds on the Slider Card Panel - How to Make a Slider Card

Cut a 4 by 7 inch panel of smooth white cardstock. Lay a cloud edge stencil across it and blend a soft blue dye ink above the cloud line with a blending tool. Move the stencil down and repeat to stack a few rows of clouds. Karolyn then die cuts the panel into a stitched rectangle. This sky panel becomes the front of the slider card.

Tip

Start blending off the edge of the stencil and work inward. The colour stays softer.

2

Glue the Yellow Pull Tabs Together for a Sturdy Slider

1:07
Step 2: Glue the Yellow Pull Tabs Together for a Sturdy Slider - How to Make a Slider Card

Die cut two long pull tabs, two short tabs and two half inch circles from yellow cardstock. Cut a pull tab collar from thin printer paper. Glue the two long pull tabs together with a tape runner, then glue the two short tabs together. Doubling them makes the moving parts stiff enough to slide without bending.

Tip

Line up the embossed circles on the short tabs so both layers match. It looks neater.

3

Die Cut the Wavy Slider Channel in the Card Panel

2:16
Step 3: Die Cut the Wavy Slider Channel in the Card Panel - How to Make a Slider Card

Lay the wavy channel die and the edge die on the cloud panel and hold them with temporary tape. Cut the curvy edge first and glue the top half onto a plain white panel. That gives you a full panel to build the mechanism on. Then line up the channel die under the curve and run it through the die cutting machine. The yellow pull tab now shows through the wavy slot.

Tip

Keep the cut-off bottom strip. It goes back on at the end to hide the mechanism.

4

Add the Pull Tab Collar Behind the Slider Channel

2:23
Step 4: Add the Pull Tab Collar Behind the Slider Channel - How to Make a Slider Card

Turn the panel over and centre the pull tab behind the channel opening. Hold it with a bit of temporary tape. Glue the ends of the paper collar with a liquid glue pen and slide it over the pull tab, then stick the collar to the back of the panel. The collar keeps the tab running straight every time someone pulls it.

Tip

Glue the collar to the panel, never to the tab, or the slider will not move.

5

Attach a Spin and Slide Disc to the Slider Tab

2:56
Step 5: Attach a Spin and Slide Disc to the Slider Tab - How to Make a Slider Card

Put double sided tape on both faces of two spin and slide discs. Peel the liner off one side of the first disc and stick it to the embossed circle on the doubled short tab. Slip the disc through the hole in the pull tab and lock it with a yellow half inch circle. It does not matter which side of the short tab gets the disc.

Tip

Peel only one liner at a time. Exposed tape grabs everything on the desk.

6

Lock the Slider Disc Through the Wavy Channel

3:41
Step 6: Lock the Slider Disc Through the Wavy Channel - How to Make a Slider Card

Slide the pull tab through the collar so the disc pokes out through the channel on the front. Use tweezers to pop the half inch circle through the slot. This is the important part. That circle holds the moving tab in place when the pull tab moves. Stick the second disc through the channel onto the short tab and cover it with the other circle.

Tip

Pull the tab a few times now, before anything else goes on, to check the glide.

7

Mount the Airplane on the Acetate Slider Strip

5:06
Step 7: Mount the Airplane on the Acetate Slider Strip - How to Make a Slider Card

Cut an acetate strip a little under half an inch wide and about two inches long. Stick one end to the left circle with quarter inch double sided tape so it points up, away from the channel. Add a foam square to the top of the strip and press the bunny airplane onto it. The clear acetate lets the plane fly through open sky while the disc rides the track below.

Tip

Lay all your pieces out first so you know where the plane and banner will end up.

8

Tie the Banner to the Airplane With Baker's Twine

5:37
Step 8: Tie the Banner to the Airplane With Baker's Twine - How to Make a Slider Card

Stamp the Missing You sentiment, die cut it as a banner and glue it to the panel. Secure one end of red and white baker's twine to the banner tab. Pull the airplane all the way right to measure the twine, then tape the other end to the tail. Trim the extra with small scissors. Glue the banner tab down flat so it cannot catch the plane.

Tip

Measure the twine with the plane at full stretch, or the banner will tear off.

9

Attach the Slider Panel to the Yellow Card Base

7:18
Step 9: Attach the Slider Panel to the Yellow Card Base - How to Make a Slider Card

Trim off the extra acetate. Add a double layer of foam squares to the bottom of the panel, keeping them out of the airplane's path, and glue the cloud strip back on. Add a single layer of foam squares to the back of the whole panel. Score a 7 by 8.5 inch yellow card base at 3.5 inches, fold it, and press the panel on.

Tip

A bone folder gives heavy card bases a crisp fold.

10

Pull the Tab to Fly the Airplane Across the Slider Card

7:35
Step 10: Pull the Tab to Fly the Airplane Across the Slider Card - How to Make a Slider Card

Hold the card and tug the yellow tab. The bunny airplane floats across the sky and tows the Missing You banner along behind it. Karolyn adds a few small die cut clouds on foam for depth, always placed outside the plane's path. If anything catches, find the snag and glue it flat before you mail the card.

Tip

Stamp a second greeting on the lower panel so the card still reads well before the pull.

How to Make a Thank You Card by Hand

Keep going

How to Make a Thank You Card by Hand

Products Used

The Checklist

How to Make a Slider Card

Tools
9
Materials
11
Steps
10
Video
8 min

Tools we recommend

Your Guide

My Favorite Things

As an Amazon Associate we earn from qualifying purchases. Links on this page may be affiliate links - clicking them and buying doesn't change your price, but helps support Show Me Step by Step.

Tags

Sunday How-To

New card making tutorials, every Sunday

One short email with the week's best step-by-step guides. Free, no spam, unsubscribe anytime.

Did this work for you?

What's next

Weekly Digest

Liked this card making tutorial?

Pick the categories you want to hear about. Weekly digest of new step-by-step tutorials. No spam, easy unsubscribe.

Send me tutorials about

We only email about new tutorials. Easy unsubscribe anytime.