How to Make a Card: Beginner's Guide to Handmade Greeting Cards

By ShowMeStepByStepPublished

Based on a video by K Werner Design.

Handmade cards say something a store-bought card cannot. The recipient knows you spent twenty minutes thinking about them, picking colors, drawing or stamping a sentiment, and signing your name. The good news is the basic process is small enough to learn in one sitting. Every fancy card in a craft store starts with the same six moves: cut a base, fold it, build a focal panel, add color or pattern, add a sentiment, and finish the edges.

This walkthrough uses Kristina Werner's Easy DIY Birthday Cards from K Werner Design as the source. She finishes a 3 by 4 inch card with watercolor stripes, drawn details, and clean masked edges in under six minutes, using almost no specialty supplies. Once you have the foundational moves down, every variation on this site is a remix of the same skeleton. Try the watercolor approach here first, then branch out.

Variations to try next

Once you have mastered the basic card-making mechanics, every variation builds on the same foundation. Try one of these next:

Adapt this same card for any occasion

The masked focal panel approach you learn here works for any greeting. Swap the candles and bow for hearts and a thank-you sentiment, or for a get-well wish with a soft watercolor wash, or for a sympathy card in muted greys with a single sprig of greenery. The mechanics stay the same. The occasion just changes the colors, the drawn details, and the words.

Step-by-Step Guide

1

Step 1: Gather Your Card-Making Basics

0:05
Step 1: Step 1: Gather Your Card-Making Basics

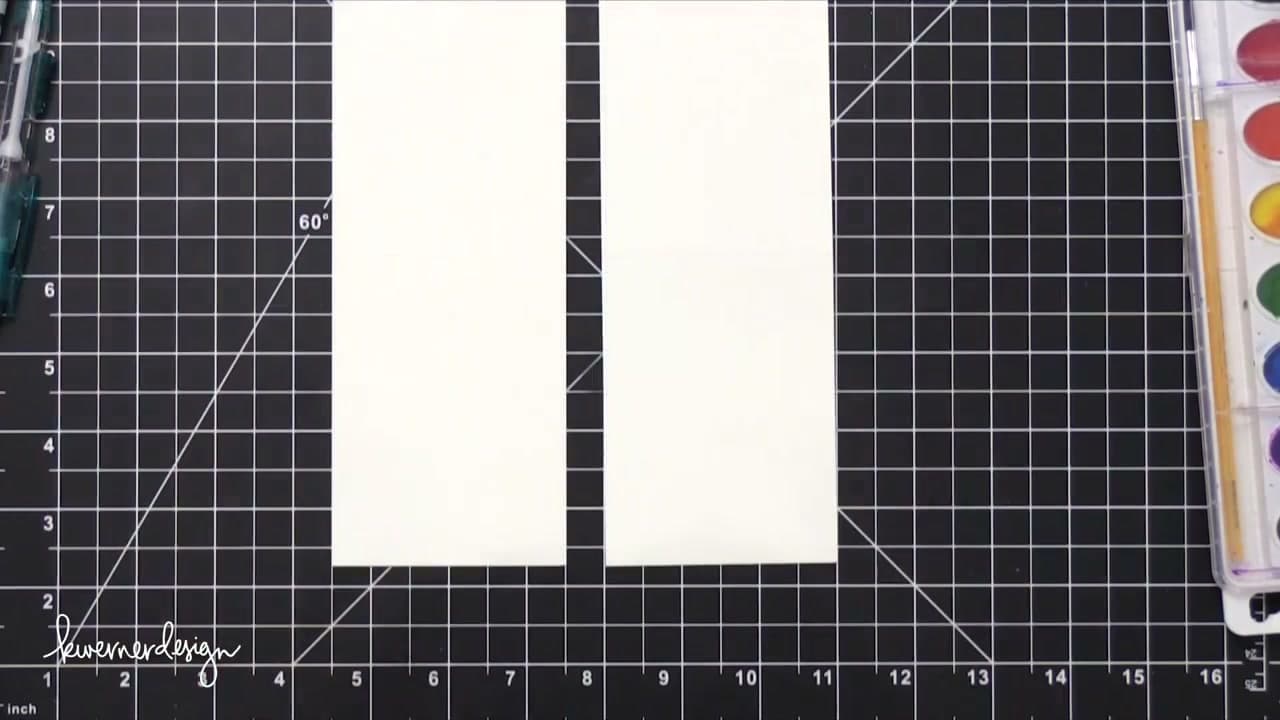
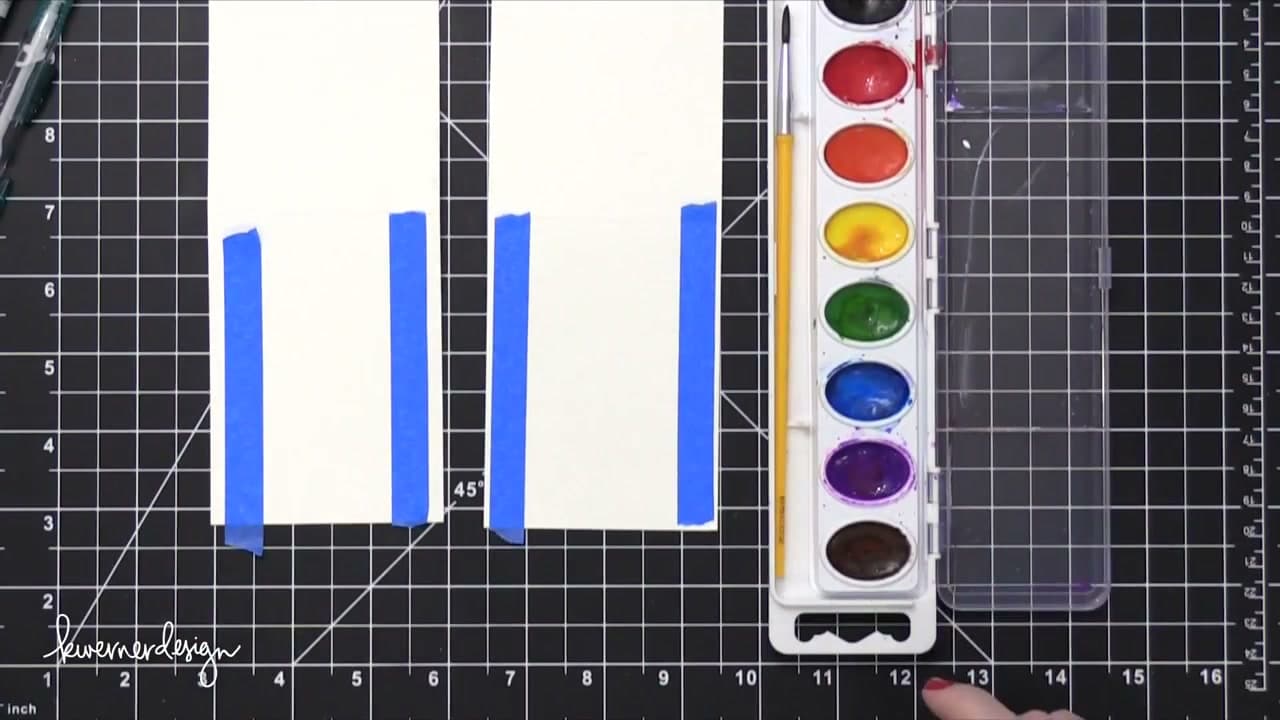
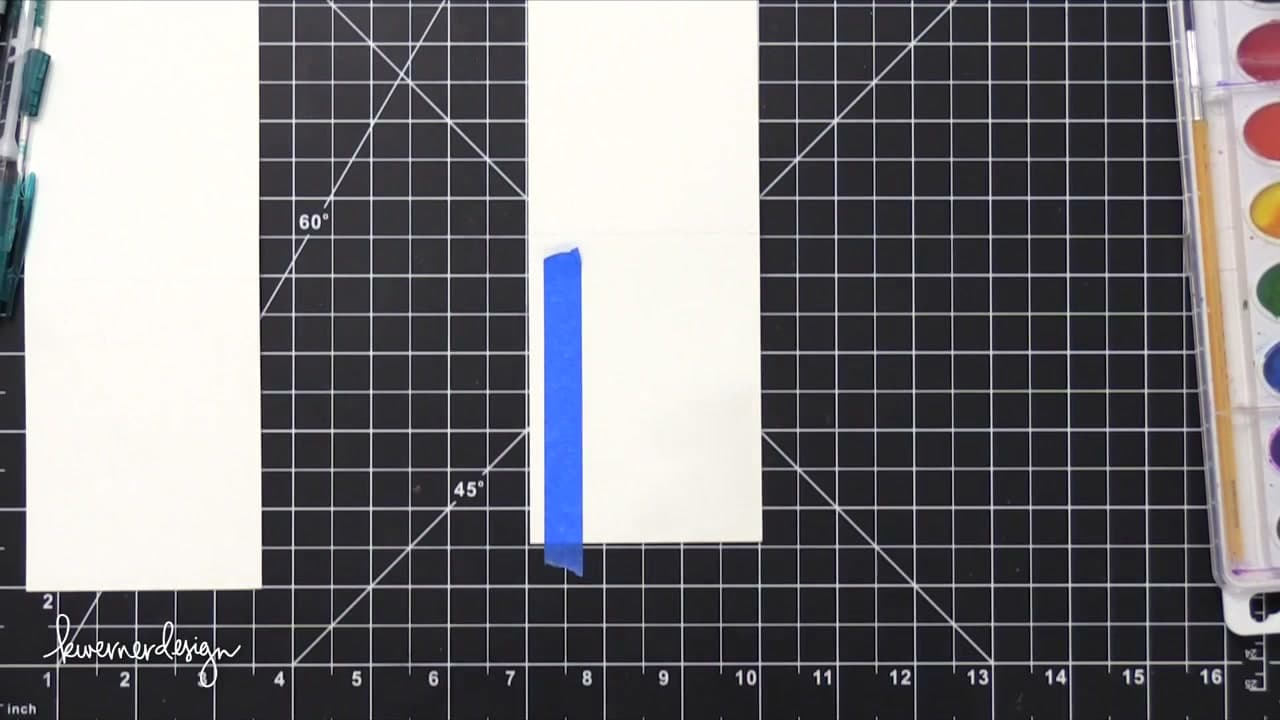
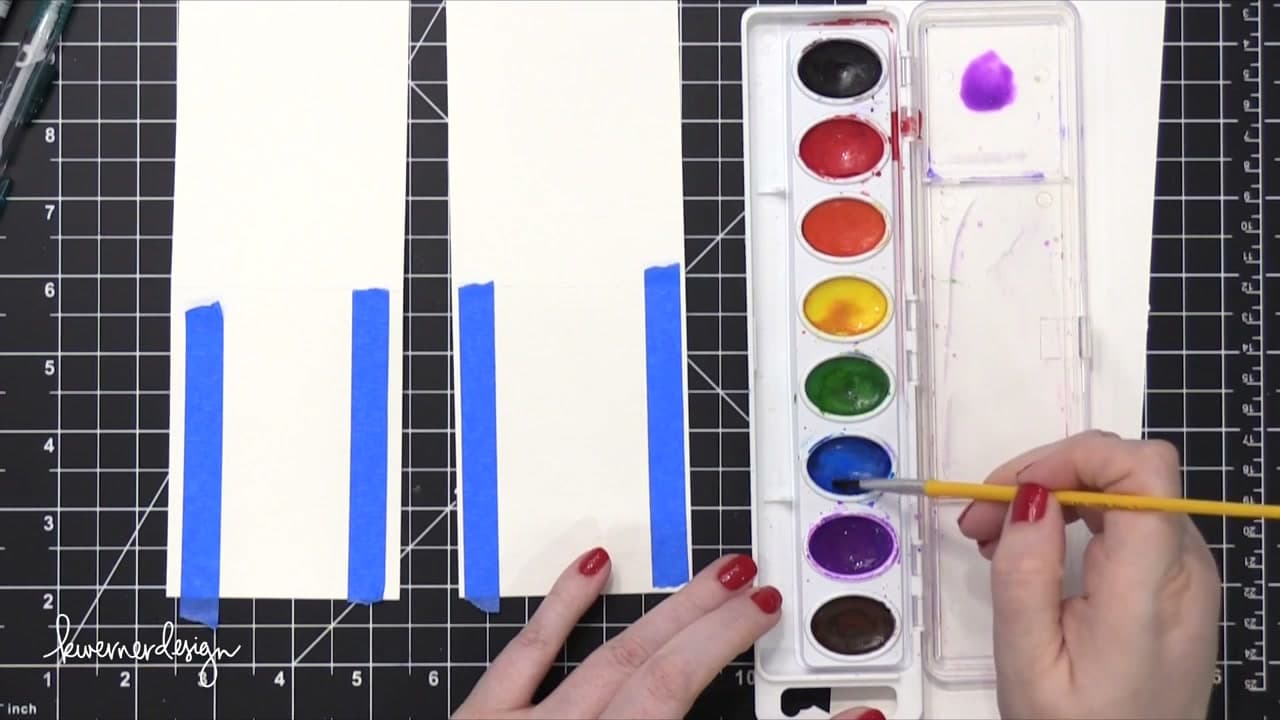
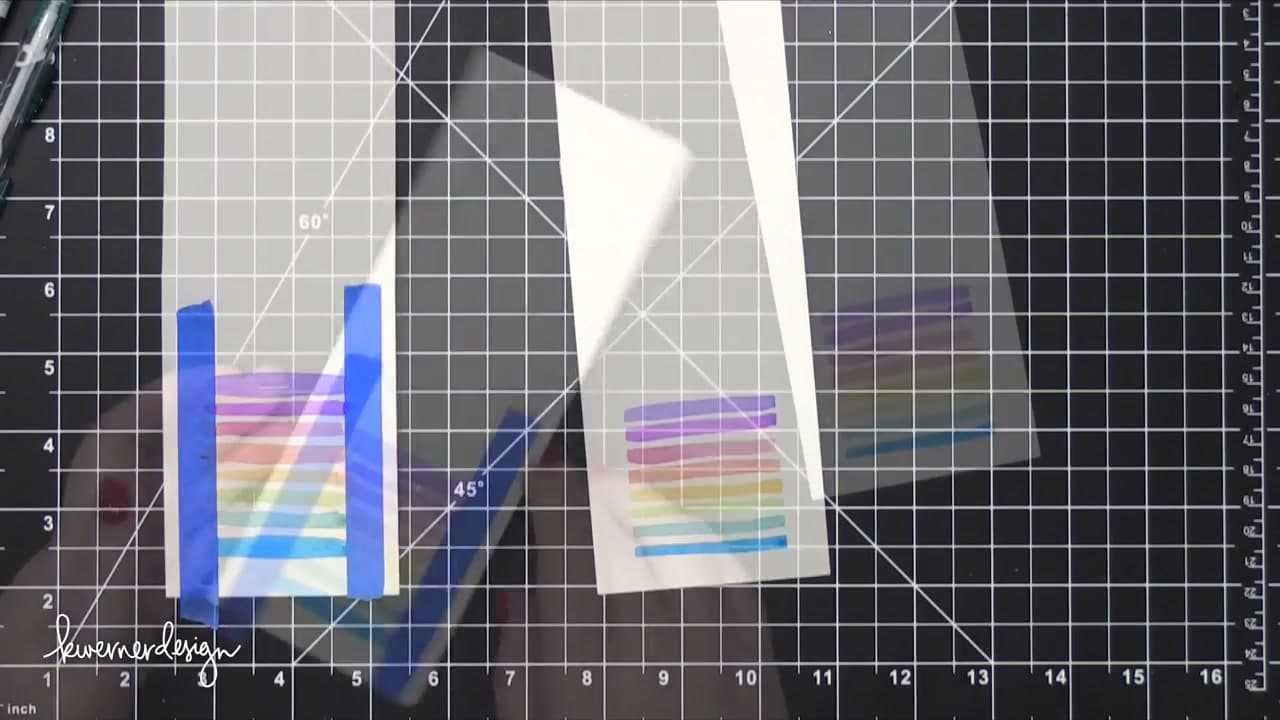
Lay out your foundational card-making supplies: cardstock or watercolor paper for the card base, a pencil for marking, a ruler, scissors or a craft knife, and a sentiment medium like markers, stamps, or fine-tip pens. Add masking tape to block off clean edges if you have it, watercolor paints or ink pads for color, and a bone folder if you have one for crisp scoring.

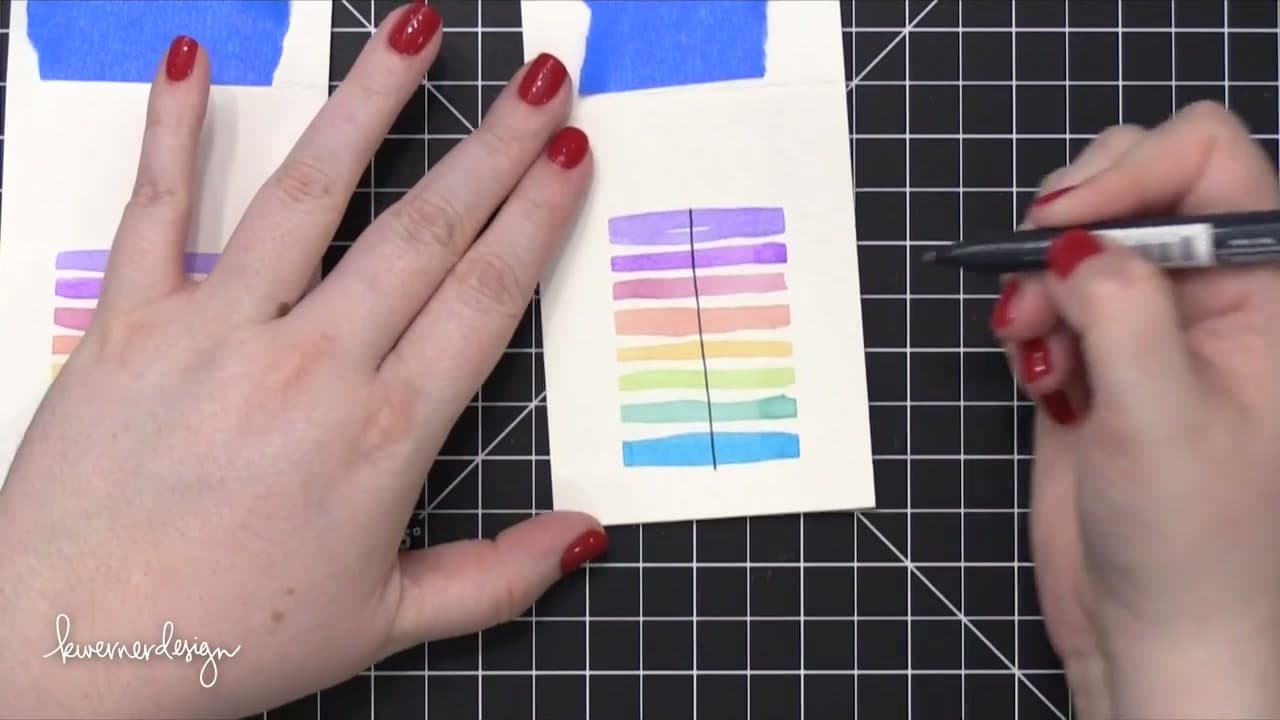
Keep a craft mat under your work surface to protect your table and catch stray cuts. Have everything within reach so you can move through the project without breaking your flow. Kristina works with watercolor paints, a pencil, and a pen for this card. That is genuinely the entire toolkit.

Tip

Heavyweight 80lb cardstock or 140lb watercolor paper holds folds and color better than thin construction paper. Avoid copy paper. It buckles the moment any moisture hits it.

2

Step 2: Choose a Card Size and Cut the Base

0:53
Step 2: Step 2: Choose a Card Size and Cut the Base

Pick your finished card size before you cut anything. Standard A2 cards finish at 4.25 by 5.5 inches starting from an 8.5 by 5.5 inch strip folded in half. Small accent cards like the 3 by 4 inch finish Kristina is making here are great for gift toppers and quick handwritten notes. Both fit standard envelopes you can find at any office supply store.

Cut your cardstock down to twice the width of your finished card. For the 3 by 4 size, that is a 3 by 8 inch strip folded in half. Use a ruler and craft knife or a paper trimmer for square edges. Fold the piece in half with a bone folder or your fingernail to set a crisp center crease.

Tip

Score lightly first, then fold. Scoring before folding gives you a clean hinge instead of a cracked, rounded edge.

3

Step 3: Plan Your Focal Panel Placement

1:15
Step 3: Step 3: Plan Your Focal Panel Placement

The focal panel is the main design area on the front of your card. Clean edges around it make the whole card look professional, like the design was matted onto the base even though the cardstock is one piece. Kristina uses two strips of low-tack painters tape across each card front to mask off a rectangle where the design will live.

If you are sketching multiple cards in the same session, vary the tape spacing on each card to test different layouts. A narrow vertical rectangle works for a gift box. A wider rectangle works for a birthday cake or layered design. This is also where you experiment with sketches: rule of thirds, centered, or off-center asymmetric layouts.

Tip

Print a card sketch worksheet to plan multiple layouts at once. Kristina has free sketch worksheets on her blog at kwdesign.at/cardsketchworksheets.

4

Step 4: Mask the Focal Panel Boundary

1:43
Step 4: Step 4: Mask the Focal Panel Boundary

If you want razor-clean focal panel edges, mask them off with tape before adding color or pattern. Lay a strip of tape flat on your craft mat, set a ruler on top, and slice down the center with your craft knife. Thinner tape gives you finer precision when masking small focal panels, and you get twice the mileage from each strip.

Peel up the cut pieces and lay them onto the card front to bound your focal panel. Press the edges down firmly so watercolor, ink, or marker cannot bleed underneath while you work. This step is optional. You can paint freehand and still make a great card. But masking is the easiest way to get the polished look that makes a handmade card look store-shelf finished.

Tip

Burnish the tape edges with your fingernail or a bone folder to seal them down. Tape that lifts at the edges lets color bleed under and ruins the masked effect.

5

Step 5: Add Color to the Focal Panel

2:18
Step 5: Step 5: Add Color to the Focal Panel

Now fill the masked focal panel with color or pattern. Watercolors give soft gradient washes that work for birthdays, thank-yous, and any cheerful occasion. Ink pads with stamps work for crisper graphics and repeated patterns. Patterned paper or die-cuts layered behind the mask work for clean modern looks.

Kristina mixes purple and blue watercolor to make a blue-violet, then paints horizontal stripes down the masked panel, gradually shifting hue as she moves down: purple, pink, orange, yellow, green, blue. Build up color in passes and let each layer dry before adding the next. Concentrated pigment gives saturated stripes. Washed-out pigment looks faded.

Tip

Wet your watercolor pans a few minutes before you start. Pigment that has had time to soften releases concentrated color when your brush touches it.

6

Step 6: Peel the Tape and Reveal Clean Edges

3:15
Step 6: Step 6: Peel the Tape and Reveal Clean Edges

Once your background color is dry, peel the masking tape off. Pull each strip slowly and at a low angle so the edge stays sharp and the cardstock fibers do not tear. The reveal is the satisfying part: clean white margins frame your design and the focal panel pops off the base like it was mounted on a separate piece.

If any color bled under the tape, touch it up with a fine brush dipped in white gouache or trim the edge with your craft knife. Small bleeds are forgivable and look handmade. Large bleeds you fix.

Tip

Wait until the paint is fully dry before pulling tape. Damp paint smears under the tape edge and ruins the clean reveal.

7

Step 7: Add the Sentiment and Drawn Details

3:33
Step 7: Step 7: Add the Sentiment and Drawn Details

The sentiment is the message: Happy Birthday, Thank You, Get Well Soon, Thinking of You, With Sympathy. Stamp it with a clear sentiment stamp set, write it freehand with a black marker, print it on a separate strip and adhere it, or hand-letter it directly onto the focal panel. Pick the medium that fits your handwriting and the style of the card.

Then add small drawn details that match your design theme. Kristina draws a bow on the gift box card and three candles on the birthday cake card, using a black fine-tip marker. For a love card, doodle hearts. For a sympathy card, draw a single sprig of leaves. The drawn details are what carry the card from generic to occasion-specific without needing fancy dies or specialty supplies.

Tip

If your marker line comes out faint, trace over it once more with the same pen. Doubling up the line gives crisp dark contrast without smearing.

8

Step 8: Finish with Accent Color and Envelope

4:34
Step 8: Step 8: Finish with Accent Color and Envelope

Even a one-color background card comes alive when you add a small pop of contrasting accent. Kristina drops yellow watercolor onto the candle flames so the warm yellow jumps against the cool rainbow stripes. Keep accents small and intentional so they draw the eye to a focus point rather than competing with the background.

Sign the inside of the card with a personal note. Slide the finished card into a matching envelope. The 3 by 4 size Kristina makes here fits a small business card envelope or a kraft mini-envelope. Standard A2 cards fit standard A2 envelopes you can find at any office supply store in packs of 50 or 100.

Tip

If you mailed the card, hand-write the address with an envelope pen in the same ink color as your sentiment. Small consistency, big finish.

Products Used

☐ The Checklist

How to Make a Card: Beginner's Guide to Handmade Greeting Cards

Tools
6
Materials
5
Steps
8
Video
6 min

Your Guide

K Werner Design

As an Amazon Associate we earn from qualifying purchases. Links on this page may be affiliate links - clicking them and buying doesn't change your price, but helps support ShowMeStepByStep.

Tags

What's next

Weekly Digest

Liked this card making tutorial?

Pick the categories you want to hear about. Weekly digest of new step-by-step tutorials. No spam, easy unsubscribe.

Send me tutorials about

We only email about new tutorials. Easy unsubscribe anytime.