How to Make a Shaker Card: 7 Step Easy Tutorial With a Clear Envelope

Card MakingEasy6:207 steps

Based on a video by Simply Simple Stamping | Connie Stewart.

Most shaker card tutorials require shaker foam, double-sided tape, and a careful build that takes 30+ minutes. This shortcut version uses a small clear envelope as the shaker chamber - the whole card comes together in under 10 minutes.

This walkthrough from Connie at Simply Simple Stamping breaks the easy method into seven clean steps. The technique works with any stamp set and any small embellishments. Once you've made one, you'll have ideas for birthday cards, holiday cards, congratulations cards - anywhere a little extra movement makes a card more fun.

Step-by-Step Guide

1

Step 1: Stamp Your Focal Image

0:50
Step 1: Step 1: Stamp Your Focal Image

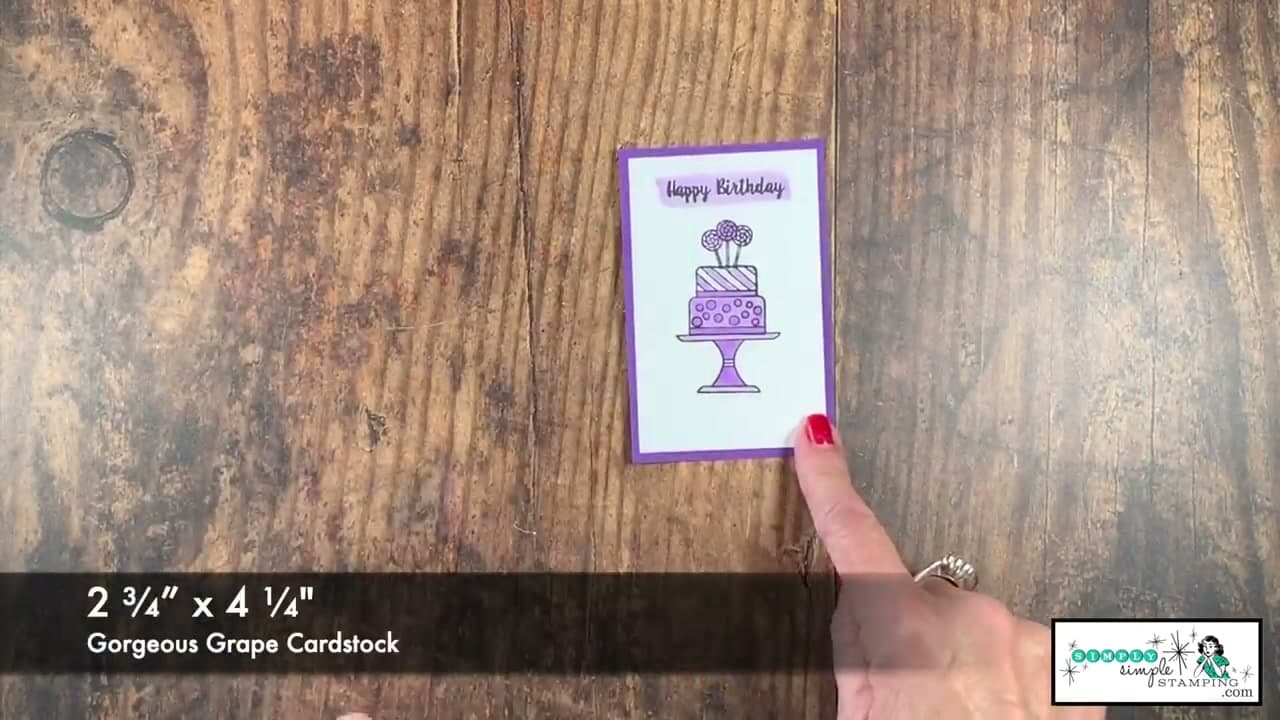
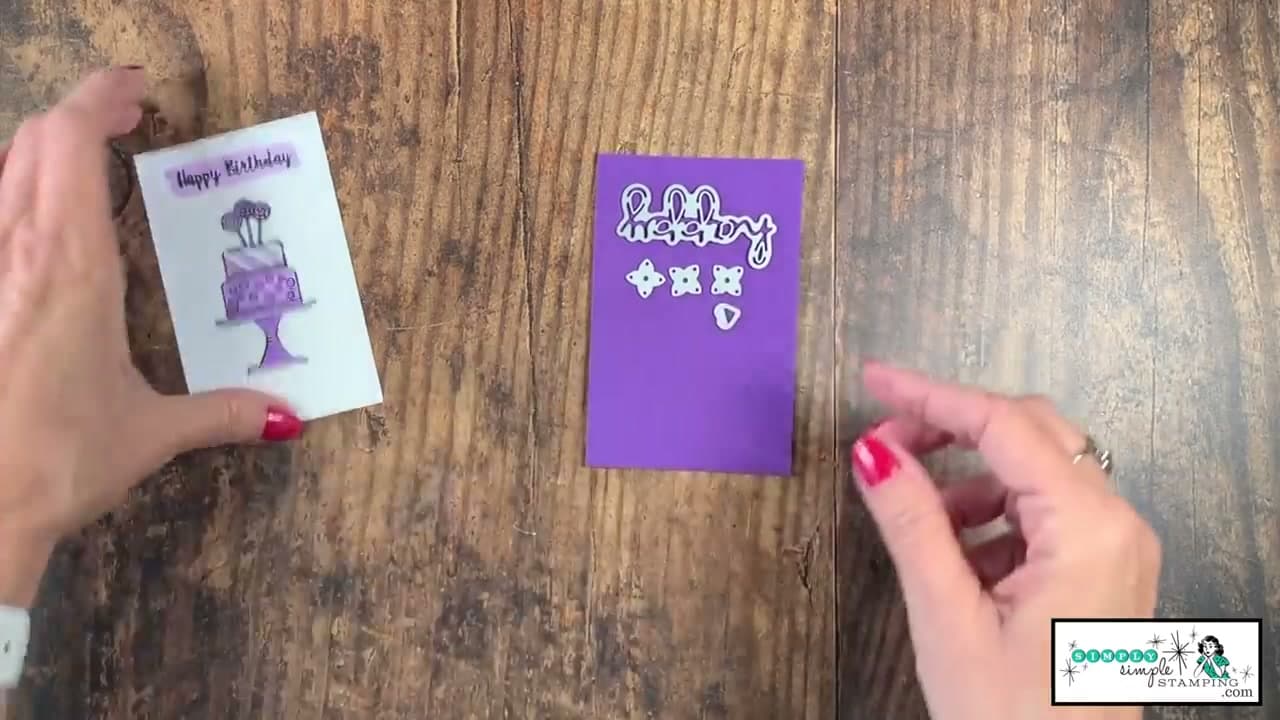
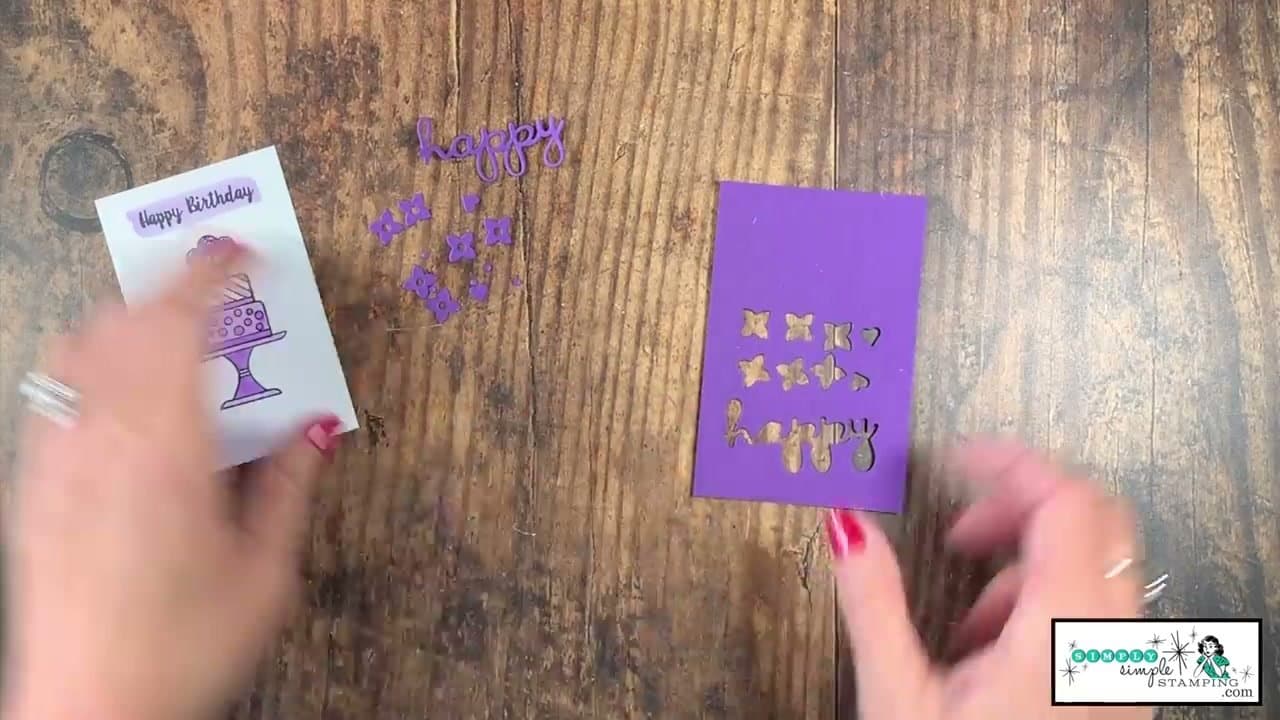
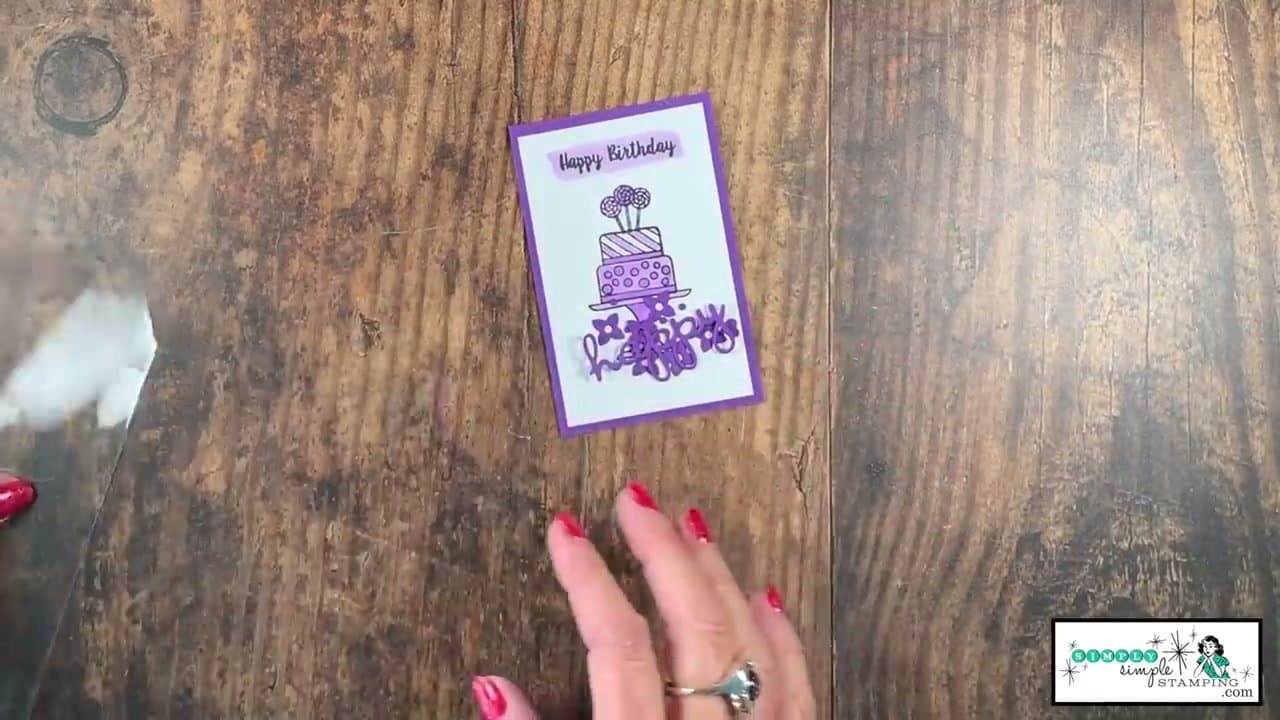
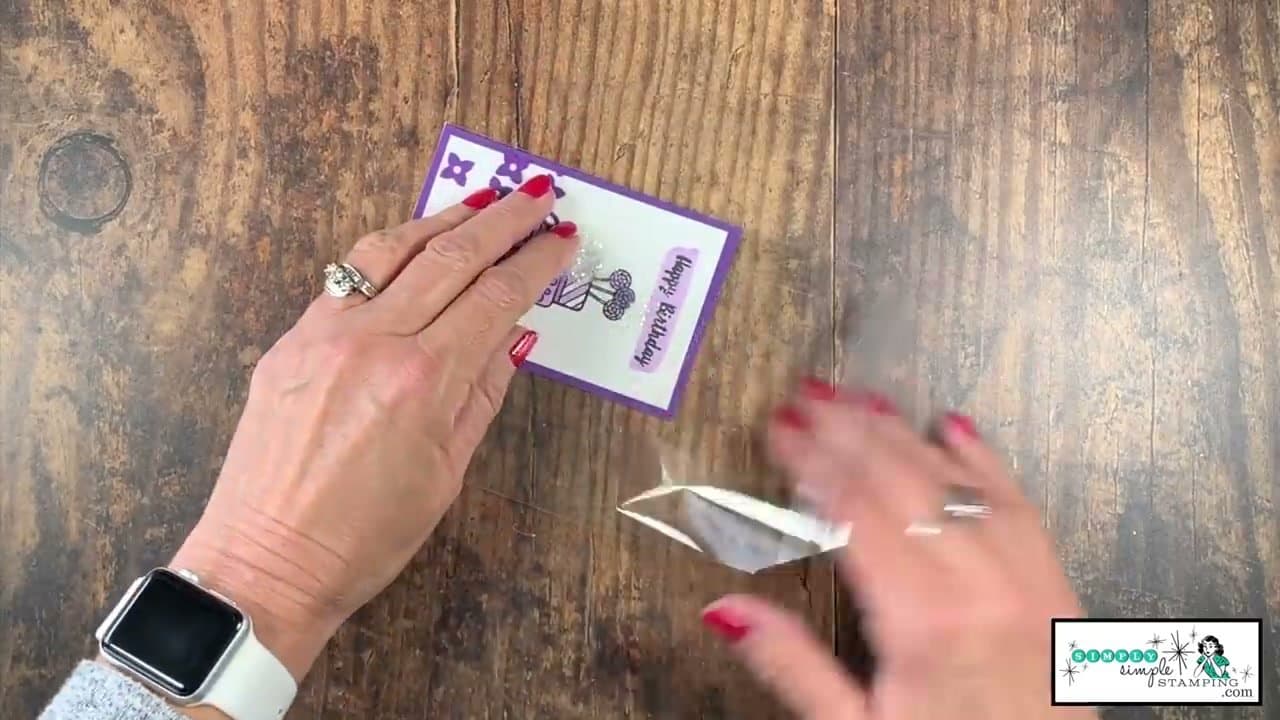
Stamp a small design (about 2.5 by 4 inches) on white cardstock. The example uses a cake stamp colored in with stamp blends, then trimmed and matted on a slightly larger piece of colored cardstock for a clean border.

The focal image is what shows through the clear shaker window - so pick something with empty space around the main subject (where shaker bits will visibly move) rather than a busy background design.

2

Step 2: Cut Small Embellishments

1:45
Step 2: Step 2: Cut Small Embellishments

Cut small embellishments from contrasting cardstock - die-cut letters, flowers, hearts, dots. The example uses 'happy' as a die-cut word plus tiny flowers and hearts. Run the dies through your machine twice for clean edges.

Keep all loose pieces under 1/4 inch - bigger pieces don't shake well inside the small envelope. The mix of word + small shapes gives visual interest and movement.

3

Step 3: Arrange Embellishments on the Focal Image

2:33
Step 3: Step 3: Arrange Embellishments on the Focal Image

Lay your focal image flat. Place the die-cut embellishments and any other small items face-up on top of the focal image to preview the layout.

This is your design preview. Rearrange until you like the composition - the word here, flowers scattered there, dots filling the empty space. Once you're happy, you'll trap them inside the shaker.

4

Step 4: Slide a Clear Envelope Over the Focal Image

3:00
Step 4: Step 4: Slide a Clear Envelope Over the Focal Image

Get a small clear envelope (the kind sold in cardmaking stores for shaker projects, sized about 3 x 4 inches). Slide it over your focal image and arranged embellishments.

Tuck the focal image into one corner of the envelope so the embellishments scattered on top get trapped between the focal image and the envelope's clear face. The envelope's open end stays free for the next step.

5

Step 5: Add Loose Shaker Bits

3:27
Step 5: Step 5: Add Loose Shaker Bits

Sprinkle in the loose shaker bits - sequins, microbeads, glitter, or extra tiny die-cuts. About 1/8 teaspoon total. LESS IS MORE - overfilling stops the shake effect because the bits can't move freely.

The bits should slide around and re-settle when you tilt the card. If they're packed tight, dump some out. Mix textures (some flat sequins + some small die-cuts) for more visual interest as they shift.

Products used in this step

6

Step 6: Seal the Envelope

3:50
Step 6: Step 6: Seal the Envelope

Most clear envelopes have an adhesive flap on the open end. Peel and seal it. For extra security, run a strip of scotch tape across both short ends of the envelope - this prevents glitter leaks if the seal isn't perfect.

Test by shaking. The bits should move freely without anything escaping. If glitter is leaking out, add more tape until the seal is solid.

7

Step 7: Mount the Shaker on a Card Base

5:05
Step 7: Step 7: Mount the Shaker on a Card Base

Cut a card base from cardstock - 8.5 x 5.5 inches, folded in half, gives a standard A2-size card. Run the front of the card through an embossing folder for texture if you have one.

Adhere the sealed shaker assembly to the front of the card base with double-sided tape or strong glue. Add a sentiment strip or matting layer if you want extra polish. Done - shake to play.

Tip

Save unused shaker materials in labeled bags - sequin mixes, glitter, micro-beads. Building a stash means future shaker cards take 5 minutes instead of 10 because you skip the supply hunt.

Products Used

☐ The Checklist

How to Make a Shaker Card: 7 Step Easy Tutorial With a Clear Envelope

Tools
5
Materials
4
Steps
7
Video
6 min

Your Guide

Simply Simple Stamping | Connie Stewart

As an Amazon Associate we earn from qualifying purchases. Links on this page may be affiliate links - clicking them and buying doesn't change your price, but helps support ShowMeStepByStep.

Tags

Related Tutorials