How to Start a Lawn Mower: Push Lawnmower Setup in 7 Steps

By ShowMeStepByStepPublished Updated

Based on a video by NKY DIY.

A brand-new push lawn mower almost never starts on the first pull the way the box implies. Manufacturers ship them dry - no oil, no gas, handle folded down, starter rope tied to the deck. Before you can pull the cord, you have to assemble the handle, fill the engine with oil, pour in fresh gasoline, and learn what the safety bail does.

This tutorial walks through that whole sequence on a Troy-Bilt TB110, which is one of the most common 21-inch push mowers sold at hardware stores. The steps work the same way on Honda HRX, Toro Recycler, Craftsman, and most other Briggs & Stratton or Kohler push mowers. If your mower has a primer bulb or a choke lever instead of ReadyStart, there is a note in step 7 covering that variant.

Safety first - read this paragraph before you touch the cord. A push mower blade spins at roughly 3,000 RPM and will throw any stone, stick, dog toy, or hand tool that gets under the deck. Walk the yard and clear it before every cut. Never refuel a hot engine - gasoline vapor ignites near a hot muffler. The red blade safety bail on the handlebar is the one thing keeping the blade spinning - if you let go, the engine and blade stop within a few seconds. That is the design and you should test it. And never tilt the mower more than a few degrees with oil or gas inside; both will run out the air filter and ruin the engine.

Grab the operator's manual that came in the box, a flat patch of grass to work on, and budget about 20 minutes from unbox to first pull. NKY DIY walks through every step at a beginner's pace.

Step-by-Step Guide

1

Step 1: Unbox the mower and lay out the parts

0:17
Step 1: Step 1: Unbox the mower and lay out the parts

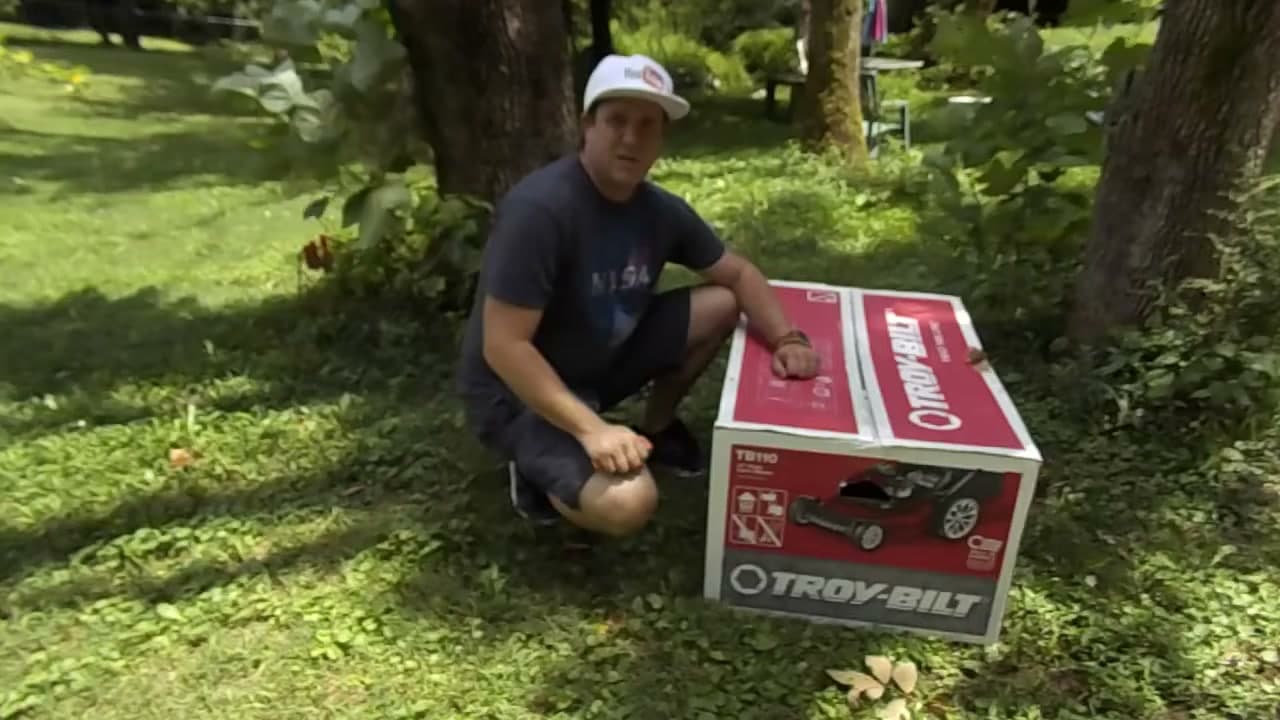
Cut the box open and check that all the parts are there. You should see the mower deck (the red body with the engine on top), the folded handlebar still attached to the deck by hinge brackets, the grass catcher bag with its black wire frame, an attachment kit in a small plastic bag, and a white bottle of four-cycle engine oil.

Pull out the operator's manual and skim the first two pages. The manual lists the oil capacity, the fuel type, and which side of the deck the dipstick is on. Take a minute with it - it pays off when you are looking for the oil fill in step 6.

Tip

Save the box flat as a work surface. Leaning the mower on cardboard keeps grease and grass clippings off your driveway and lets you tilt slightly without grinding the deck on concrete.

2

Step 2: Clear the yard and put on safety gear

0:47
Step 2: Step 2: Clear the yard and put on safety gear

Before you start anything, walk the area where you plan to mow and clear it. Pick up stones, dog toys, sticks, hose ends, garden hose nozzles, kid's plastic shovels, and anything else the blade could catch. Make sure kids and pets are inside or well clear - a small pebble launched at 3,000 RPM has the energy of a slingshot.

Put on safety glasses to keep grass and debris out of your eyes, hearing protection (a push mower runs around 95 dB - loud enough to damage hearing after 15 minutes), and closed-toe shoes. Work gloves help with grip on the starter cord and protect your hands during assembly.

Tip

If you have a stone or stick you cannot move, mark it with a brightly colored flag or a coffee can. Sounds dorky, easy to forget under tall grass.

3

Step 3: Raise the handlebar to the operating position

1:00
Step 3: Step 3: Raise the handlebar to the operating position

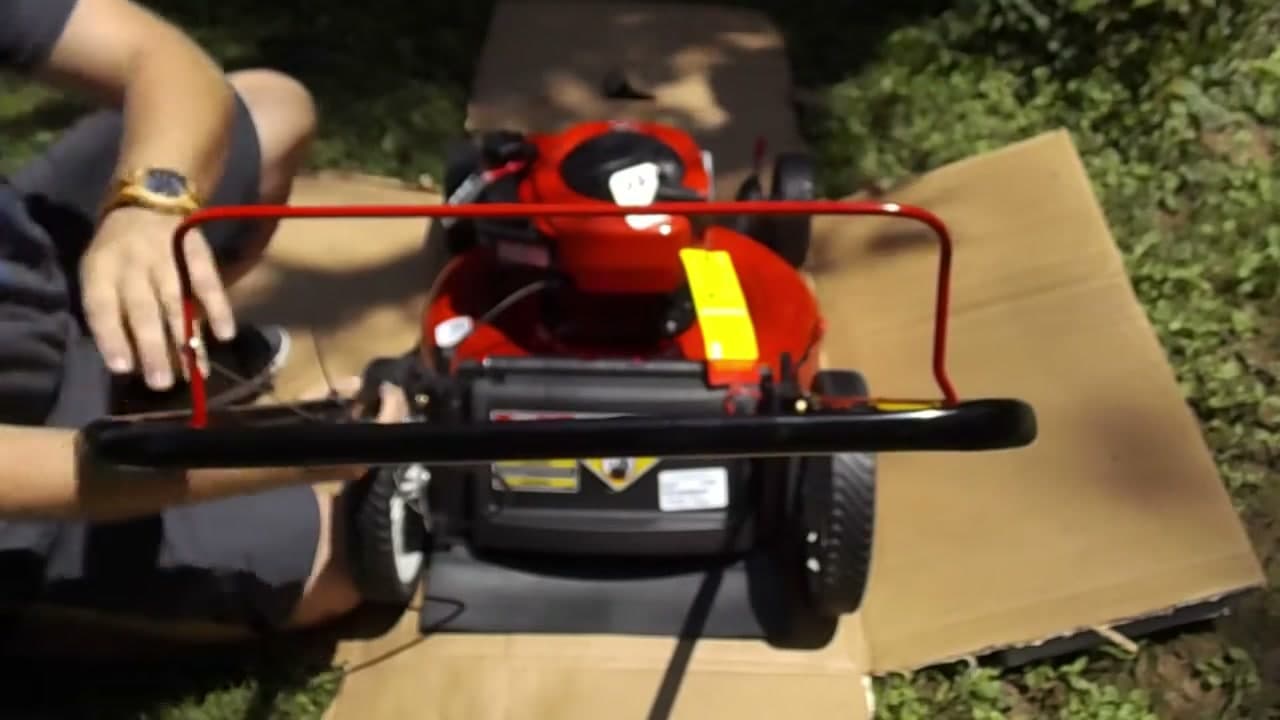
The handle ships folded down across the deck. To raise it, look at the back of the mower for the two red plastic wing knobs - one on each side of the lower handle bracket. Unscrew both of them by hand and set them somewhere safe with their washers still threaded on the bolts. Losing those washers means a wobbly handle later.

With both knobs out, lift the lower handle up to its working angle. It should hinge cleanly. If it fights you, stop and check that there is not a zip tie or a chunk of foam still trapped in the joint.

Tip

Most push mowers have two handle-height positions, low and high. Pick the one that puts your wrists straight when your arms are relaxed at your sides - that is how you avoid forearm fatigue after 20 minutes of mowing.

Products used in this step

4

Step 4: Install the T-bolts and extend the upper handle

1:27
Step 4: Step 4: Install the T-bolts and extend the upper handle

Find the T-bolts in the attachment kit. They are bolts with a flat T-shaped head you can grip with two fingers. The upper handle has two bolt holes on each side where the T-bolts go through.

Pull the upper handle section out from the lower section until the holes line up with the second set of holes on the lower bracket. Do not pull it all the way off. Push the handle down so it seats fully against the threads on the other side, then thread each T-bolt in by hand and snug it tight. If you spin the T-bolt and feel no resistance, you are screwing into air - back it out, push the handle in farther, and try again.

Tip

Tighten the T-bolts the same amount on both sides so the handle stays square. A crooked handle is annoying to push for any distance.

5

Step 5: Attach the starter rope guide and zip-tie the cable

2:36
Step 5: Step 5: Attach the starter rope guide and zip-tie the cable

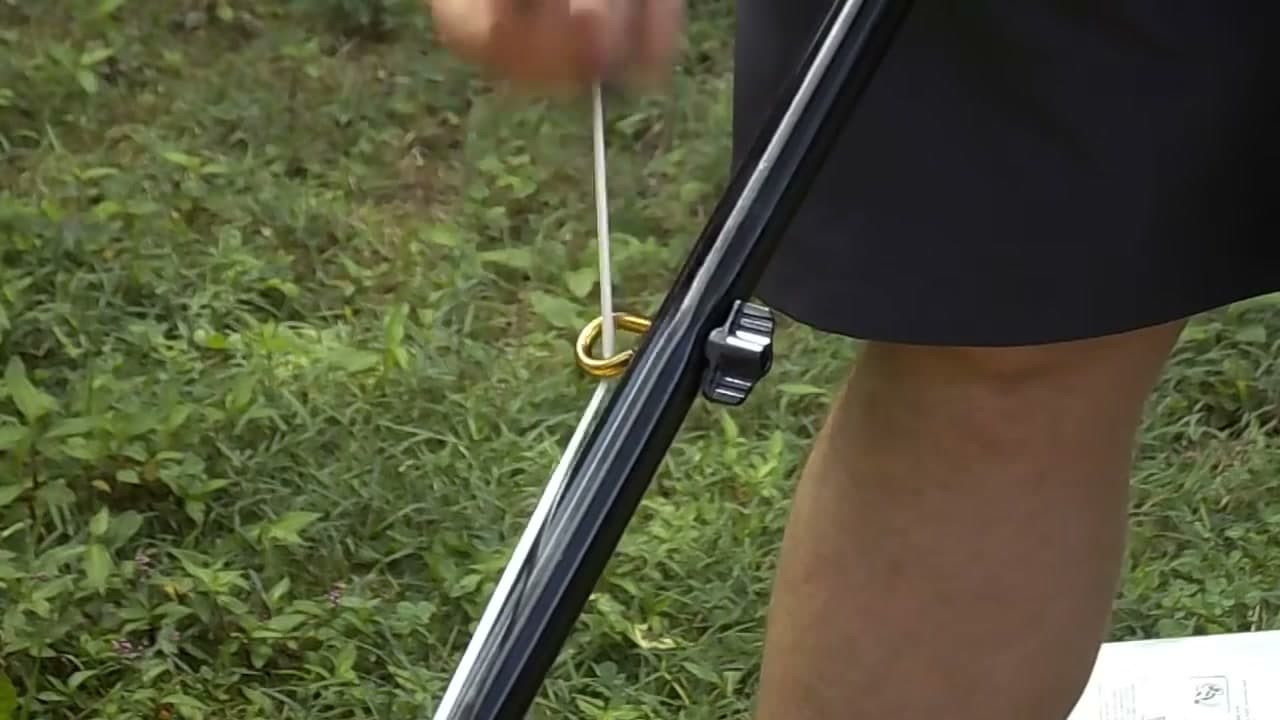
The starter rope is currently tied down to the deck. You need to route it up to a small plastic guide on the upper handle so you can actually reach it when you stand behind the mower.

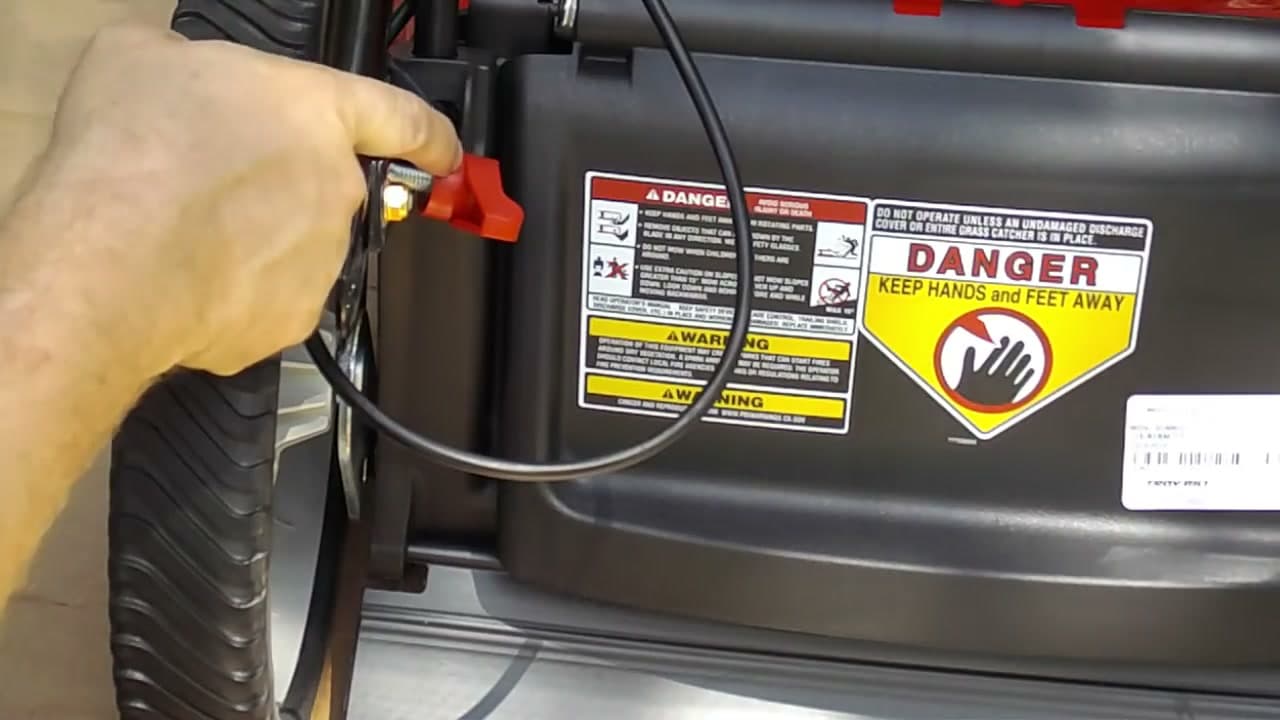
Find the rope guide - a small clip on the right side of the upper handle. Loosen the clip. Now this is the part most people get wrong: hold the red blade safety bail down against the handlebar with one hand. The bail is connected to the engine's brake, and if you do not hold it, the starter cord will not pull. With the bail held, slowly pull the starter cord out far enough to slip the cord into the guide clip. Tighten the clip so the cord is held in place but not pinched. Then use the included zip tie to secure the control cable to the handle so it does not flop around when you push the mower.

Tip

If the cord springs back into the engine before you can clip it, you forgot to hold the bail. Re-grip the bail and pull slowly - the cord should slide out smooth and steady.

6

Step 6: Add motor oil and fill the gas tank

4:11
Step 6: Step 6: Add motor oil and fill the gas tank

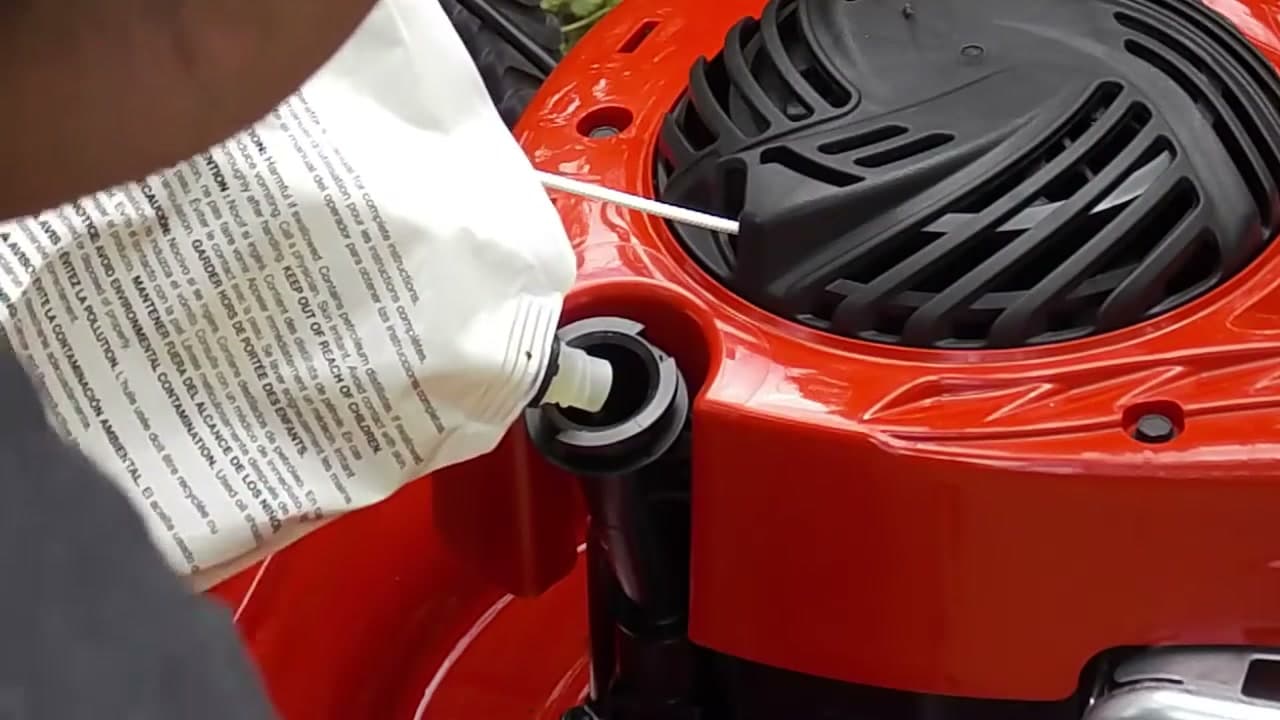
This is the step that catches first-time mower owners - the engine ships dry. Locate the dipstick on the side of the engine. It is the yellow or black handle marked OIL. Unscrew it, wipe it clean with a rag, and set it aside.

Slowly pour the bottle of SAE 30 or 10W-30 four-cycle oil that came with the mower into the oil fill neck. The neck is narrow - pour slow or the oil will glug back at you. Most push mowers take about 15 to 20 ounces. After pouring, screw the dipstick in fully, pull it back out, and check that the oil level sits between the two marks. Add more if it is below the low mark.

Now fill the gas tank with fresh 87-octane unleaded. Use a clean gas can with a spout - the tank opening on a push mower is small. If the gas in your can has been sitting since last fall without stabilizer, dump it and start fresh. Stale gas is the number-one reason a mower will not start.

Tip

Never overfill the oil - it ends up in the air filter and the muffler, smokes when you start it, and can ruin the engine. If you accidentally pour too much, drain the engine and start over rather than running it hot.

7

Step 7: Pull the cord and start mowing

5:38
Step 7: Step 7: Pull the cord and start mowing

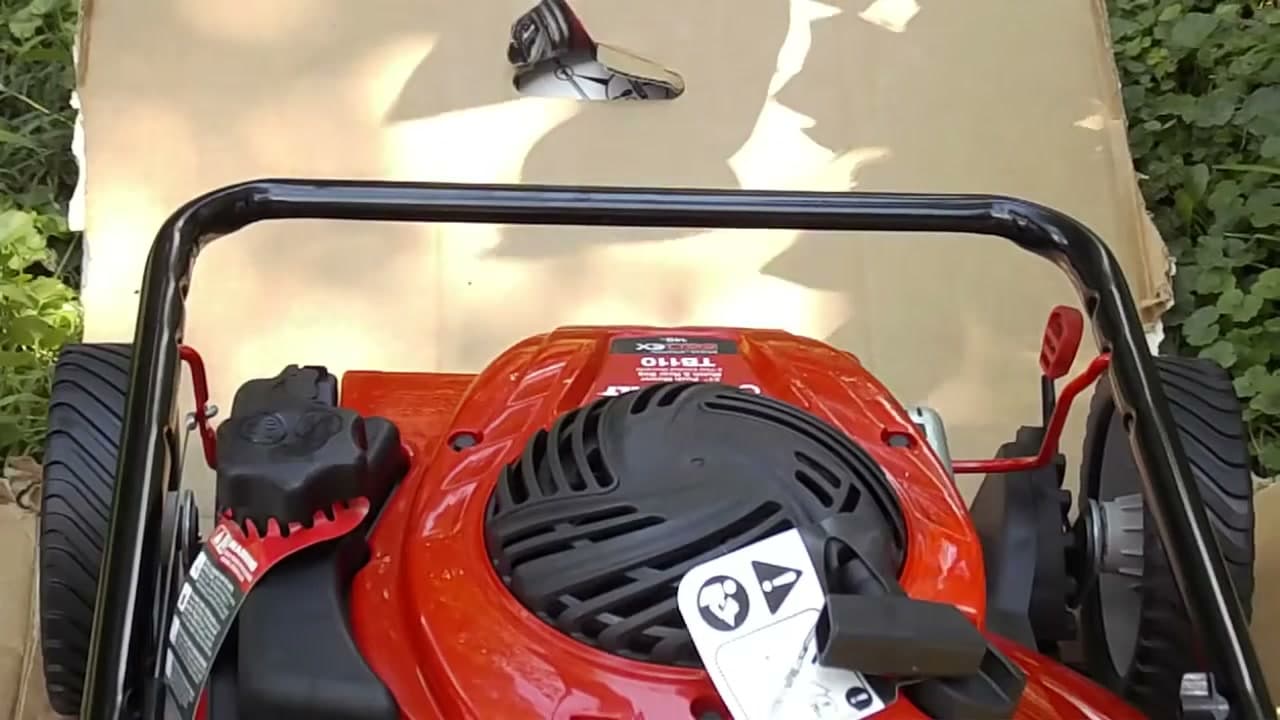
Time to start it. The Troy-Bilt TB110 in this video has a Briggs & Stratton ReadyStart engine - the sticker on the engine cover literally says NO PRIME, NO CHOKE, JUST PULL FOR POWER. That means there is no primer bulb to push and no choke lever to set. Other modern mowers work the same way. If your mower has a primer bulb (a small rubber dome on the side of the engine), push it firmly three times before pulling the cord. If it has a choke lever, slide it to CHOKE for the first pull and back to RUN as soon as the engine fires.

Stand behind the handle. Squeeze the red blade safety bail against the handlebar and hold it there - this is the operator-presence control, and the engine will not run without it. Plant your feet, grip the starter cord handle, and pull with a smooth, firm motion all the way to the end of the rope. Not jerky - smooth. If it does not catch on the first pull, give it two or three more.

Once the engine idles steadily, you are ready to mow. Walk the mower onto the grass at a comfortable pace. When you finish, just release the bail - the engine and blade both stop within a few seconds. No key, no shutoff lever, no fuel valve to close.

Tip

The first pull on a brand-new engine is usually the hardest because the cylinder is dry. If you have pulled five times without a catch, stop, walk around the mower once, and check the fuel tank cap is on tight. Then try again - the carburetor needs a few pulls to actually pull fuel up.

Products Used

☐ The Checklist

How to Start a Lawn Mower: Push Lawnmower Setup in 7 Steps

Tools
6
Materials
3
Steps
7
Video
6 min

Your Guide

NKY DIY

As an Amazon Associate we earn from qualifying purchases. Links on this page may be affiliate links - clicking them and buying doesn't change your price, but helps support ShowMeStepByStep.

Tags

What's next

Related collections

Curated theme pages that include this tutorial.

Weekly Digest

Liked this adulting tutorial?

Pick the categories you want to hear about. Weekly digest of new step-by-step tutorials. No spam, easy unsubscribe.

Send me tutorials about

We only email about new tutorials. Easy unsubscribe anytime.