How to Do a Three Point Turn (Step-by-Step for New Drivers)

By ShowMeStepByStepPublished

Based on a video by Driving TV.

The 3-point turn (also called a K-turn or broken U-turn) is how you reverse direction on a road too narrow for a U-turn. You will use it on your road test, you will use it in real life every time you misread your GPS, and most road-test examiners have it on a short list of slow-speed maneuvers they specifically grade. It is not hard, but it has six distinct actions and any one of them can cost you points - or your test.

When to do it. Use a 3-point turn when the road is too narrow for a single-pass U-turn and there is no driveway or parking lot you could swing into instead. On a road test, the examiner will pick the spot - usually a dead-end street or a quiet two-way road with no traffic.

The two things that fail new drivers. First, missing the mirror and shoulder check before the first move - examiners watch for this and dock you immediately if you skip it. Second, missing the left turn signal. The signal tells other drivers your car is about to be sideways across both lanes for several seconds, and forgetting it is the second-most-common point loss on this maneuver.

The center-line trick that fixes overshooting. The reverse leg is the hardest part. New drivers either back up too little (and need a 4-point turn) or too much (and clip the curb behind them). The fix: watch your left front wheel or left side mirror, and stop the moment it crosses the center line of the road. That is the natural stopping point - your front end is now angled correctly to pull forward into the right lane.

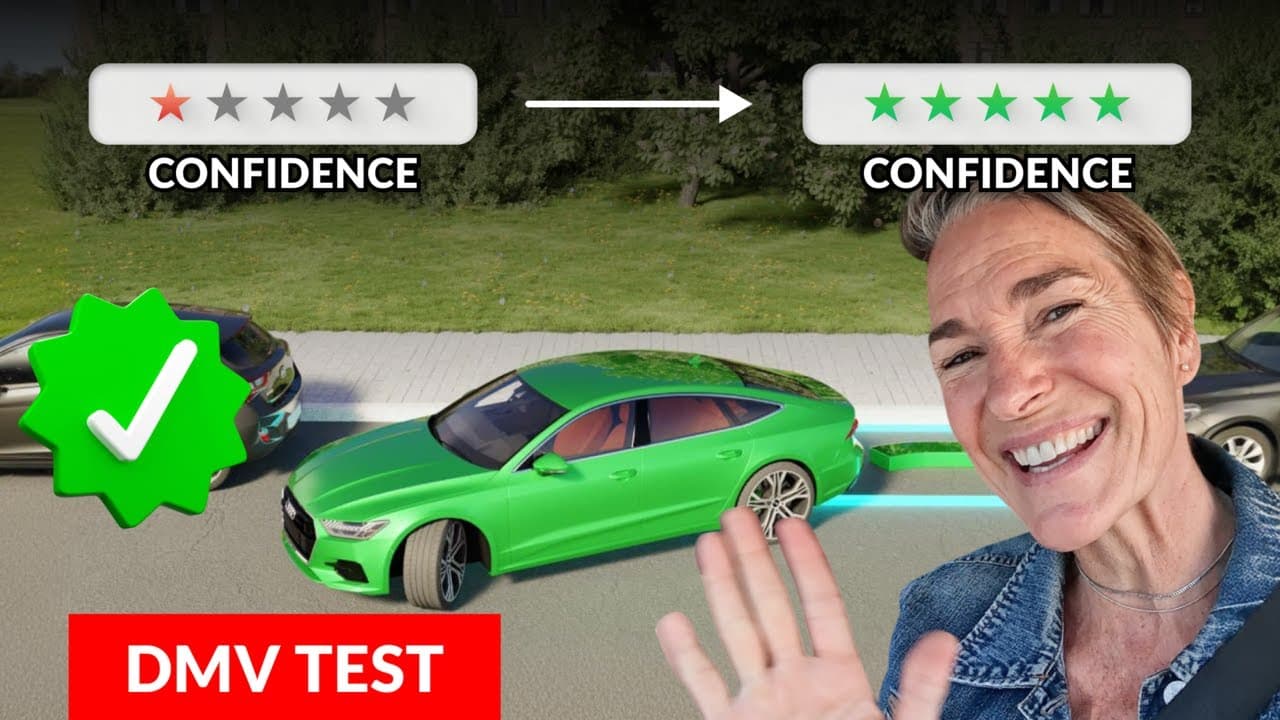
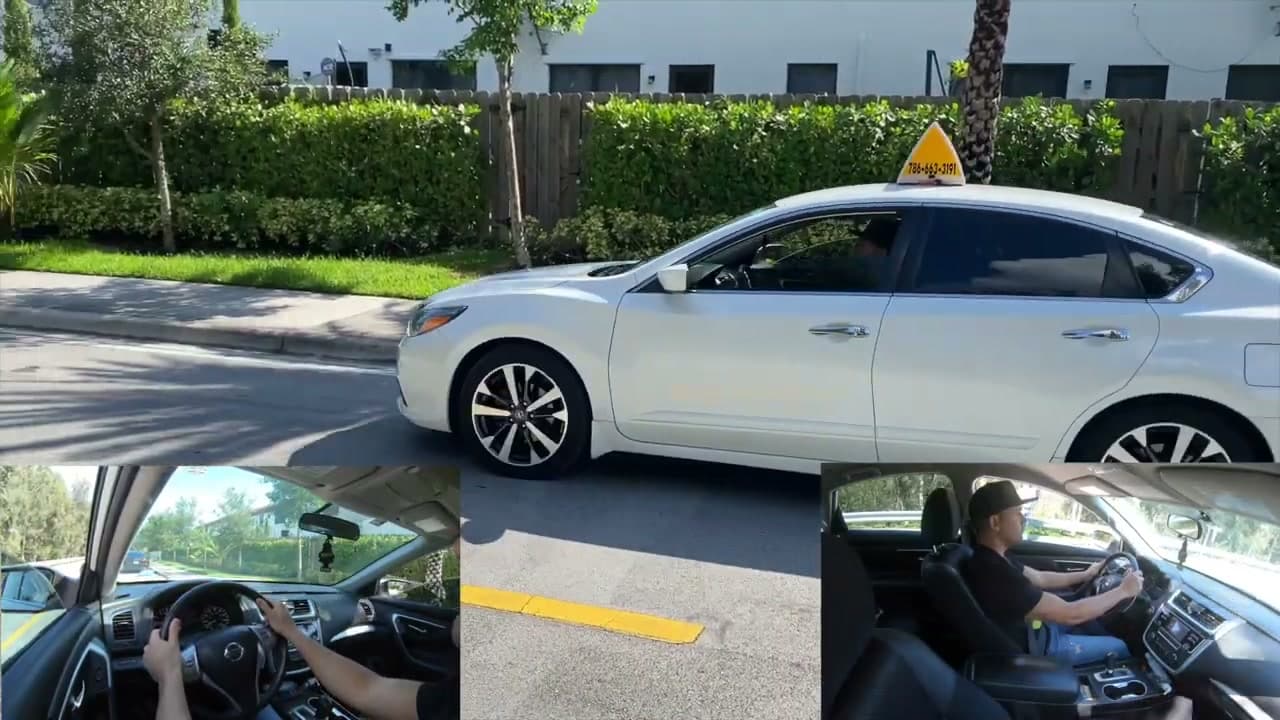
This walkthrough from Driving TV (a driving-school channel) covers every step the way a road-test examiner expects to see it, in the order they expect it. Practice the full sequence in an empty parking lot or quiet residential street five or ten times before you try it on a real road with traffic. While you are working on your driving skills, also worth knowing: how to parallel park - the other slow-speed maneuver examiners love to fail people on.
Step-by-Step Guide

1

Step 1: Pull Over to the Right Curb and Check Your Mirrors

1:00
Step 1: Step 1: Pull Over to the Right Curb and Check Your Mirrors

Find a section of road where you have a clear view in both directions. Pull all the way to the right curb and come to a complete stop, parallel to the curb with no more than 12 inches of gap.

Once you are stopped, do a full mirror and shoulder check - left mirror, rearview, right mirror, then a head turn over your left shoulder to scan your blind spot. You need to know exactly what is around you before you make any move. On a road test, the examiner is watching for this check before you do anything else. Skip it and you lose points right away - sometimes a fail right there.

Tip

If the road is busy, wait for both lanes to clear completely before you start the maneuver. The full 3-point turn takes 10 to 20 seconds and you will be blocking both lanes for part of it. There is no rush - examiners would rather see you wait than see you start before it is safe.

2

Step 2: Turn On Your Left Signal and Wait for Traffic to Clear

1:50
Step 2: Step 2: Turn On Your Left Signal and Wait for Traffic to Clear

Flip on your left turn signal. This tells anyone behind or ahead of you that your car is about to swing into the opposite lane. Then look both directions one more time.

If a car is coming from either way, wait. Do not start turning while traffic is approaching - the maneuver takes the full width of the road, and your car will be sideways across both lanes for a couple of seconds. The signal stays on the entire time, not just the first leg. Most cars cancel the signal automatically when the wheel returns to center, so you may need to flick it back on after the reverse leg.

Tip

If you forget the left signal, that is a guaranteed point loss on most road tests in North America. Build a habit: signal first, then check, then move. Always in that order, every maneuver.

3

Step 3: Steer Hard Left and Pull Forward Slowly Toward the Opposite Curb

2:05
Step 3: Step 3: Steer Hard Left and Pull Forward Slowly Toward the Opposite Curb

Turn the steering wheel all the way to the left - lock to lock, as far as it will go. Using the full lock is what lets you make the turn in three movements instead of five. If you only turn the wheel halfway, you will end up doing a 4- or 5-point turn and lose points on the test.

Release the brake slowly and let the car creep forward at idle speed. Do not press the gas. The car should crawl across both lanes toward the opposite curb. Going slow gives you time to straighten out if something appears and keeps the front end from swinging wide and clipping the curb. Watch the front of your car as you approach the opposite side.

Tip

If your car is bigger - a pickup, SUV, or longer sedan - you may need to start the turn a little earlier and turn the wheel before you actually release the brake. A bigger turning radius eats more road, so plan accordingly.

4

Step 4: Stop Near the Opposite Curb, Shift to Reverse, Check Mirrors

2:25
Step 4: Step 4: Stop Near the Opposite Curb, Shift to Reverse, Check Mirrors

When the front of your car is about two to three feet from the opposite curb, press the brake and come to a full stop. Do not bump or kiss the curb - the examiner watches for this. Two to three feet gives you a safety margin and shows good distance judgment.

Shift the gear selector into reverse. Now do a 360-degree scan - left mirror, rearview, right mirror, over the right shoulder, over the left shoulder. Reversing across a road is the highest-risk part of the maneuver because your visibility is worst going backwards. Take an extra second here. Confirm both lanes are still clear before you move.

Tip

If a car appears at this point, stay stopped. You are not blocking traffic in this position - you are angled into the opposite lane but the cross-lane is still passable. Wait for the approaching car to go around or to stop and wave you through, then continue.

5

Step 5: Steer Hard Right and Back Up Slowly to the Original Side

2:55
Step 5: Step 5: Steer Hard Right and Back Up Slowly to the Original Side

With the car in reverse, turn the steering wheel all the way to the right. Look over your right shoulder and out the back window - not just at the rearview mirror. The mirror gives you the lane behind you, but the shoulder check is what catches pedestrians and bicycles you cannot see in the mirror.

Release the brake gently and let the car creep backward. The rear of the car will swing toward your original curb. Here is the critical trick: when your left front wheel or your left side mirror crosses the center line of the road, that is your stop signal. Brake and come to a full stop. New drivers tend to back up too far - the center-line trick keeps you from overshooting and clipping the curb behind you.

Tip

If your car has a backup camera, glance at it briefly but do not stare. The examiner wants to see you using your eyes and mirrors, not the screen. Backup cameras are a parking aid - they are not a substitute for the over-shoulder check.

6

Step 6: Shift to Drive, Steer Left, and Finish the Turn

3:40
Step 6: Step 6: Shift to Drive, Steer Left, and Finish the Turn

Shift the gear selector back to drive. Turn the steering wheel all the way to the left one more time. Check that traffic is still clear in both directions and that your left signal is still on (most cars auto-cancel it after the reverse leg - flick it back on if needed).

Release the brake slowly and pull forward into the right lane of your new direction of travel. Straighten the wheel gradually as you settle into the lane. Once you are tracking straight and centered in your lane, you can cancel the signal manually. The turn is done. Total time start to finish should be 15 to 25 seconds.

Tip

If you end up too close to the original curb when you start the drive leg, that is fine - just steer harder left and pull farther forward. Do not panic and reverse again - that turns it into a 5-point turn and costs points. Commit to the forward direction once you are in drive.

7

Step 7: Practice in a Quiet Spot Before Doing It on a Real Road

4:50
Step 7: Step 7: Practice in a Quiet Spot Before Doing It on a Real Road

Find an empty residential street or a parking lot access road with no traffic and run through the full sequence five or ten times. Get the gear changes smooth - drive to reverse to drive, without grinding or hesitating. Get the steering input habitual - lock to lock, not halfway. Learn how your car responds at idle creep speed so you are not surprised on test day.

The 3-point turn is one of the slow-speed maneuvers most likely to fail a road test because there are six distinct actions and any one of them can drop points. Reps are the only fix. Once you have done it 20 times in an empty lot, doing it on the actual road test feels routine.

Tip

Practice in the same kind of car you will use for the road test if possible. Different cars have different turning radii, different sight lines, and different sensitivity at idle creep. The car you practice in is the car you should test in.

Products Used

Your Guide

Driving TV

As an Amazon Associate we earn from qualifying purchases. Links on this page may be affiliate links - clicking them and buying doesn't change your price, but helps support ShowMeStepByStep.

Tags

What's next

Related collections

Curated theme pages that include this tutorial.

Weekly Digest

Liked this adulting tutorial?

Pick the categories you want to hear about. Weekly digest of new step-by-step tutorials. No spam, easy unsubscribe.

Send me tutorials about

We only email about new tutorials. Easy unsubscribe anytime.