How to Clean a Coffee Grinder (Burr or Blade, 10 Minutes)

By ShowMeStepByStepPublished Updated

Based on a video by Baratza.

Your coffee tastes a little off lately. Bitter, flat, slightly stale even though the beans are fresh. The culprit is usually your grinder, not your beans. Coffee oils and stale grounds build up on the burrs over weeks of use, and every fresh batch picks up that rancid flavor on the way through.

The good news: a routine grinder clean takes about 10 minutes, costs nothing, and your next cup tastes like it should. This walkthrough follows Baratza's official cleaning demo on a conical burr grinder - the same process works on most home burr grinders (Encore, Virtuoso, Capresso, Bodum, you name it). If you have a blade grinder instead, skip to the rice trick at the bottom.

One firm rule before you start: never wash the burrs in water. They're high-carbon steel and they rust fast. Everything else - hopper, bin, gasket - is fine with warm soapy water. The burrs stay dry.

For more kitchen-appliance maintenance, see how to descale a Keurig with vinegar and how to clean a garbage disposal. Same idea: cheap, fast, makes a real difference in how the appliance performs.

Step-by-Step Guide

1

Step 1: Know When to Clean (and Grab the Brush)

0:50
Step 1: Step 1: Know When to Clean (and Grab the Brush)

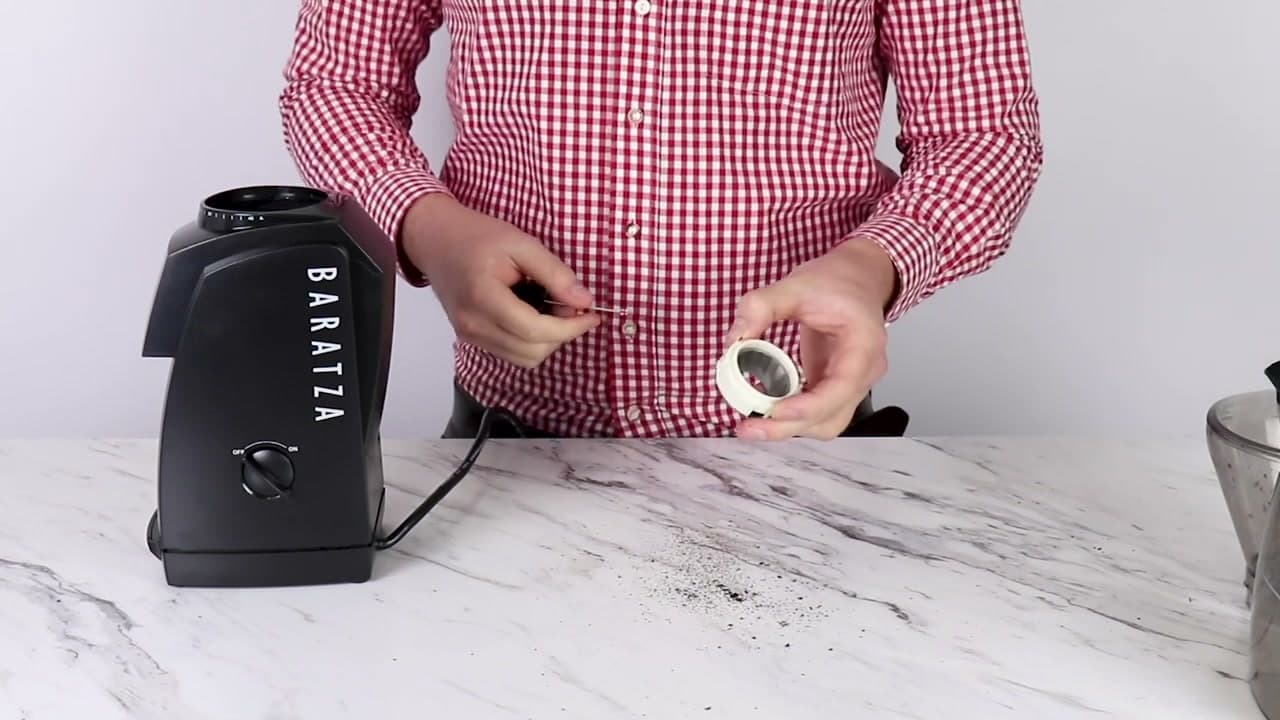
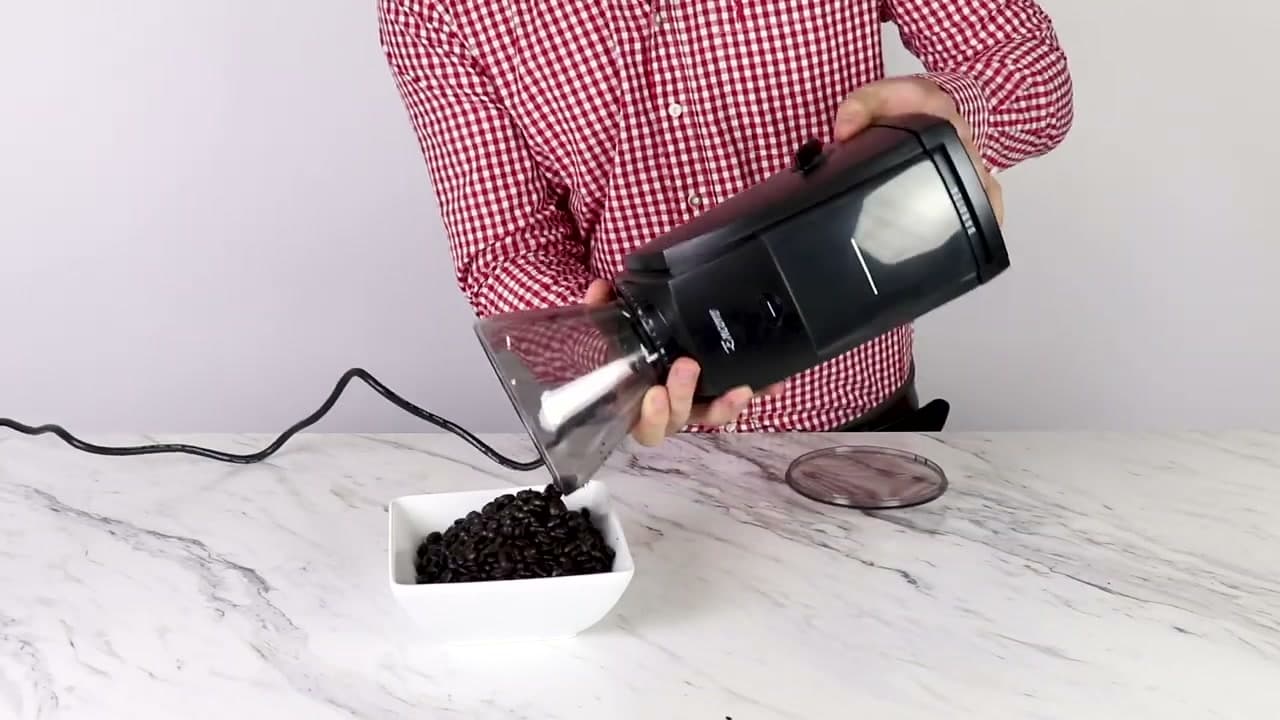
Dark roast coffee leaves a visible sheen of oil on every bean. That oil scrapes off on the burrs and builds up inside the grinder over weeks. If you brew dark roast, clean monthly. For light roast, clean when funky flavors start showing up in your cup - if a previous batch tasted stale, that flavor lingers until you brush it out.

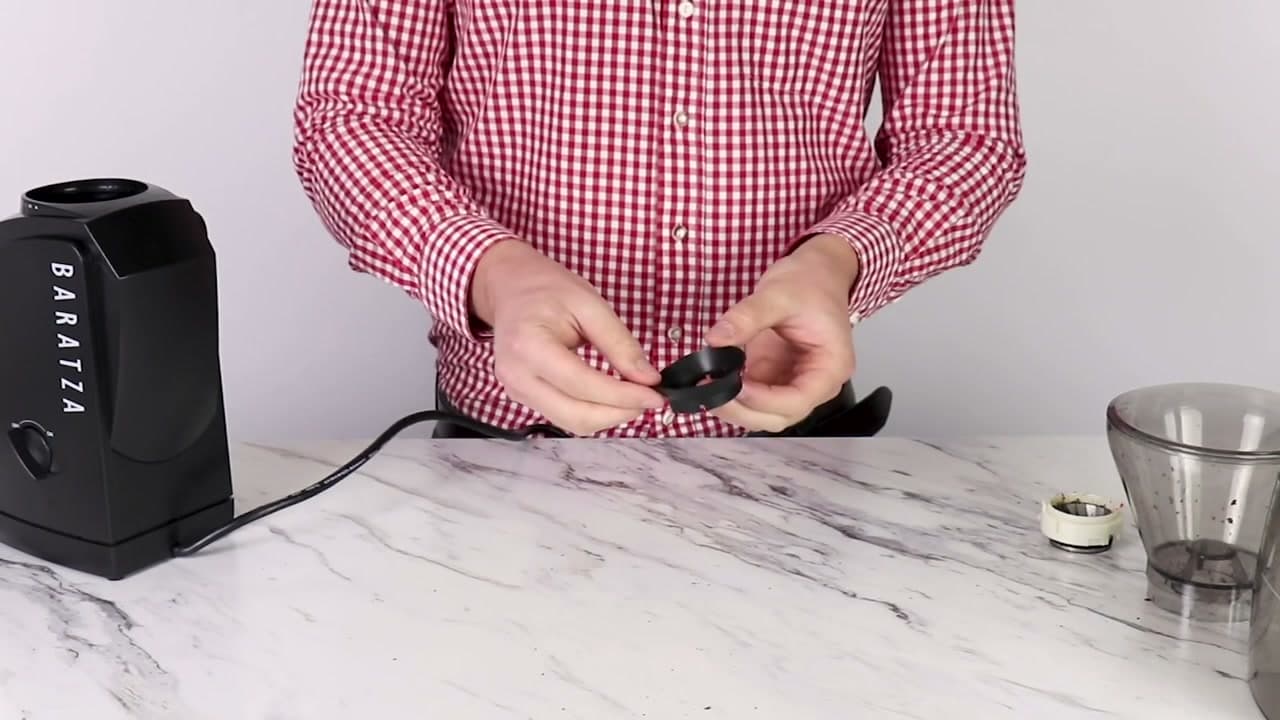
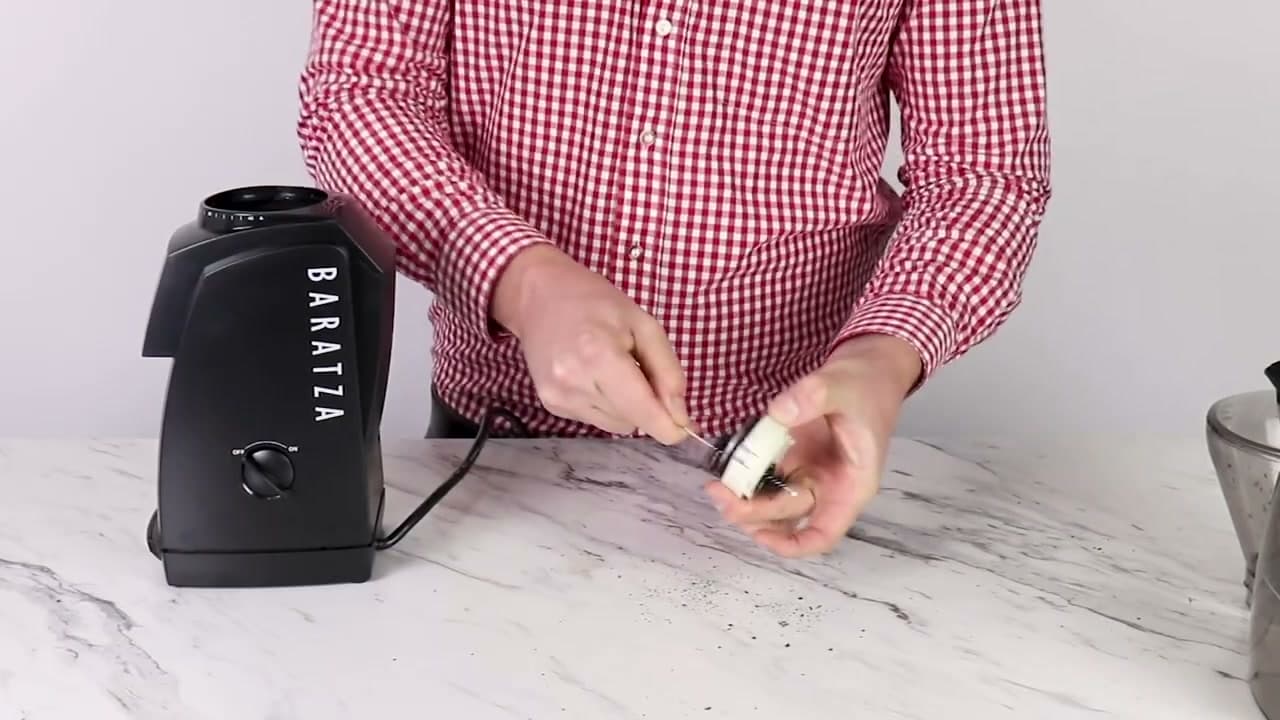
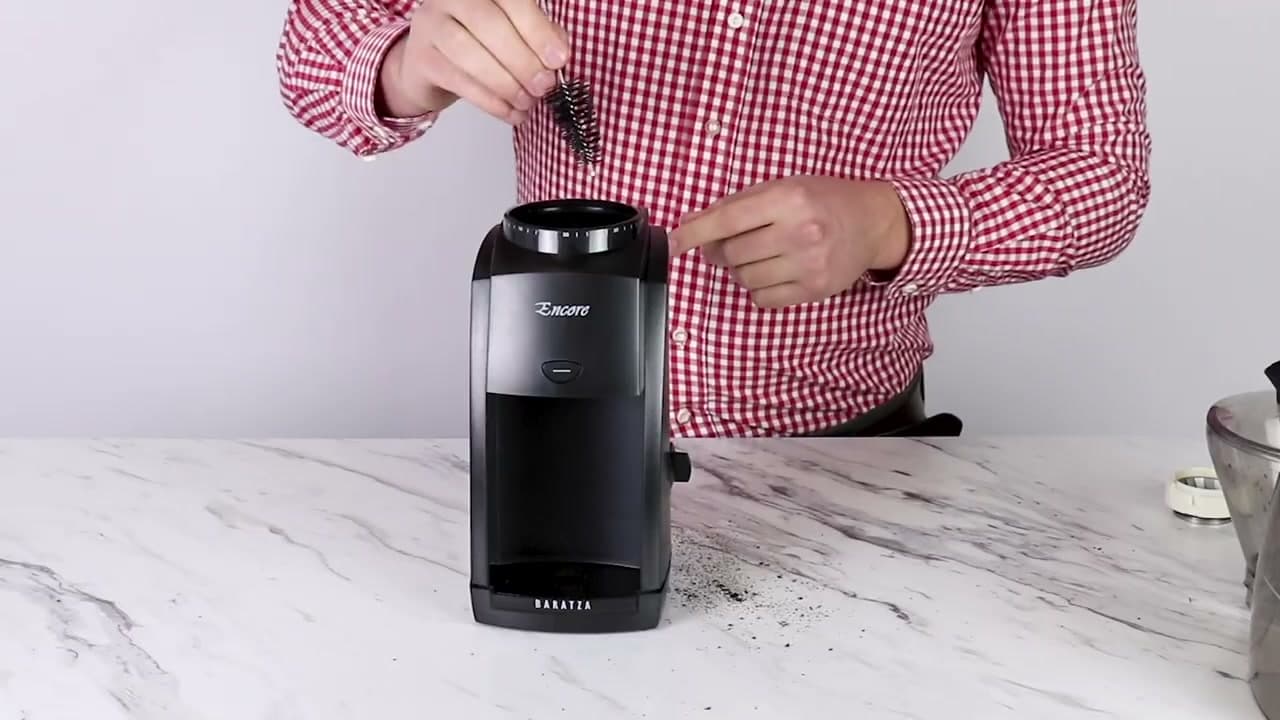
Grab the small cleaning brush that came with your grinder. If you've lost it, any soft-bristled brush works - a clean paint brush, an old toothbrush, or a dedicated grinder brush from Amazon for a few bucks.

Tip

Check your bean bag. If you see oily fingerprints on the outside of the beans, that grinder is going to need monthly cleaning, not quarterly.

2

Step 2: Empty the Hopper and Unplug

2:38
Step 2: Step 2: Empty the Hopper and Unplug

Grab a bowl. Tilt the grinder over the bowl and pour out all the whole beans in the hopper. Then turn the grinder on for a few seconds - any beans stuck between the burrs grind through and drop into the catch bin, so you start with everything empty.

Unplug the grinder from the wall before you take anything apart. The burrs are sharp and the motor doesn't know you're cleaning it.

Tip

Save the dumped beans in an airtight jar for tomorrow. Once they hit a bowl they're fine for another day or two.

3

Step 3: Disassemble the Grinder

3:08
Step 3: Step 3: Disassemble the Grinder

Slide the grounds bin out. Unscrew the bean hopper counterclockwise. On most conical burr grinders, you turn it until the grind setting indicator passes the highest number, then the hopper lifts straight off. Lift out the rubber gasket underneath.

Finally, lift the removable ring burr out by grabbing the two tabs on top - one of them is usually marked red. Set the burr aside on a dry towel. Now you can see the fixed cone burr at the bottom of the grinder.

Tip

If your grinder uses a screw-down burr instead of tabs, that's where the small Phillips screwdriver comes in. Loosen the screw, lift the burr out, and keep the screw somewhere safe.

4

Step 4: Wash the Hopper, Bin, and Gasket

3:45
Step 4: Step 4: Wash the Hopper, Bin, and Gasket

The hopper, lid, and grounds bin are plastic. Wash them by hand in warm soapy water with a sponge. Most are dishwasher-safe on the top rack if you'd rather, but hand-washing is faster.

The rubber gasket also gets warm soapy water - just be gentle. It's thin and it tears if you scrub it. Massage it with your fingers, rinse, and air dry or pat dry with a microfiber cloth before putting it back.

Tip

Dry every piece fully before reassembly. Trapped moisture against the burrs is the fastest way to rust them.

5

Step 5: Brush the Removable Ring Burr (Dry Only)

4:23
Step 5: Step 5: Brush the Removable Ring Burr (Dry Only)

Never put the burrs in water. They're high-carbon steel - durable, but they'll rust within hours if moisture gets in. Use the cleaning brush dry and work coffee grounds out of the fine teeth from both sides.

Hold the burr over the sink or a piece of paper to catch the flakes of old coffee that come out. Keep brushing until the teeth are free of caked-on grounds and the burr looks like new metal again. Don't rush - the fine teeth trap the most oil and that's the part that's been making your coffee taste off.

Tip

If brushing doesn't remove everything, a few seconds with compressed air (the kind you use for keyboards) blows the rest of the grounds out without introducing moisture.

6

Step 6: Brush the Fixed Cone Burr

5:08
Step 6: Step 6: Brush the Fixed Cone Burr

The cone burr stays attached to the grinder body - you can't lift it out without tools. Brush it dry, working up and down the cone first, then around it in a circle to get into the grooves.

Turn the grinder upside down over the sink or a sheet of paper and tap the body to knock loose grounds free. Finish by pushing the brush up through the chute from the bottom (the opening where ground coffee exits into the bin). That's where oil and fines accumulate worst, and a clogged chute is what makes a grinder feel slow.

Tip

If the chute is really packed, a wooden chopstick or skewer works to dig out compacted grounds without scratching the metal.

7

Step 7: Drop the Ring Burr Back In

6:20
Step 7: Step 7: Drop the Ring Burr Back In

Put the ring burr back into the grinder. The red tab on the burr lines up with the red mark inside the grinder body, usually near the 30 grind setting on a Baratza. Other brands have similar alignment marks - look for a colored dot, arrow, or notch inside the burr housing.

The burr won't snap or click into place. It settles in and feels right when it's lined up correctly. Once seated, it shouldn't rotate more than a few degrees in either direction. If it spins freely, lift it out and try again.

Tip

If the burr won't seat, double-check that you brushed grounds out of the burr seat itself. A single bean fragment is enough to keep it from sitting flush.

8

Step 8: Reassemble the Gasket, Hopper, and Bin

7:05
Step 8: Step 8: Reassemble the Gasket, Hopper, and Bin

Place the rubber gasket on top of the ring burr. Two notches on the gasket line up with the red and white tabs underneath - it only sits down a couple of millimeters, that's normal.

Set the bean hopper on next. The hopper has two tabs on the bottom, one tall and skinny, one short and wide. The tall skinny one (often with a silver line) lines up near the 40 grind mark. Press down gently and rotate clockwise to lock it in. Slide the grounds bin back into position, plug the grinder back into the wall, and you're done. Pour your beans back in and grind a small test batch to flush any loose particles from the chute.

Tip

The first grind after cleaning may look a little inconsistent. Run a tablespoon of beans through and discard - the next batch will be clean.

Products Used

☐ The Checklist

How to Clean a Coffee Grinder (Burr or Blade, 10 Minutes)

Tools
4
Materials
4
Steps
8
Video
8 min

Your Guide

Baratza

As an Amazon Associate we earn from qualifying purchases. Links on this page may be affiliate links - clicking them and buying doesn't change your price, but helps support ShowMeStepByStep.

Tags

Test your knowledge

Did the lesson stick? Find out in 2 minutes.

5 quick questions covering what you just read. No signup, no score saved — just a gut check.

Quick reference

Key takeaways from How to Clean a Coffee Grinder (Burr or Blade, 10 Minutes)

5 questions, answers, and one-line explanations. Tap to expand.

  1. 1.What is the very first thing to do before cleaning a coffee grinder?

    Answer: Empty the hopper and unplug the grinder

    Unplugging first prevents accidental startup. Emptying the hopper gives you clear access to all parts.

  2. 2.Why must the burrs be cleaned dry with no water?

    Answer: Moisture can damage the burrs and cause grounds to clump later

    Even a little moisture left on burrs gets absorbed by the next grind, causing uneven extraction and musty flavors.

  3. 3.Which parts of a burr grinder can be washed with water?

    Answer: The hopper, grounds bin, and gasket

    The hopper, bin, and gasket are plastic or silicone and handle a soap-and-water wash. Just dry thoroughly before reassembly.

  4. 4.What tool is used to clean the burrs?

    Answer: A stiff-bristled cleaning brush

    A dry brush is stiff enough to dislodge compacted grounds without introducing moisture or scratching burr surfaces.

  5. 5.In what order should you reassemble the grinder after cleaning?

    Answer: Ring burr, then gasket, then hopper, then grounds bin

    The ring burr seats first inside the grinder body. The gasket seals it. The hopper locks on top and the grounds bin clips below.

What's next

Related collections

Curated theme pages that include this tutorial.

Weekly Digest

Liked this adulting tutorial?

Pick the categories you want to hear about. Weekly digest of new step-by-step tutorials. No spam, easy unsubscribe.

Send me tutorials about

We only email about new tutorials. Easy unsubscribe anytime.