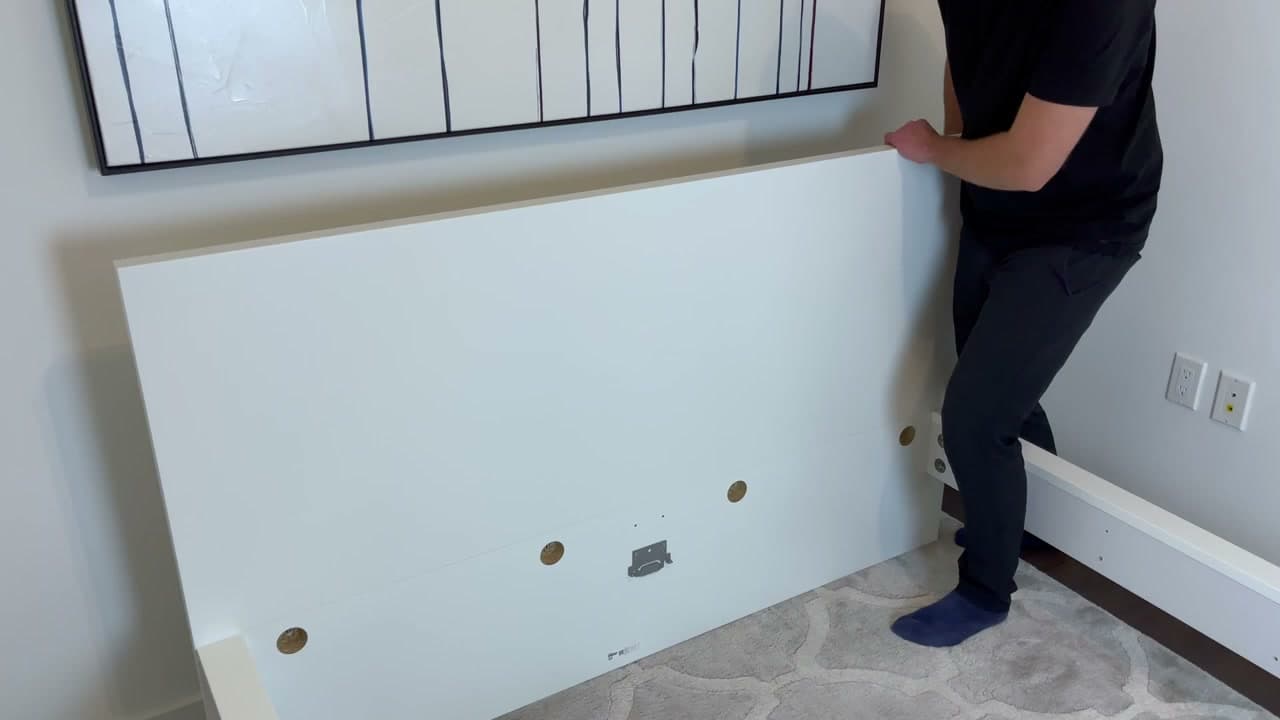
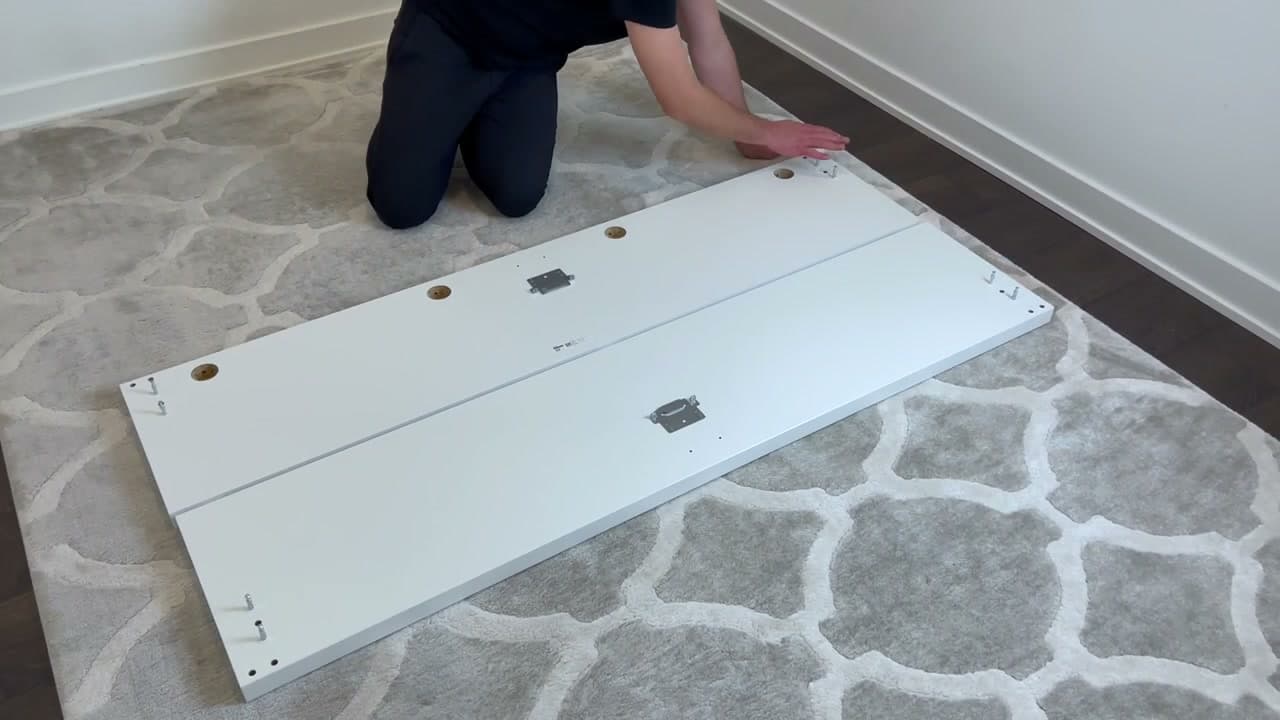
Bed frames are the worst piece of furniture to move. They're long, awkward, and held together by a dozen different fasteners that all need to come out in the right order. Do it right and the frame collapses into four flat panels and a baggie of screws. Do it wrong and you'll be carrying a 7-foot-long L-shaped chunk down a stairwell.
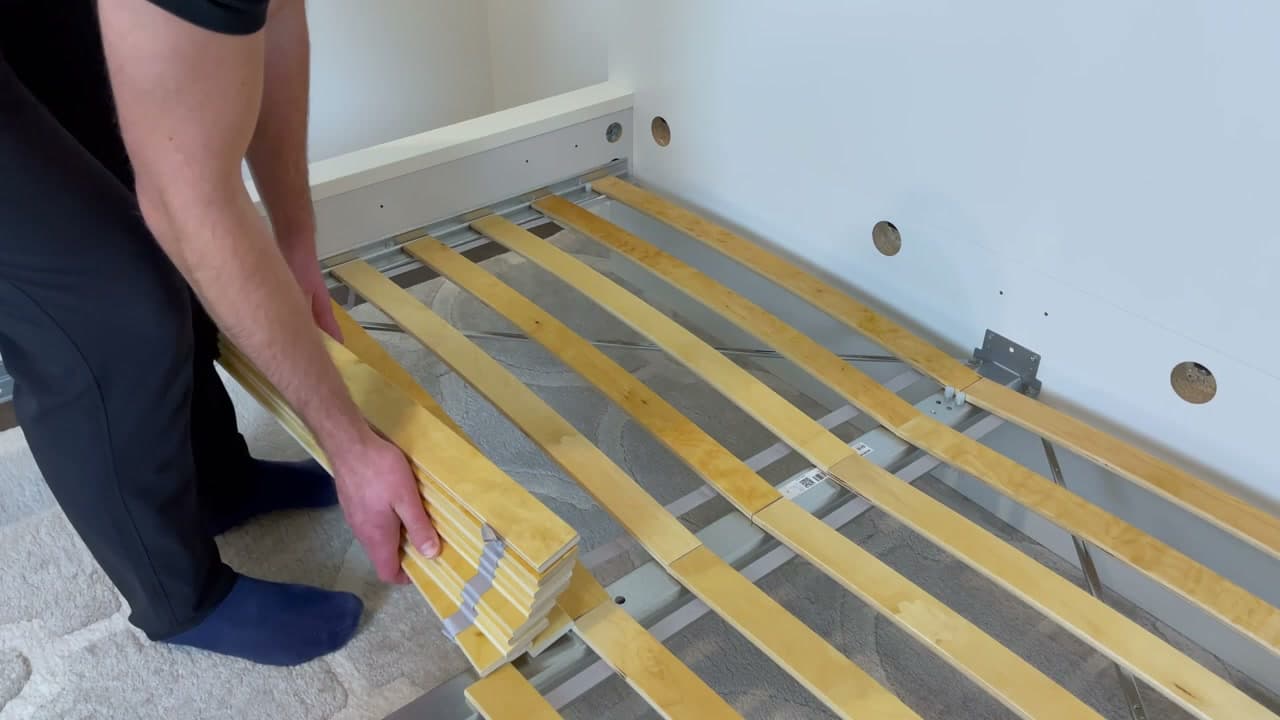
We'll use an IKEA MALM as the example, but the same process works for most platform and panel beds. The fasteners differ from brand to brand (mostly cam-locks, sometimes lag bolts), but the order is the same every time: slats first, then the metal rails that hold the slats, then the long side rails, then the headboard and footboard, and finally any cam-locks on the corner joints.
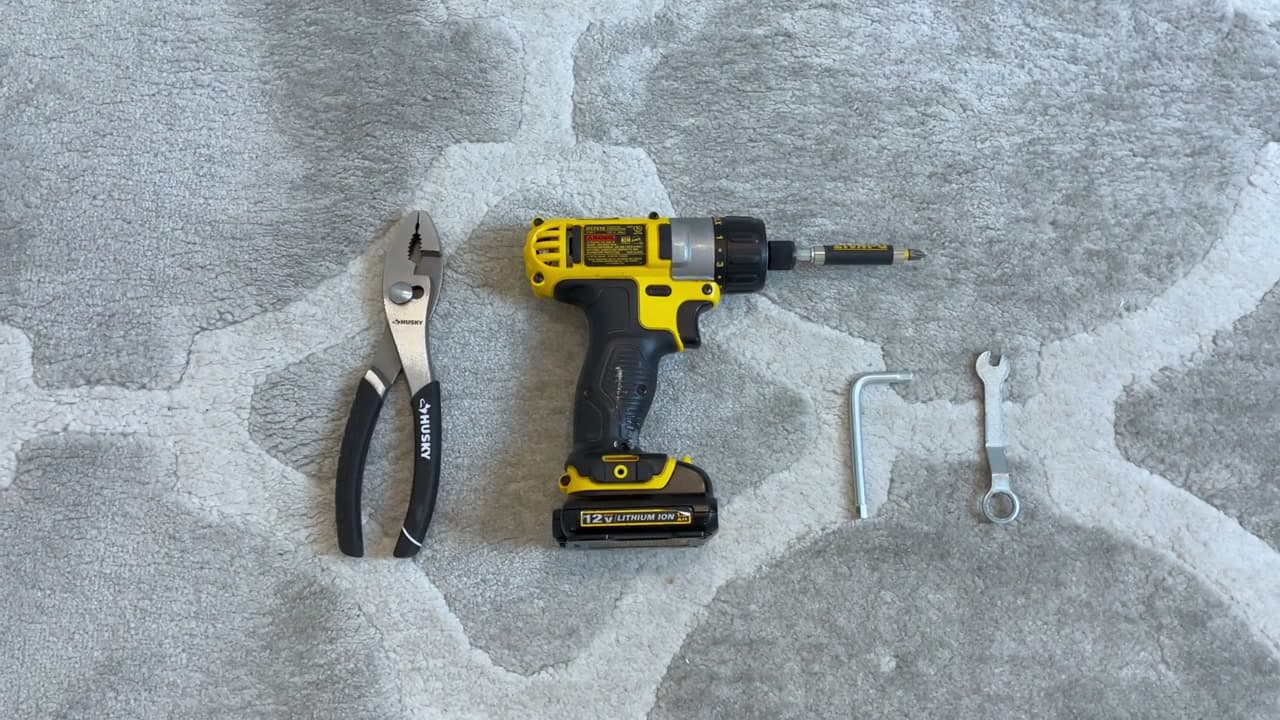
Allow about an hour for a queen frame. You'll want a drill driver, an Allen wrench, slip-joint pliers, and a few ziploc bags. Once you've got the headboard off the wall and the slats out, the rest of the disassembly is mostly turning the same Allen wrench at four corners.
Moving a whole apartment? See also: how to move, how to forward your mail, and how to update your driver's license address.
Taking Apart a Metal Bed Frame
Metal frames come apart faster than wood ones. Most have side rails that hook or bolt into the head and foot, plus a center support bar with legs. Lift each rail up and off its hooks, or back out the bolts with a socket wrench. The center bar usually just lifts free once the rails are off. Keep the two rails paired with their bolts so you know which end is which when you set the bed back up.
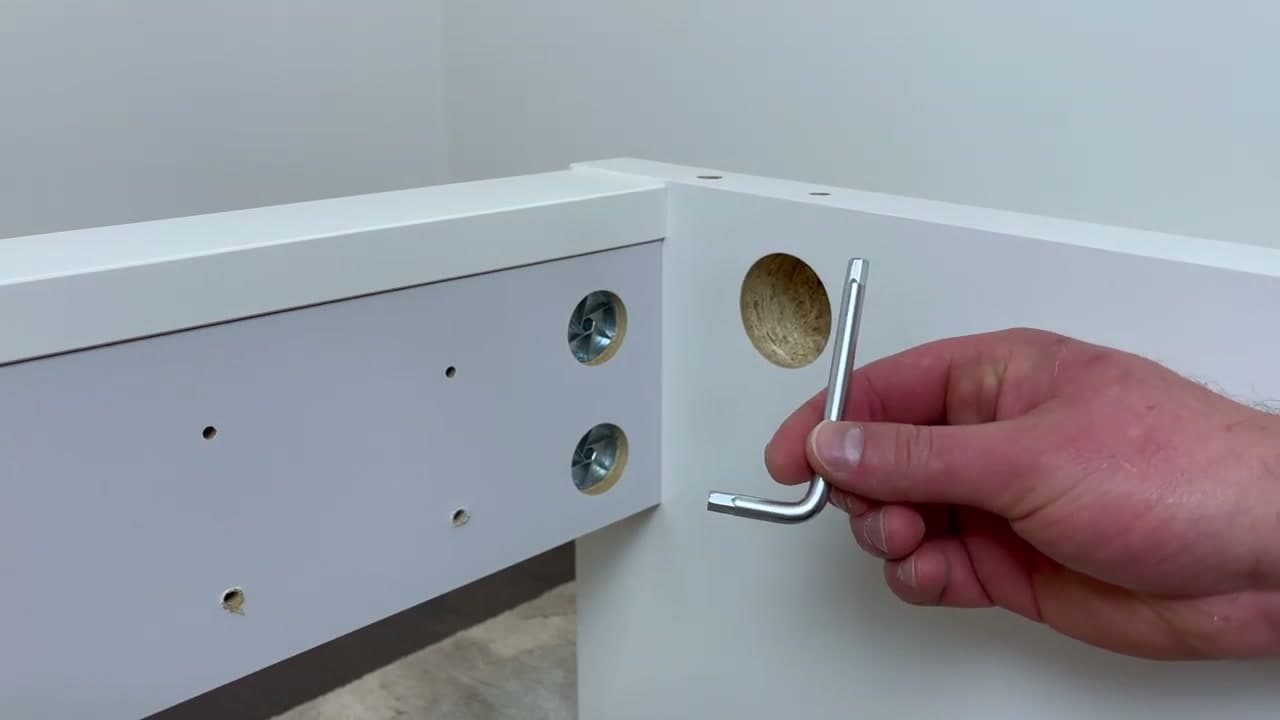
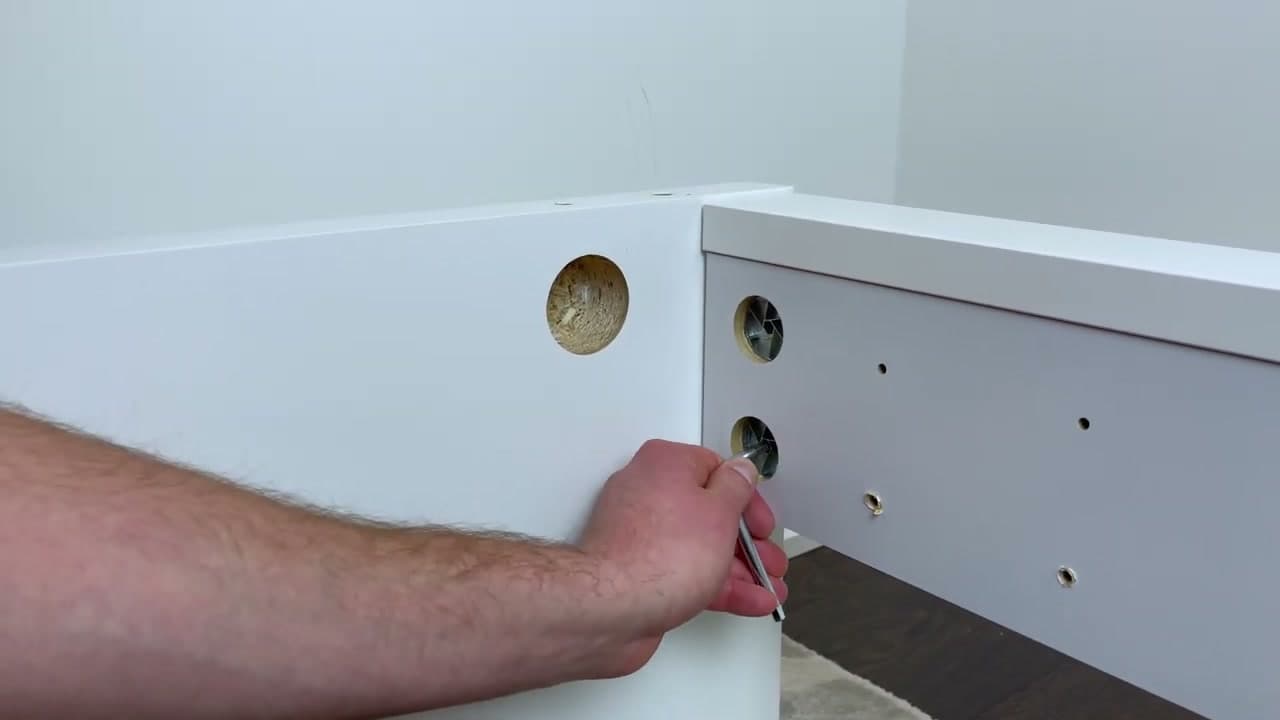
Disassembling an IKEA Bed Frame
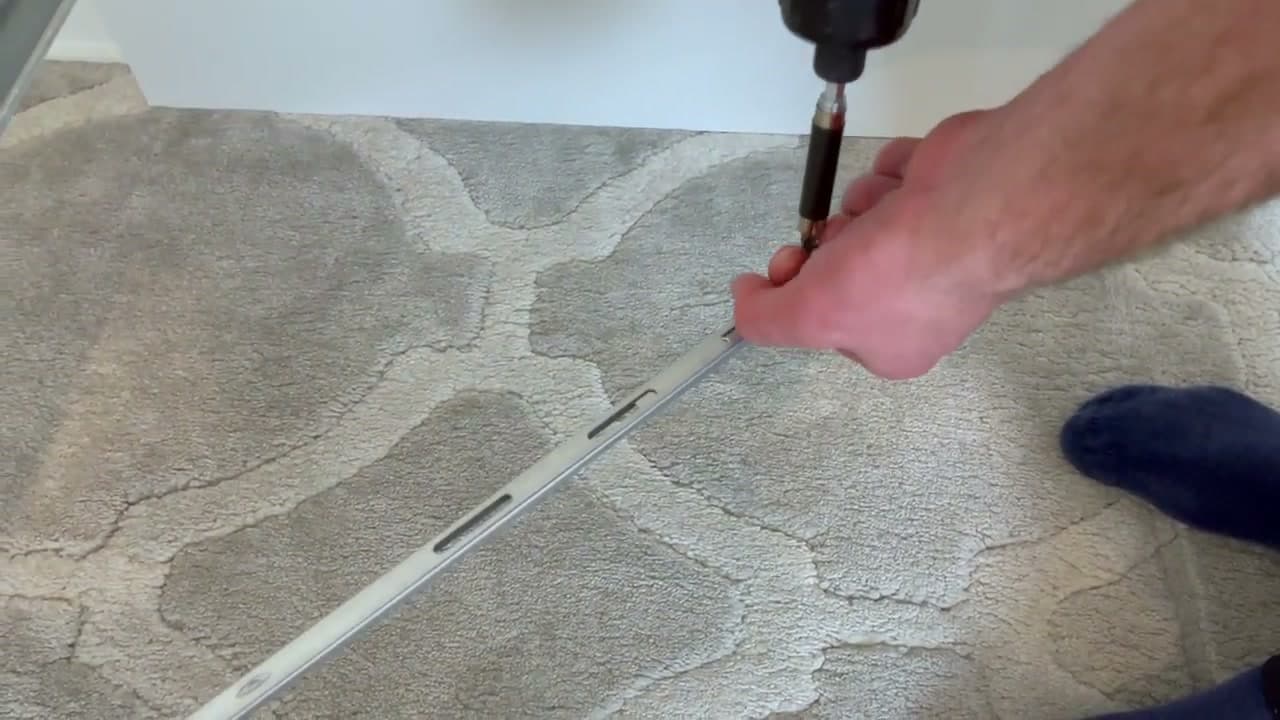
IKEA frames (Malm, Hemnes, Brimnes and the rest) use cam-lock fittings and hex bolts, so an Allen wrench does most of the work. Turn each cam-lock a half turn to release it, then back out the long hex bolts that hold the rails to the head and footboard. Drop every cam and screw into one bag and tape it to the headboard. Losing IKEA hardware means a trip to the store, since the sizes are their own.