The first time you thread a sewing machine, the path looks like a maze. Wires, slots, levers, a take-up arm that moves on its own. Miss one guide and the machine stitches loose loops or jams the needle.
Jann Newton from Newton Custom Interiors walks through it on a Singer Heavy Duty in this video, top thread and bobbin both.
Putting thread in a sewing machine is one continuous route with six or seven contact points. Miss the tension disks and it still runs, which is why the fault is so hard to spot. New to the machine? How to use a sewing machine covers the controls, hemming pants is the natural first project, and sewing a button by hand or sewing by hand covers what needs no machine at all.
What you need
- Your machine and its manual, or the diagram on the body
- All-purpose polyester thread
- A bobbin that fits your machine. Bobbins are not universal
- Scissors, and tweezers if the needle eye fights you
Threading a Singer or Brother sewing machine
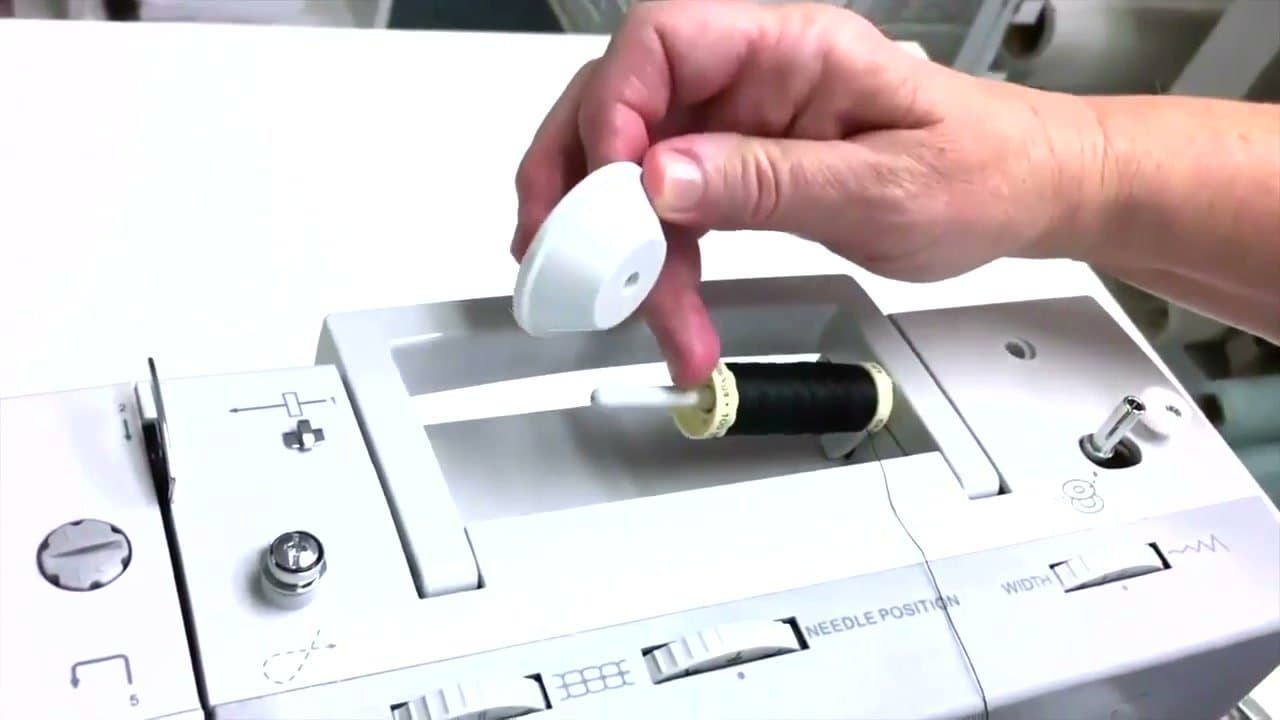
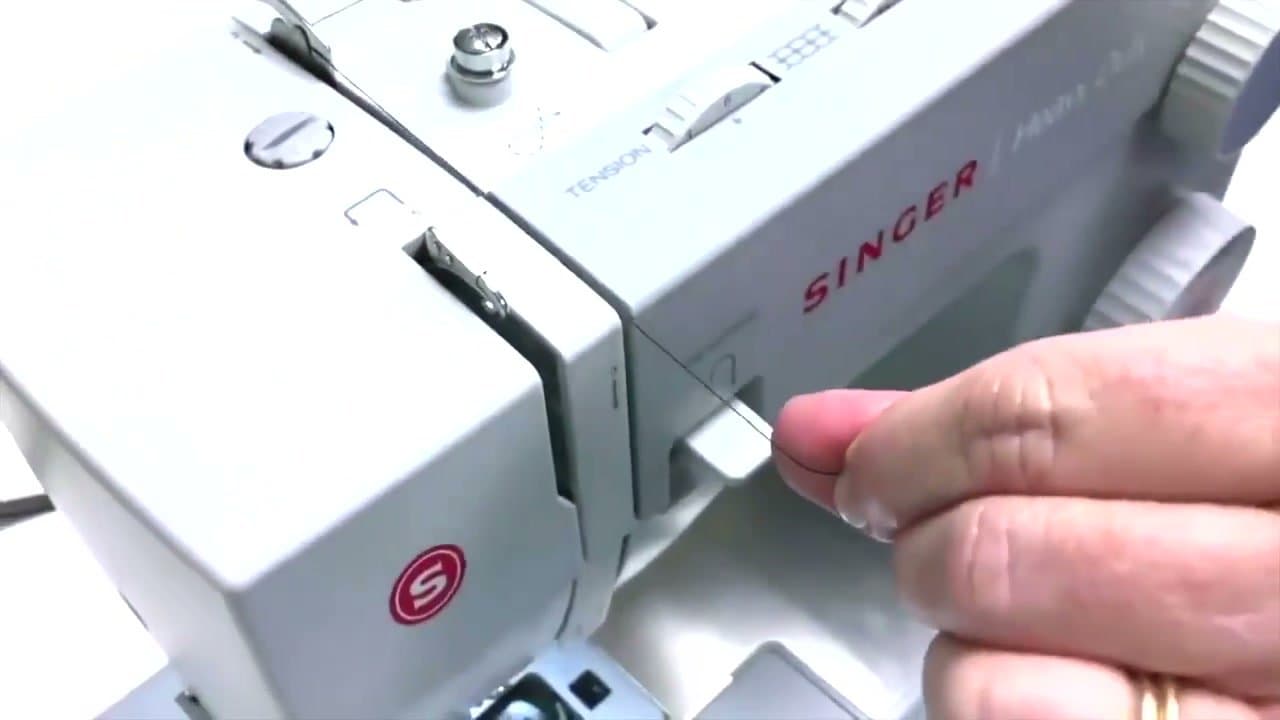
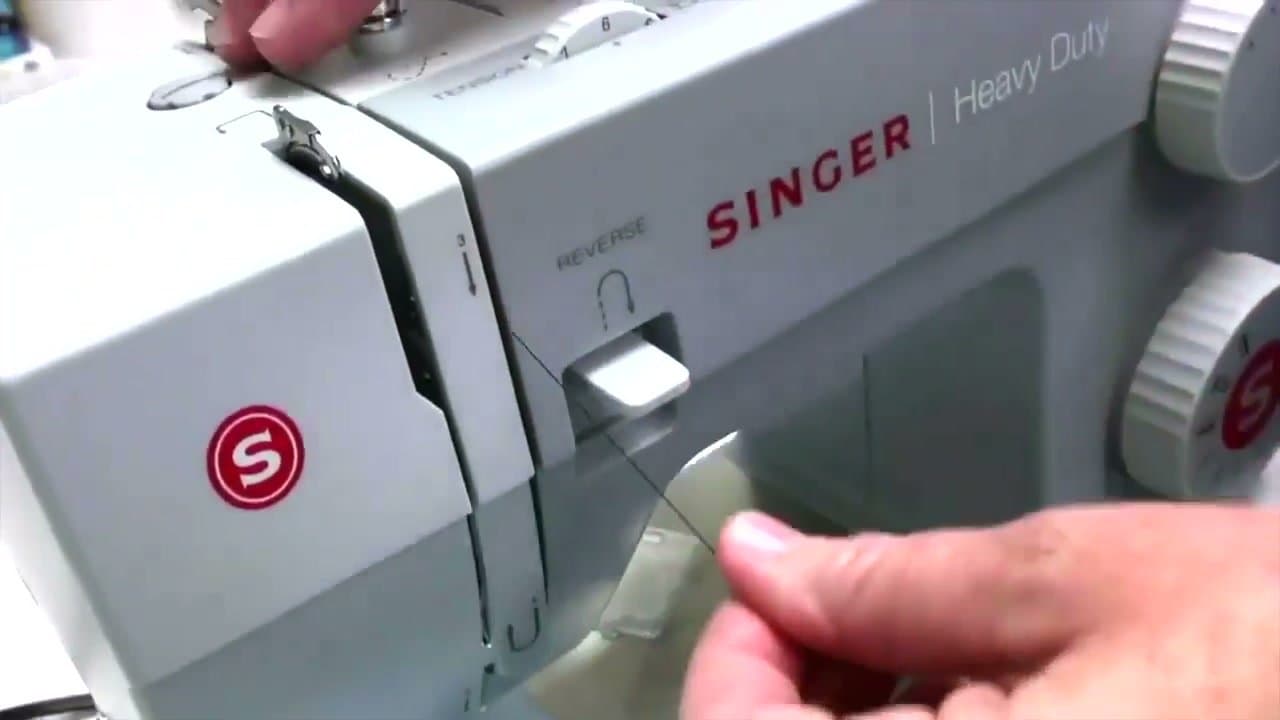
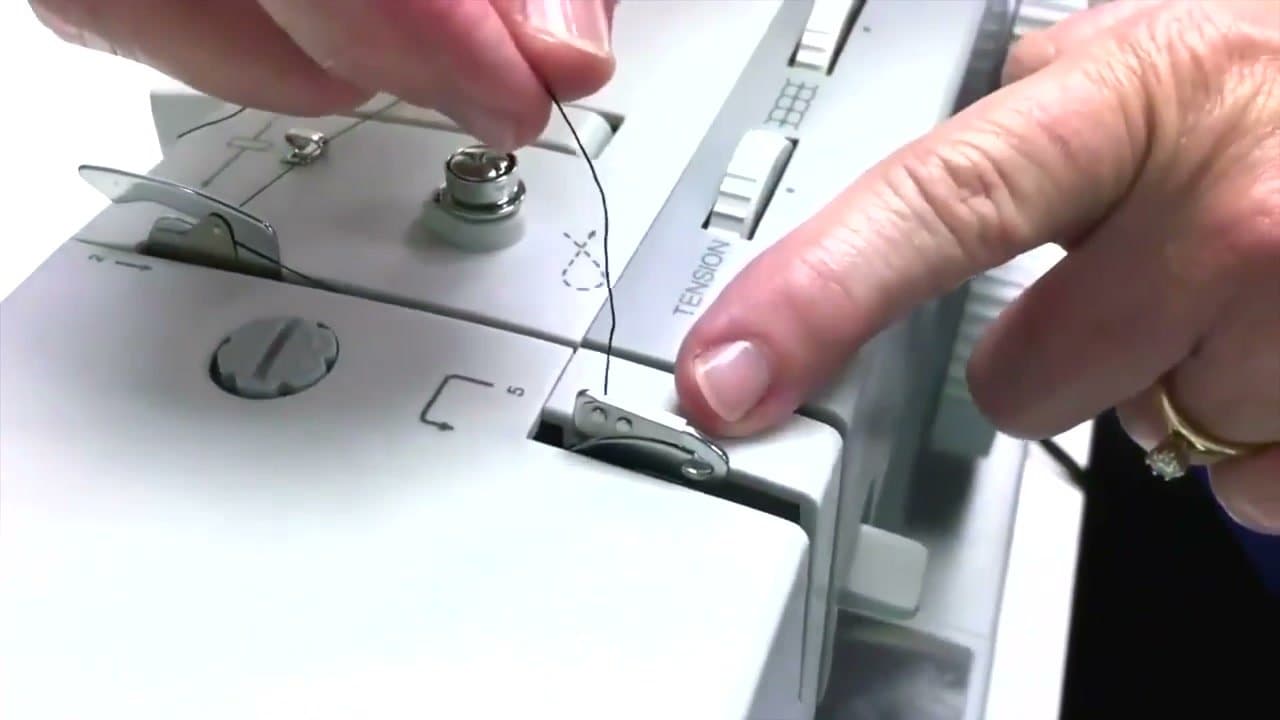
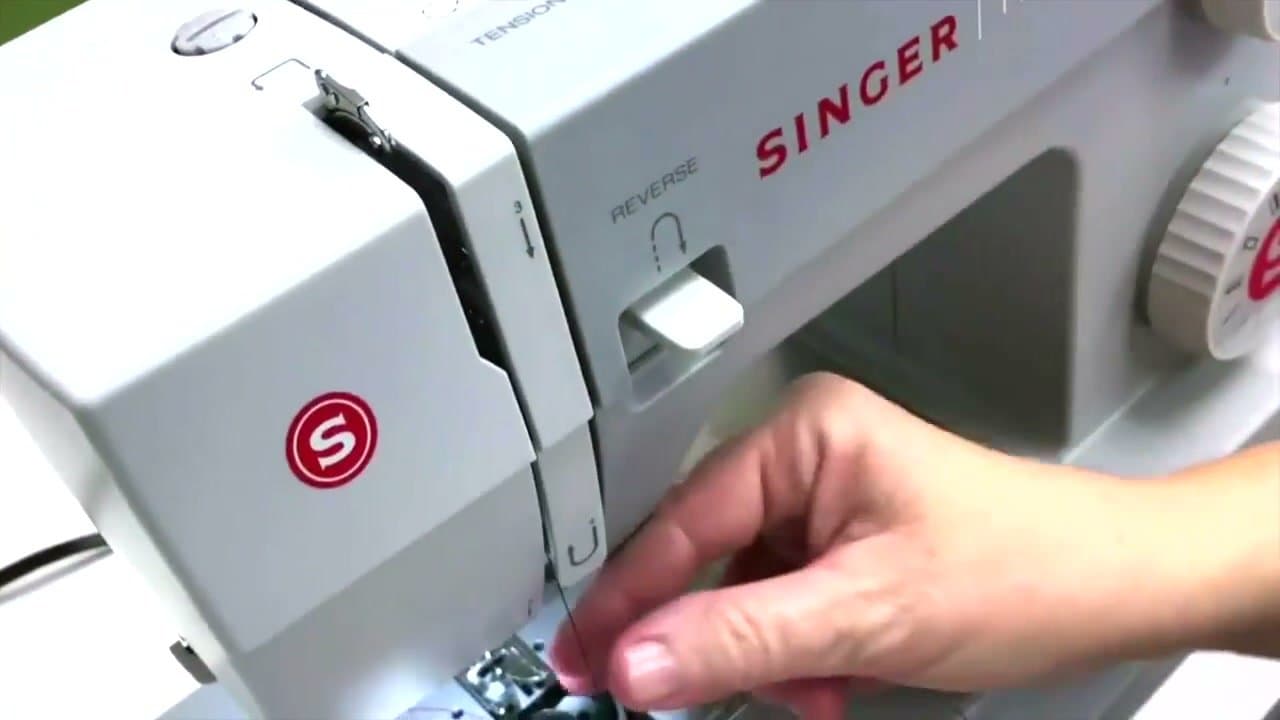
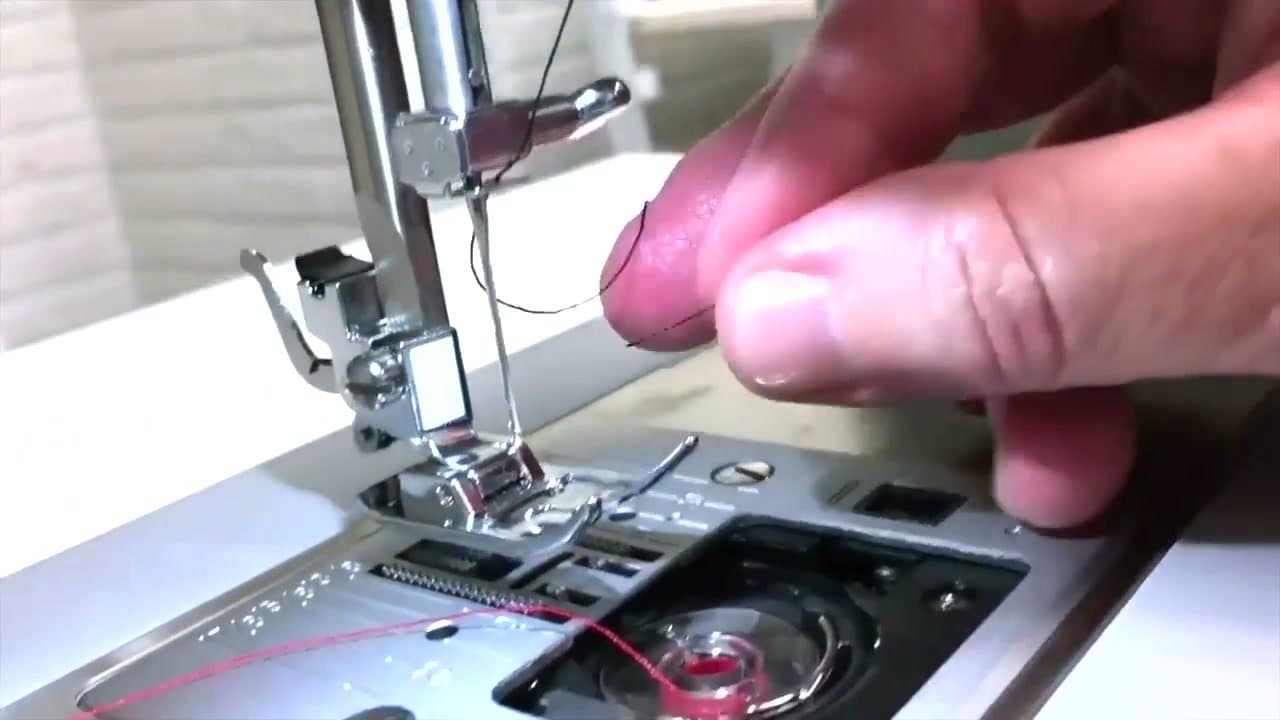
Singer and Brother are the names people search by, and the top thread path is close to identical on both, and on Kenmore and Janome. Spool pin, upper guide, down the right-hand slot, U-turn at the bottom, back up the left slot, into the take-up lever, down the needle bar guide, through the eye front to back.
Almost every machine has that route printed on its body, numbered 1 through 6 or 7. Follow your machine's numbers ahead of any video, this one included. Two things change model to model:
- The take-up lever. Some stand in the open so you hook the thread over. Others sit behind a slotted guard, and you push the thread in until it snaps.
- The bobbin. Drop-in from the top, or front-load in a case behind a door. Not a brand split - Singer and Brother sell both.
Winding and putting in the bobbin
The bobbin carries the underside of every stitch, so it has to be wound and seated before the top thread does anything. Run thread through the small winder guide, wrap it round the empty bobbin a few turns, push bobbin and spindle right until they click, then run the pedal. Our bobbin winding guide covers that half.
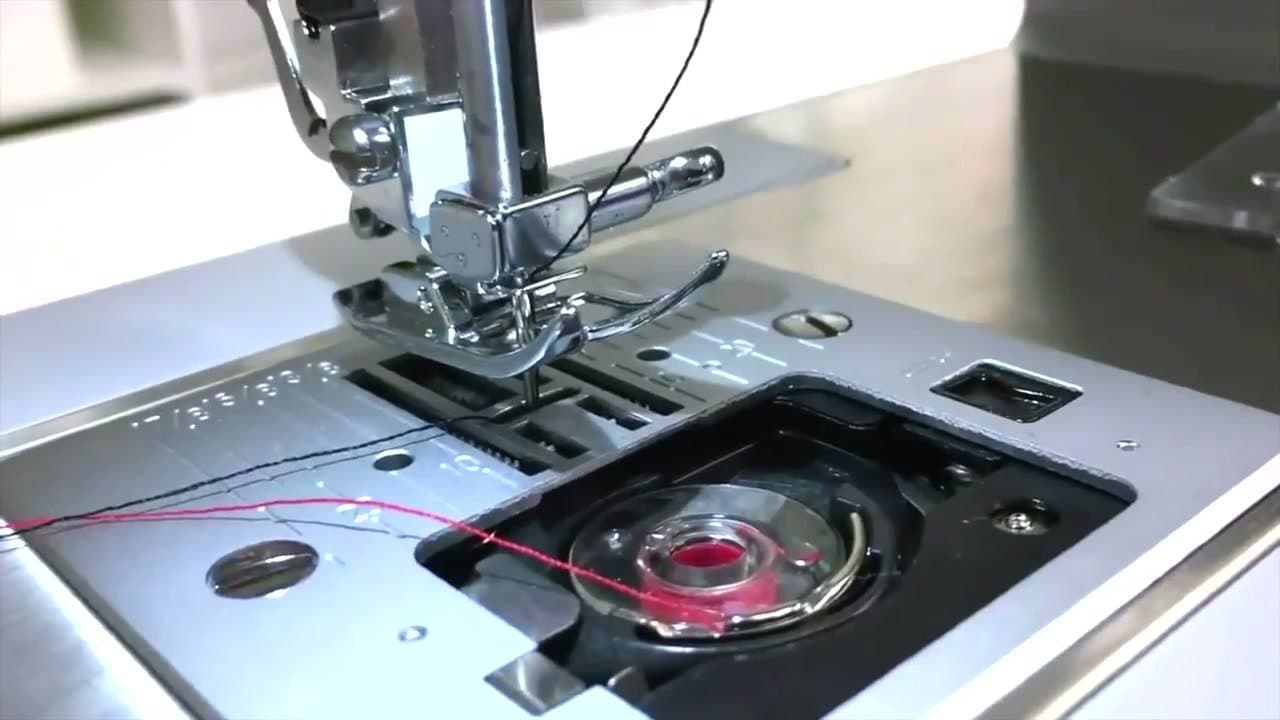
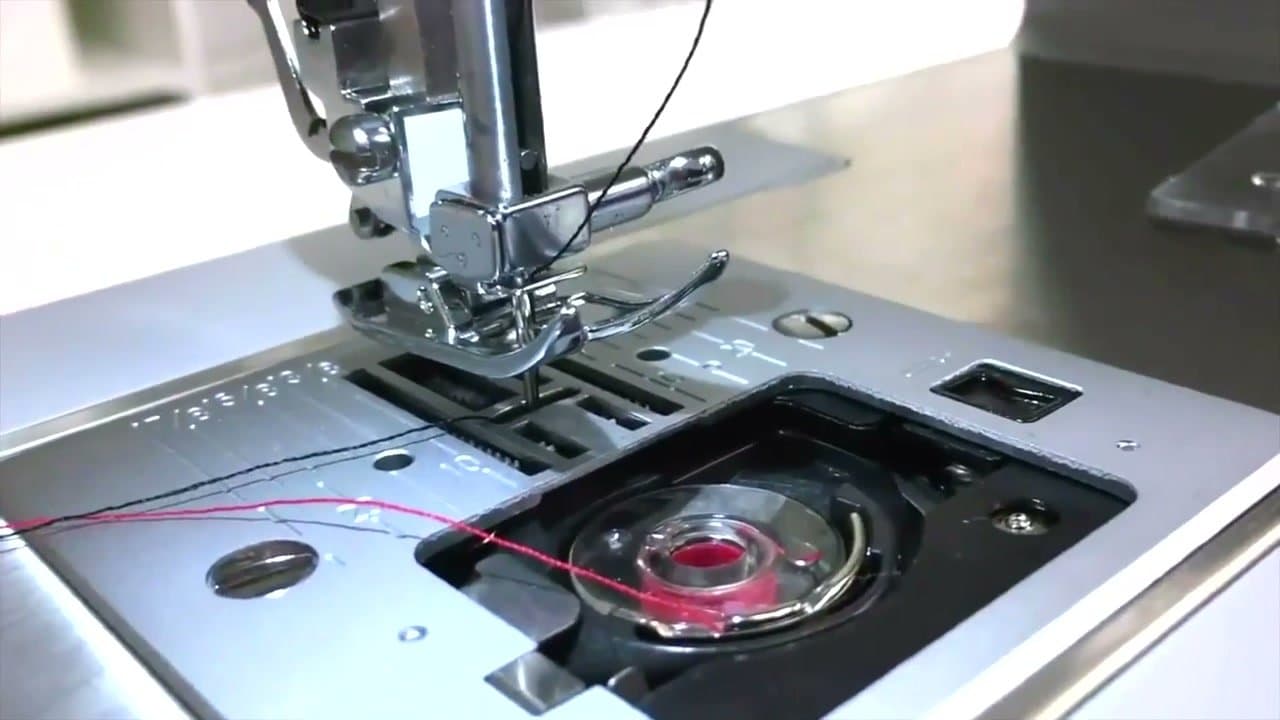
A drop-in bobbin sits under the clear cover, unwinding the way the diagram beside the opening shows. A front-load goes into a metal case: through the slit in the rim, under the flat tension spring until you feel it grip, then back on its post, latch in the notch.
Threading the needle
By hand, snip the end fresh at an angle, keep the tail short, and push it through the eye front to back. A white scrap of paper behind the needle makes the eye much easier to see.
The automatic threader is the part beginners break. Needle at its highest point, presser foot down, then lower the threader slowly and let the hook swing through the eye. Lay the thread across the guide and release. Force the lever at the wrong needle height and the hook bends, and a bent one never catches the eye.
When the stitches go wrong
A nest of thread under the fabric looks like a bobbin fault and almost never is. Loops underneath mean the top thread is not seated between the tension disks. Raise the presser foot and rethread from the spool down. Raising the foot opens the disks so the thread drops between them instead of riding over the outside, which is why a machine threaded with the foot down still nests.
- Skipped stitches. Usually the needle - blunt, bent, in backwards, or wrong for the fabric.
- Thread snapping. Caught under the spool cap, tension too high, or old brittle thread.
- Bobbin thread will not come up. The bobbin is in backwards. Reseat it the way the diagram shows.
- Bobbin thread showing on top. Top tension is too tight. Drop the dial a number at a time.