Zippers stop a lot of beginner sewers in their tracks. They look complicated, the foot is different, and most videos show one method on one specific project. The good news: there are two ways to install a basic zipper, and once you've done each one, you can put a zipper in almost anything.
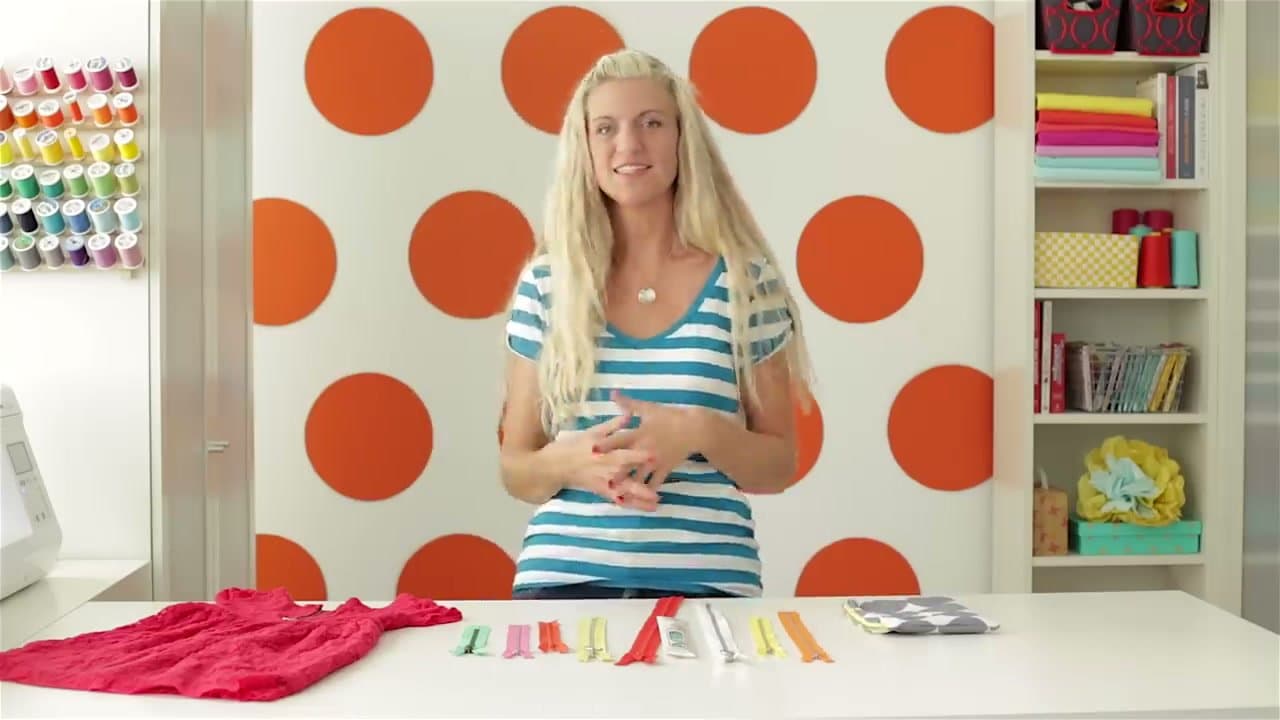
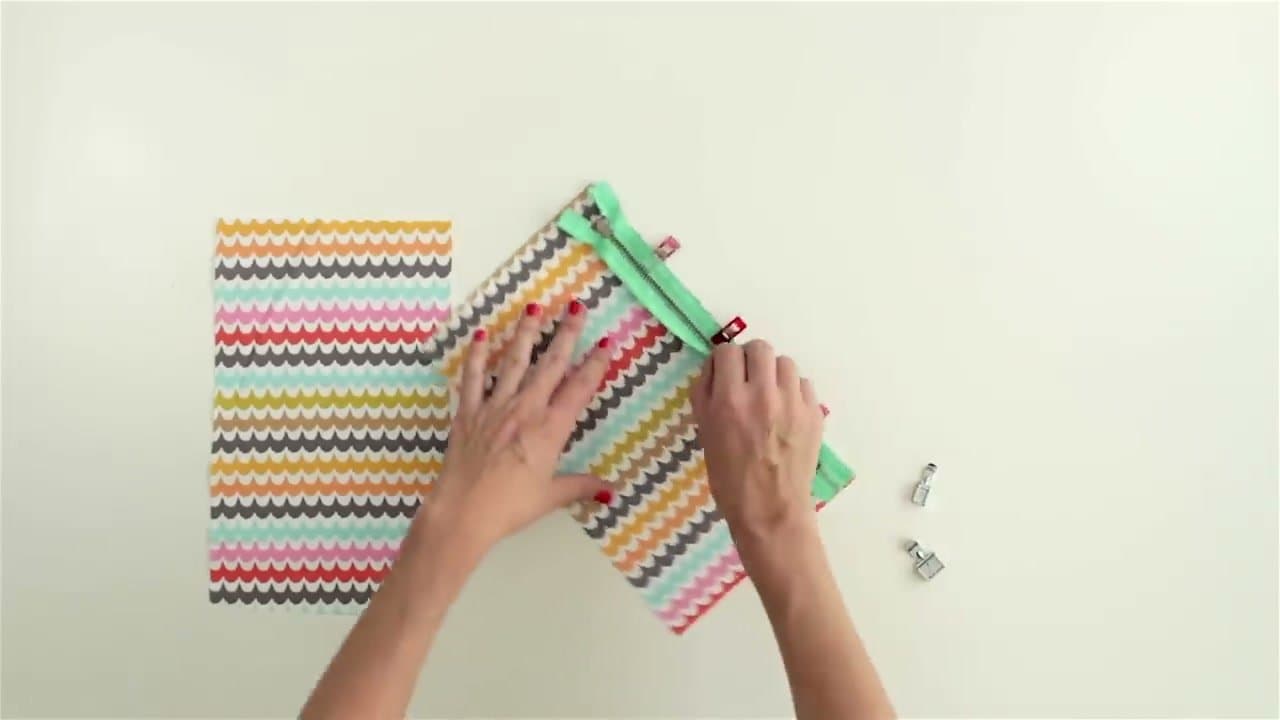
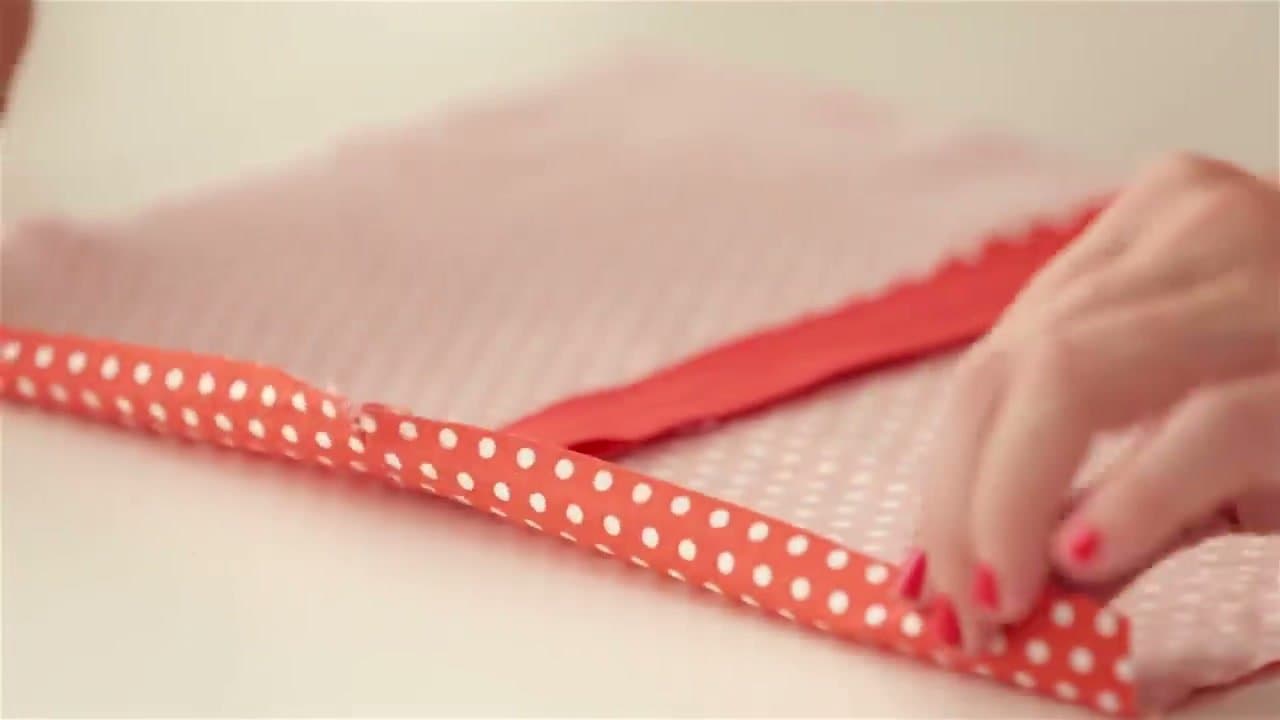
This walkthrough from MADE Everyday's Dana Willard covers both methods on plain fabric panels, so you can practice before committing to a real project. Method 1 is the exposed zipper used in pouches and bags. Method 2 is the concealed zipper used in the back of a skirt or dress.
A zipper is a seam with hardware in it. If the needle work itself is the unfamiliar part, how to sew by hand covers threading, the tailor's knot, the backstitch and how to tie off so it holds.
Which zipper to buy
| Type | Good for | Foot |
|---|
| Coil (nylon) | Pouches, pillows, skirts. Flexible, irons at low heat, cuts with scissors. | Zipper foot |
| Metal | Jeans, jackets, heavy bags. Strong, but keep the iron and the needle off the teeth. | Zipper foot |
| Invisible | Dresses and fitted skirts where you want no stitching on show. | Invisible zipper foot |
Shortening a zipper that is too long
Coil zippers are easy. Mark the length you need, then zigzag back and forth across the teeth at that mark with the stitch width wide and the length near zero. That bar tack is your new stop. Cut half an inch below it. A few hand whipstitches over the teeth do the same job.
Metal teeth will break a needle, so buy the right length or pull the extra teeth off the top with pliers and add new stops. For a first project, coil saves you the trouble.
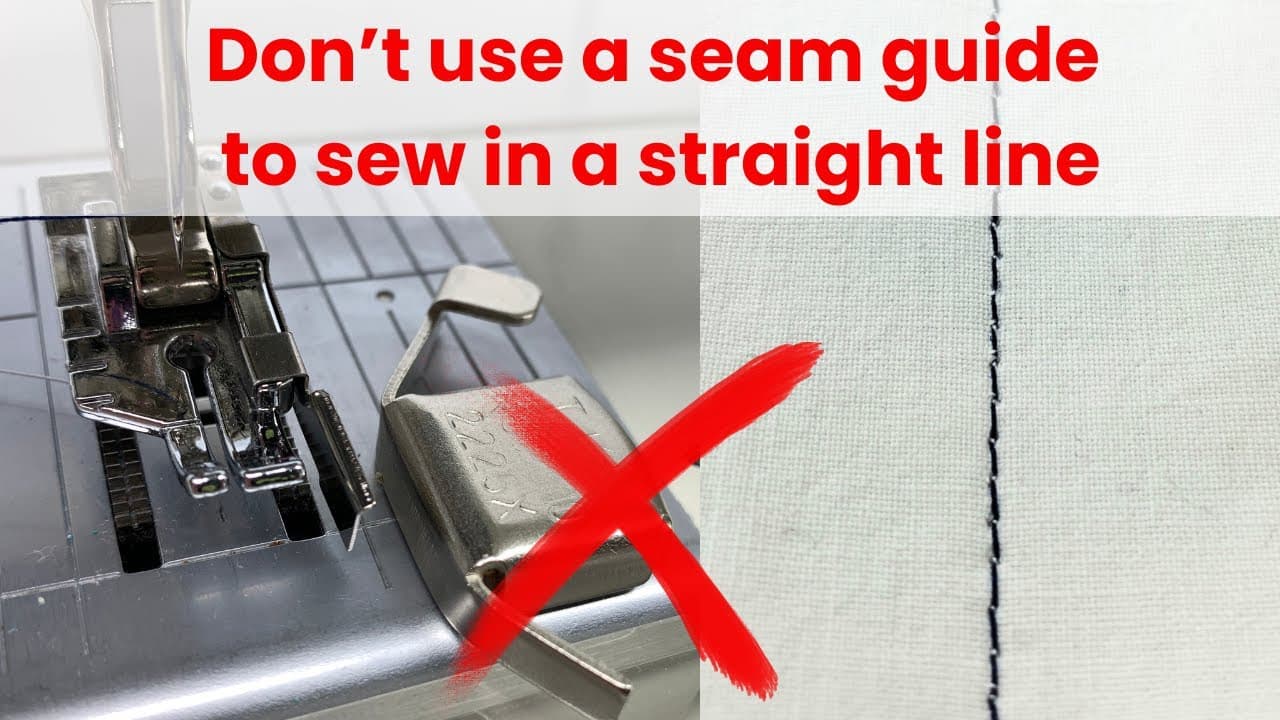
Keeping the stitching straight
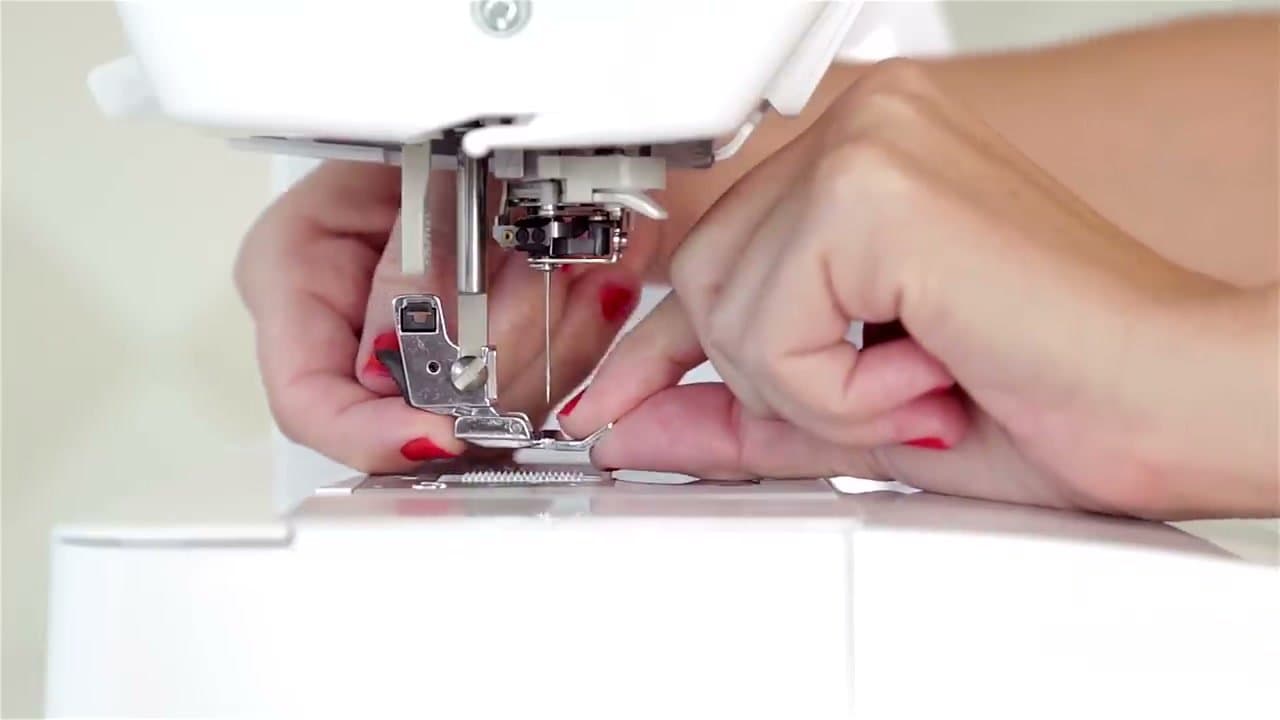
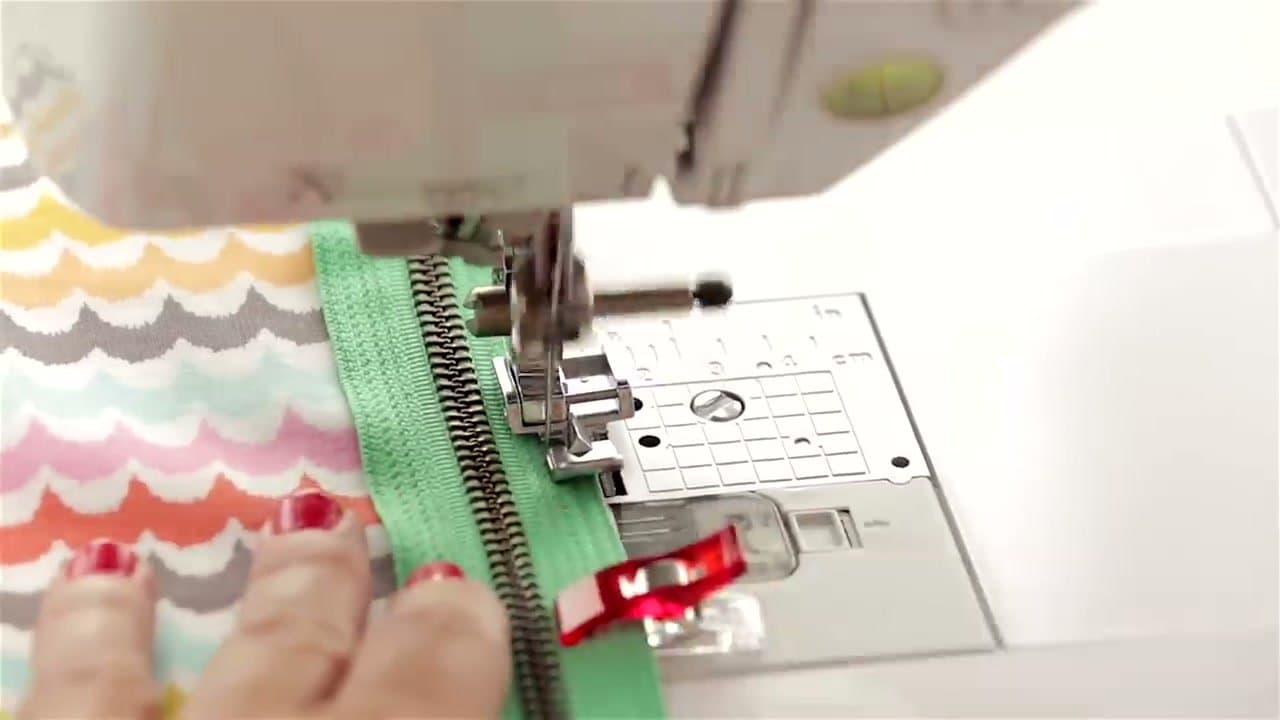
Wavy zipper lines almost always come from the tape creeping while you sew. Hold it still before the needle ever touches it. Wonder clips work well on pouches. On a garment, hand baste the tape down with long running stitches, or run a thin line of washable glue stick along the tape and finger press it in place. Line the edge of the zipper foot up against the teeth and watch that edge, not the needle.
Sewing past the zipper pull
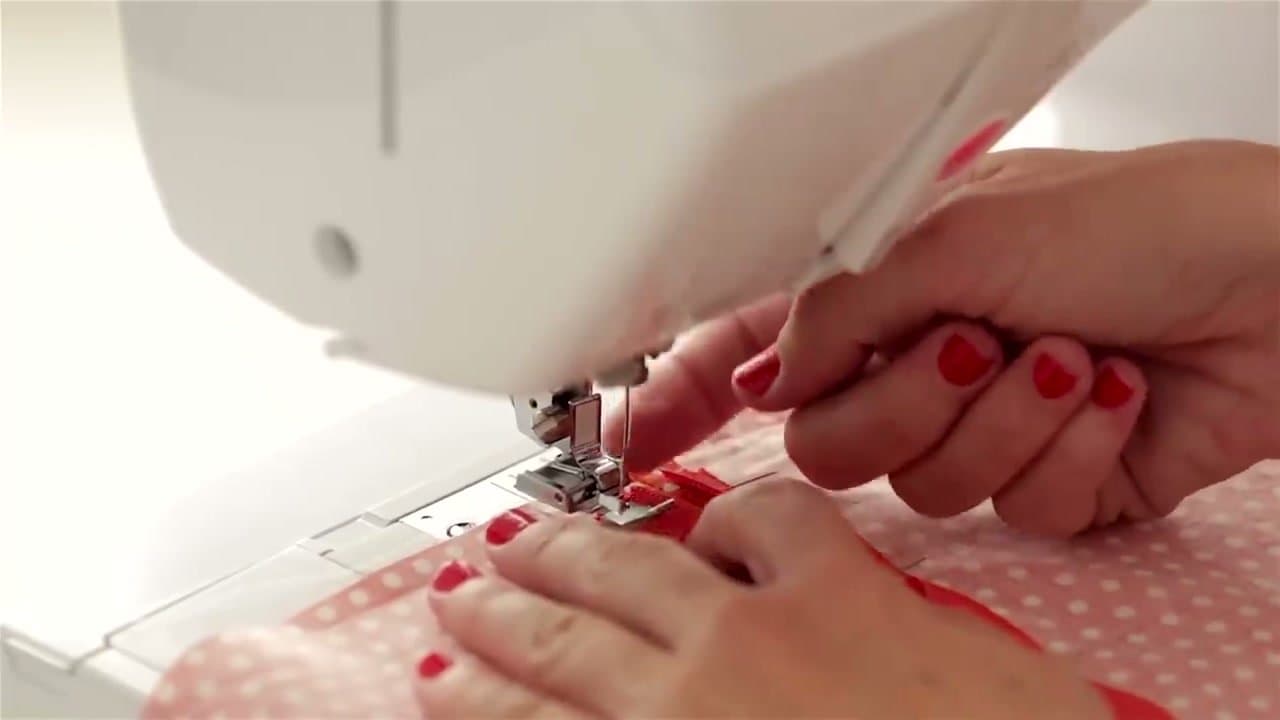
The pull is too bulky to sew beside, so you move it. Stop a couple of inches before you reach it with the needle down in the fabric. Lift the presser foot, reach behind and slide the pull back past the needle, then lower the foot and carry on. If you can't move it, start with the zipper half open so the pull sits out of the way from the first stitch.
Common zipper mistakes
- Wavy stitching. The tape shifted. Baste or clip more often and slow down near the pull.
- Fabric caught in the teeth. The seam allowance sat too close to the coil. Press it back firmly before you stitch, and keep pressing after the zipper is in.
- The pull jams. You stitched so close that the slider rubs the fabric. Leave about an eighth of an inch between the stitch line and the teeth.
- A crooked pouch. The two sides used different seam allowances. Keep the foot in the same position for both passes.
Where to use it next
The exposed method is the whole of a zipper pouch, so that is the natural follow-up. If you want something with no hardware at all while the zipper foot is still new, a cuffed pillowcase or a fabric scrunchie builds the same straight-seam control.