How to Scrapbook

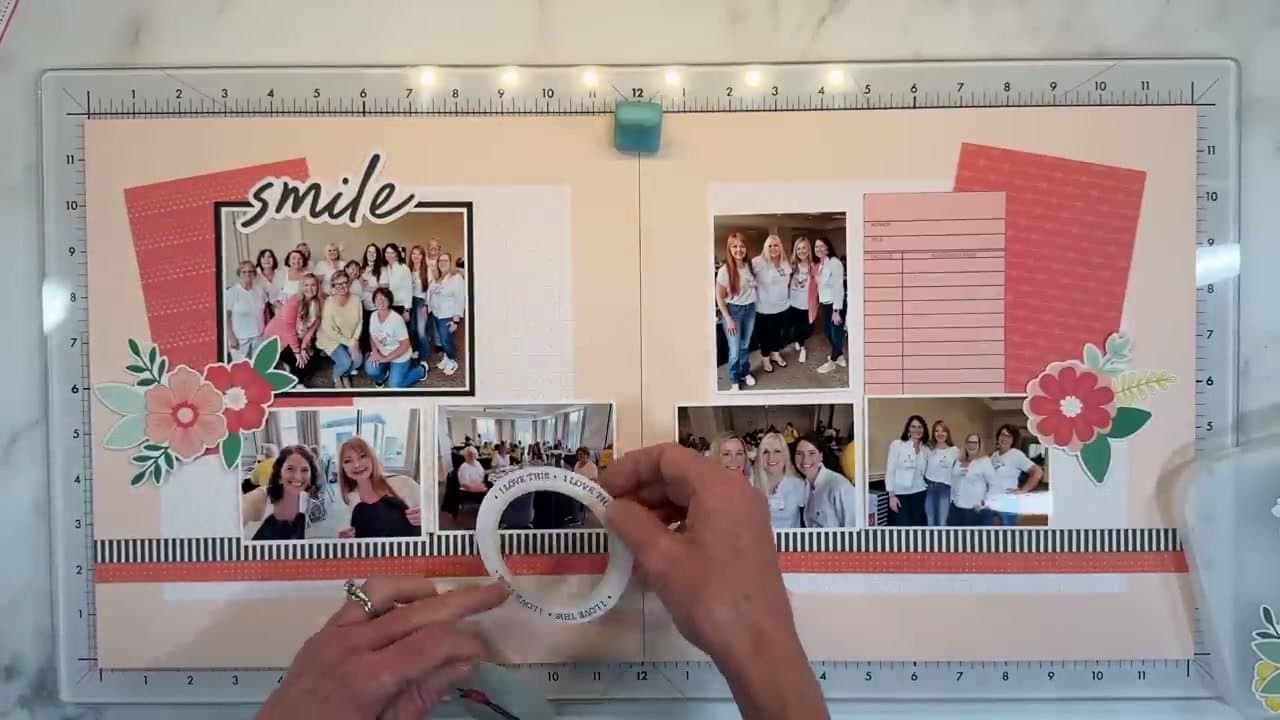
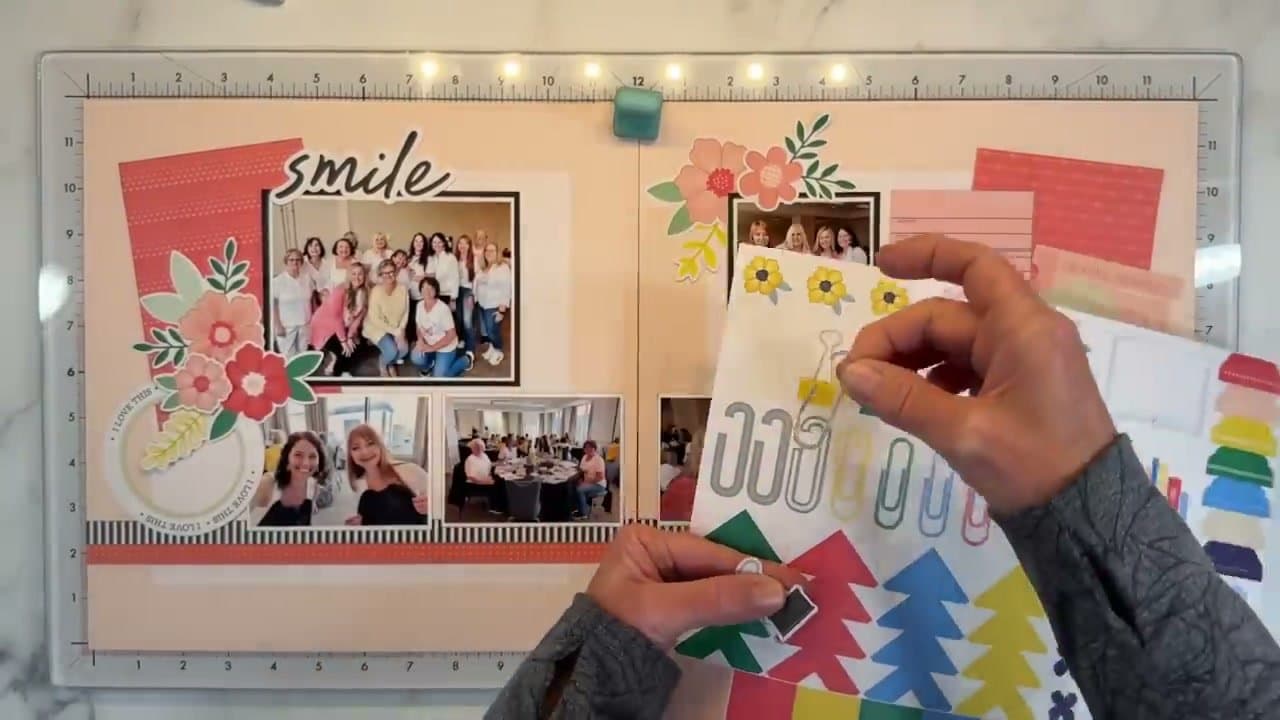
The finished result: How to Scrapbook
Also in:Crafts

By ShowMeStepByStepPublished Updated

Based on a video by Crafty Concepts with Erin.

The hardest part of scrapbooking is the blank page. Once you have a kit (or a small pile of coordinated paper, cards and embellishments) and a few photos, the rest is arranging pieces until they look balanced. Erin from Crafty Concepts walks through that in 30 minutes, kit to finished page, no fancy techniques.

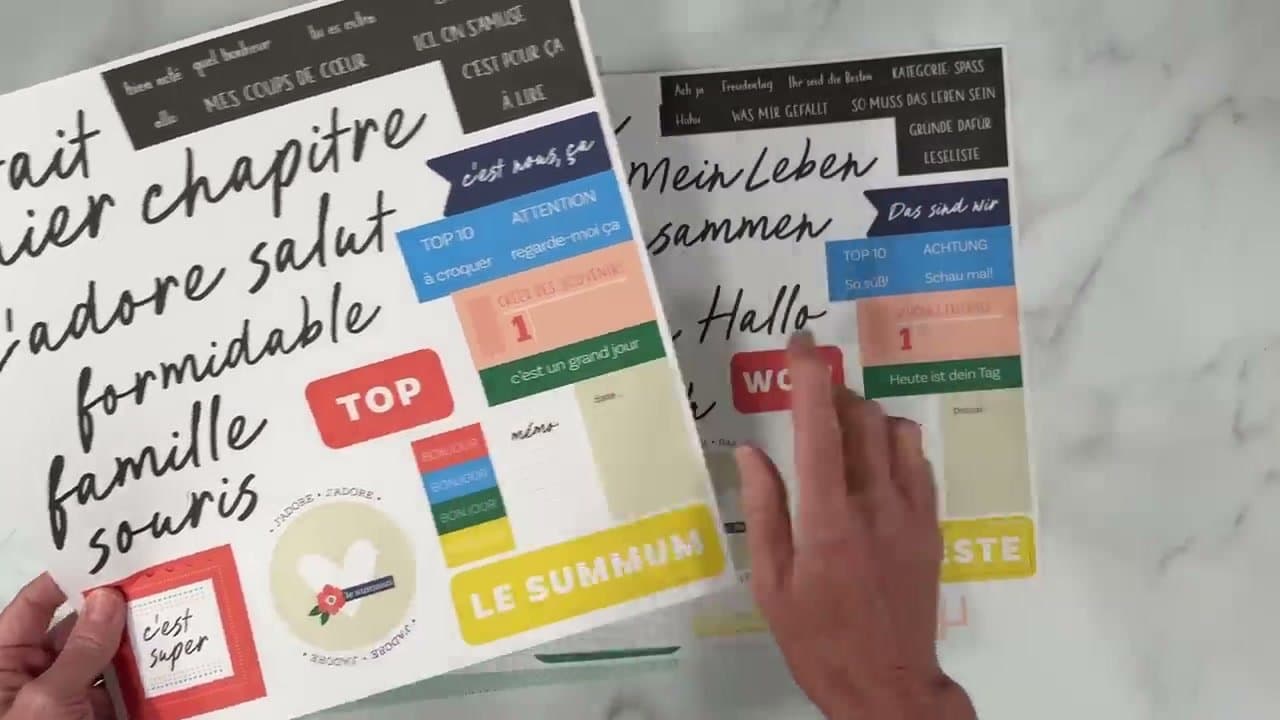
You do not need to invent every element. Pre-made kits come with cards, journaling tags, punchouts, titles and backgrounds that already match. Your job is to pick photos that fit the colours and layer the pieces around them.

A starter kit

  • Album. 12x12 is the standard and fits most kits. 8x8 is cheaper, quicker to fill and less intimidating for a first album.
  • Paper. A coordinated kit or a 12x12 pad. Check the label says acid-free and lignin-free.
  • Adhesive. A tape runner for photos and flat paper, foam squares for lift, liquid glue for small bits.
  • Trimmer. A 12-inch paper trimmer gives straight edges that scissors will not.
  • Pen. A fine black pigment pen for journaling.

Picking and printing photos

Pick one moment, not a whole trip. Three to six photos of the same afternoon tell a clearer story than twelve from a week. Print one focal photo at 5x7 and the rest at 4x6 or 3x4. Matte prints take adhesive and pen better than glossy, and a photo printer at a pharmacy is fine.

A simple layout formula

For the first ten pages, follow the same recipe and stop worrying about design:

  1. One focal photo, matted on a card or two.
  2. Two supporting photos placed close to it.
  3. A grounding strip of paper that the photos sit on.
  4. A title near the focal photo.
  5. Three embellishment clusters in a loose triangle across the page.

That triangle moves your eye around the whole page instead of stopping in one corner.

Journaling in two sentences

Write what happened, then why it mattered. "We drove to the coast in the rain and ate chips in the car. Nobody wanted to go home." Add the date. Two lines on a journaling card beats a blank page you mean to fill later.

Keeping it archival

Acid and lignin yellow paper and fade photos over years. Buy paper and adhesives labelled acid-free and photo-safe, and keep newspaper clippings and ticket stubs off direct contact with photos. Page protectors in the album do the rest.

Common mistakes

  • Too many photos. Five is plenty. Save the rest for the next page.
  • Nothing grounding the page. Photos floating in space look unfinished. Add the strip.
  • Embellishments spread evenly. Cluster them in groups of three.
  • Gluing too early. Photograph the layout with your phone first and check the balance.

Where to go next

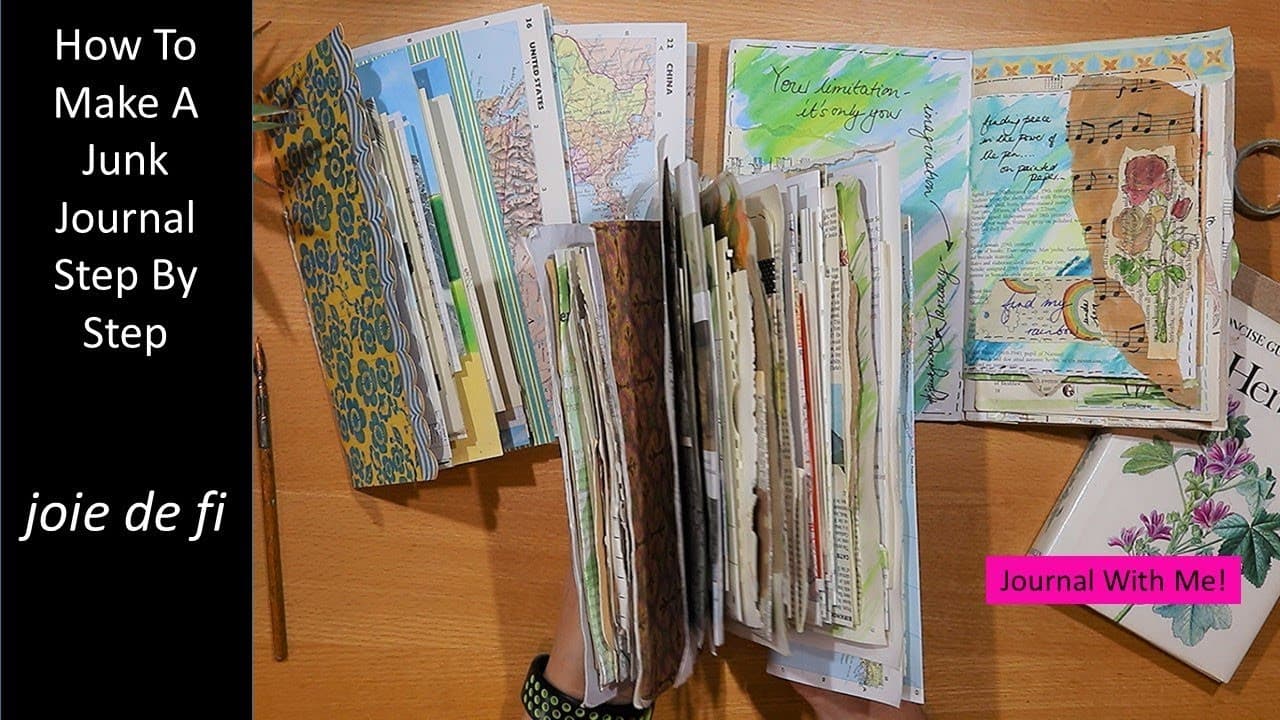
Try a flower meadow layout or a paper rosette layout. For memories in a looser format, make a junk journal, and if you want to cut your own titles and shapes, learn how to use a die cutting machine.
Step-by-Step Guide

6 steps · about 15 minutes.Check off each step as you go and your progress saves automatically.

1

Gather your kit and pick a theme

5:20
Step 1: Gather your kit and pick a theme - How to Scrapbook

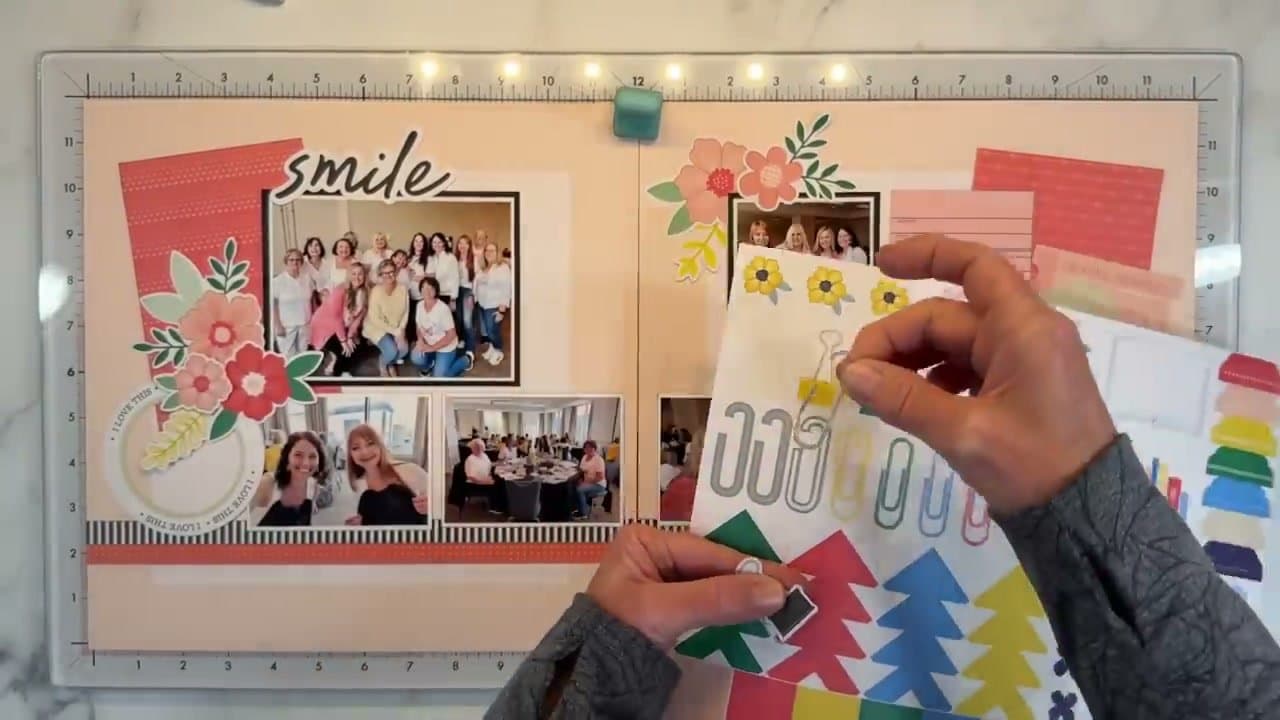
Lay out your scrapbook kit on the work surface and sort the pieces into piles - 4x6 cards for layering, decorative paper strips, journaling tags, punchouts, titles, and stickers. Looking at all the pieces together is what sparks ideas for which photos to pair with them.

While you're sorting, scroll through your photos. Look for an event or moment with 3-6 strong photos that share colors with the kit. The colors in your photos (clothes, backgrounds, props) should match or complement the colors in the kit so the page reads as one composition.

Tip

Don't try to use every piece in the kit. A typical 12x12 spread uses maybe 30% of the kit. The rest goes back in the box for next time.

2

Lay your photos on the page

7:30
Step 2: Lay your photos on the page - How to Scrapbook

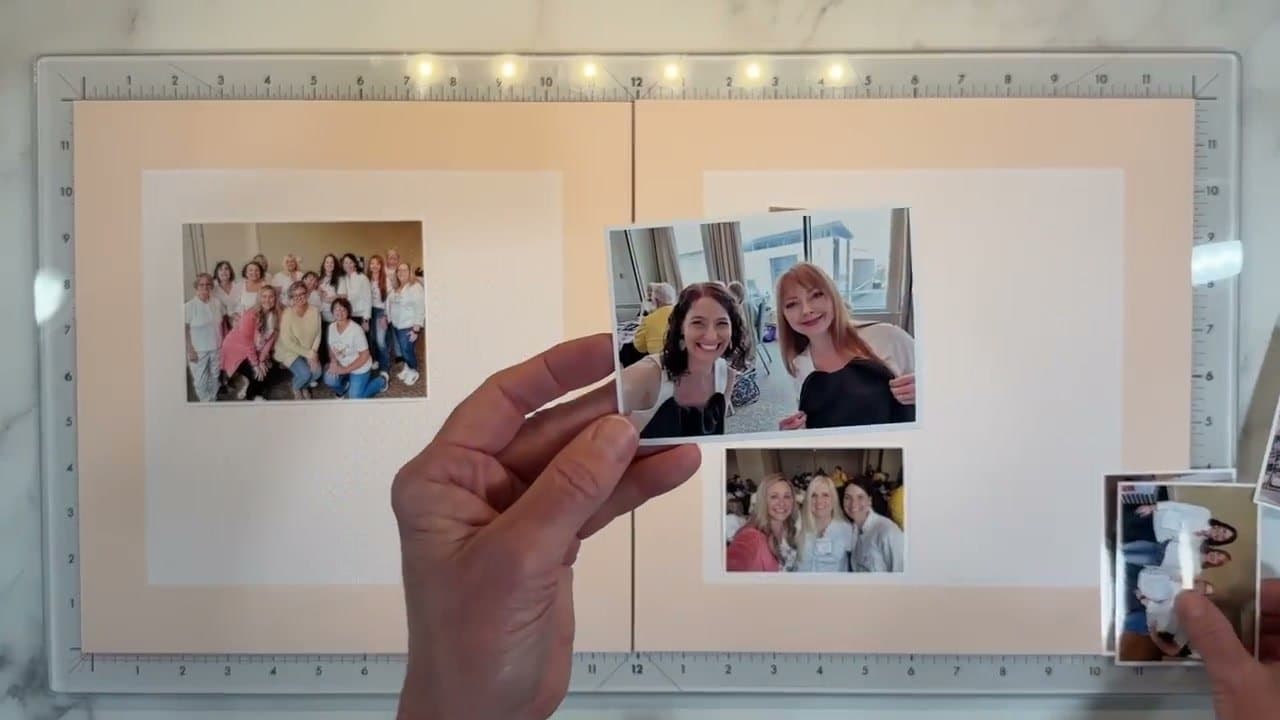
Print your photos in mixed sizes - one larger one as the focal point, and three to five smaller ones at 3x4 or 4x6. Mixed sizes give you flexibility to arrange them in different ways.

Place the photos directly on the blank page (don't glue anything yet) and shuffle them until the arrangement looks balanced. Common patterns: one large focal photo at the top with a row of smaller photos along the bottom, or a tight cluster in one corner with one large photo as the anchor.

Tip

If you have a single dominant color across multiple photos (like a sweater color that pops in three of them), spread those photos across the layout to carry the color through the page.

3

Settle the arrangement

8:30
Step 3: Settle the arrangement - How to Scrapbook

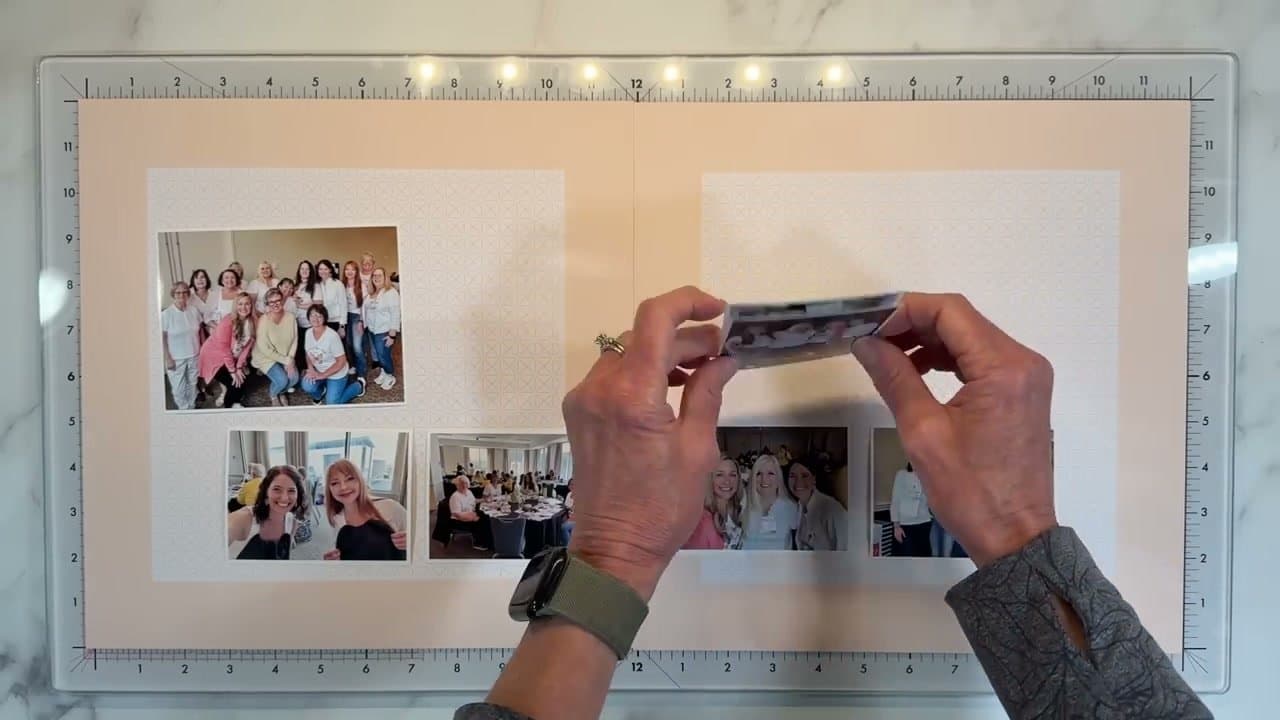
Move the photos around until you stop adjusting. Step back from the page after each move - what looks balanced from a foot away can look crowded up close, or vice versa.

Pick a color palette from the kit at this stage. One or two colors that already appear in the photos work best. Pulling in too many colors makes the page feel busy. Erin uses peachy-pink for this layout because the sweater in the focal photo grounds the page in that color.

4

Add layered paper and embellishments behind photos

9:40
Step 4: Add layered paper and embellishments behind photos - How to Scrapbook

Slide a 4x6 cardstock or pocket card behind your largest photo so the photo sits on a soft border. Layer two or three pieces in graduated sizes for visual depth. Pick papers in your color palette - a coral or pink card behind a peach-themed photo, for example.

Add embellishment clusters at the corners of the focal photo - a few flowers and leaves grouped together. Don't spread embellishments evenly; cluster them in 2-3 spots for visual rhythm.

Tip

Pull a small flower or sprig from the embellishments and tuck it slightly under a photo edge so it looks like the photo is resting on the cluster. Small overlap = professional touch.

5

Add a grounding strip across the bottom

11:20
Step 5: Add a grounding strip across the bottom - How to Scrapbook

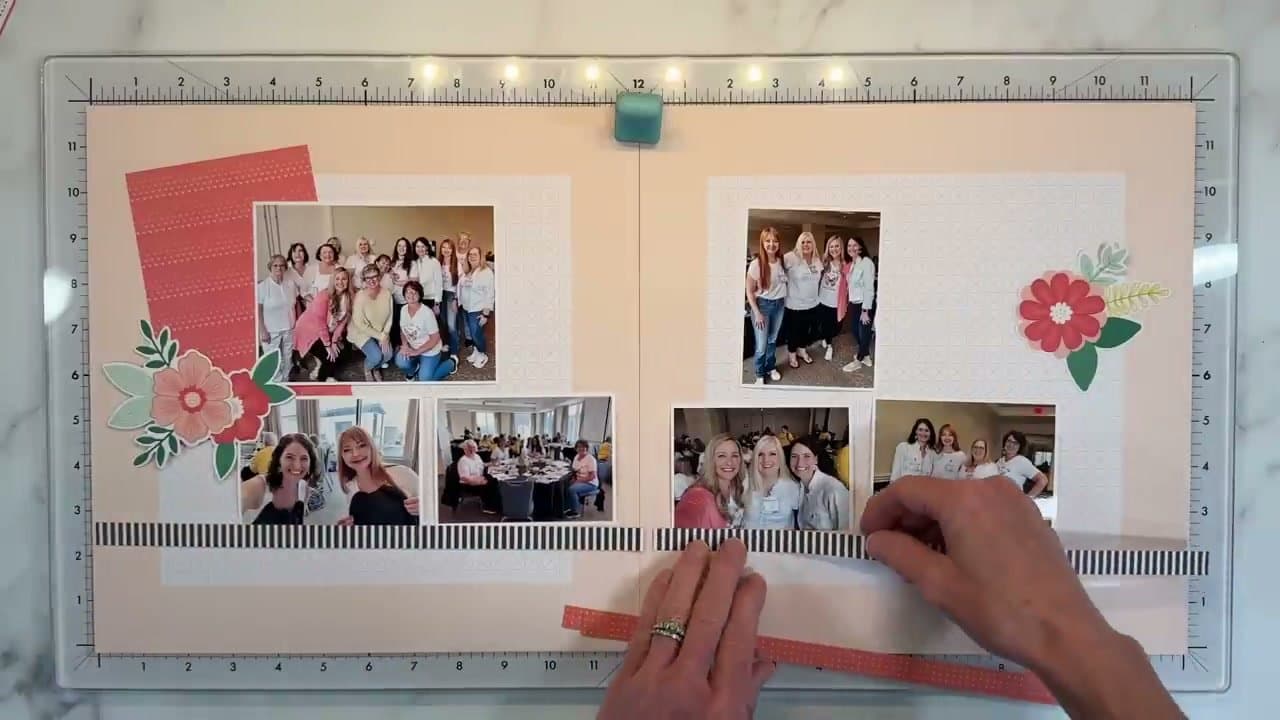
Cut a piece of decorative paper into a long strip and run it across the bottom of the page (or top, or down one side). The strip acts as a visual anchor - all the photos sit on it, and your eye reads the layout as one connected scene instead of floating fragments.

For more contrast, layer two strips: a wider colored strip plus a narrower black-and-white striped or patterned strip on top. The contrast pops the photos forward.

6

Add the title and finish with clusters

13:00
Step 6: Add the title and finish with clusters - How to Scrapbook

Punch or cut out a title word that captures the moment - 'smile,' 'memories,' the date, the place name. Place it where the eye lands first, usually beside or above the focal photo. Black titles work for any color palette; matching the title to the kit color is fine if the photos already have plenty of contrast.

Build a third embellishment cluster on the opposite corner from the first one - flowers, leaves, a small label, a sticker - to balance the page visually. Once everything looks settled, glue down the photos and embellishments. Add a few lines of journaling on a small card if you want a written memory of the moment.

Tip

Take a photo of the layout with your phone before gluing. The phone's small screen is great for spotting balance problems your eye misses up close.

Keep going

How to Make a Junk Journal: Step-by-Step Beginner Guide

9 steps · about 12 minutes

Products Used

Tools we recommend

Your Guide

Crafty Concepts with Erin

As an Amazon Associate we earn from qualifying purchases. Links on this page may be affiliate links - clicking them and buying doesn't change your price, but helps support ShowMeStepByStep.

Tags

Sunday How-To

New scrapbooking tutorials, every Sunday

One short email with the week's best step-by-step guides. Free, no spam, unsubscribe anytime.

Test your knowledge

Did the lesson stick? Start with this one.

5 questions covering what you just read. No signup, no score saved, and you can stop after this one.

Question 1 of 5

Why lay the photos on the page before gluing anything down?

Quick reference

Key takeaways from How to Scrapbook

5 questions, answers, and one-line explanations. Tap to expand.

  1. 1.Why lay the photos on the page before gluing anything down?

    Answer: Lets you shuffle until balanced

    Place them on the blank page and shuffle until the arrangement looks balanced. Glue is permanent. Arrangement is not.

  2. 2.How many colors should you pull from the kit for one spread?

    Answer: Just one or two

    One or two colors that already appear in the photos. More than that and the page reads busy.

  3. 3.A typical 12x12 spread uses roughly what fraction of the kit?

    Answer: About a third of it

    A typical spread uses around 30% of the kit. The rest goes back in the box for next time.

  4. 4.What is a 'grounding strip' on a scrapbook page?

    Answer: An anchor strip across the bottom

    A long strip of decorative paper across the bottom (or top, or one side). All the photos visually sit on it so the layout reads as one connected scene.

  5. 5.Best trick for spotting balance problems your eye misses up close?

    Answer: Take a photo with your phone

    The phone's small screen compresses the layout the way someone flipping through the album will see it, and surfaces imbalances your close-up eye misses.

Did this work for you?

What's next

Weekly Digest

Liked this scrapbooking tutorial?

Pick the categories you want to hear about. Weekly digest of new step-by-step tutorials. No spam, easy unsubscribe.

Send me tutorials about

We only email about new tutorials. Easy unsubscribe anytime.