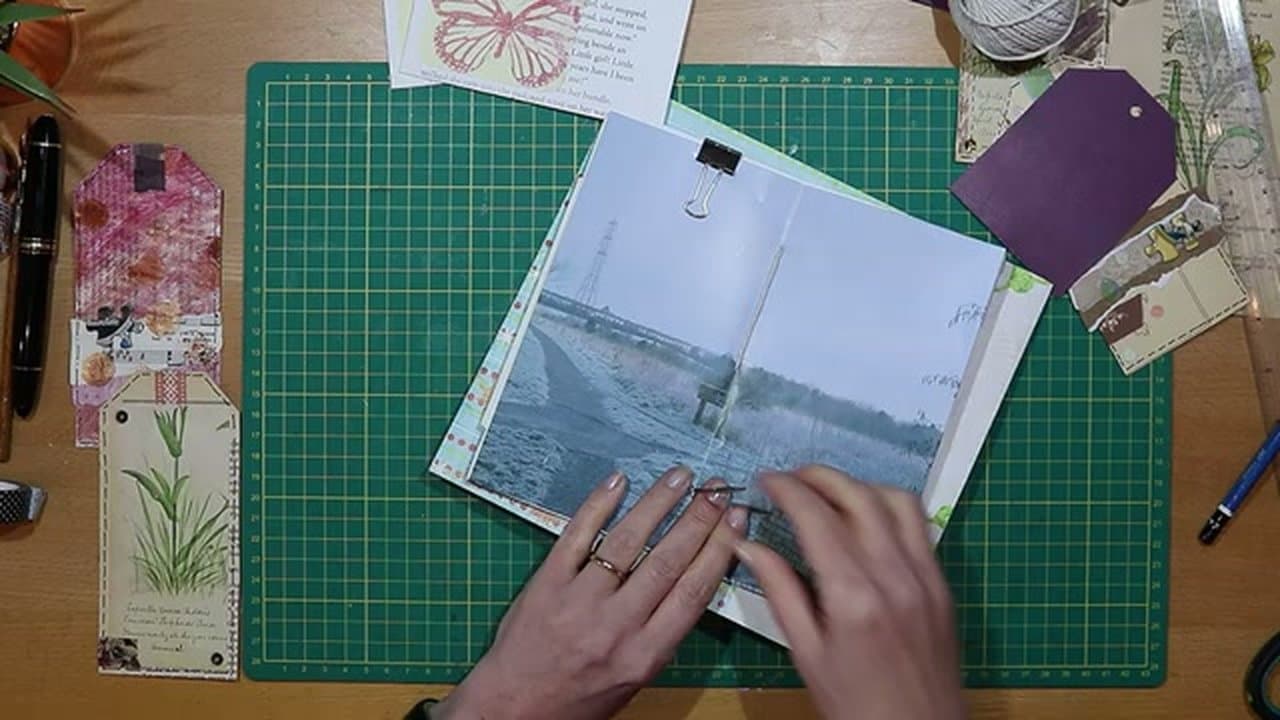
How to Distress Paper Edges for Scrapbooking

ScrapbookingEasy9:1510 stepsPart of Crafting for BeginnersBrowse more →
The finished result: How to Distress Paper Edges for Scrapbooking
Also in:Paper Crafts

By Show Me Step by StepPublished

Based on a video by Medieval Mirage.

A clean-cut photo mat looks new. Scuff the edges, rub in a little brown ink, and the same piece looks like it came out of a grandmother's trunk. That is what distressing does, and it takes about ten minutes a sheet. The crafter behind Medieval Mirage shows a trick her husband suggested: skip the special tool and use an old table knife from the kitchen drawer. She tears a coffee-stained sheet on a ruler, scrapes the edges, then inks and crumples them.

What you need

  • Paper or cardstock. Medium weight works best.
  • A metal ruler for tearing
  • An old table knife, a serrated steak knife or a plastic knife
  • A brown ink pad
  • A cosmetic sponge, foam blending tool or scrap of kitchen sponge

Which knife gives which edge

Each knife leaves a different look. A serrated blade bites hard and pulls up lots of fibre, so the edge goes white and fluffy fast. A plain table knife gives a steady, even scuff. A plastic knife barely marks the paper, which is right when you only want a hint of wear. Push harder for a rough edge and ease off for a gentle one. A purchased paper distresser does the same job with a handle that fits the hand.

Keep it safe. Use a dull knife, never a sharp chef's knife, and scrape away from the hand that holds the paper.

Picking an ink color

Brown is the classic aged look. Archival ink in a warm brown like Potting Soil dries permanent, so you can stamp or journal over it without smearing. Distress inks in Walnut Stain or Vintage Photo blend softer and react with water if you want a splotchy look. Black reads as burned and harsh. Save it for Halloween pages or a pirate map.

Paper that distresses well

Thin printer paper tears too easily and goes limp. Heavy cardstock fights the knife. Medium cardstock and patterned scrapbook paper are the sweet spot. Paper with a white core and a printed top layer looks best of all, because scraping shows the white underneath. If you want the whole sheet aged, tea or coffee stain it first and let it dry flat.

Distressing mistakes to avoid

  • Tearing holes. Too much pressure at one spot. Take shorter strokes and move along the edge.
  • Ink stripes. The sponge started on the paper. Begin each stroke off the edge and swipe in toward the center.
  • Every edge looks the same. Real wear is uneven. Leave some spots light and press harder on corners.
  • Flat, pressed look. Crumple the edges while you ink. The creases catch more color.

Ways to use distressed paper

Use it for photo mats on a heritage page, tags, journaling cards and the pages of a junk journal. It suits a mini scrapbook album of old family photos, and it gives a handmade card a vintage feel. For a whole sheet that looks centuries old, start with how to make paper look old. New to layouts? How to scrapbook walks through a first page.

What you'll need

Step-by-Step Guide

10 steps · about 9 minutes.Check off each step as you go and your progress saves automatically.

1

Gather Stained Paper and Kitchen Knives for Distressing Edges

2:16
Step 1: Gather Stained Paper and Kitchen Knives for Distressing Edges - How to Distress Paper Edges for Scrapbooking

Pick a sheet of paper or cardstock and a few knives from the kitchen drawer. The video uses a plain table knife, a thin serrated steak knife and a white plastic knife. The paper here was coffee stained first, which adds to the aged look but is optional. Any knife with a bit of bite will work, as long as it is not razor sharp.

Tip

Test each knife on a scrap so you know how rough it scrapes before you touch your good paper.

2

Tear the Paper Edge Against a Ruler

2:58
Step 2: Tear the Paper Edge Against a Ruler - How to Distress Paper Edges for Scrapbooking

Lay a metal ruler where you want the edge. Hold it down firmly with one hand. With the other hand, lift the paper and tear it up against the ruler. Wiggle the paper a little as you go. A slow, wobbly tear gives a rougher, more natural edge than one quick pull, which can look too neat.

Tip

Tear toward yourself with the ruler on the piece you want to keep.

3

Scrape the Paper Edge With a Serrated Knife

4:16
Step 3: Scrape the Paper Edge With a Serrated Knife - How to Distress Paper Edges for Scrapbooking

Hold the paper near the edge and drag a serrated knife down along it. The teeth lift the top layer and leave a white, fuzzy edge with little crumbs of paper. You control the look with pressure. Press hard for a really worn edge, or go lighter for a soft scuff. Work your way along the whole side.

Tip

Scrape over a scrap sheet so the crumbs are easy to tip into the bin.

4

Scrape Each Paper Edge With a Table Knife

4:22
Step 4: Scrape Each Paper Edge With a Table Knife - How to Distress Paper Edges for Scrapbooking

Switch to a plain table knife and hold it upright against the edge. Scrape along the top and down each side. This is the knife the creator likes best, because it never lets her down. Heavy pressure gives a severe edge. Lighter pressure gives a gentle, even wear. Do every side so the sheet looks evenly aged.

Tip

Keep the hand holding the paper behind the blade, not in front of it.

5

Use a Plastic Knife for a Softer Distressed Edge

4:40
Step 5: Use a Plastic Knife for a Softer Distressed Edge - How to Distress Paper Edges for Scrapbooking

Try a plastic knife for a lighter touch. It has very little bite, so the edge only roughens a little. That suits delicate papers or when you want a hint of age rather than a battered edge. Compare the three knives on your scraps and keep the one that matches the look you want for this page.

Tip

A plastic knife is the safest choice if grandchildren want to help.

6

Rough Up the Distressed Paper Edges With Your Fingertips

5:22
Step 6: Rough Up the Distressed Paper Edges With Your Fingertips - How to Distress Paper Edges for Scrapbooking

Run your fingertips and fingernails along the scraped edges. Rub and ruffle the fibres so they lift and curl a little. This softens any spots the knife left too neat and adds texture that will catch the ink later. Press the sheet flat with both hands once you have worked around every side.

Tip

Fingernails alone work if you have no knife handy. They give a softer look.

7

Pick a Brown Ink Pad for Inking Paper Edges

5:52
Step 7: Pick a Brown Ink Pad for Inking Paper Edges - How to Distress Paper Edges for Scrapbooking

Choose a brown ink pad for the aged color. The creator uses Ranger Archival Ink in Potting Soil, a warm brown that dries permanent. Distress ink in Walnut Stain is a popular softer option. Open the pad and have a sponge ready. A cosmetic wedge, a foam blending tool or a scrap of kitchen sponge all work.

Tip

Archival ink is waterproof once dry, so you can stamp or write over it later.

8

Sponge Brown Ink Onto the Distressed Paper Edges

6:42
Step 8: Sponge Brown Ink Onto the Distressed Paper Edges - How to Distress Paper Edges for Scrapbooking

Dab the sponge on the ink pad, then hold the paper up in one hand and sponge ink around the edges. Holding it instead of laying it flat lets the paper crease and crumple as you go, and those creases pick up extra color. Start each stroke off the edge and swipe in, so the ink is darkest at the very edge.

Tip

For a stronger look, press the edge straight onto the ink pad and drag it along.

9

Work Ink Into the Corners of the Paper

8:23
Step 9: Work Ink Into the Corners of the Paper - How to Distress Paper Edges for Scrapbooking

Lay the sheet flat and go back in with a clean sponge. Push ink into the corners and any spots that look too light. Corners get the most handling on old paper, so a little extra darkness there looks right. Then turn the sheet over and ink the back edges too, so it looks aged from either side.

Tip

Use a separate sponge for each ink color so they stay clean.

10

Crumple the Inked Paper Edges for an Aged Look

8:47
Step 10: Crumple the Inked Paper Edges for an Aged Look - How to Distress Paper Edges for Scrapbooking

Finish by pinching and crumpling the inked edges between your fingers. Small creases along the border make the sheet look handled for years. Flatten it again with your hands. If an edge tears a little more than you meant, leave it. The creator says she got a bit too zealous on hers, and it still looks the part.

Tip

Press the finished sheet under a heavy book overnight if it needs to lie flat.

How to Use Washi Tape in Cards and Layouts

Keep going

How to Use Washi Tape in Cards and Layouts

10 steps · about 16 minutes

Products Used

The Checklist

How to Distress Paper Edges for Scrapbooking

Tools
4
Materials
2
Steps
10
Video
9 min

Tools we recommend

Your Guide

Medieval Mirage

As an Amazon Associate we earn from qualifying purchases. Links on this page may be affiliate links - clicking them and buying doesn't change your price, but helps support Show Me Step by Step.

Tags

Sunday How-To

New scrapbooking tutorials, every Sunday

One short email with the week's best step-by-step guides. Free, no spam, unsubscribe anytime.

Did this work for you?

What's next

Weekly Digest

Liked this scrapbooking tutorial?

Pick the categories you want to hear about. Weekly digest of new step-by-step tutorials. No spam, easy unsubscribe.

Send me tutorials about

We only email about new tutorials. Easy unsubscribe anytime.