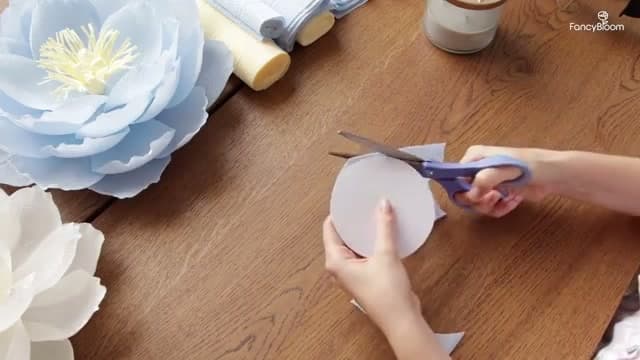
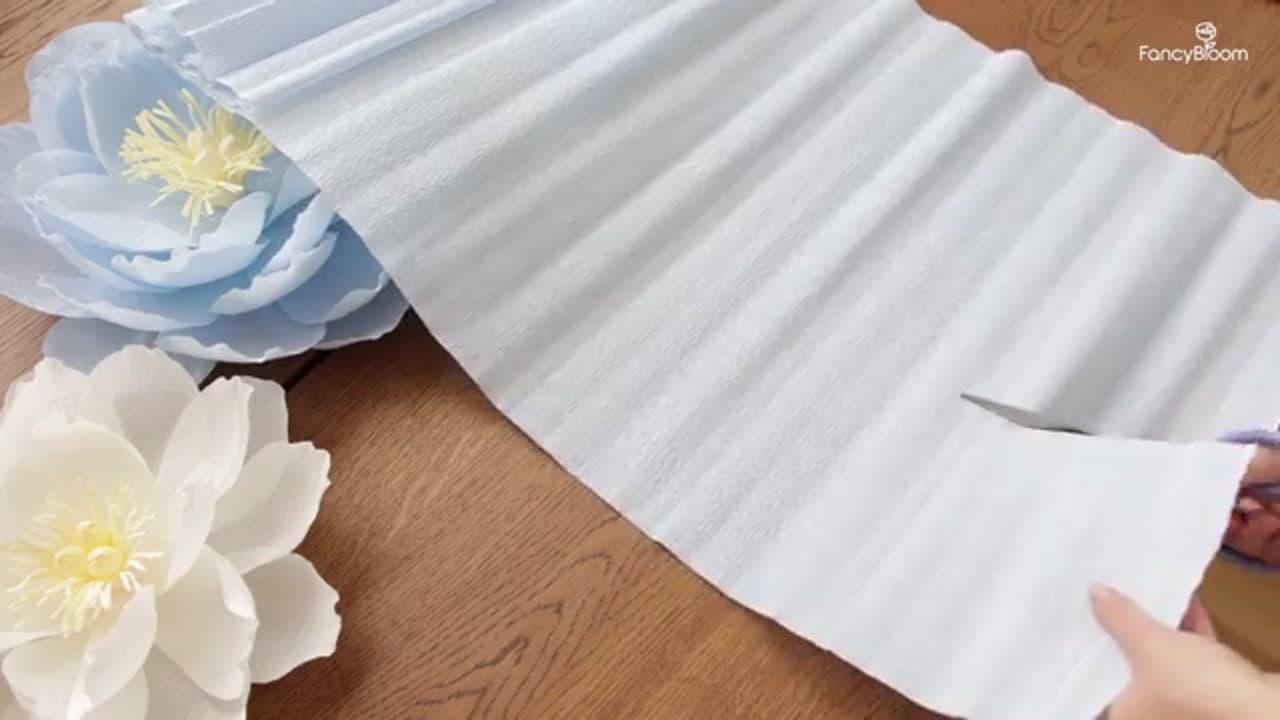
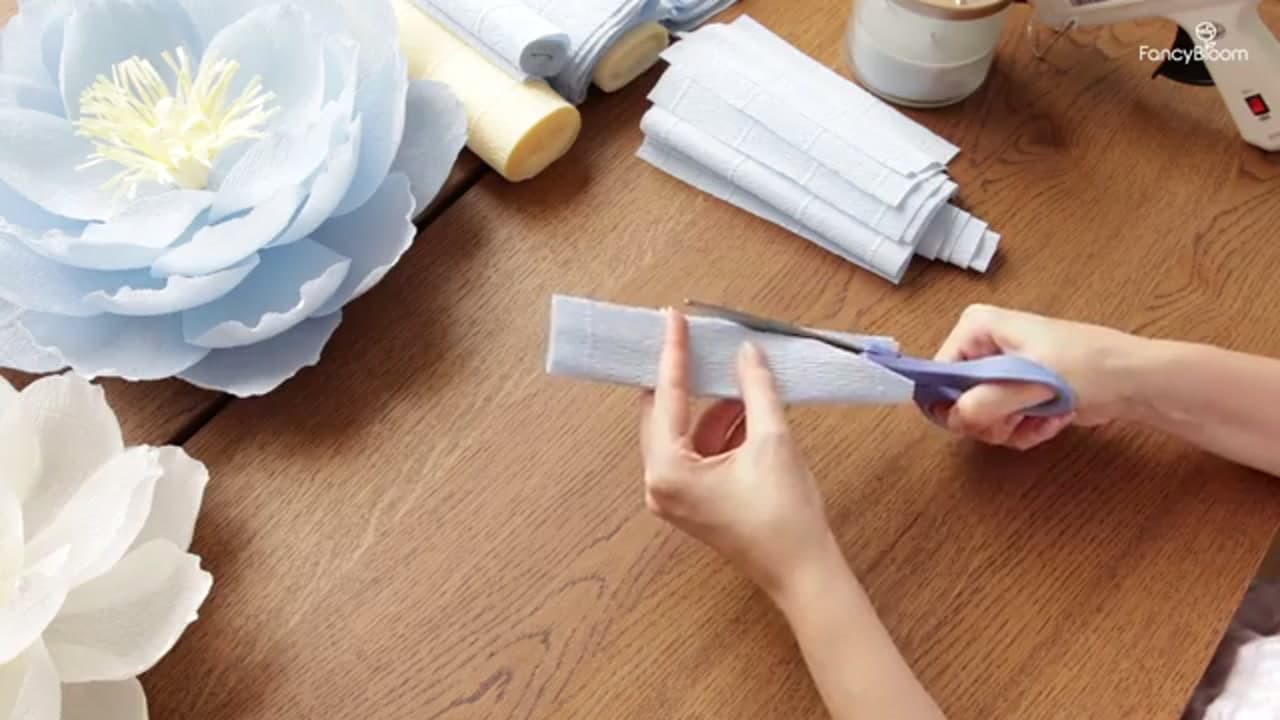
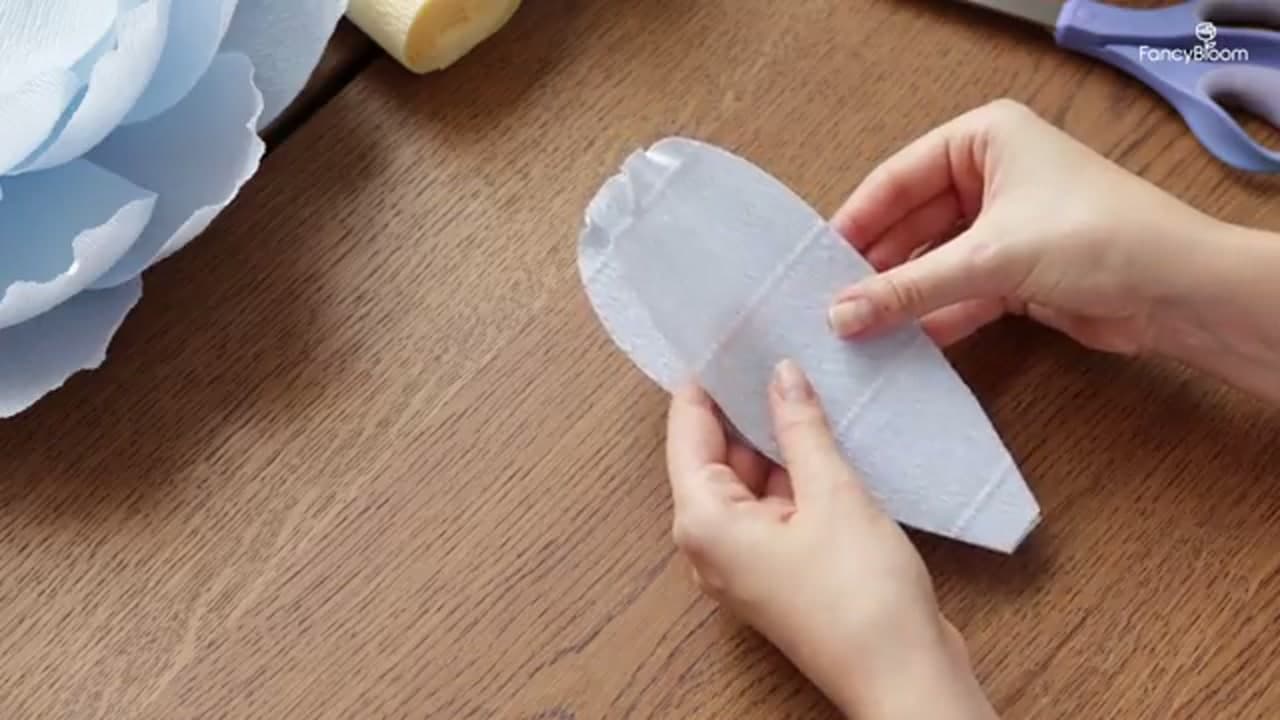
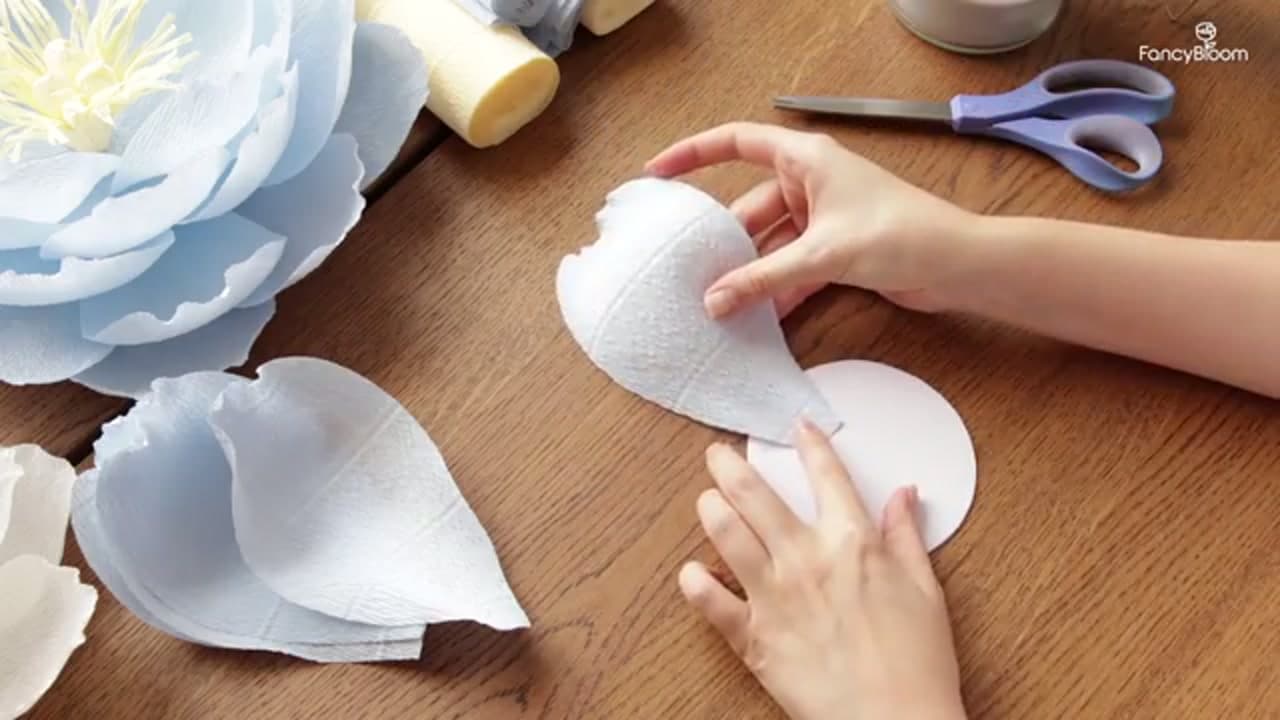
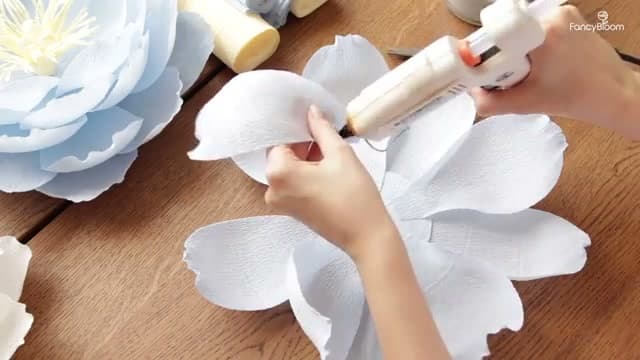
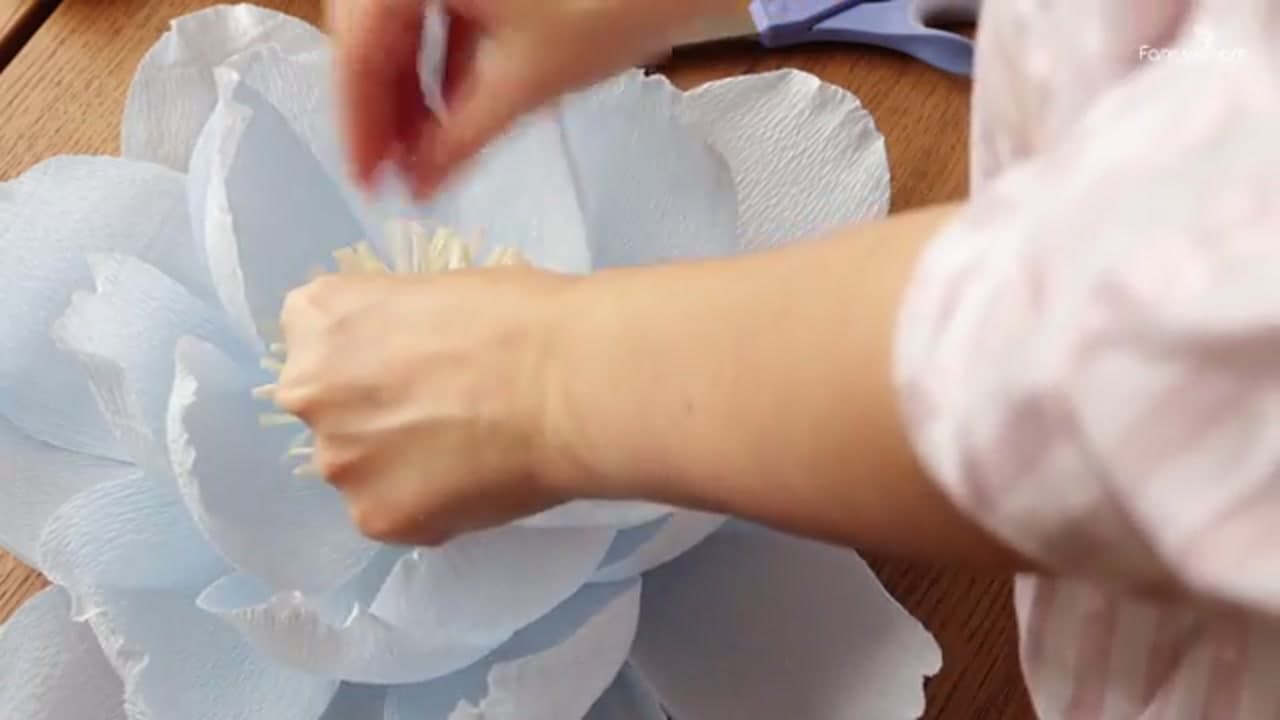
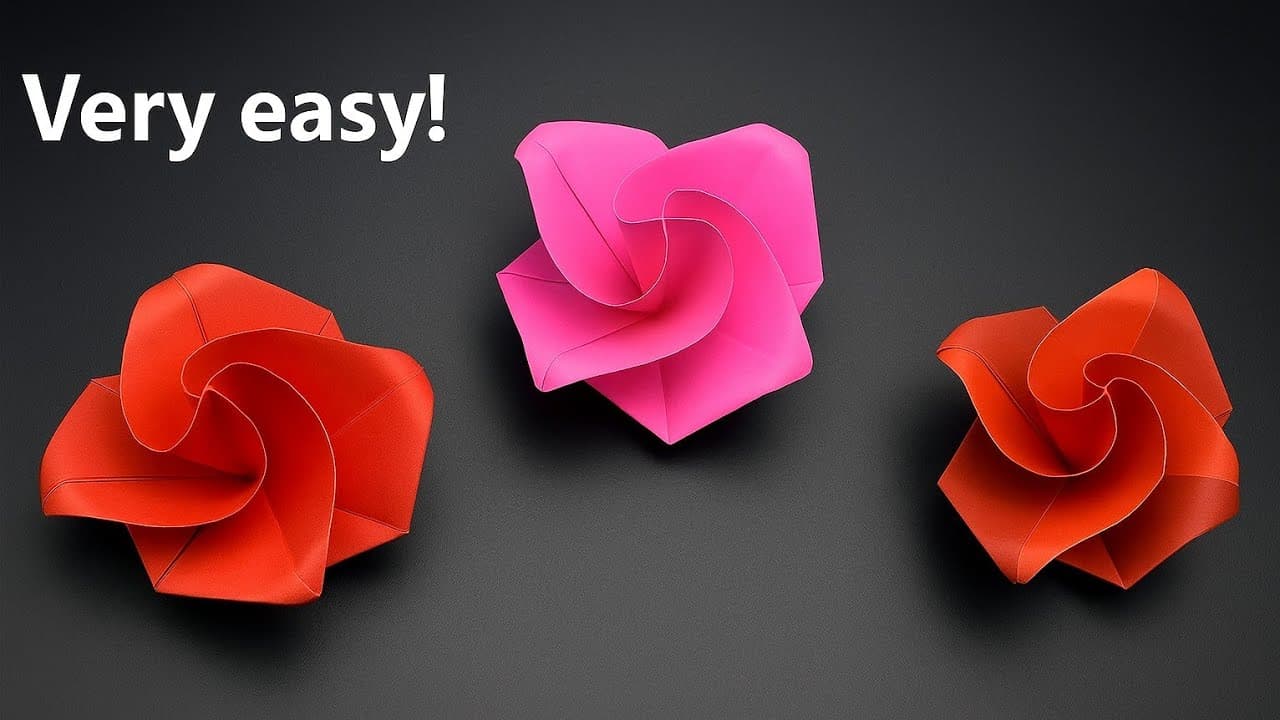
Oksana FancyBloom's wall flower is the crepe paper project to start with. No petal template, no wire. You cut twenty-five rectangles, round off the corners, stretch each one into a cup, and hot glue the rows onto a cardstock circle. The finished bloom is well over a foot across and light enough to hang from a removable strip. Three in different shades fill a nursery wall or a party backdrop.
The steps below say what to cut and where to glue. This part covers the rest: which crepe to buy, why it stretches, how cupping works, and what to change if you want a stem instead of a wall mount. If you have only made tissue paper flowers before, the paper is the big change.
Which crepe paper to buy, and why it stretches
Crepe is tissue that was crinkled while wet, so it comes off the roll with a grain of tiny pleats all running one way. Pull across the grain and the pleats open out. That stretch is what turns a flat rectangle into a cupped petal. Pull along the grain and nothing happens, so cut every blank with the pleats running from the base of the petal to the tip.
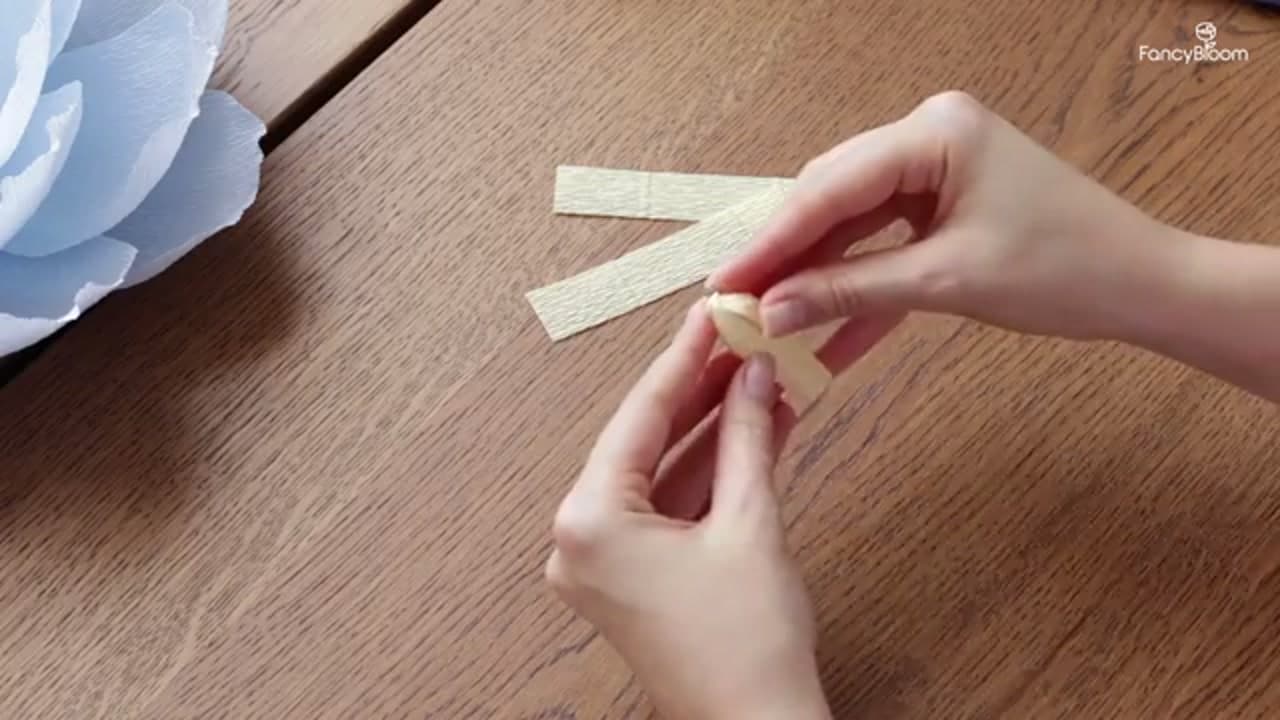
Weight matters more than color. Italian 180 gram crepe is the heavy paper Oksana uses. It stretches to about two and a half times its width, holds a cup once shaped, and does not go limp under hot glue. Doublette is two thin sheets laminated back to back, often in two shades. Good for small roses, too soft for a petal seven inches tall. Party streamer crepe is thinner still. Use it for the fringed center, where its lightness helps, and never for the outer rows.
Cupping and fluting the petals
Cupping is a two-thumb move. Thumbs in the middle of the petal, fingers behind, then push out while your fingers hold the edges still. The center stretches, the edges do not, and the paper bows into a bowl. Stop at a shallow spoon. Push too far and the pleats flatten out entirely, the paper goes crisp, and the cup springs back.
Fluting is the opposite, done on the top edge only. Pinch the rim and stretch it in short pulls every half inch. The edge ends up longer than the body of the petal and has nowhere to go but into a ripple. Flute the outer rows for a peony look, or leave the rim clean for a magnolia. Twisting the tip, as Oksana does in the video, is a third option that hides crooked cuts. Mix all three so the bloom does not look machine made.
The easy DIY method: base circle, not wire
Oksana glues the petals to a four inch cardboard circle because the flower is going on a wall. Flat back, no stem, and it carries far more petals than a stem can, which is why the flower can be this big. To scale up, keep the ratios: blanks twice as tall as they are wide, and a base about a quarter of the finished width. Past two feet across, the cardstock method in giant paper flowers is easier to handle.
For a vase or a paper bouquet, swap the circle for an 18 gauge floral wire. Wrap a small ball of crepe on the tip for the center, glue the petals around it one at a time working outward, and finish the base with floral tape. Cut the petals about half the size and plan on twelve rather than twenty-five. A seven inch petal on a wire flops.
Making crepe paper flowers last
Crepe fades. Reds and blues go first, and a flower on a sunny wall can lose a shade over one summer. Hang them out of direct light and they keep their color for years. Dust with a soft makeup brush, since a cloth snags the fluted edges. Keep them out of steamy bathrooms too: moisture relaxes the pleats and the cups slowly flatten. A light coat of matte spray sealer adds body, but test it on a scrap first because some colors darken.
Once cupping feels natural, the fussier shapes open up. Paper roses use the same cup on a much smaller petal, and coffee filter flowers are a cheap way to practice fluting on paper that costs next to nothing.