1
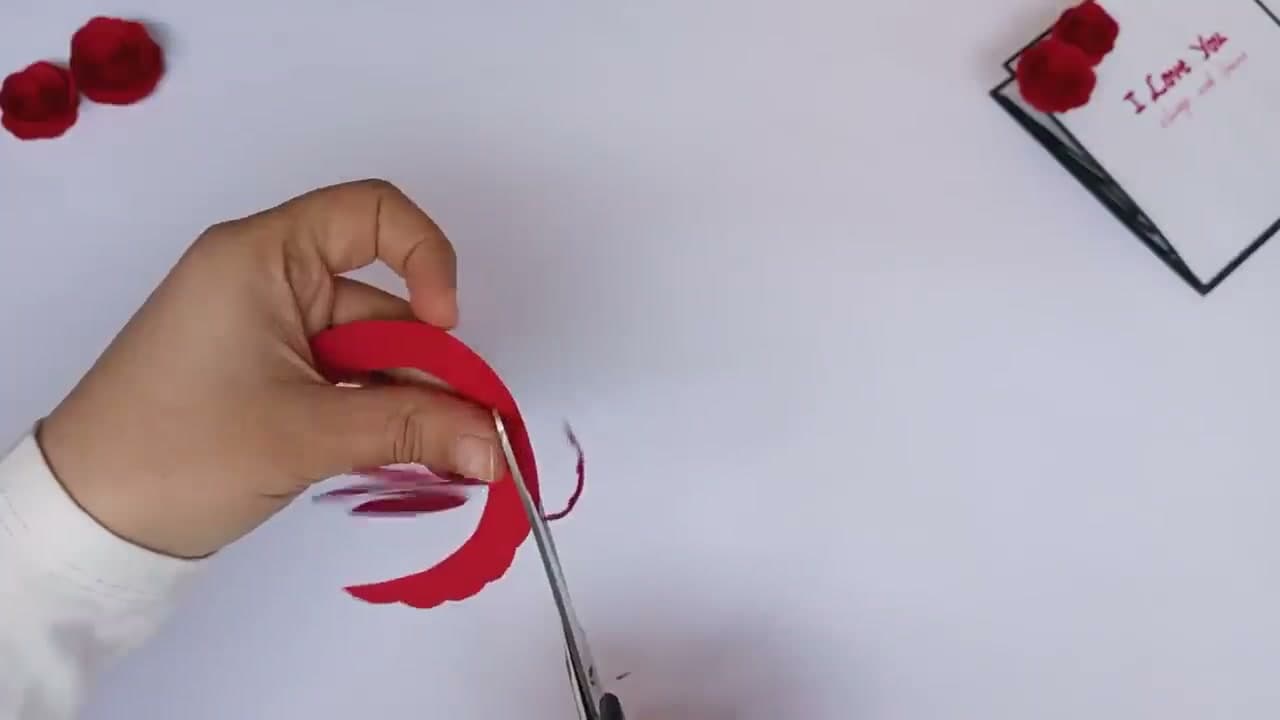
Cut a Red Paper Circle
0:15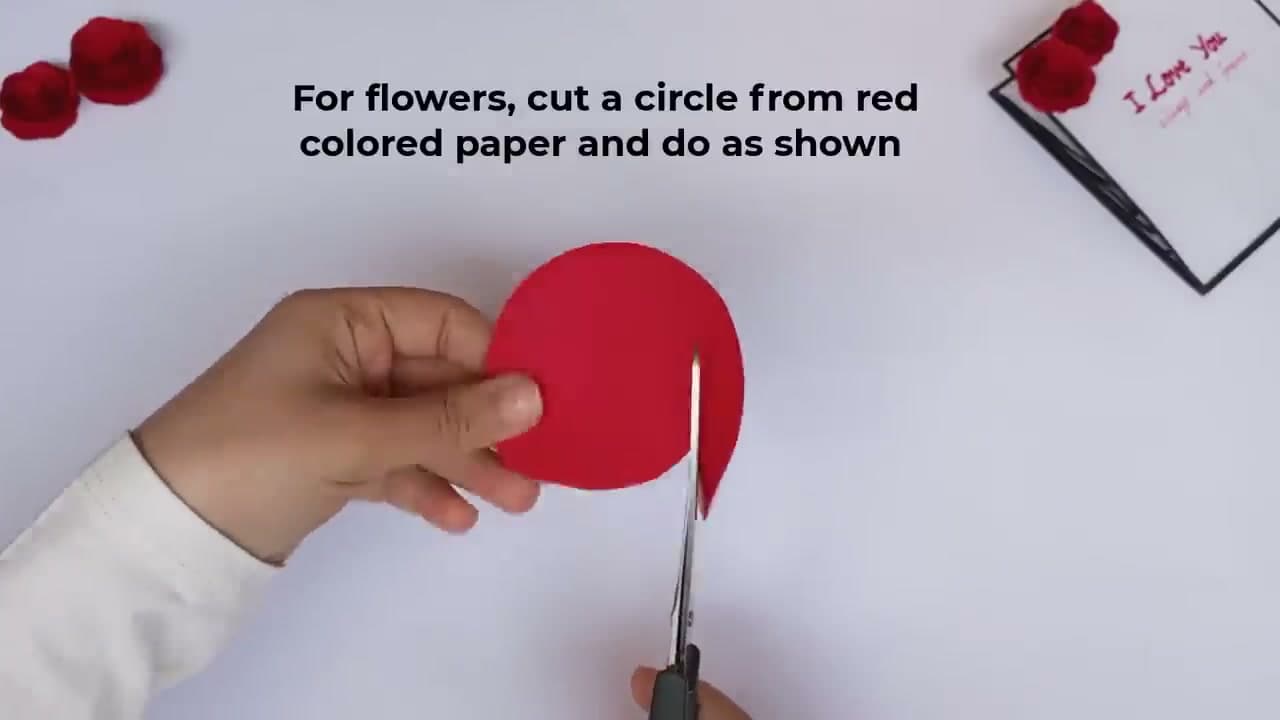
Cut a circle about 4 inches across from red cardstock. Trace around a small bowl or a roll of tape if you want a clean shape - any round-ish edge works since the spiral cuts will hide small wobbles.
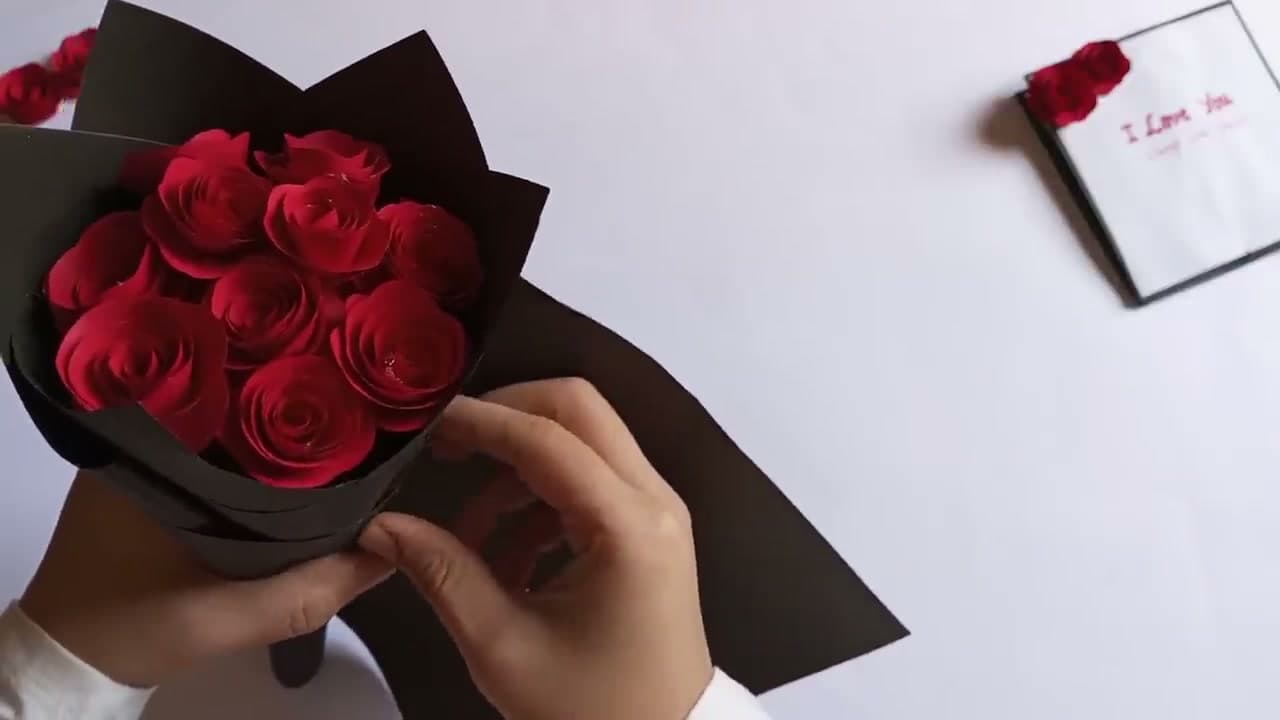
Plan to make 10 to 12 roses to fill the bouquet, so cut that many circles. Batching the cutting up front keeps the rest of the build moving fast.
Tip
Heavier cardstock holds the rose shape better than printer paper. If you only have thin paper, the rose will still form but the petals won't have the same crisp edges.