How to Make a Paper Ninja Star

Paper CraftsEasy5:069 steps5-question quiz at endBrowse more →
Also in:Crafts

By ShowMeStepByStepPublished Updated

Based on a video by Paper Kawaii - Origami Tutorials.

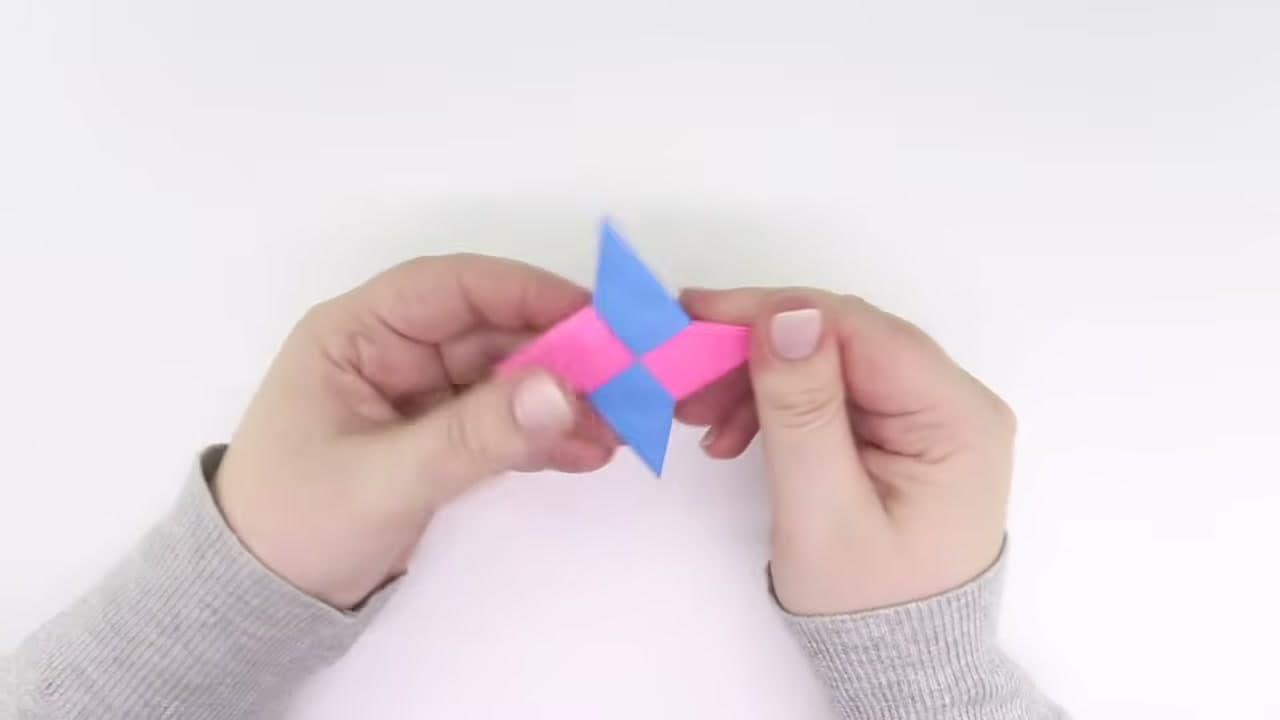
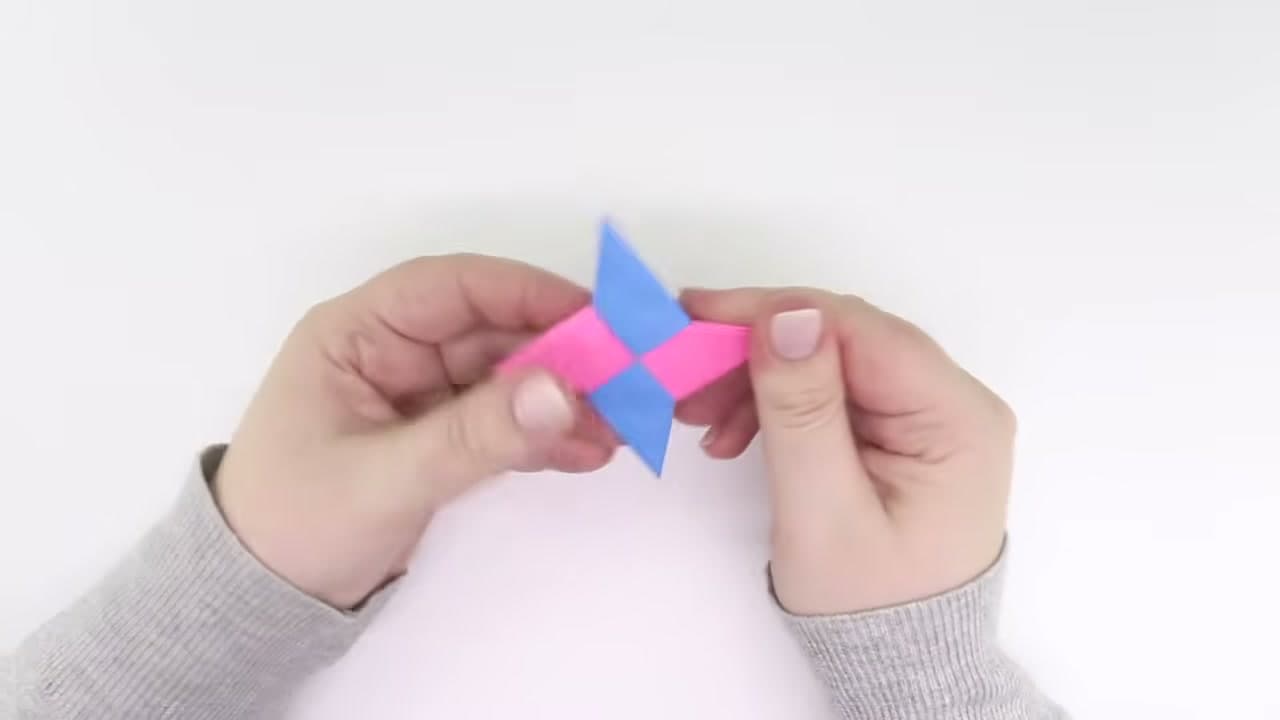
A shuriken is the fold that convinces people origami is worth learning. It takes two sheets rather than one, and the trick is that the second sheet gets folded as a mirror image of the first. Stack them crosswise, tuck four points into four flaps, and the star locks together with no adhesive.

This walkthrough follows Paper Kawaii's tutorial. Two colors make the finished star look far better than one, because each half shows through on alternating points. Squares of 15 cm give you a star about 8.5 cm across, which is a good size to hold.

The folds themselves are simple. The only place people go wrong is forgetting to mirror the diagonals on the second unit, at which point the halves refuse to interlock.

Step-by-Step Guide

9 steps · about 5 minutes.Check off each step as you go and your progress saves automatically.

1

Step 1

0:20
Step 1: Step 1

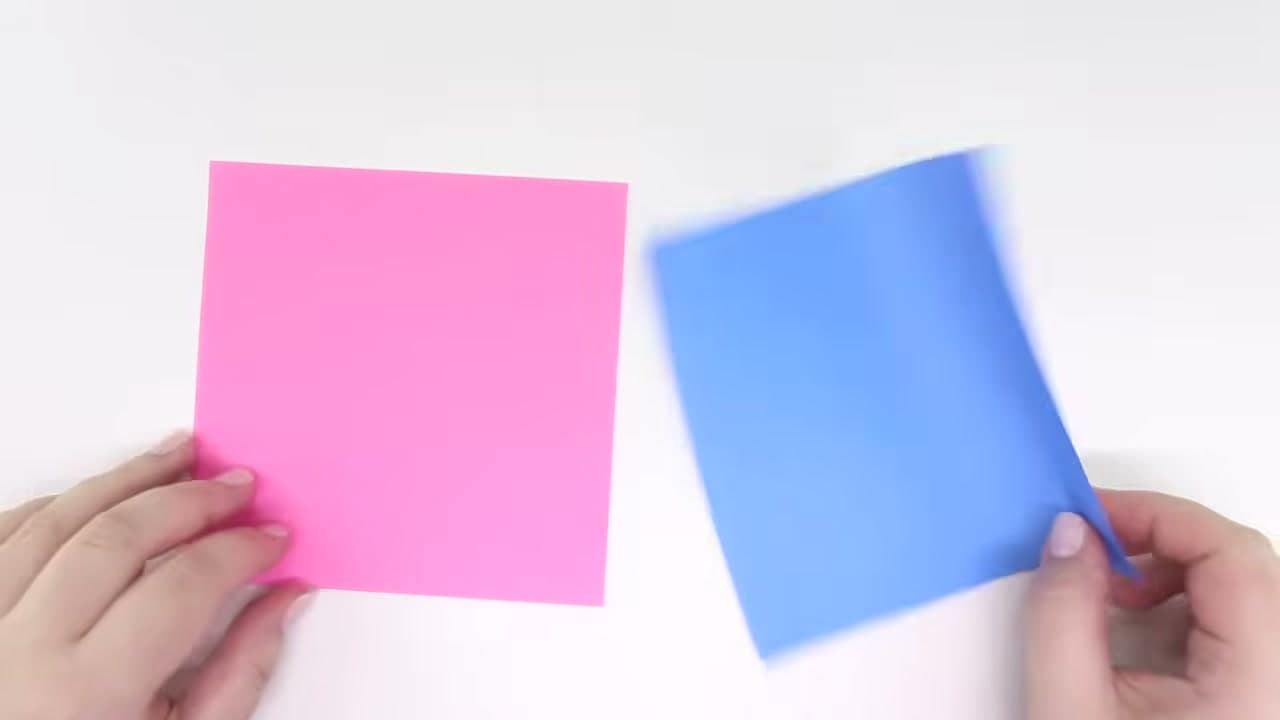
A shuriken needs two sheets, not one. Use squares of the same size - 15x15 cm works well and gives you a finished star around 8.5 cm across. Two different colors make the final star look sharper, because each half shows through on opposite sides.

Tip

Precut origami paper saves the trouble of squaring up printer paper, and the colored-one-side stock makes the mirrored halves easy to tell apart while folding.
2

Step 2

0:47
Step 2: Step 2

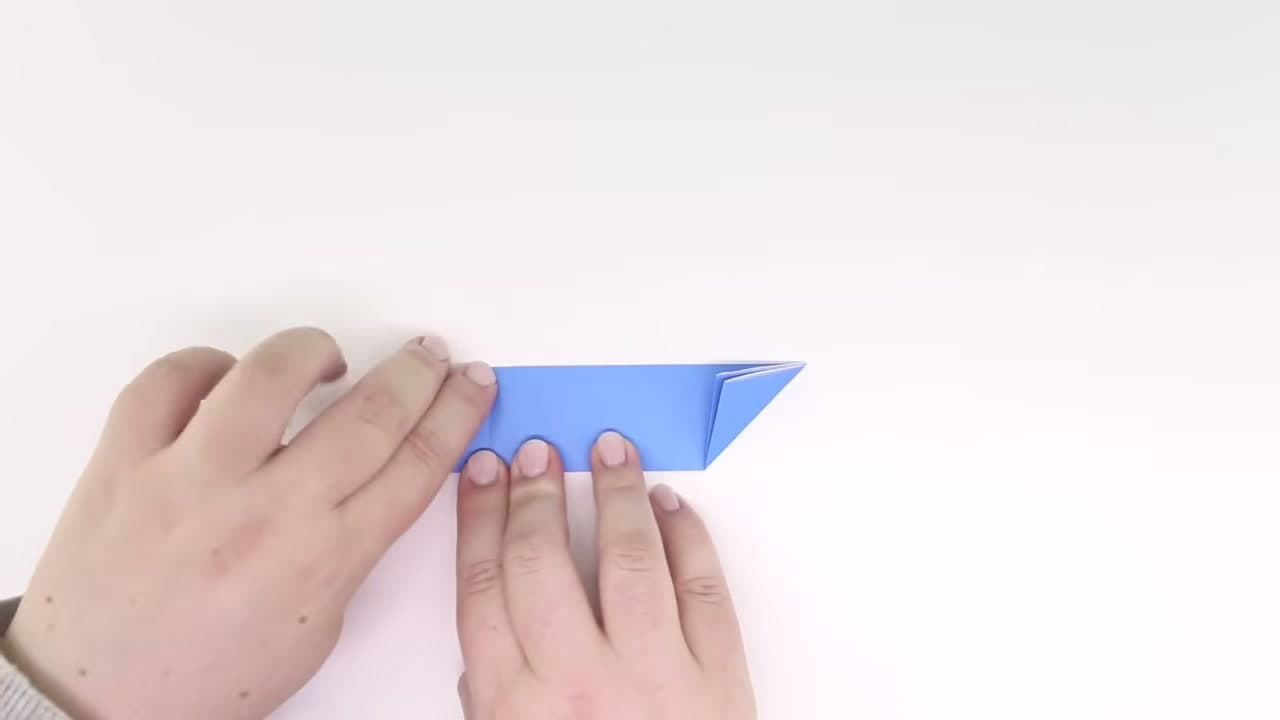
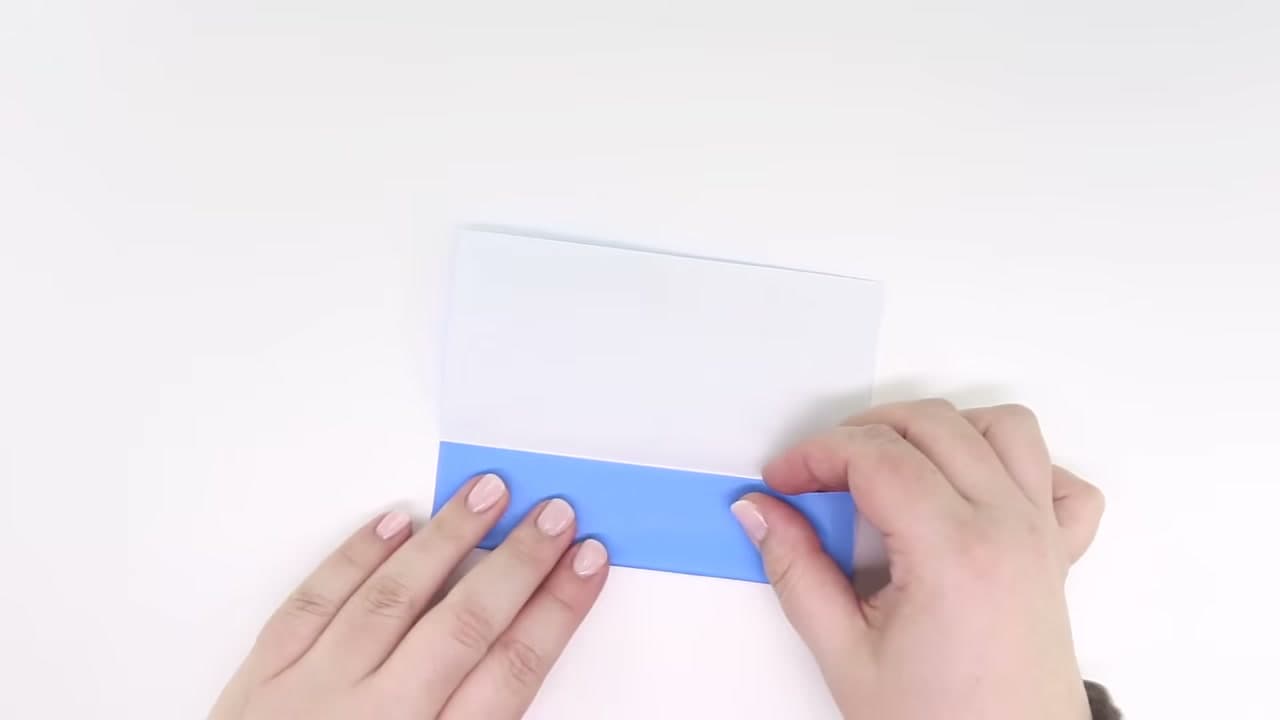
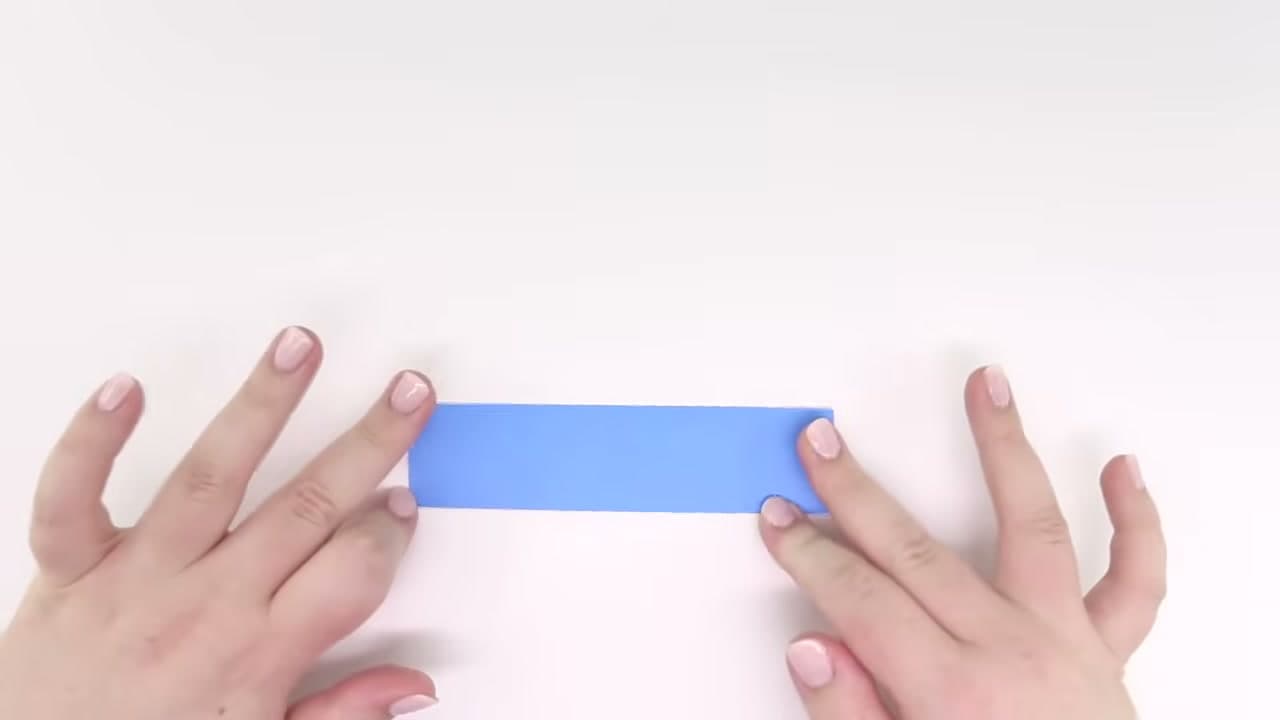
Start white side up. Fold the paper in half and open it back out so you have a center crease. Bring the bottom edge up to that crease and press. Do the same from the top. You end up with a long band four layers deep.

Tip

Sharp creases matter more here than in most folds. A soft crease lets the strip spring open while you are trying to stack the two halves.

3

Step 3

1:03
Step 3: Step 3

Fold the top edge all the way down to meet the bottom edge. The band gets narrower and thicker. Keep the edges lined up - a strip that drifts out of square here makes the two halves refuse to lock together at the end.

Products used in this step

4

Step 4

1:18
Step 4: Step 4

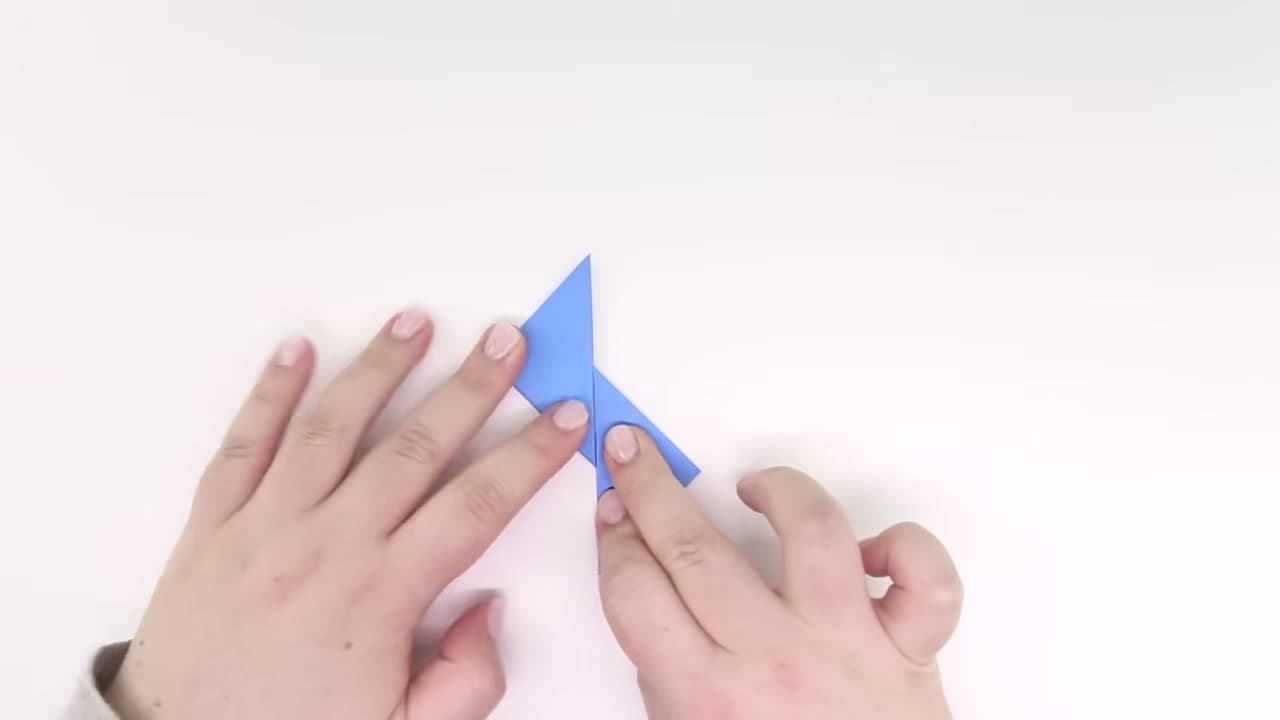
Fold the bottom right point diagonally up to the left. Then fold the top left point diagonally down to the right. The strip now has an angled point sticking out at each end, which is what turns into the blades.

5

Step 5

1:42
Step 5: Step 5

Fold the right section diagonally down to the left, then the left section diagonally up to the right. The piece bends into a Z or S shape. That is your first of two identical units - set it aside.

6

Step 6

2:30
Step 6: Step 6

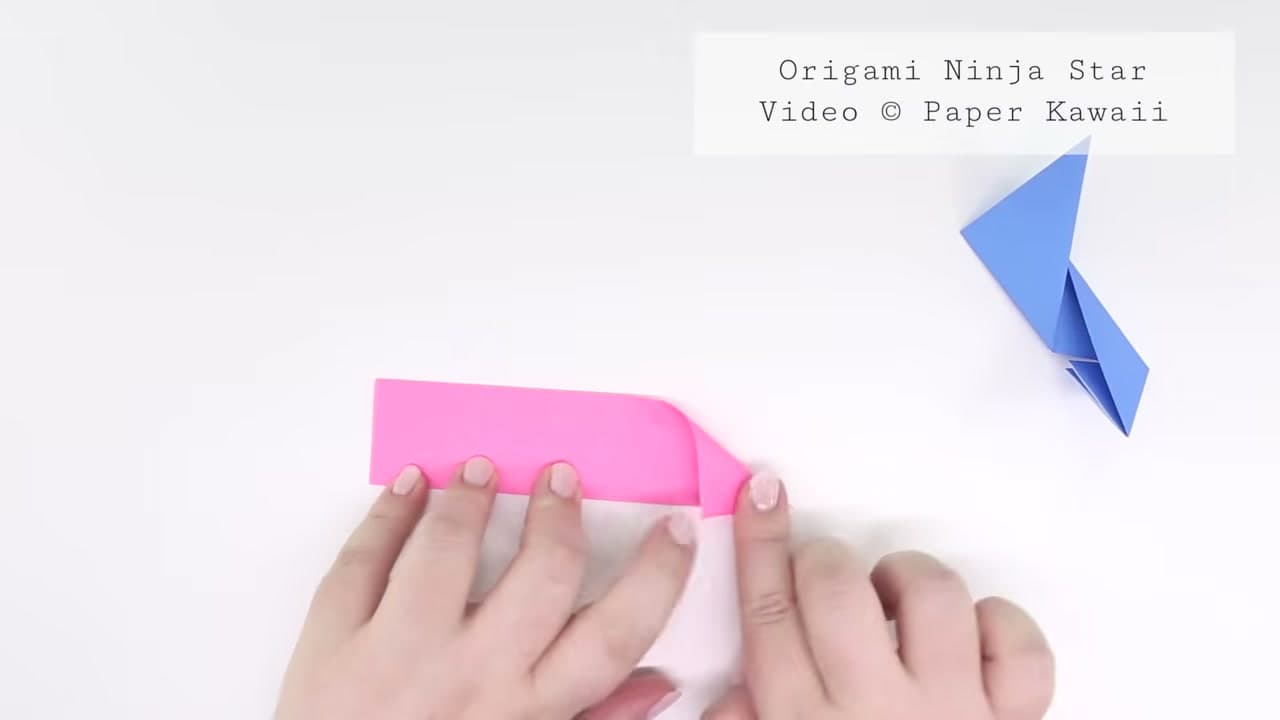
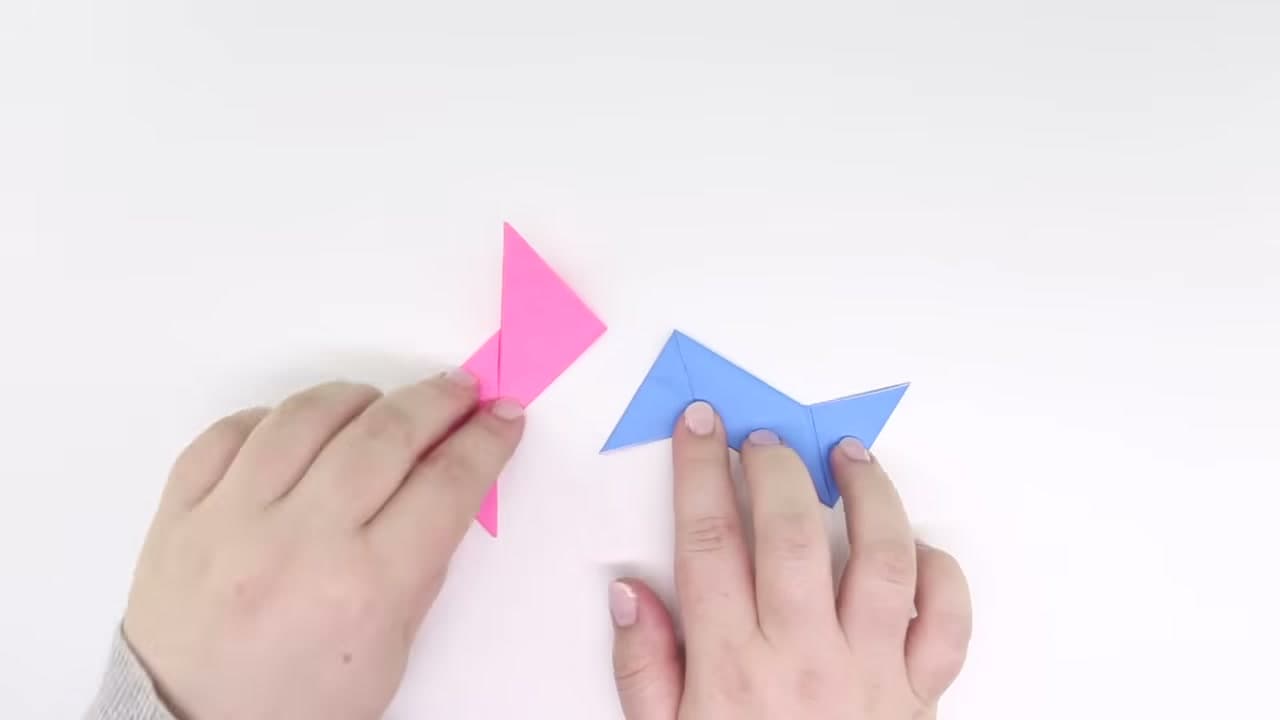
The second sheet gets folded exactly the same way except every diagonal runs the opposite direction. Where the first one folded bottom-right up, this one folds top-right down. Sit the two side by side when you finish and they should look like mirror images.

Tip

Fold the second unit next to the finished first one and check after every diagonal. If both units look identical rather than mirrored, the second one is wrong.

7

Step 7

3:25
Step 7: Step 7

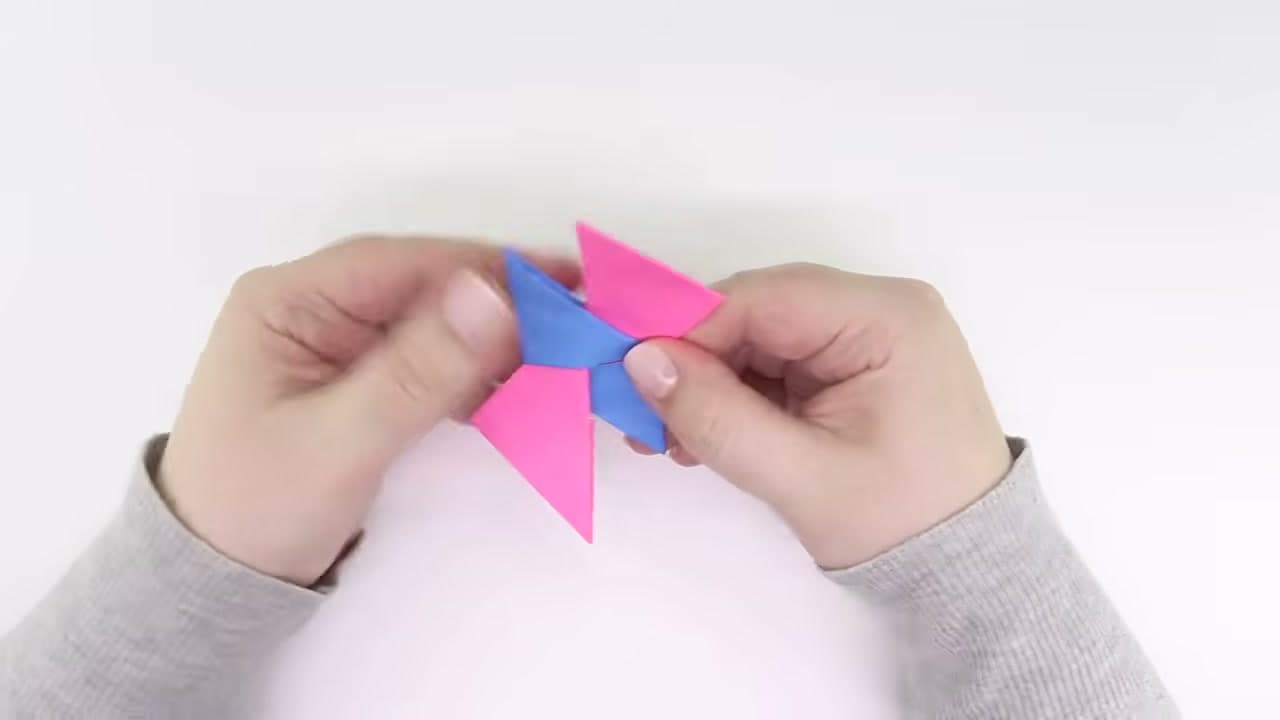
Flip one unit over onto its other side, then lay the second on top of it so the two Z shapes cross. Line up the center squares. This is the moment the star shape appears, though it is still loose and will fall apart if you let go.

Tip

Line up the two center squares before you start tucking. A crooked stack produces a star with uneven points.

8

Step 8

3:55
Step 8: Step 8

Working on the unit at the back, fold the lower right point to the left and slide it under the flap of the unit in front. Do the same with the top left point. Flip the whole star over and repeat both tucks on the back. Each tuck is what locks the star together.

Tip

Push each point further under the flap than feels necessary. Points that sit halfway in will work loose the first time the star is handled.

Products used in this step

9

Step 9

4:45
Step 9: Step 9

All four points should sit flat with no loose ends, and the star should hold together when you pick it up by one blade. If a point pops out, it was not pushed far enough under the flap - open it and push again.

Products used in this step

Products Used

☐ The Checklist

How to Make a Paper Ninja Star

Tools
1
Materials
1
Steps
9
Video
5 min

Tools we recommend

Your Guide

Paper Kawaii - Origami Tutorials

As an Amazon Associate we earn from qualifying purchases. Links on this page may be affiliate links - clicking them and buying doesn't change your price, but helps support ShowMeStepByStep.

Tags

Sunday How-To

New paper crafts tutorials, every Sunday

One short email with the week's best step-by-step guides. Free, no spam, unsubscribe anytime.

Test your knowledge

Did the lesson stick? Find out in 2 minutes.

5 quick questions covering what you just read. No signup, no score saved — just a gut check.

Quick reference

Key takeaways from How to Make a Paper Ninja Star

5 questions, answers, and one-line explanations. Tap to expand.

  1. 1.How many sheets of paper does a shuriken take?

    Answer: Two

    Two squares interlock to form the finished star.

  2. 2.What holds the two halves together?

    Answer: Points tucked into flaps

    Four points slot into four flaps, so no adhesive is needed.

  3. 3.How must the second sheet be folded?

    Answer: As a mirror image of the first

    Mirroring the second unit is what lets the two halves interlock.

  4. 4.Two 15 cm squares give a star about how wide?

    Answer: About 8.5 cm

    Roughly 8.5 cm across, which is a comfortable size to hold.

  5. 5.What is the most common mistake people make?

    Answer: Not mirroring the second unit

    Forget to mirror the diagonals and the two halves simply refuse to lock together.

Did this work for you?

What's next

Related collections

Curated theme pages that include this tutorial.

Weekly Digest

Liked this paper crafts tutorial?

Pick the categories you want to hear about. Weekly digest of new step-by-step tutorials. No spam, easy unsubscribe.

Send me tutorials about

We only email about new tutorials. Easy unsubscribe anytime.