How to Transfer a Sketch to Canvas (2 Easy Ways)

PaintingEasy17:169 stepsPart of Crafting for BeginnersBrowse more →
The finished result: How to Transfer a Sketch to Canvas (2 Easy Ways)

By Show Me Step by StepPublished

Based on a video by Jasmine - Feeling Nifty Painting Tutorials.

Getting a drawing onto canvas is the part that stops a lot of people from painting at all. Jasmine from Feeling Nifty Painting Tutorials shows two ways to do it with a printout and a pencil, and neither one needs any drawing skill. The first uses graphite transfer paper. The second needs nothing you don't already own. She transfers the same sunflower and "Shine Bright" lettering both ways so you can compare the results.

What you need to transfer a sketch to canvas

  • A printout or drawing of your design, sized to fit the canvas.
  • A stretched canvas or canvas panel. Jasmine uses 9 x 12 inches.
  • A regular pencil kept sharp. Any HB pencil works.
  • Graphite transfer paper for the first method.
  • Clear tape to stop everything from sliding.

Graphite paper vs the pencil method

Graphite paperPencil on the back
CostA few dollars a sheet packFree
PressureNormal writing pressureHeavy, firm pressure
Line darknessDark and easy to seeLighter, harder to see
Best forBig or detailed designsSmall, simple designs

The pencil method gets tiring on a large or busy design. Your hand will cramp before you finish. Take breaks and shake it out.

Sizing your printout to the canvas

A standard 8.5 x 11 inch printout fits a 9 x 12 or 8 x 10 canvas with a small border. For a bigger canvas, enlarge the image before printing and tile it across several sheets, taped together. The same trick works for a portrait from a photo: enlarge it to the canvas size, print it, and trace the main shapes.

Tips for clean transfer lines

  • Tape the graphite paper and the printout. Graphite paper is slippery and shifts.
  • Work in order, from one corner or the center outward, so you don't miss a line or trace one twice.
  • Lift one corner and peek before you remove the tape. If a section is missing, lay it back down and trace it again.
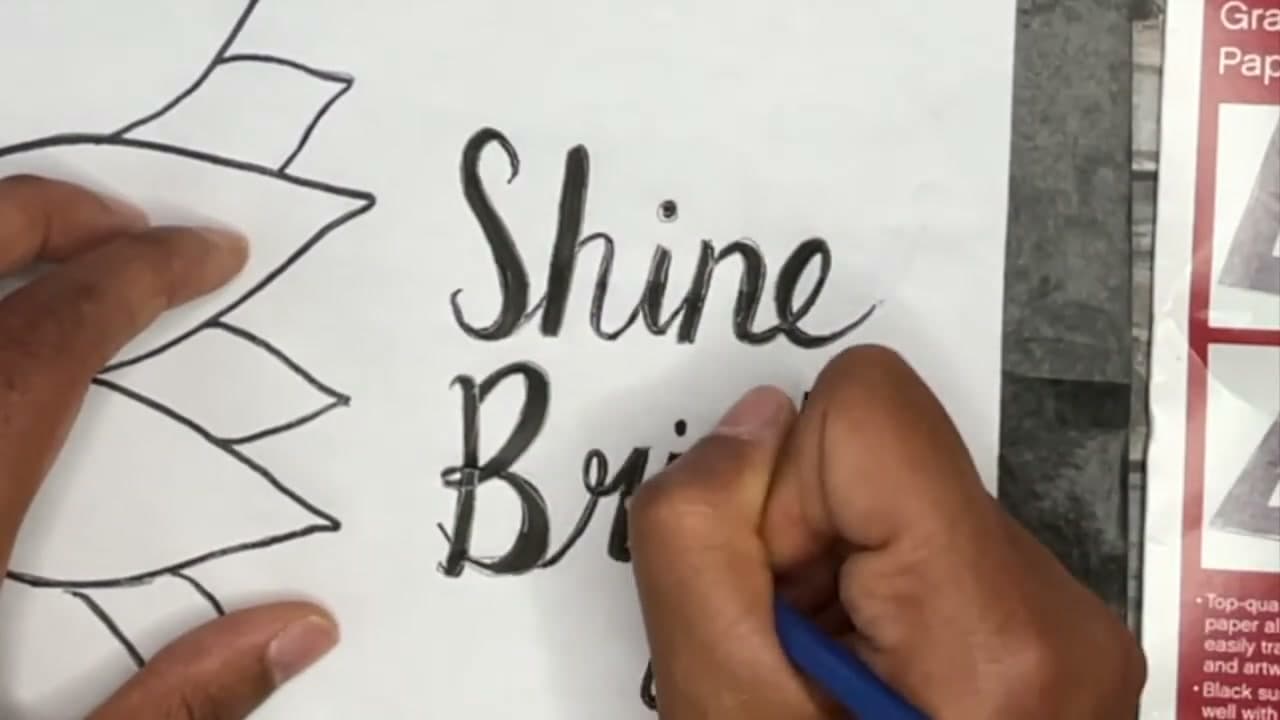
  • For lettering, trace only the outline of each letter. It is faster and easier on your hand.

Cleaning up stray lines

Dab smudges or extra graphite with a kneaded eraser before you paint. Rubbing spreads it. Dark graphite can tint pale paint like white or yellow, so lighten the lines a little first if those colors go on top.

Other surfaces

Both methods work on wood panels, watercolor paper, fabric and even ceramic. Jasmine has used the pencil method to put a quote on a mug. It came out light but it was enough to follow.

What to paint next

Prepare the surface with how to stretch a canvas and how to prime a canvas. Paint the design in with how to paint sunflowers. Working on wood or fabric instead? See how to transfer an image to wood and how to transfer an embroidery pattern.

What you'll need

Step-by-Step Guide

9 steps · about 17 minutes.Check off each step as you go and your progress saves automatically.

1

Lay Graphite Transfer Paper Dark Side Down on the Canvas

2:00
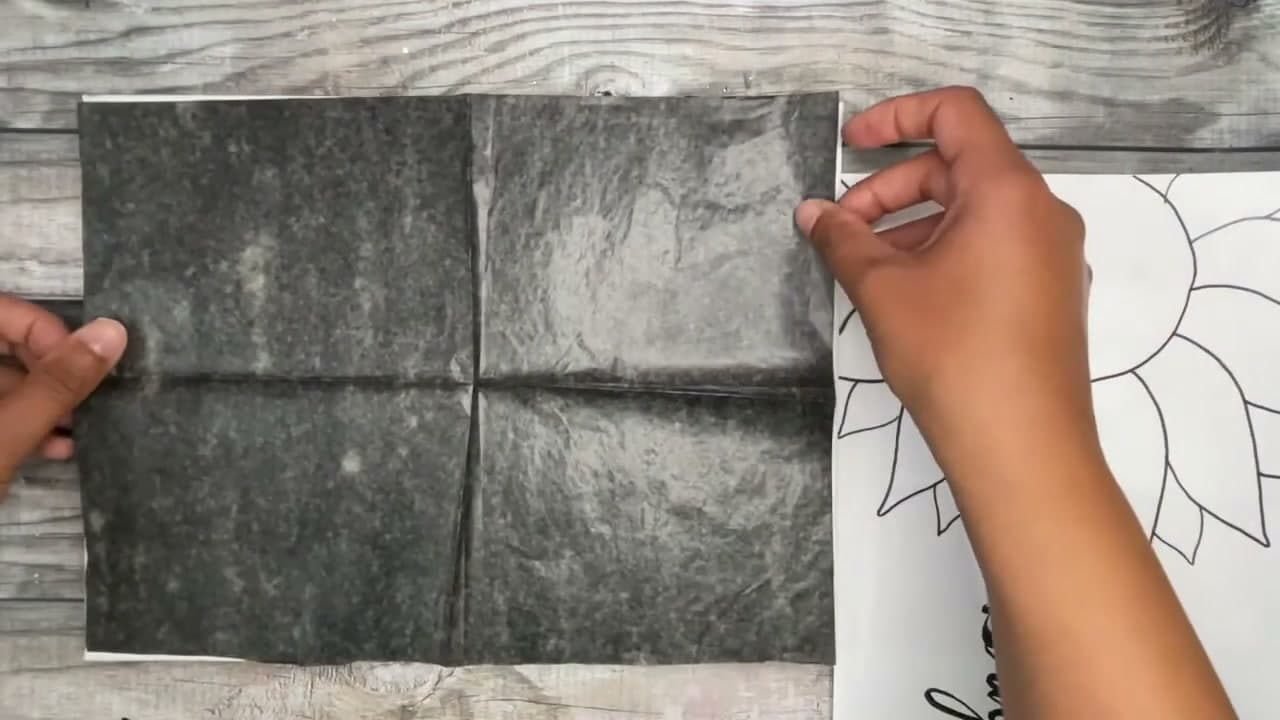
Step 1: Lay Graphite Transfer Paper Dark Side Down on the Canvas - How to Transfer a Sketch to Canvas (2 Easy Ways)

Graphite paper is a thin sheet with one dark, chalky side and one shiny side. The dark side is what transfers. Lay it on your canvas dark side down and smooth it flat with your hand. Center it under where your design will go. If the sheet is bigger than the canvas, fold it or trim it so it sits flat with no lumps.

Tip

Test which side is dark by rubbing a corner on scrap paper.
2

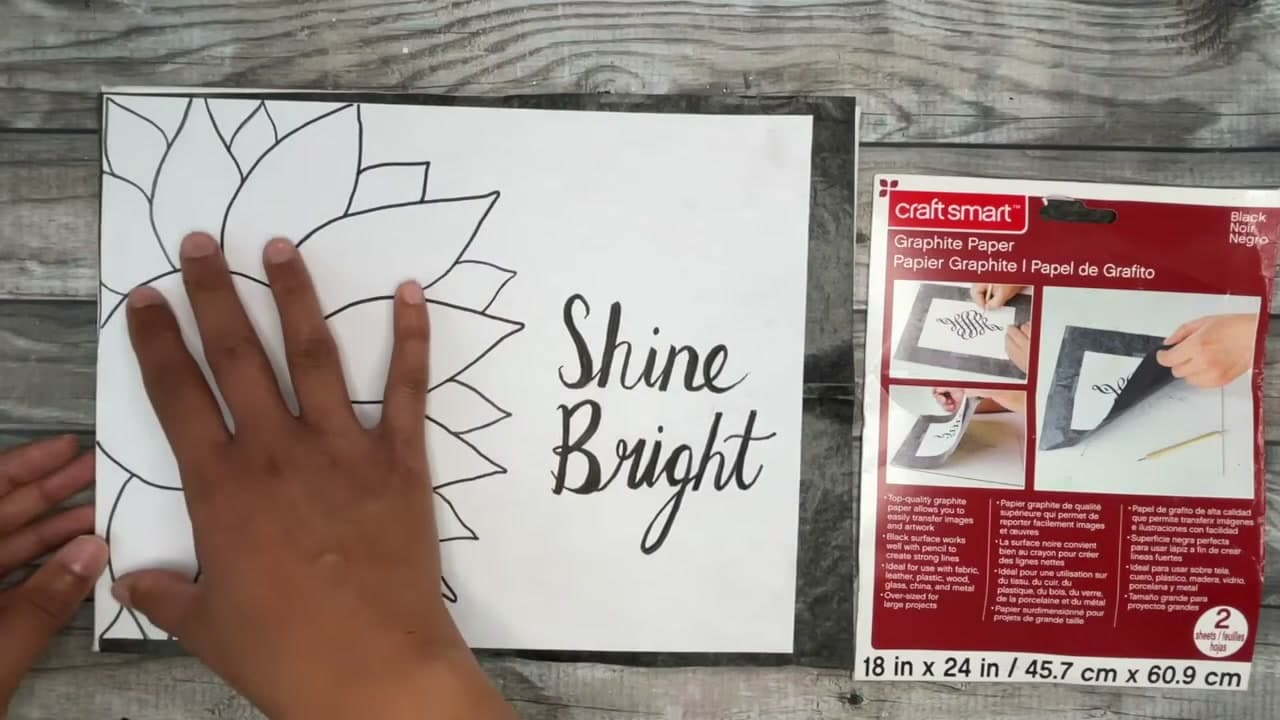
Tape the Sunflower Printout Over the Graphite Paper

2:46
Step 2: Tape the Sunflower Printout Over the Graphite Paper - How to Transfer a Sketch to Canvas (2 Easy Ways)

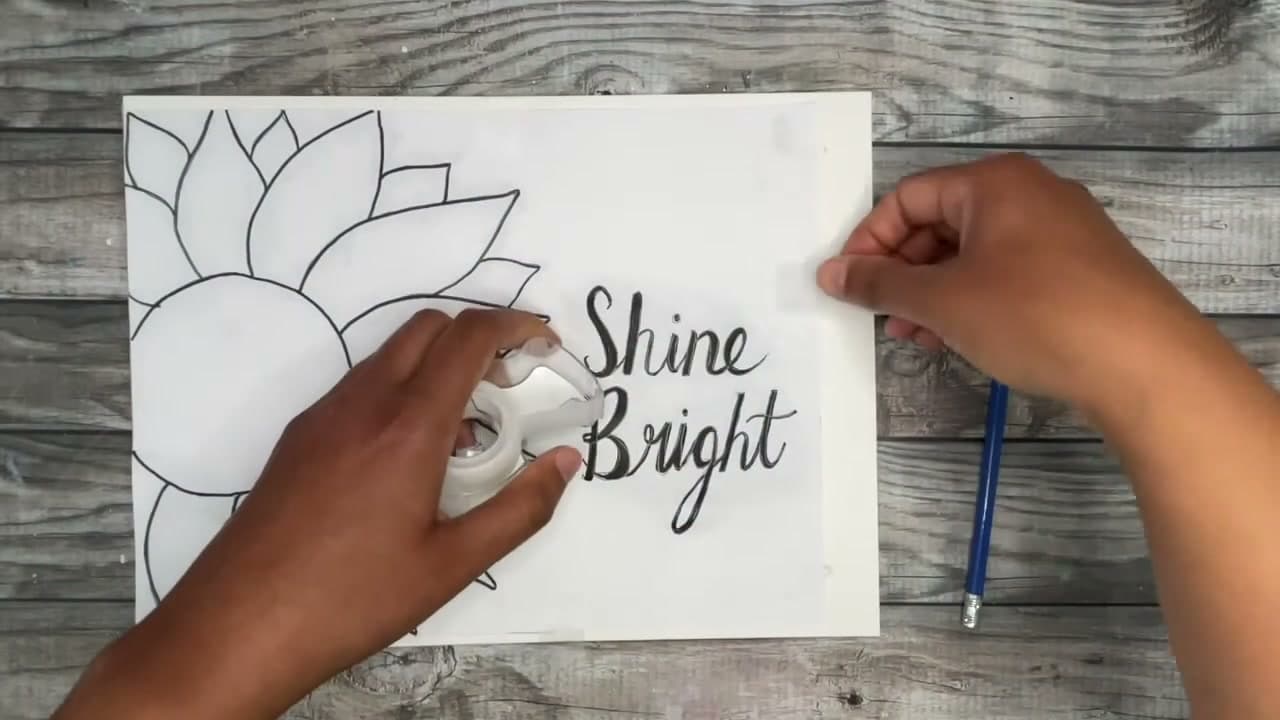
Place your printout on top of the graphite paper, right side up, exactly where you want the design to land. Jasmine sets the sunflower toward the left so the lettering fits on the right. Tape the graphite paper to the canvas with a couple of small pieces, then tape the printout down too. The graphite sheet is slippery, so both layers need it.

Tip

Clear tape lifts off canvas cleanly. Press it down only lightly.

3

Trace the Sunflower Petals With a Sharp Pencil

3:50
Step 3: Trace the Sunflower Petals With a Sharp Pencil - How to Transfer a Sketch to Canvas (2 Easy Ways)

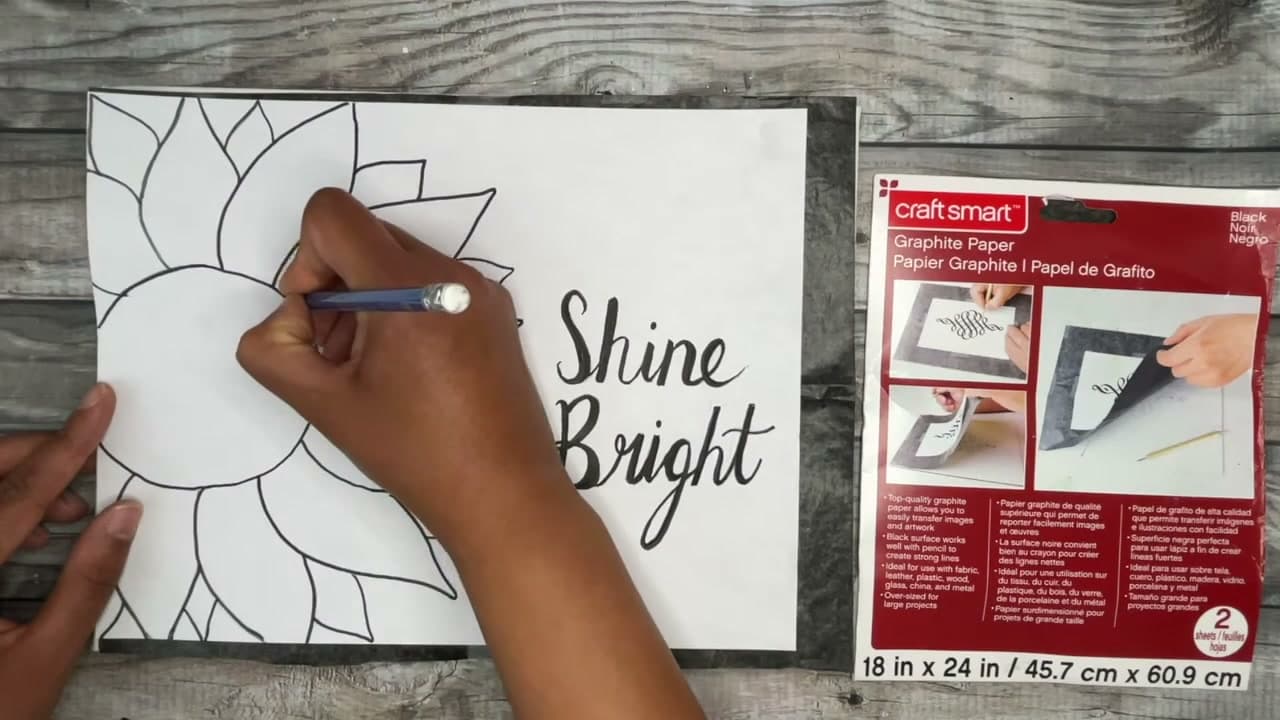
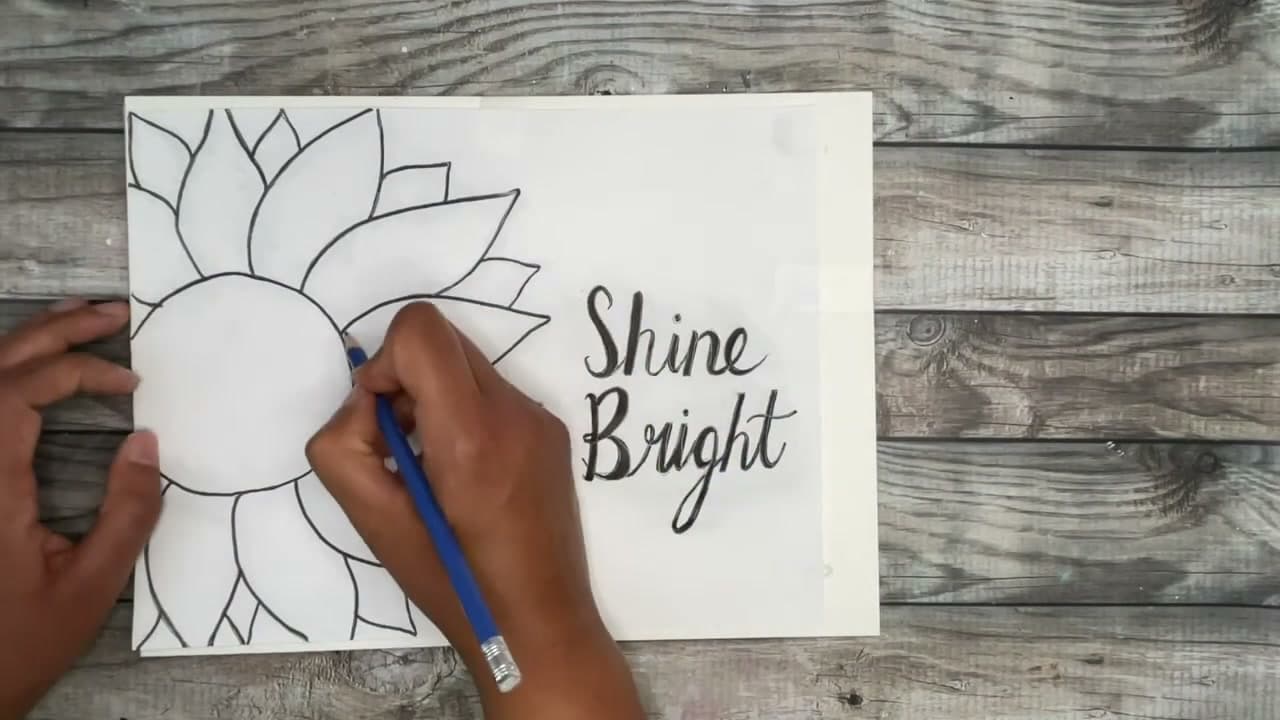
Sharpen your pencil to a fine point. Trace over every line of the design with normal writing pressure. Graphite paper releases easily, so there is no need to press hard. Start at one corner and work across so you can keep track of which petals are done. A fine point gives you a thin, accurate line on the canvas.

Tip

Keep your other hand flat on the printout so nothing shifts while you trace.

4

Trace the Shine Bright Lettering on the Printout

6:50
Step 4: Trace the Shine Bright Lettering on the Printout - How to Transfer a Sketch to Canvas (2 Easy Ways)

Move on to the lettering with the same steady pressure. Follow the outside edge of each letter so you end up with an outline to fill with paint later. Go slowly around curves and loops. If your pencil dulls, stop and sharpen it. A blunt tip makes a thick, fuzzy line that is harder to paint inside.

Tip

Tracing only the outline of thick letters saves your hand and time.

5

Lift the Paper to Reveal the Graphite Transfer on Canvas

7:50
Step 5: Lift the Paper to Reveal the Graphite Transfer on Canvas - How to Transfer a Sketch to Canvas (2 Easy Ways)

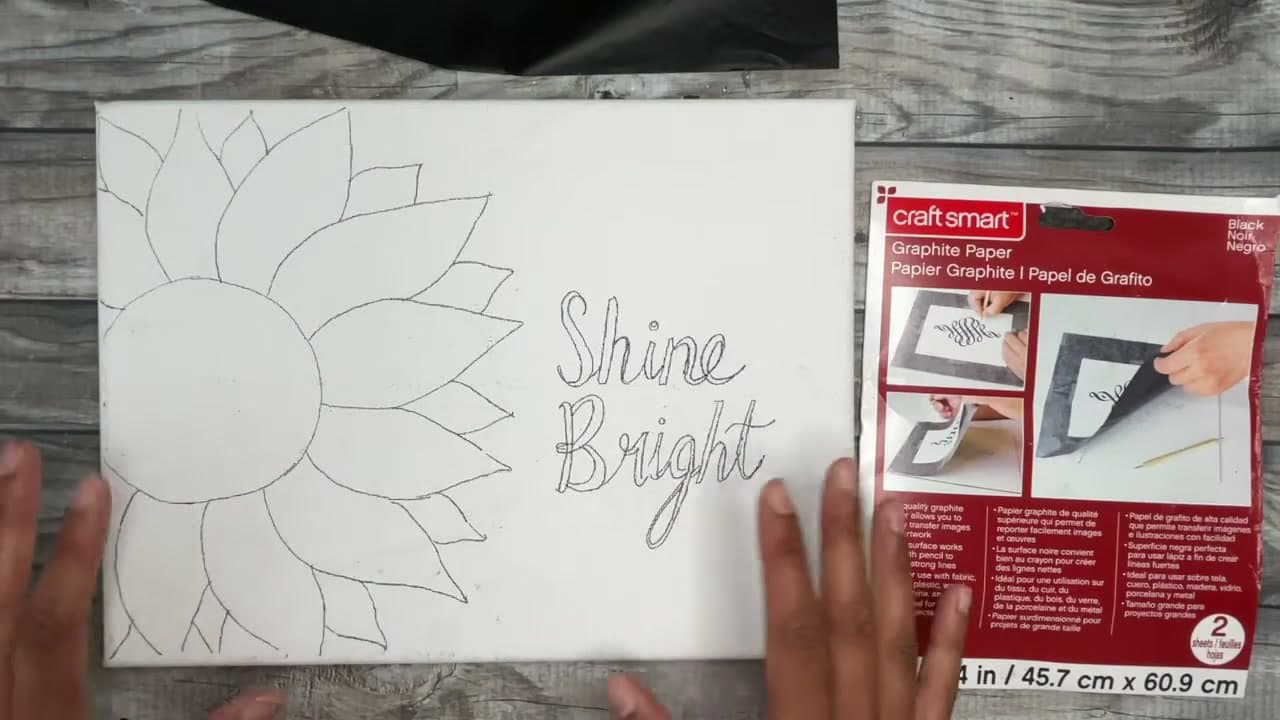
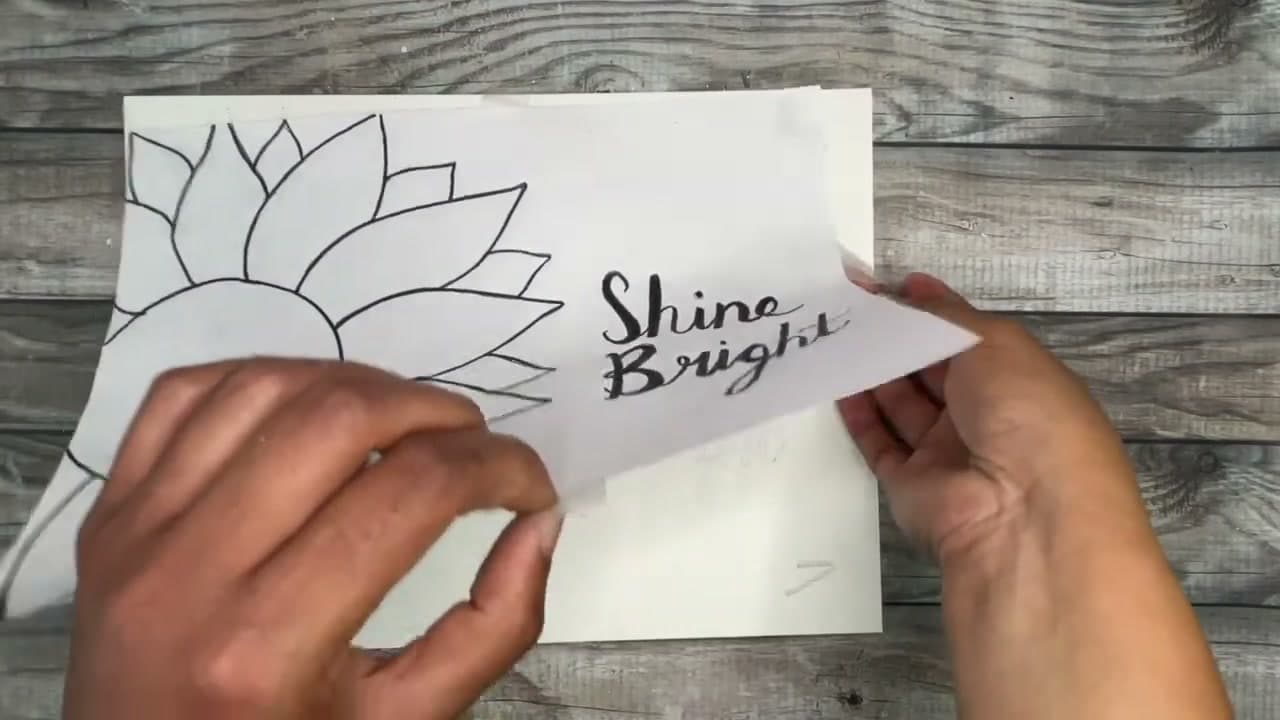
Before you take everything off, lift one corner of the printout and the graphite paper and check for missed lines. When you are happy, peel off the tape and remove both sheets. The whole design is now on the canvas in clear, dark graphite lines, ready to paint. Keep the graphite sheet. You can use it many more times.

Tip

Lift gently so the corners of the canvas don't pick up smudges.

6

Shade the Back of the Printout With a Pencil for No-Paper Transfer

9:52
Step 6: Shade the Back of the Printout With a Pencil for No-Paper Transfer - How to Transfer a Sketch to Canvas (2 Easy Ways)

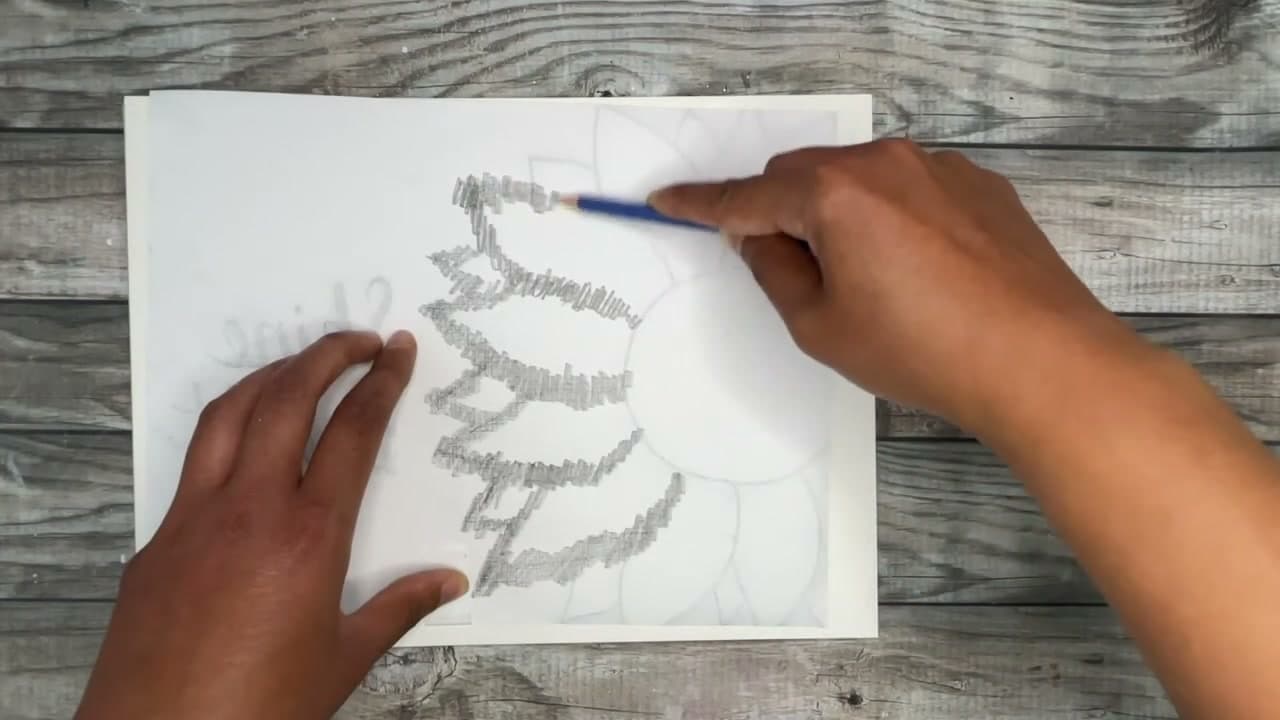
No graphite paper? Flip your printout face down. With a regular pencil, shade over the back of every line in the design. The layer of graphite on the back works like homemade transfer paper. Press firmly. The darker the shading, the darker the lines on your canvas. For lettering you can shade a rough patch over the whole word.

Tip

Hold the printout up to a window to see the lines through the back.

7

Tape the Shaded Printout Face Up on the Canvas

12:56
Step 7: Tape the Shaded Printout Face Up on the Canvas - How to Transfer a Sketch to Canvas (2 Easy Ways)

Turn the printout back over so the shaded side faces the canvas. Position it where you want the design and tape it down with a few pieces along the edges. Add one more piece for good measure. It must not move at all while you trace, or the lines will double.

Tip

Tape all four sides on a larger printout.

8

Trace the Sunflower With Heavy Pencil Pressure

13:44
Step 8: Trace the Sunflower With Heavy Pencil Pressure - How to Transfer a Sketch to Canvas (2 Easy Ways)

Trace every line again, this time pressing much harder than you did with graphite paper. The pressure pushes the shading on the back onto the canvas. Jasmine starts with the center circle, then works around the petals and finishes with the lettering. Sharpen the pencil whenever it dulls so the lines stay crisp.

Tip

Pressing hard tires your hand fast. Shake it out between sections.

9

Peel Back the Printout to Check the Pencil Transfer

15:00
Step 9: Peel Back the Printout to Check the Pencil Transfer - How to Transfer a Sketch to Canvas (2 Easy Ways)

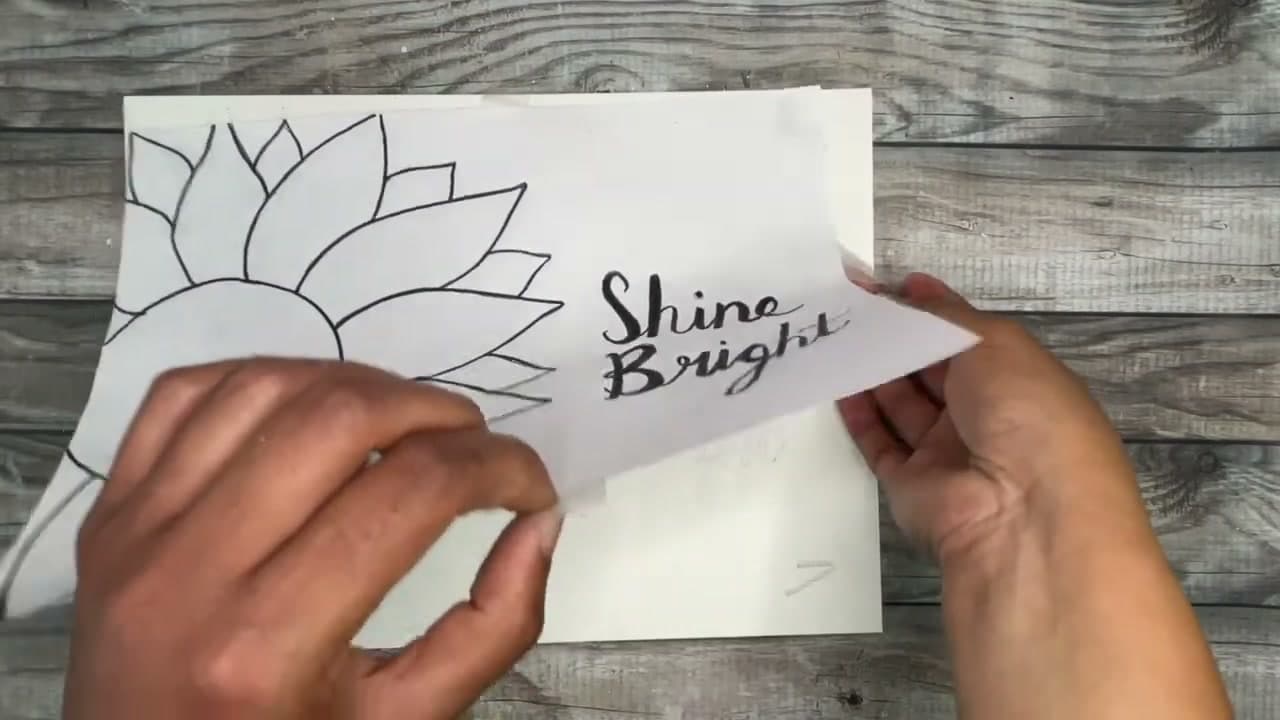
Lift a corner to check, then remove the tape and the printout. The design is on the canvas, but lighter than with graphite paper. It is usually enough to paint from. If some lines are too faint, tape the printout back in the same spot and go over them again with more pressure.

Tip

Go over very faint lines on the canvas with a light pencil touch before painting.

How to Paint Fog and Mist in Acrylics With Dry Brushing

Keep going

How to Paint Fog and Mist in Acrylics With Dry Brushing

Products Used

The Checklist

How to Transfer a Sketch to Canvas (2 Easy Ways)

Tools
3
Materials
4
Steps
9
Video
17 min

Tools we recommend

Your Guide

Jasmine - Feeling Nifty Painting Tutorials

As an Amazon Associate we earn from qualifying purchases. Links on this page may be affiliate links - clicking them and buying doesn't change your price, but helps support Show Me Step by Step.

Tags

Sunday How-To

New painting tutorials, every Sunday

One short email with the week's best step-by-step guides. Free, no spam, unsubscribe anytime.

Did this work for you?

What's next

Weekly Digest

Liked this painting tutorial?

Pick the categories you want to hear about. Weekly digest of new step-by-step tutorials. No spam, easy unsubscribe.

Send me tutorials about

We only email about new tutorials. Easy unsubscribe anytime.