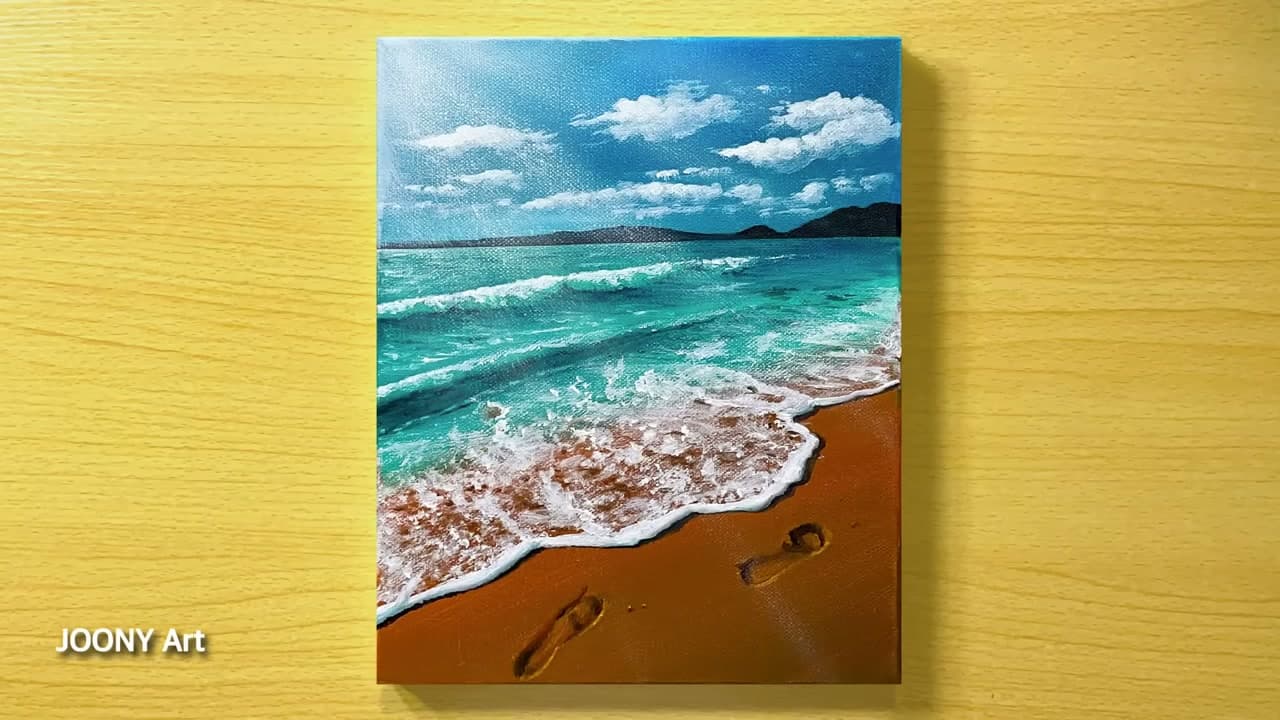
How to Paint Fog and Mist in Acrylics With Dry Brushing

PaintingMedium9:419 stepsPart of Crafting for BeginnersBrowse more →
The finished result: How to Paint Fog and Mist in Acrylics With Dry Brushing

By Show Me Step by StepPublished

Based on a video by Joseph Koensgen.

Fog and mist are some of the most magical things you can put in a painting, and some of the hardest to fake. Wildlife artist Joseph Koensgen shows how he builds a thick morning mist around two swans on a still lake. His secret is not a special medium. It is a nearly dry brush, tiny steps in value and a lot of patient layers. The same method works for a foggy forest, a misty field or a harbor at dawn.

How to paint fog and mist in acrylics: the method

  1. Mix a soft grey with a hint of purple.
  2. Block in where the mist will sit.
  3. Lay in darker bands so you have a light to dark range.
  4. Dry brush (scumble) the bands together until no edges show.
  5. Pull out lighter wisps, then brighten where the light hits.

Why dry brushing works so well for mist

Real mist has no edges. It thins out gradually and lets shapes behind it show through. Wet blending can do that, but acrylic dries so fast that a big area turns streaky. Dry brushing turns the fast drying into a help. You scrub a whisper of paint on, it dries in seconds, and you go straight over it again. Each pass shifts the value a tiny bit. After twenty passes the gradient looks like air.

Choosing your greys

Pure black and white makes a flat, cold grey. Joseph tints his with ultramarine blue and alizarin crimson, which gives a soft violet grey that reads as atmosphere. For a warm sunrise fog, push the mix toward a little yellow ochre or pink. For a cold winter fog, lean on the blue. Mix a big pile of your main grey so every value you make from it stays related.

Fog also flattens everything behind it. Things further back get lighter, cooler and less detailed. Keep the darkest darks and sharpest edges for the closest objects.

Brushes and surface

Old, worn brushes are perfect for this. Their splayed tips scrub paint on softly. A soft round or a small fan brush handles the wispy bits. A smooth surface like a gessoed panel shows the gradient best. Canvas texture can break up the softness, so sand your gesso or add an extra coat.

Getting the brush dry enough

This is where most first attempts go wrong. Load a tiny amount of paint, then dab most of it off on a paper towel or a clean spot on the palette. The brush should feel almost empty. If you see a wet stroke on the canvas, there was too much paint.

Common problems

  • Hard stripes between values. Mix an in between value and dry brush it over the line.
  • Chalky, dull mist. Too much white. Add a touch of the background color back into the mix.
  • Mist looks like a pattern. Vary the size and direction of your wisps. Keep them loose and random.
  • Lost the subject. Glaze a little mist back over it, slowly. You can always add more.

Keep practicing

Brush up on blending acrylic paint and mixing acrylic colors first if you are new to acrylics. Then try mist over painted water or soft clouds, and finish a piece with a few thin glazes.

What you'll need

Step-by-Step Guide

9 steps · about 10 minutes.Check off each step as you go and your progress saves automatically.

1

Mix a Purple Tinted Grey for the Acrylic Mist

0:50
Step 1: Mix a Purple Tinted Grey for the Acrylic Mist - How to Paint Fog and Mist in Acrylics With Dry Brushing

Start with a pile of mid grey on your palette. Joseph pulls in a little ultramarine blue and a touch of alizarin crimson to tint it slightly purple. That cool violet grey looks like air instead of concrete. Mix more than you think you need. Every lighter and darker value you make later comes from this base, which keeps the whole mist in harmony.

Tip

Test a dab on the edge of the canvas. Grey always looks different next to your background.

2

Block In the Base Color of the Fog

1:03
Step 2: Block In the Base Color of the Fog - How to Paint Fog and Mist in Acrylics With Dry Brushing

With a flat brush, paint the grey into the area where the mist will sit. Joseph left a space between the dark background and the water for it, with the white swan shapes already blocked in. Do not worry about softness yet. You only want the general shape and placement of the mist. It will take a couple of layers to cover well.

Tip

Paint loosely around your subject. You can tidy the edges later.

3

Add Darker Grey Bands Above the Mist

1:41
Step 3: Add Darker Grey Bands Above the Mist - How to Paint Fog and Mist in Acrylics With Dry Brushing

Mix a slightly darker grey and paint a band above the first one, working toward the dark background. Then a darker one still. You are building steps from light to dark. At this point the painting looks blocky, with hard lines between each band. That is normal. These bands are a map of values you will blend together next.

Tip

Keep the value jumps small. Three or four close steps blend far easier than two big ones.

4

Load a Nearly Dry Brush for Dry Brushing Mist

3:50
Step 4: Load a Nearly Dry Brush for Dry Brushing Mist - How to Paint Fog and Mist in Acrylics With Dry Brushing

Mix a value halfway between two neighbouring bands. Test it between them on the canvas to check it sits in the middle. Then take a worn round brush, dab the very tip into the paint and dab most of it off again. Joseph keeps the brush almost completely dry. That tiny amount of paint is what makes the gradient smooth.

Tip

Wipe the brush on a paper towel between loads so it never gets wet.

5

Dry Brush a Smooth Gradient Into the Fog

4:06
Step 5: Dry Brush a Smooth Gradient Into the Fog - How to Paint Fog and Mist in Acrylics With Dry Brushing

Scrub the nearly dry brush firmly over the line between two bands. This is called scumbling. The paint grabs the surface in a soft haze and knocks back the hard edge. Work back and forth, then reload with a whisper of paint and go again. Add tiny amounts of white or black to the mix as you move up and down the gradient.

Tip

Acrylic dries in seconds this thin, so you can layer pass after pass without waiting.

6

Pull Out Light Wisps of Mist With a Small Brush

5:44
Step 6: Pull Out Light Wisps of Mist With a Small Brush - How to Paint Fog and Mist in Acrylics With Dry Brushing

Once the gradient is smooth, mix a slightly lighter grey. Draw out little structures in the mist, like curls and drifts rising off the lake. Keep them loose and random, in different sizes and directions. Joseph warns against repeating the same shape. A pattern in the mist gives the trick away fast. Keep these marks light and thin.

Tip

Step back from the easel often. Wisps that look rough up close read as soft from a distance.

7

Build Lighter Mist Where the Light Falls

7:00
Step 7: Build Lighter Mist Where the Light Falls - How to Paint Fog and Mist in Acrylics With Dry Brushing

Decide where the light comes from in your scene. Joseph's swans are lit strongly from one side, so he adds lighter and lighter mist in the foreground and on the water near them. Use a soft round brush and build it slowly. These brighter patches add depth, so the mist is not one flat sheet of grey behind the subject.

Tip

Go one value lighter at a time. Jumping straight to white looks chalky.

8

Strengthen the Light Beam in the Mist Beside the Swans

8:19
Step 8: Strengthen the Light Beam in the Mist Beside the Swans - How to Paint Fog and Mist in Acrylics With Dry Brushing

With your subject painted, check the mist again. Joseph felt the light near the swans was too weak, so he dry brushed in more light grey, like a beam breaking through trees on the shoreline. Because dry brushing builds so gently, you can keep adding until it feels right and the softness stays.

Tip

Paint the subject before the final mist pass. Then you can judge the light against it.

9

Dry Brush Mist Over the Reflections to Finish

8:48
Step 9: Dry Brush Mist Over the Reflections to Finish - How to Paint Fog and Mist in Acrylics With Dry Brushing

Lightly dry brush a little mist over the swan reflections and the water. This pushes them back and gives the whole scene a light, airy feel, as if the fog sits between you and the water. Add a few final wisps where the eye wants them and stop. Joseph says the patience pays off when it all comes together.

Tip

Less is more over a finished subject. One light pass, then step back and look.

How to Paint Shadows and Highlights in Acrylics With Color Theory

Keep going

How to Paint Shadows and Highlights in Acrylics With Color Theory

Products Used

The Checklist

How to Paint Fog and Mist in Acrylics With Dry Brushing

Tools
5
Materials
2
Steps
9
Video
10 min

Tools we recommend

Your Guide

Joseph Koensgen

As an Amazon Associate we earn from qualifying purchases. Links on this page may be affiliate links - clicking them and buying doesn't change your price, but helps support Show Me Step by Step.

Tags

Sunday How-To

New painting tutorials, every Sunday

One short email with the week's best step-by-step guides. Free, no spam, unsubscribe anytime.

Did this work for you?

What's next

Weekly Digest

Liked this painting tutorial?

Pick the categories you want to hear about. Weekly digest of new step-by-step tutorials. No spam, easy unsubscribe.

Send me tutorials about

We only email about new tutorials. Easy unsubscribe anytime.