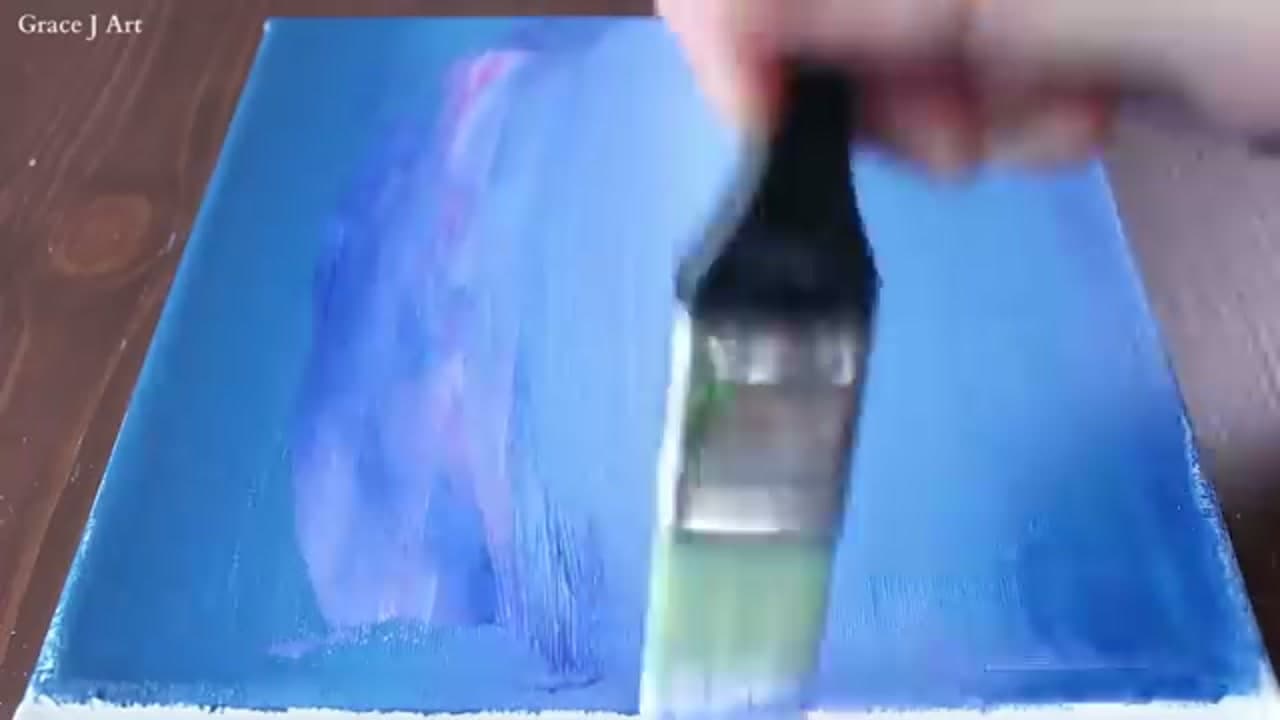
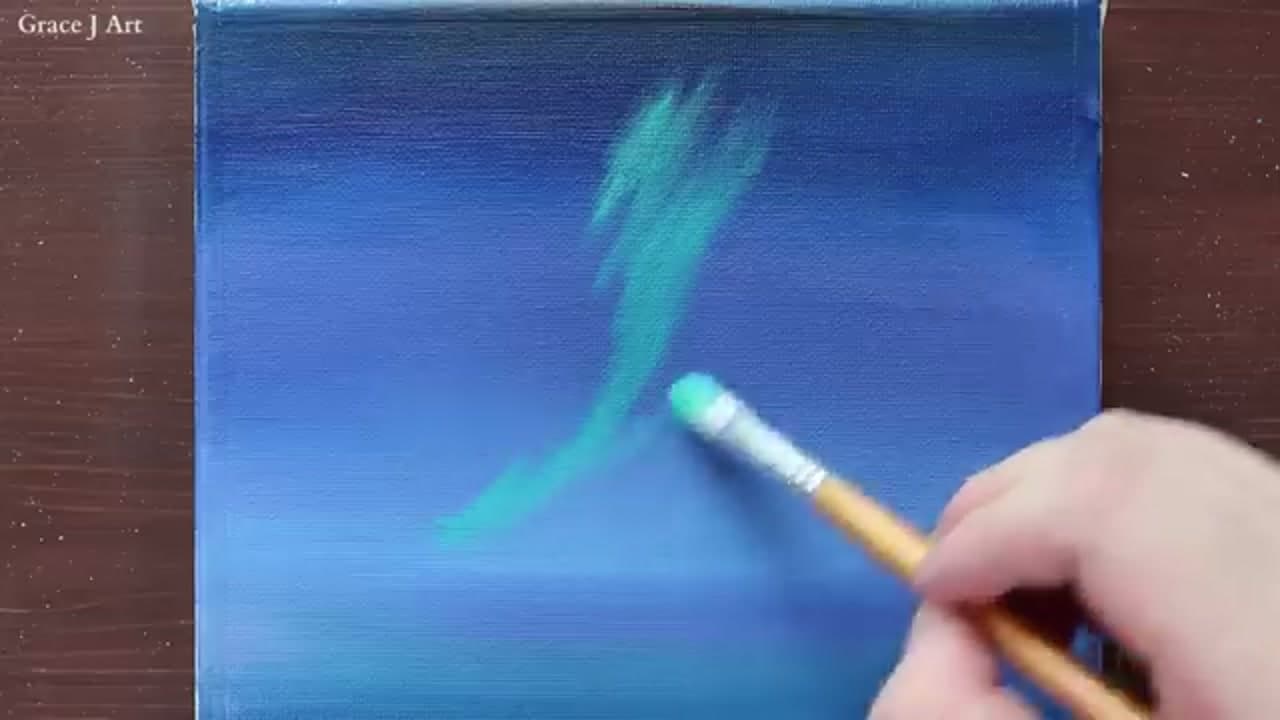
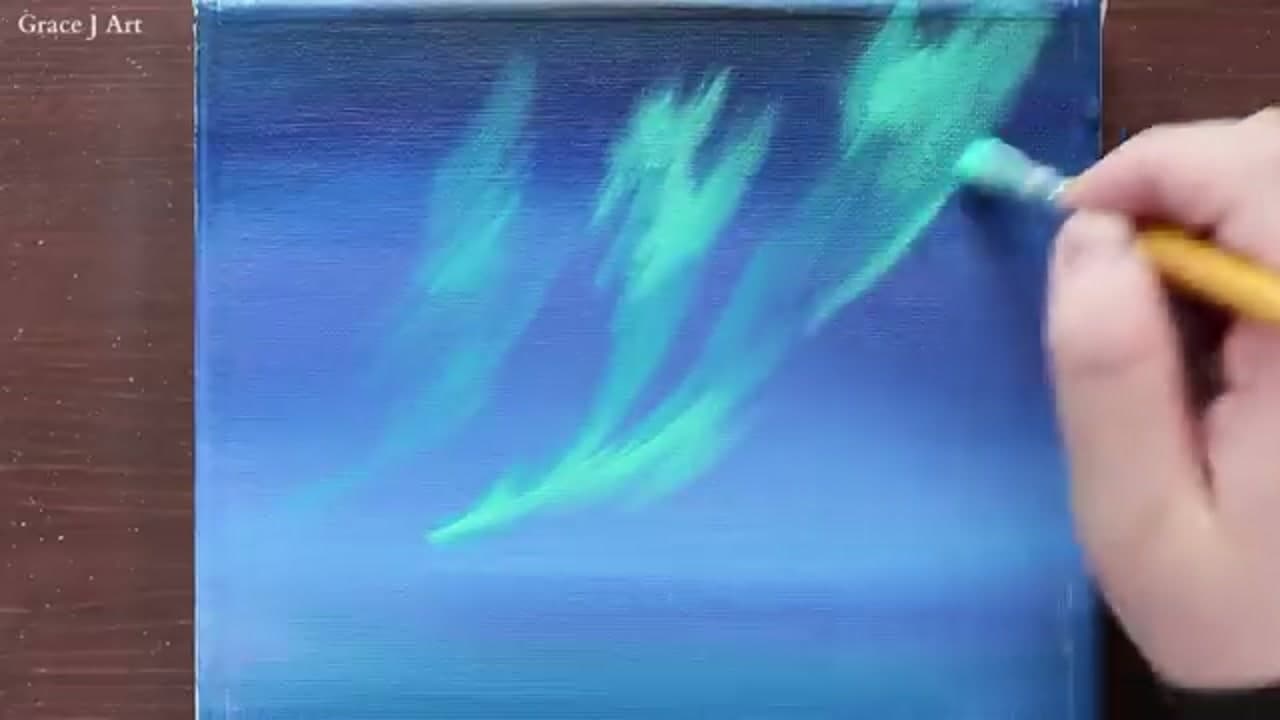
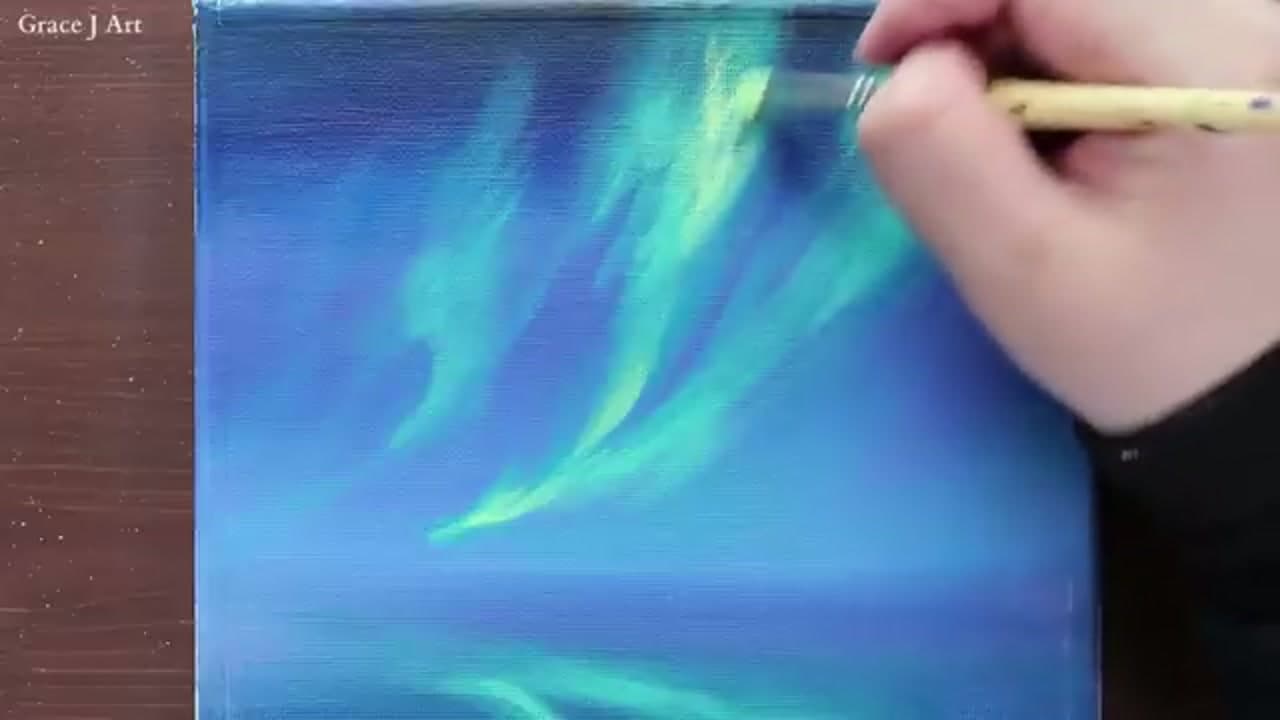
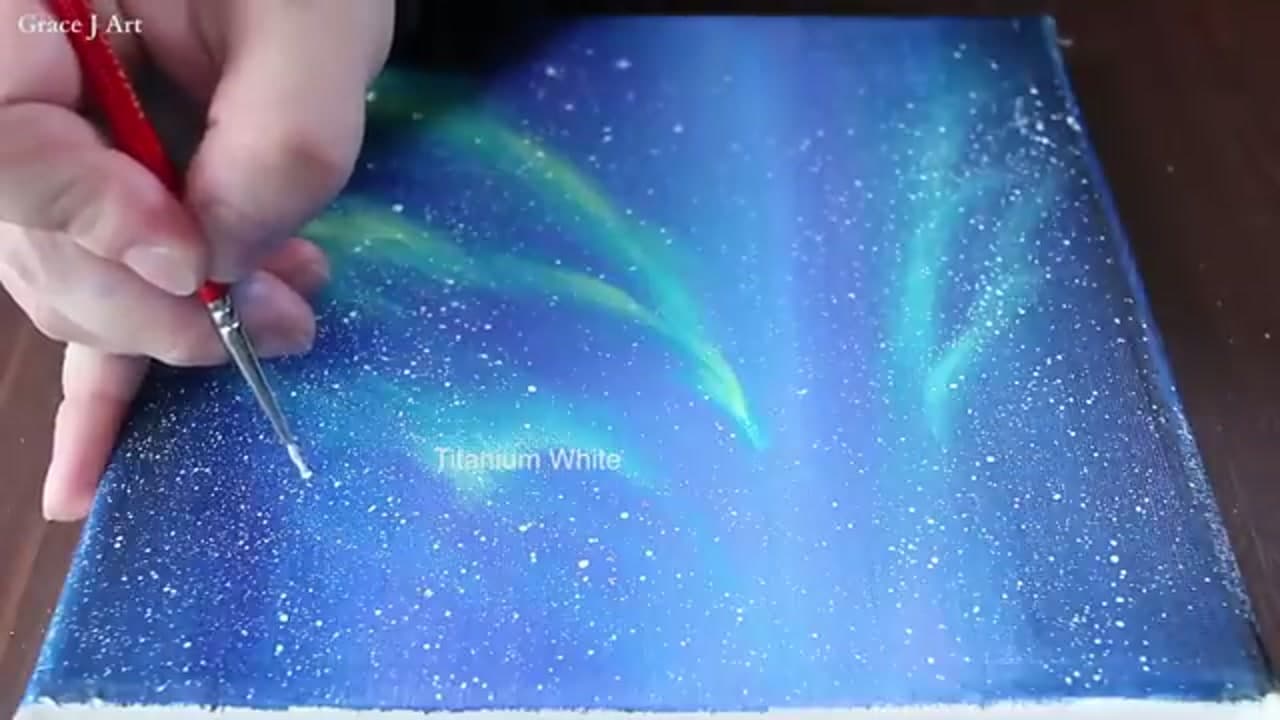
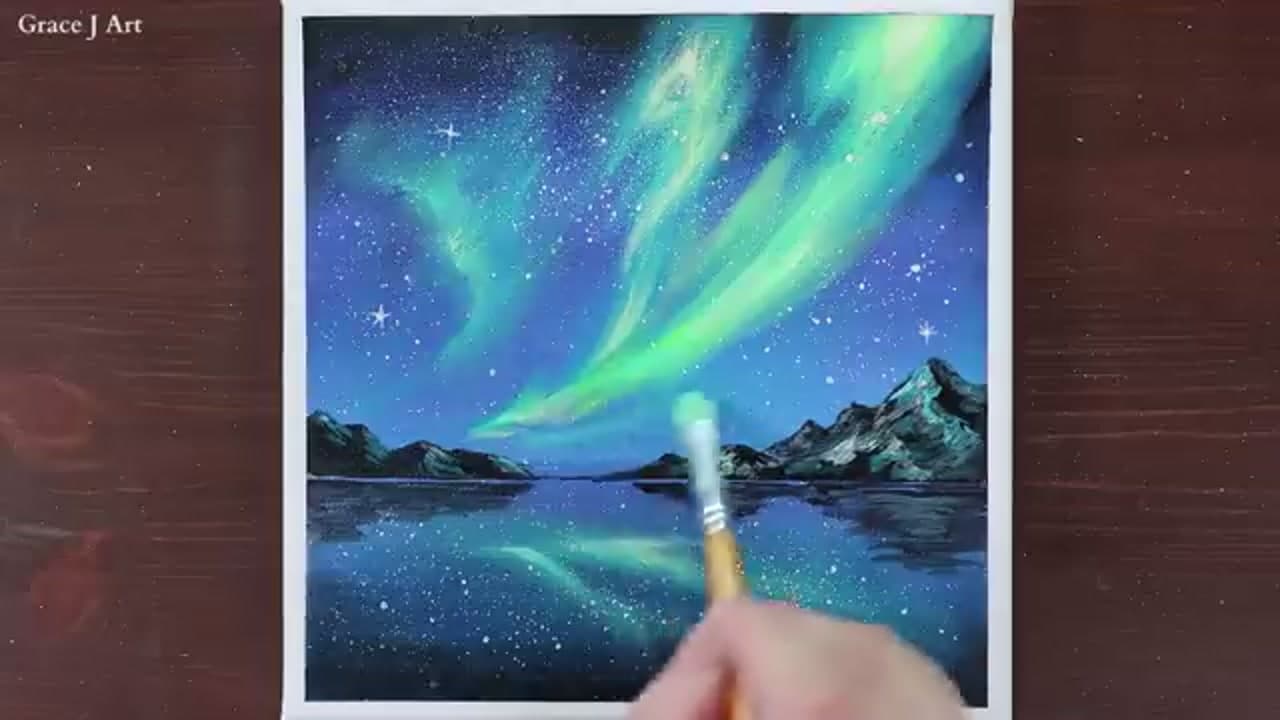
An aurora is light, not an object. There is no outline to draw. The glow does not come from the green at all - it comes from how dark the sky underneath it is. Get that graded sky smooth and deep first and the ribbons you lay over it look switched on. Grace J Art builds the whole scene with six tubes and three brushes, which is why it holds up as a first landscape.
The steps handle the order. This part covers what sits behind them: which paint to buy, how much time you get to blend, and the habit that turns a good aurora into grey mud.
The Colours That Make an Aurora Glow
Four tubes do most of the work. Phthalo blue for the sky. Phthalo green or a bright aqua green for the ribbons. Lemon yellow to warm the core of each band. Titanium white for stars and the hottest edges. Ivory black darkens the top of the sky and paints the mountain ridge at the end.
Spend on the green, the blue and the white if you spend anywhere. Cheap student paint is the same pigment cut with filler, and filler is what makes a green stroke go chalky the second it meets wet blue - a bargain phthalo green over a bargain blue reads as sage, not aurora. Weak white is the other trap. It will not cover a dark sky in one pass, so your stars fade as they dry.
Work Wet, and Work Fast
The sky and the ribbons are both wet-on-wet. On a small canvas acrylic gives you two or three minutes of open time before the surface skins over. Push a brush through it after that and you get ridges instead of a blend.
Two habits buy you room. Mix more paint than you think you need before the brush touches canvas, because stopping to mix mid-blend is how a sky dries on you. And work the sky in horizontal bands a few inches deep, overlapping into the wet edge of the last one. If your paint is stiff out of the tube, see thinning acrylic paint, and blending acrylics if gradients are new to you.
The Failure Mode Is Overworking It
Almost every flat aurora is an overworked one. You lay a green ribbon, it looks thin, you go back in. Green and blue are both still wet, so they mix on the canvas instead of sitting in layers, and you get a grey-green haze with no light in it.
Lay each ribbon in one or two confident flicks and leave it. If a band genuinely goes wrong, let it dry all the way and paint over the top - acrylic forgives that, and it will not forgive being stirred. Leave dark sky showing between the bands. That negative space is doing half the work. A sky covered edge to edge in green has nothing to glow against.
The Dark Silhouette Goes On Last
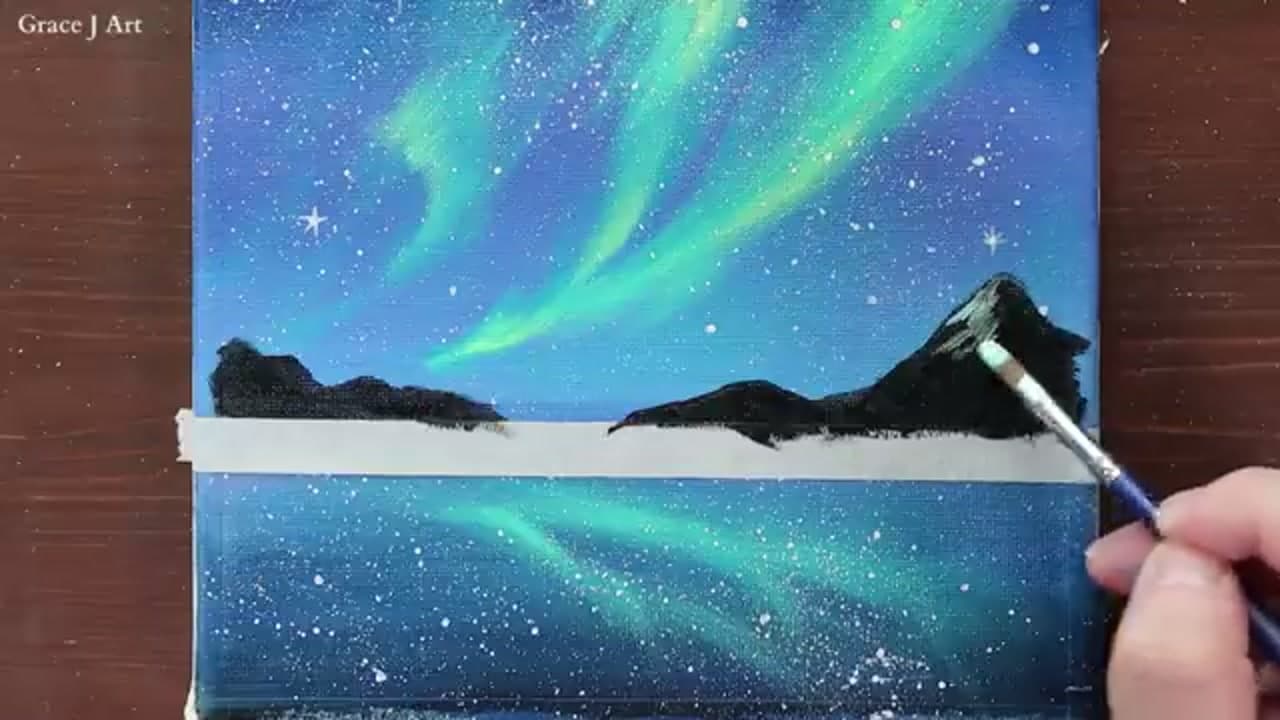
Mountains, a treeline, a cabin roof - whatever the foreground is, it goes on after the sky, never before. Painting a sky around a silhouette means fussing at the edges with a small brush. A strip of masking tape along the horizon gives you a clean line with no skill required. Press the edge down hard and peel it while the black is still slightly damp.
The reflection is the cheapest upgrade on the painting. Streaking the same greens and blues straight down into the water doubles the glow for a minute of work and reads instantly as a lake. Keep it a shade darker and softer than the sky. For sharper ridges see painting mountains with acrylics, and for ripples and shorelines, painting water.
Canvas, Paper and Other Auroras
A stretched canvas is the easier surface. It takes a lot of wet paint without buckling and hangs as it is. Acrylic paper works if it is heavy, around 400gsm, and taped down on all four sides. Thin paper cockles under a wet sky and will not flatten again.
Green is the aurora most people picture, but real displays run pink, magenta and violet at the top of a strong band. Drop a little magenta or dioxazine violet into the upper tips of a ribbon. If night skies are your thing, the galaxy painting uses the same dark-base-then-glow order with a different palette.