How to Knit Fingerless Gloves: Beginner Pattern in 7 Steps

KnittingMedium46:437 stepsBrowse more →

By ShowMeStepByStepPublished Updated

Based on a video by Sheep & Stitch.

Fingerless gloves are the perfect next step after you have basic knitting down. You already know how to knit and purl. You can cast on without thinking about it. You have a bind off in your back pocket. Time to put it all together on double-pointed needles and end up with something you actually want to wear.

Davina at Sheep & Stitch walks through her free pattern from cast on to weaving in ends. This walkthrough shrinks her 46-minute video into seven steps so you can see the whole shape of the project before you cast on. The pattern is knit in the round in sport-weight yarn, with a 2x2 ribbed cuff, a worked thumb gusset, and a second ribbed edge at the fingers. Three sizes are built in, and you pick yours by measuring around your knuckles before you start.

Step-by-Step Guide

1

Step 1: Cast On with the Smaller Needles

5:30
Step 1: Step 1: Cast On with the Smaller Needles

Pick your size first - measure around your fingers just below the knuckles, keep your hand relaxed, and match the number to the finished sizes in the pattern. Davina's hand measures 6.1 inches, which slots into size small. Round down if you are between sizes - the fabric stretches.

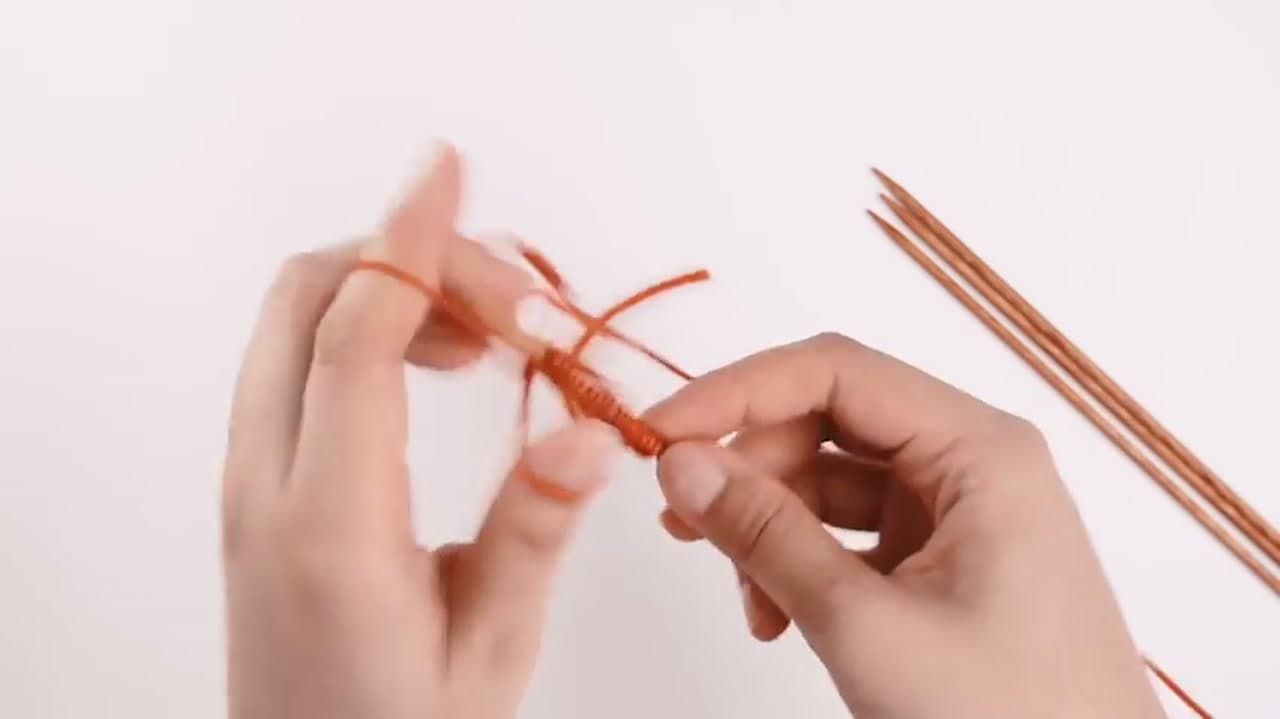
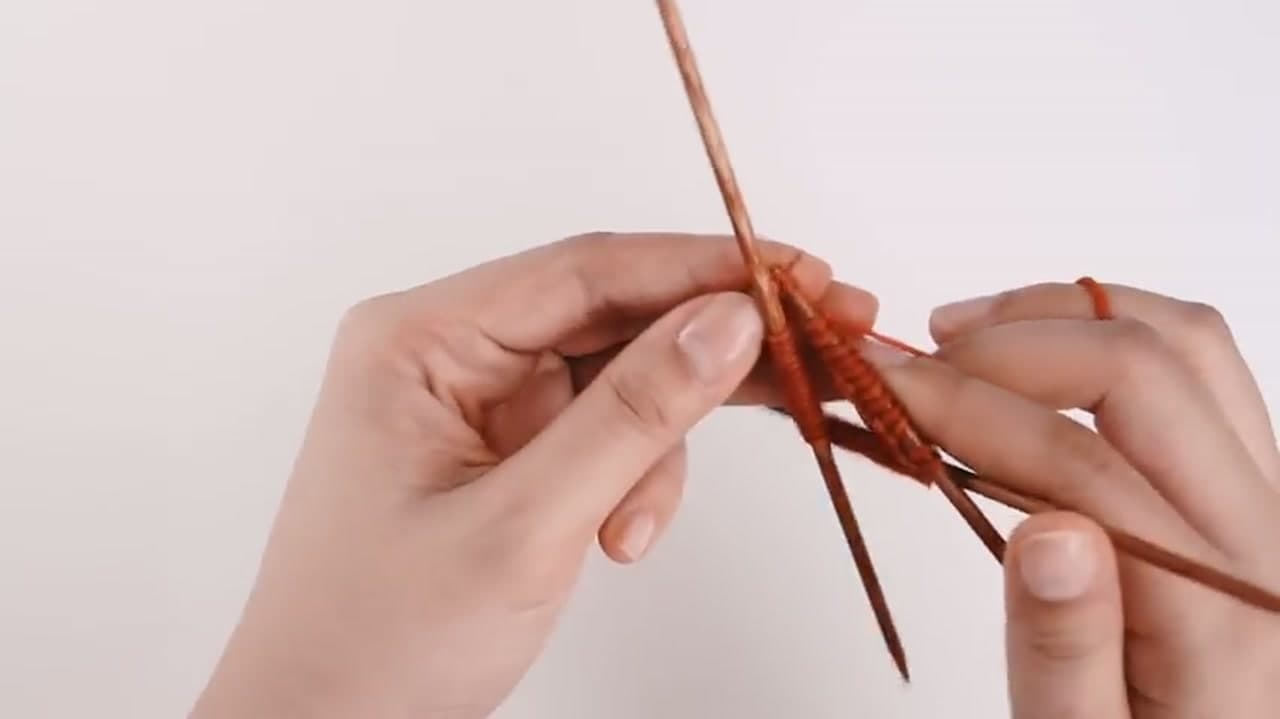
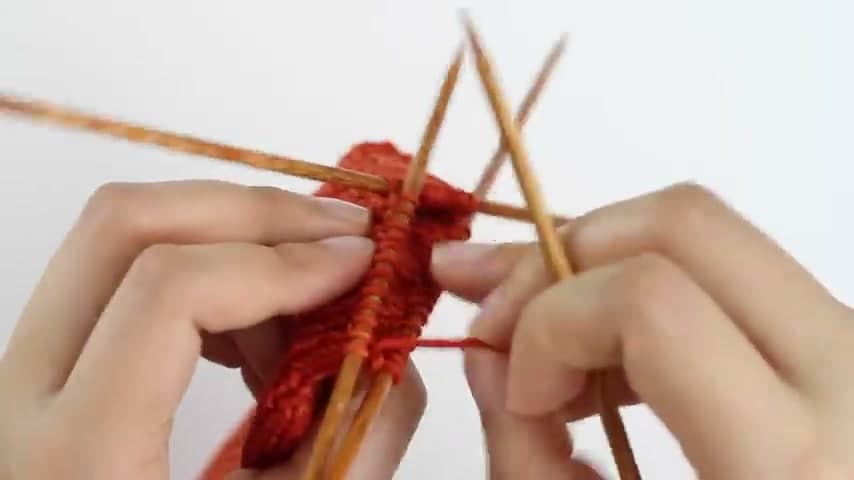
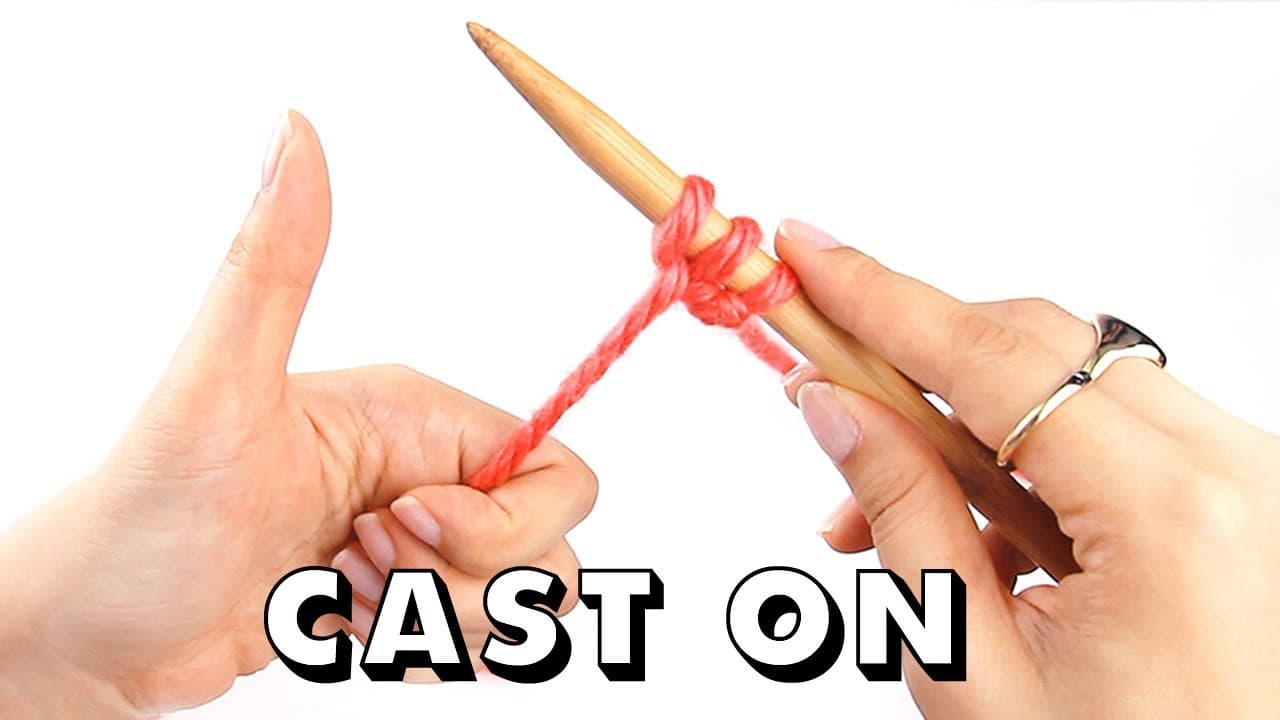
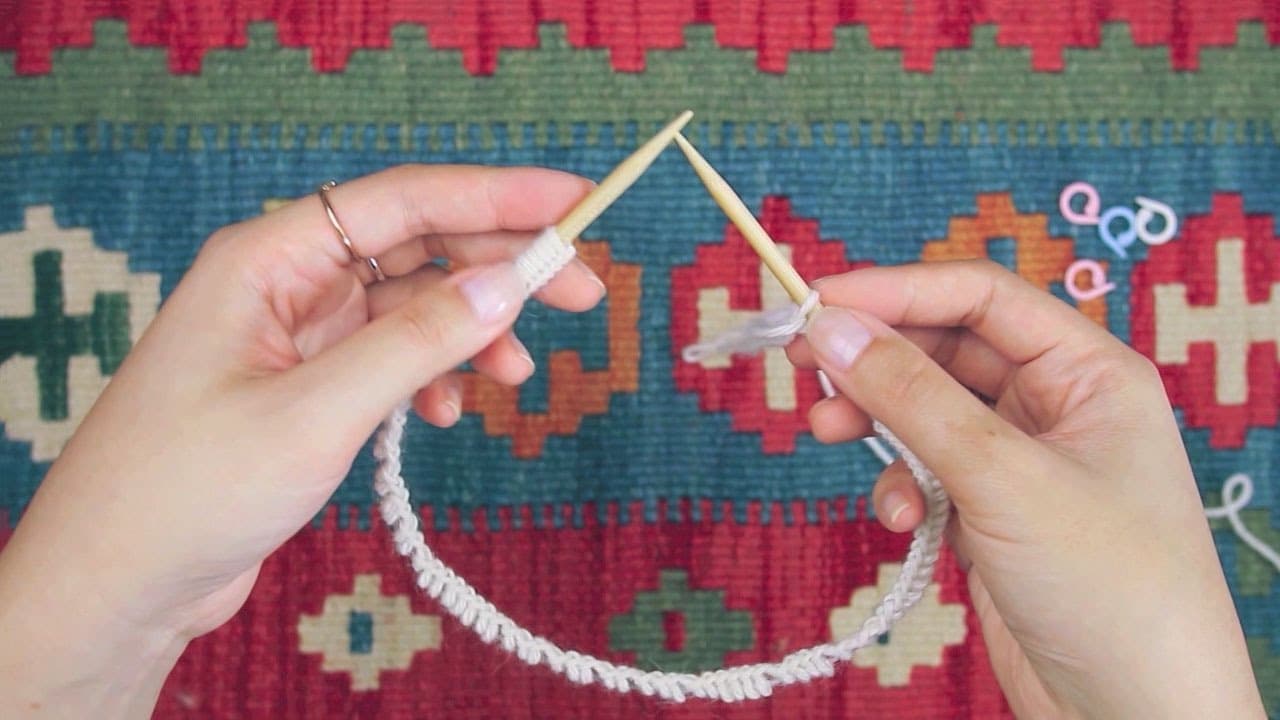
With your smaller 3.25mm DPNs, long tail cast on 44 stitches for small, 48 for medium, or 52 for large. Then slide the stitches evenly across three needles - about 14, 15, 15 for the small. Join in the round by knitting the first stitch on the left needle with the working yarn from the right, pulling that join snug to close the gap.

Tip

If joining in the round feels fiddly, pull the first stitch extra tight. You can hide any residual ladder when you weave in ends later.

2

Step 2: Work the Ribbed Cuff

8:00
Step 2: Step 2: Work the Ribbed Cuff

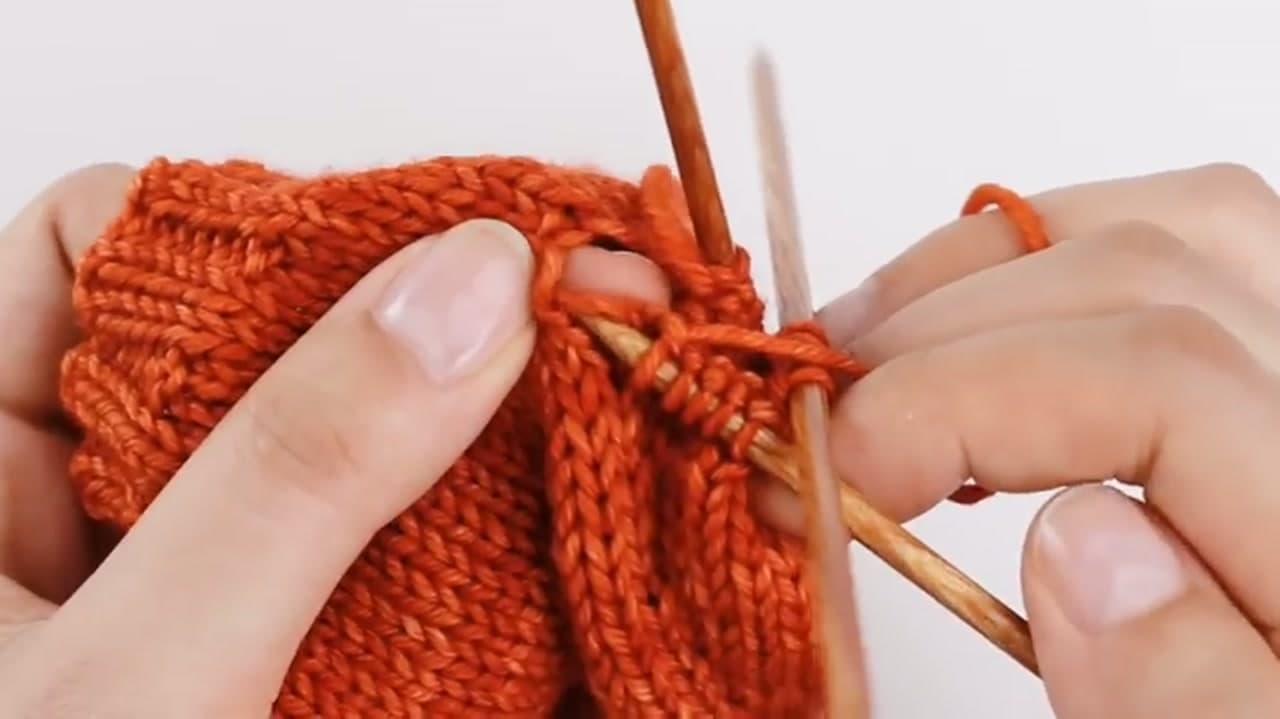
Now work 2x2 rib - knit two, purl two, repeat - for two inches on the smaller needles. The smaller gauge keeps the ribbing tight and stretchy, which is exactly what you want at the wrist so the mitt actually stays on.

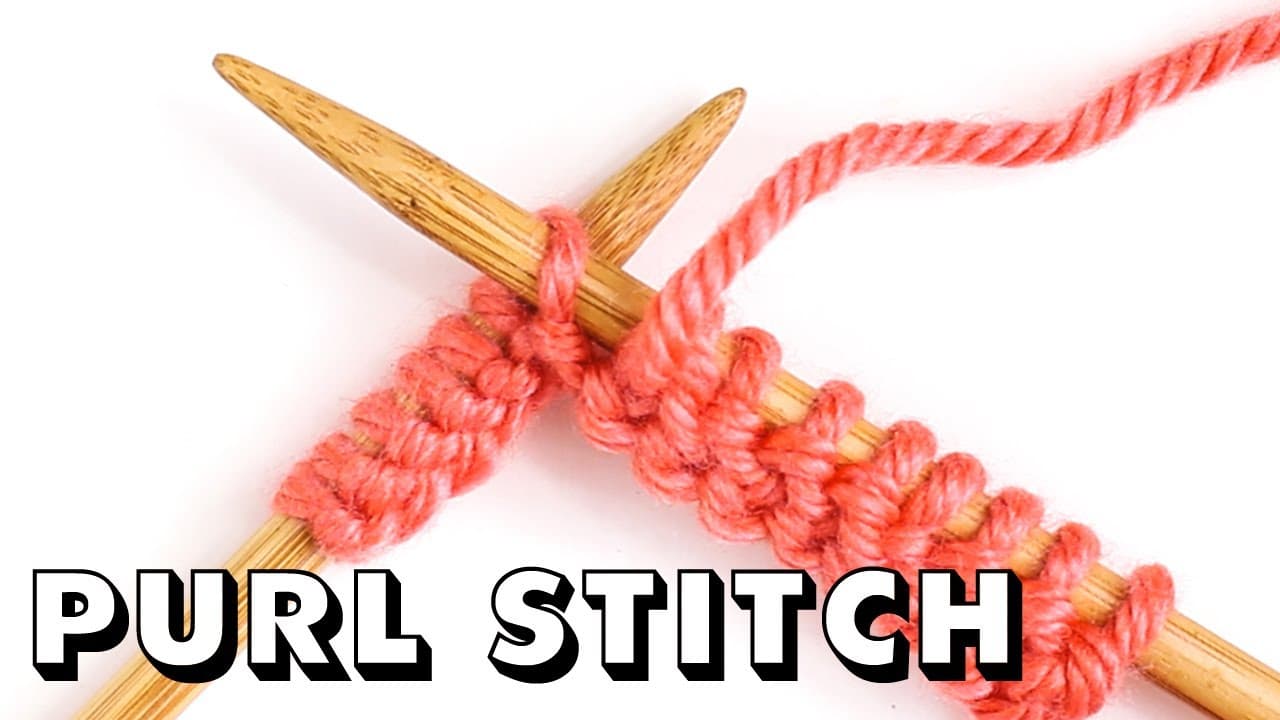
The rule for ribbing in the round is knit the knits and purl the purls. Two V-shaped stitches in a row mean knit two. Two bumpy stitches mean purl two. Keep going round after round until the cuff measures two inches from the cast on edge.

Tip

Move the yarn to the front when you switch from knit to purl, and to the back when you switch from purl to knit. The yarn position is what makes the stitch a knit or a purl.

Products used in this step

3

Step 3: Work the Setup Round with Larger Needles

11:40
Step 3: Step 3: Work the Setup Round with Larger Needles

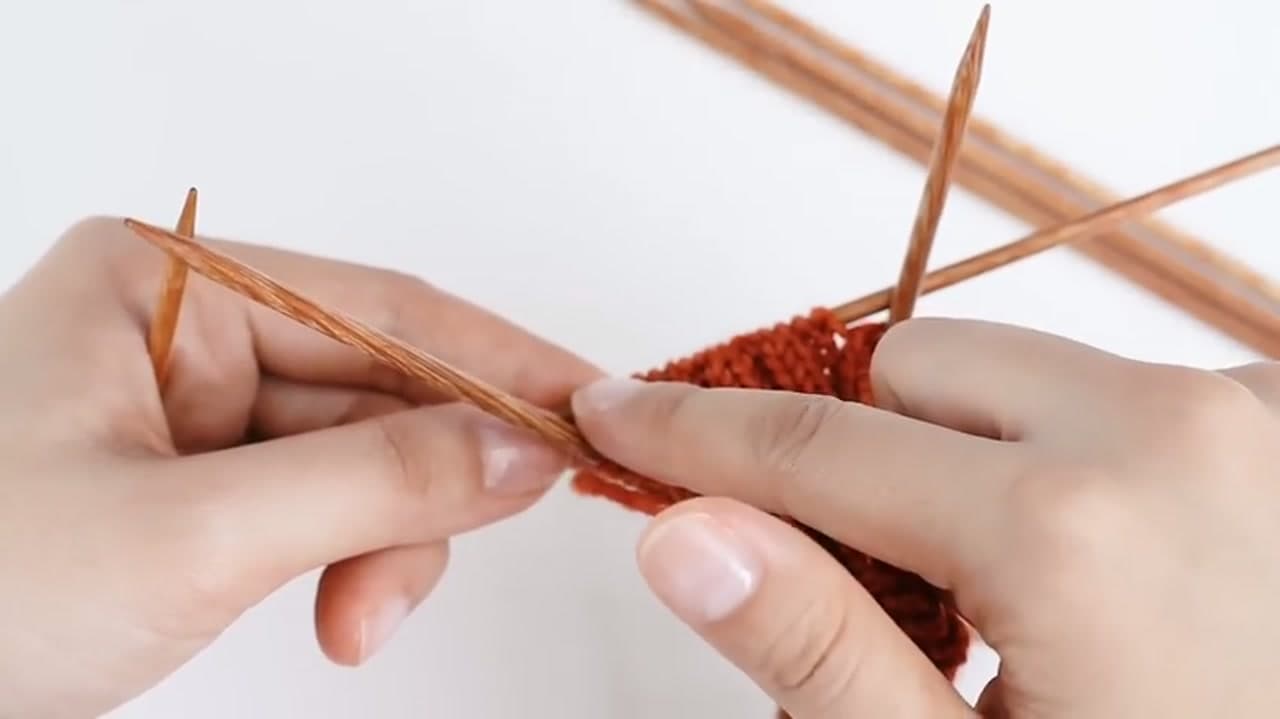
Switch to your larger 3.75mm DPNs by knitting your next round directly onto them. You are transferring stitches as you knit, not swapping needles all at once. The bigger needles loosen up the fabric for the body of the mitten.

Setup round: knit 20 stitches (or 22 for medium, 24 for large), place a stitch marker, knit 4, place a second marker, then knit to the end of the round. The two markers bracket the four stitches that will grow into your thumb gusset. After the setup round, work two more plain rounds (three for size large) without any shaping.

Tip

The yarn tail from your cast on marks the start of the round. When you see it dangling, you know you have come full circle.

4

Step 4: Increase for the Thumb Gusset

14:30
Step 4: Step 4: Increase for the Thumb Gusset

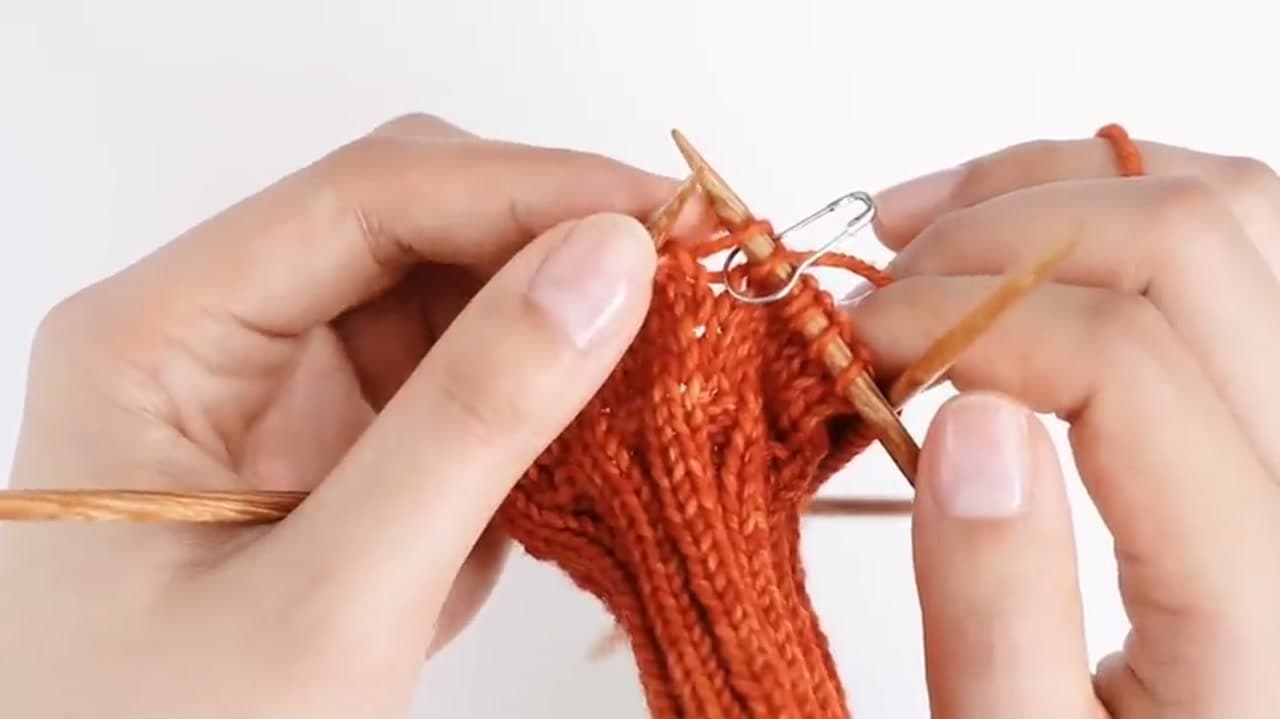
This is where the tube becomes a mitten. Knit to the first marker, slip it to the right needle, then M1L (make one left) by picking up the running thread between the stitches from front to back and knitting into the back loop. Knit the four stitches between the markers, slip the second marker, then M1R (make one right) by picking up the running thread from back to front and knitting into the front loop.

The pattern alternates increase rounds with two plain rounds, repeating the increase rounds 2-3 times depending on your size. Each pass adds two stitches to that thumb panel. Davina charts the rounds with little squares so she can tick them off as she goes. Steal the system - it is much easier than trying to remember which round you are on.

Tip

If M1L and M1R are scrambling your brain, pick one and use it for every increase. The directional version looks slightly tidier, but a consistent M1R on both sides is still a valid finished mitten.

Products used in this step

5

Step 5: Divide for the Thumb

23:20
Step 5: Step 5: Divide for the Thumb

Knit to the first marker, then remove it. The 16 stitches between the markers (18 for size large) come off the needle and onto a strand of scrap yarn - thread a tapestry needle, run it through each stitch, and pull the yarn through. These stitches are held alive for the thumb later, so make the scrap yarn long enough that they cannot slide off.

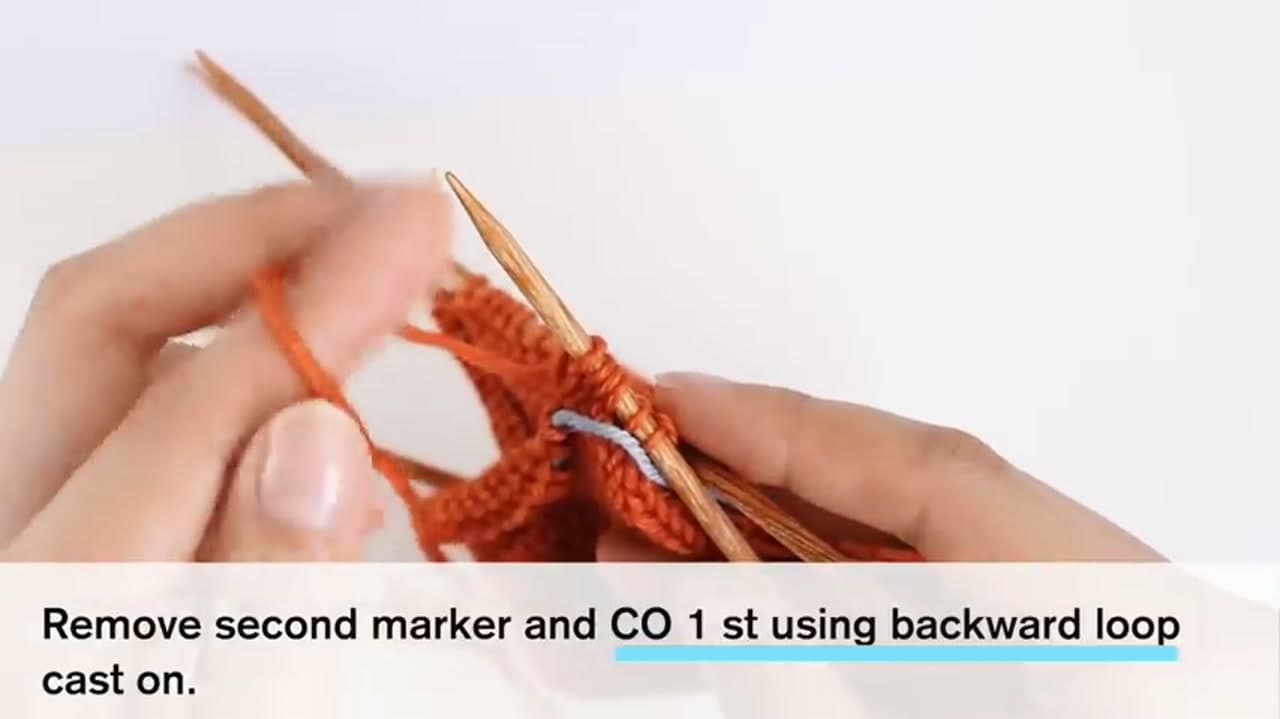
Remove the second marker. The gap left by the held stitches is bridged with a single stitch worked in the backward loop cast on - twist a loop of working yarn over your finger and slide it onto the right needle. Now rejoin and knit to the end of the round. You should see the start of a recognizable mitten shape.

Tip

Tuck the scrap yarn inside the mitten while you knit the body so it does not flap around. The held stitches will stay put for hours.

6

Step 6: Knit the Body, Decrease, and Bind Off

28:20
Step 6: Step 6: Knit the Body, Decrease, and Bind Off

Knit straight in stockinette for 8 rounds (10 rounds for size large) above the thumb opening. This is the body of the mitten - the part that covers your knuckles. Count rounds by following one column of stitches up from the divide.

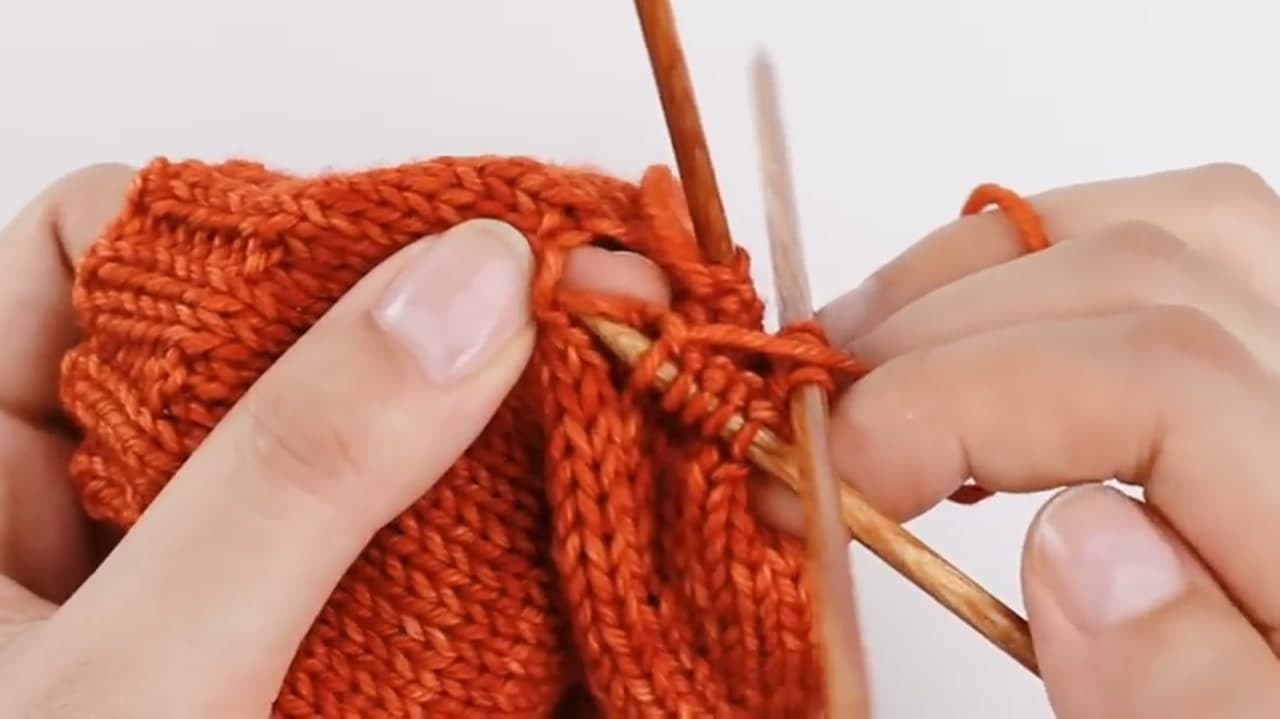
Work one decrease round - k2tog, then knit to the end - to drop a single stitch. Switch back to your smaller needles and work 7 rounds of 2x2 rib to mirror the cuff. To bind off loosely enough for fingers to flex through, switch the right needle back to the larger 3.75mm and bind off in pattern - knit the knits, purl the purls, lifting each previous stitch over.

Tip

If the bind off still feels tight against your hand, go up another needle size. A loose bind off is the difference between a mitten you love and one you never wear.

7

Step 7: Knit the Thumb and Finish

36:40
Step 7: Step 7: Knit the Thumb and Finish

Slide the held thumb stitches off the scrap yarn and back onto your larger DPNs. Distribute them across three needles, then pick up two extra stitches across the gap where you did the backward loop cast on - this closes any holes. Join the working yarn and knit a few rounds of stockinette, then bind off loosely.

Cut a 6-inch tail, thread it through the tapestry needle, and weave in along the purl bumps on the inside. Snip close to the fabric so nothing pokes through. Cast on for the second mitten and do it all again - the second one always goes faster.

Tip

The little gap at either end of the thumb is normal. Use your yarn tail to stitch it closed when you weave in - it will look like it was there all along.

Products Used

☐ The Checklist

How to Knit Fingerless Gloves: Beginner Pattern in 7 Steps

Tools
6
Materials
2
Steps
7
Video
47 min

Your Guide

Sheep & Stitch

As an Amazon Associate we earn from qualifying purchases. Links on this page may be affiliate links - clicking them and buying doesn't change your price, but helps support ShowMeStepByStep.

Tags

What's next

Weekly Digest

Liked this knitting tutorial?

Pick the categories you want to hear about. Weekly digest of new step-by-step tutorials. No spam, easy unsubscribe.

Send me tutorials about

We only email about new tutorials. Easy unsubscribe anytime.