How to Make a Kumihimo Bracelet

Jewelry MakingEasy6:417 stepsPart of Crafting for BeginnersBrowse more →
The finished result: How to Make a Kumihimo Bracelet
Also in:Crafts

By Show Me Step by StepPublished

Based on a video by Faith Hope Love Friendship Bracelets.

Kumihimo is a Japanese braiding method that turns a few strands of thread into a round, twisted cord. With a foam disk it is easy to learn and hard to mess up. The host of Faith Hope Love Friendship Bracelets walks through a two-colour twisted round bracelet on a 32-slot disk: eight strands, one repeating move and a quarter turn.

Once you learn the move, you can braid while you watch TV.

What you need

A foam kumihimo disk, some embroidery floss and scissors. Craft stores and online shops sell the disks for a few dollars. Pick a 32-slot disk for this pattern; it has dots on slots 8, 16, 24 and 32 that mark where the strands start. Cut four lengths of floss about 40 inches each, two in each colour. Folded in half, they give you eight strands.

Foam disk vs cardboard disk

You can cut a disk from cardboard with eight slits, and it works. The foam disk is better for a first bracelet. Its slots grip each strand the same amount, so the tension stays even and the braid comes out smooth with no bumps or gaps. Cardboard slits loosen as you use them, and the braid can go lumpy.

How long to cut the strands

Braiding takes up a lot of length. A good rule is about three inches of strand for every inch of finished braid, plus a few inches for tying off. Forty inch strands folded in half give 20 inch ends, plenty for an adult wrist with room to tie. For an anklet or a longer necklace cord, cut longer from the start; you cannot add length later.

Colour patterns

Where the colours start on the disk sets the pattern. With one colour on slots 16 and 32 and the other on 8 and 24, you get a twisted candy stripe. Try:

  • Red and white for a candy cane bracelet at Christmas.
  • Green and white, like the second bracelet in the video.
  • School or team colours.
  • Four colours, one on each marked slot, for a spiral.

Finishing the bracelet

When the braid is long enough, lift the strands out of the slots, hold them together and tie an overhand knot close to the end of the braid. Trim the tails, leaving an inch or so. To close the bracelet, thread the tails through the starting loop and tie them, or add a magnetic clasp with a dab of glue inside each end cap.

More uses for a kumihimo cord

The same braid makes a sturdy cord for a pendant necklace, a zipper pull, a key ring loop or a lanyard for reading glasses. It is also a good first project to teach a grandchild, since the disk holds everything in place and a dropped strand cannot unravel the braid.

Tips for an even braid

Pull each strand snug into its slot every time you move it. If you need to stop, do it after moving the top strand down, so three strands sit at the bottom. When you come back you will know the next move is bottom to top. A kumihimo braid stretches, so give it a gentle tug before you measure it against your wrist.

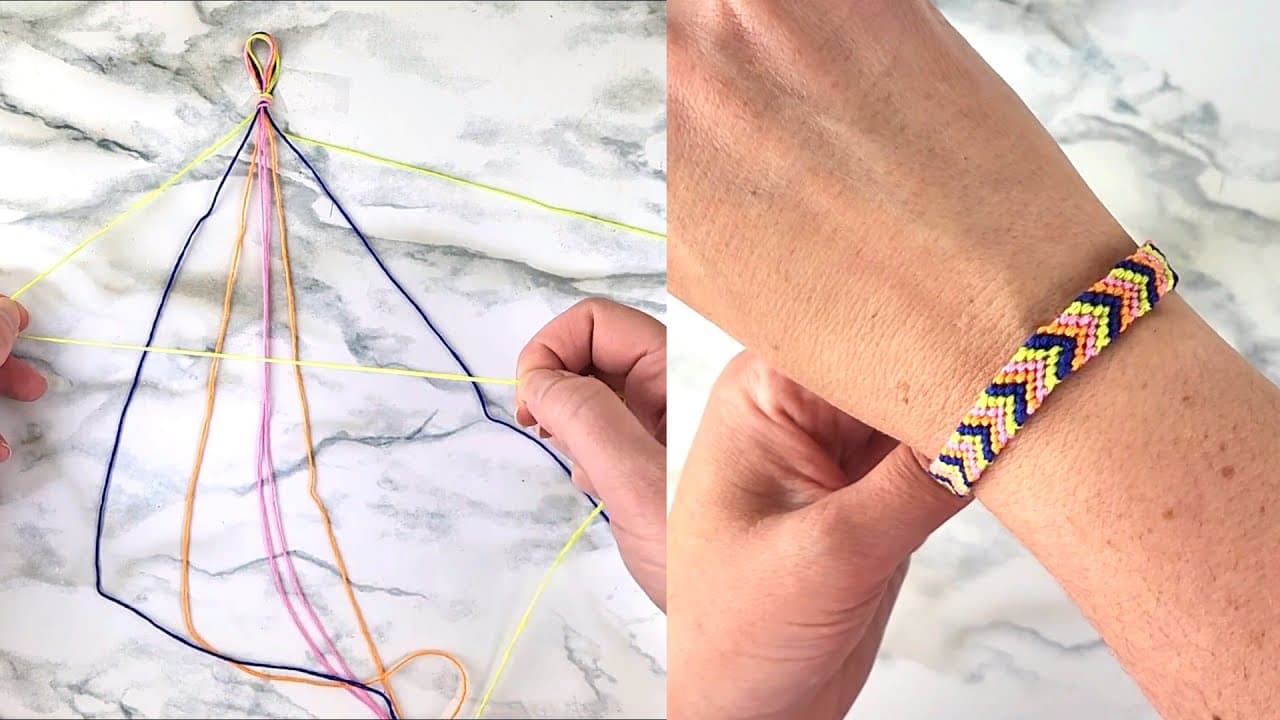
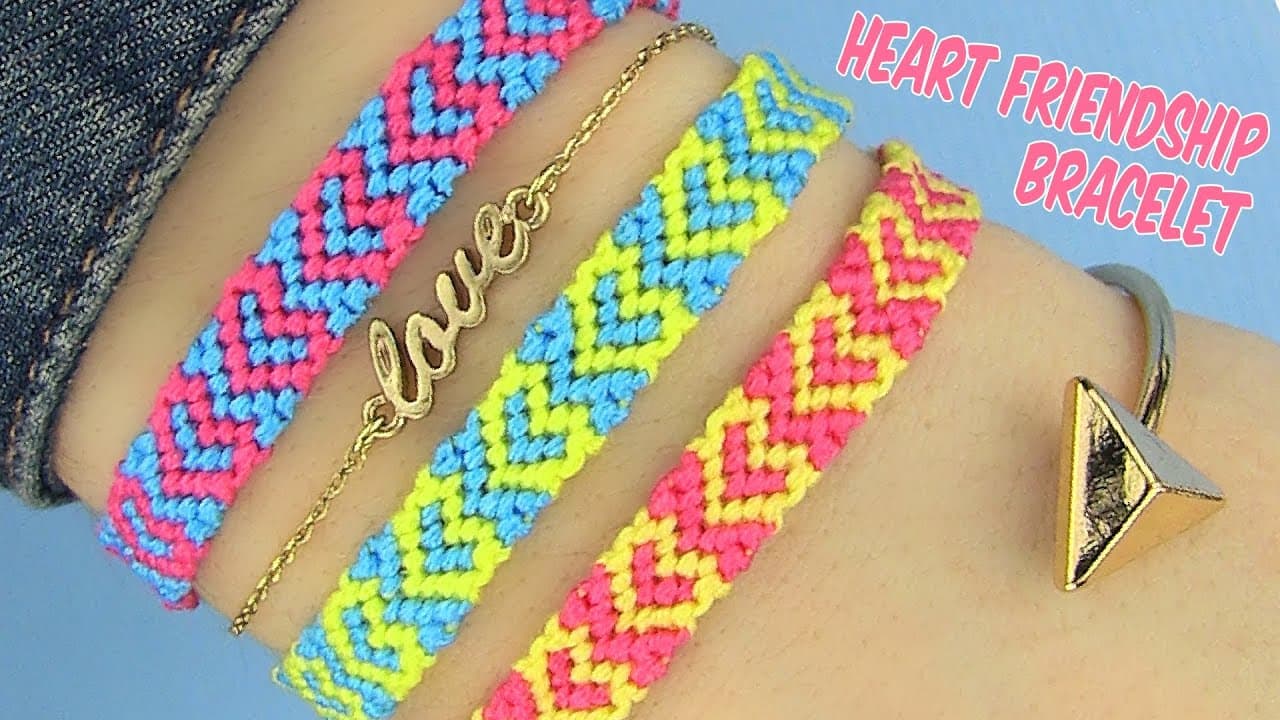
Like making bracelets? Try a classic friendship bracelet, a chevron friendship bracelet, a letter bead bracelet or a sturdy paracord bracelet.

What you'll need

Step-by-Step Guide

7 steps · about 7 minutes.Check off each step as you go and your progress saves automatically.

1

Fold the Kumihimo Bracelet Strands and Tie a Knot

0:44
Step 1: Fold the Kumihimo Bracelet Strands and Tie a Knot - How to Make a Kumihimo Bracelet

Cut four strands of embroidery floss about 40 inches long, two in each colour. The video uses red and yellow. Hold all four together, fold them in half and tie an overhand knot at the fold to leave a small loop. That loop is the start of your bracelet. You now have eight strand ends, four of each colour.

Tip

Measure against your arm span: 40 inches is roughly fingertip to opposite shoulder.

2

Choose a 32-Slot Foam Kumihimo Disk

1:58
Step 2: Choose a 32-Slot Foam Kumihimo Disk - How to Make a Kumihimo Bracelet

Use a foam kumihimo disk with 32 numbered slots around the edge and a hole in the middle. Look for the dots on slots 8, 16, 24 and 32. They mark where the strands start. Foam grips each strand evenly, so the braid stays smooth. A cardboard disk works, but the tension can vary and leave gaps.

Tip

Disks come with 8, 32 or 64 slots. This pattern needs the 32.

3

Push the Knot Into the Center of the Kumihimo Disk

2:36
Step 3: Push the Knot Into the Center of the Kumihimo Disk - How to Make a Kumihimo Bracelet

Separate the strands by colour so the four red ends are on one side and the four yellow on the other. Push the knot down into the centre hole of the disk from the front. The loop hangs underneath, and that is where your braid will grow. Hold the disk with slot 32 at the top and keep it facing that way while you set up.

Tip

Keep the knot in the middle of the hole, not pressed to one side.

4

Set the Kumihimo Bracelet Strands in Slots 8, 16, 24 and 32

3:30
Step 4: Set the Kumihimo Bracelet Strands in Slots 8, 16, 24 and 32 - How to Make a Kumihimo Bracelet

Slide two yellow strands into slot 16 and the other two into slot 32, so they sit straight across from each other. Then put two red strands in slot 8 and two in slot 24. You now have a cross in the middle of the disk. Pull every strand snug into its slot so the knot sits right in the centre.

Tip

Slots that face each other must hold the same colour for this twist.

5

Move the Top Strand Down, Then the Bottom Strand Up

3:42
Step 5: Move the Top Strand Down, Then the Bottom Strand Up - How to Make a Kumihimo Bracelet

This is the whole braid. Of the two strands at the top, lift the right one and bring it straight down to sit beside the bottom pair. Now three strands are at the bottom. Take the left one of those three and bring it straight up to the top, beside the strand left there. Each slot is back to two strands.

Tip

Press each strand firmly into its new slot so the tension stays even.

6

Turn the Kumihimo Disk a Quarter Turn and Repeat

4:10
Step 6: Turn the Kumihimo Disk a Quarter Turn and Repeat - How to Make a Kumihimo Bracelet

Turn the disk a quarter turn to the left, counterclockwise. A new pair of strands is now at the top. Repeat the same move: right top strand down, left bottom strand up. Turn again, and keep going. After a few rounds the moves become automatic, and a twisted cord starts to grow out of the hole underneath.

Tip

Always turn the same way, or the twist pattern will change.

7

Check the Kumihimo Bracelet Length as the Braid Grows

4:52
Step 7: Check the Kumihimo Bracelet Length as the Braid Grows - How to Make a Kumihimo Bracelet

Pull the cord out from under the disk now and then to see how it looks and how long it is. The braid is tight but it stretches, so give it a gentle tug before you measure it against your wrist. When it fits with a little room to tie, lift the strands off the disk and knot them close to the end of the braid.

Tip

Stop with three strands at the bottom so you know where to pick up again.

How to Make a Chevron Friendship Bracelet: 7 Step Tutorial

Keep going

How to Make a Chevron Friendship Bracelet: 7 Step Tutorial

7 steps · about 6 minutes

Products Used

The Checklist

How to Make a Kumihimo Bracelet

Tools
3
Materials
1
Steps
7
Video
7 min

Tools we recommend

Your Guide

Faith Hope Love Friendship Bracelets

As an Amazon Associate we earn from qualifying purchases. Links on this page may be affiliate links - clicking them and buying doesn't change your price, but helps support Show Me Step by Step.

Tags

Sunday How-To

New jewelry making tutorials, every Sunday

One short email with the week's best step-by-step guides. Free, no spam, unsubscribe anytime.

Did this work for you?

What's next

Weekly Digest

Liked this jewelry making tutorial?

Pick the categories you want to hear about. Weekly digest of new step-by-step tutorials. No spam, easy unsubscribe.

Send me tutorials about

We only email about new tutorials. Easy unsubscribe anytime.