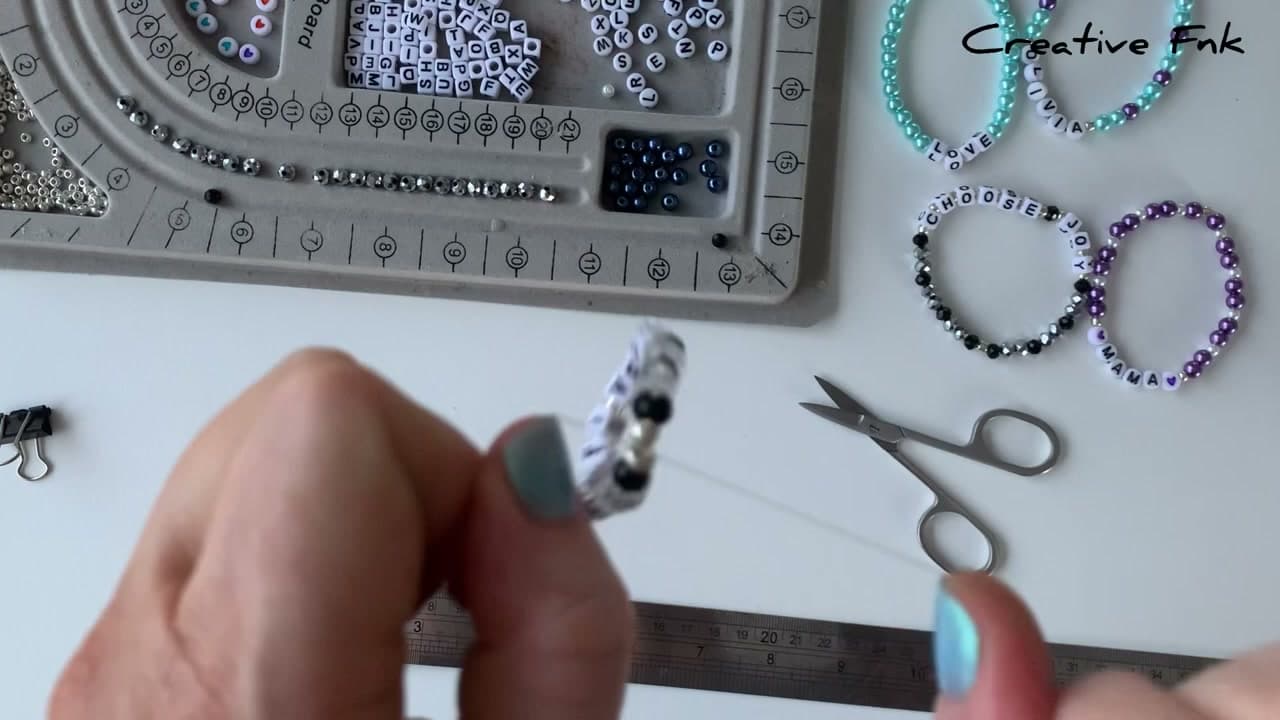
How to Make a Letter Bead Friendship Bracelet

Also in:Crafts

By ShowMeStepByStepPublished

Based on a video by Creative Fnk.

The letter bead friendship bracelet is the easiest piece of jewelry you'll ever make. Pick a word, string it on stretch cord, tie a knot, done. The hard part is deciding what to spell.

These name bracelets have a long DIY history but exploded back into pop culture thanks to the concert-trading tradition. Kids spell out song lyrics. Parents string their children's names in case they wander. Grandparents bead phone numbers onto a stack and slip one on each grandkid's wrist. The format works because it's personal.

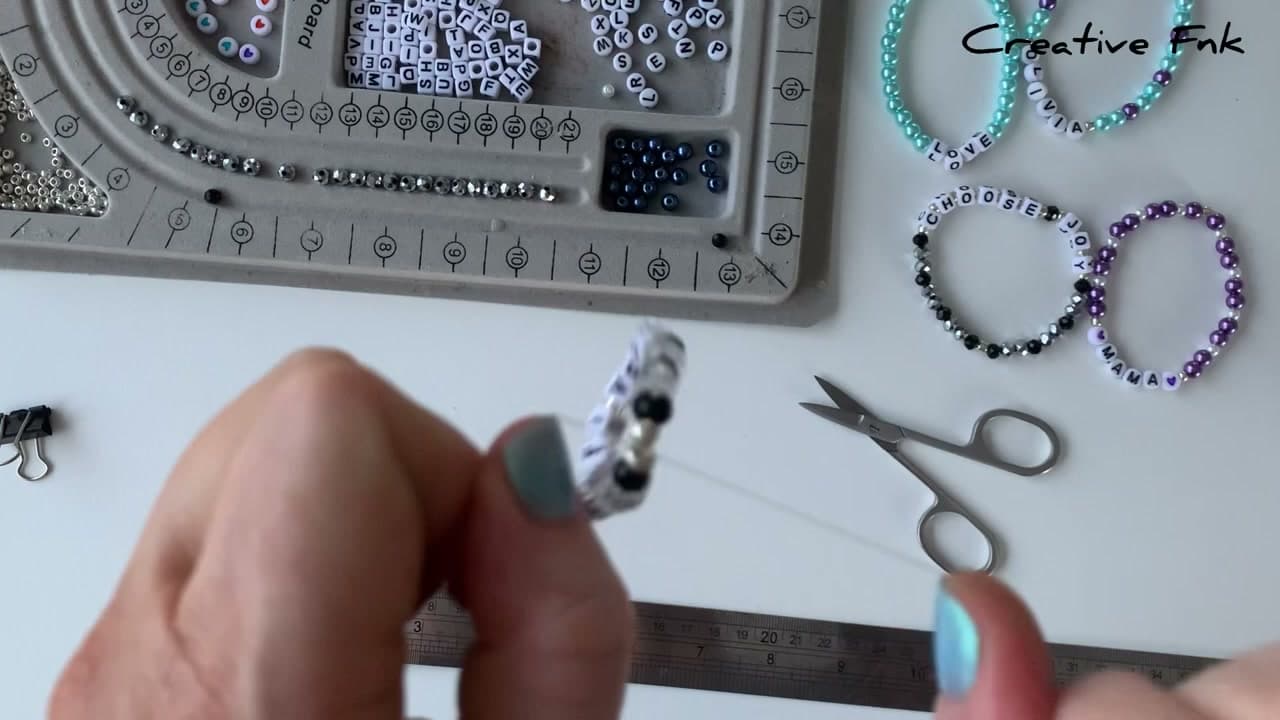
This walkthrough follows Creative Fnk's classic method. She uses 0.7mm Stretch Magic elastic, alphabet beads (either round flat or cube), a few pretty band beads, and seed beads to frame the word and hide the knot. The whole project takes 10 to 15 minutes once you've picked your word.

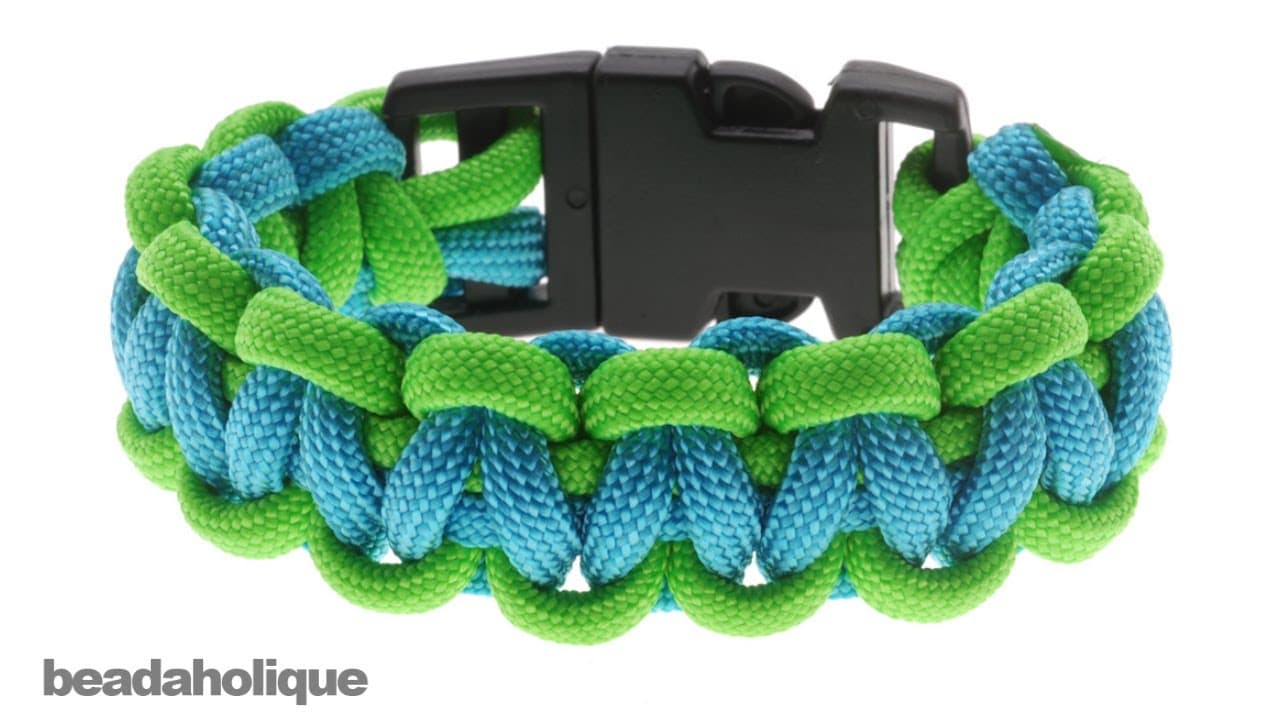
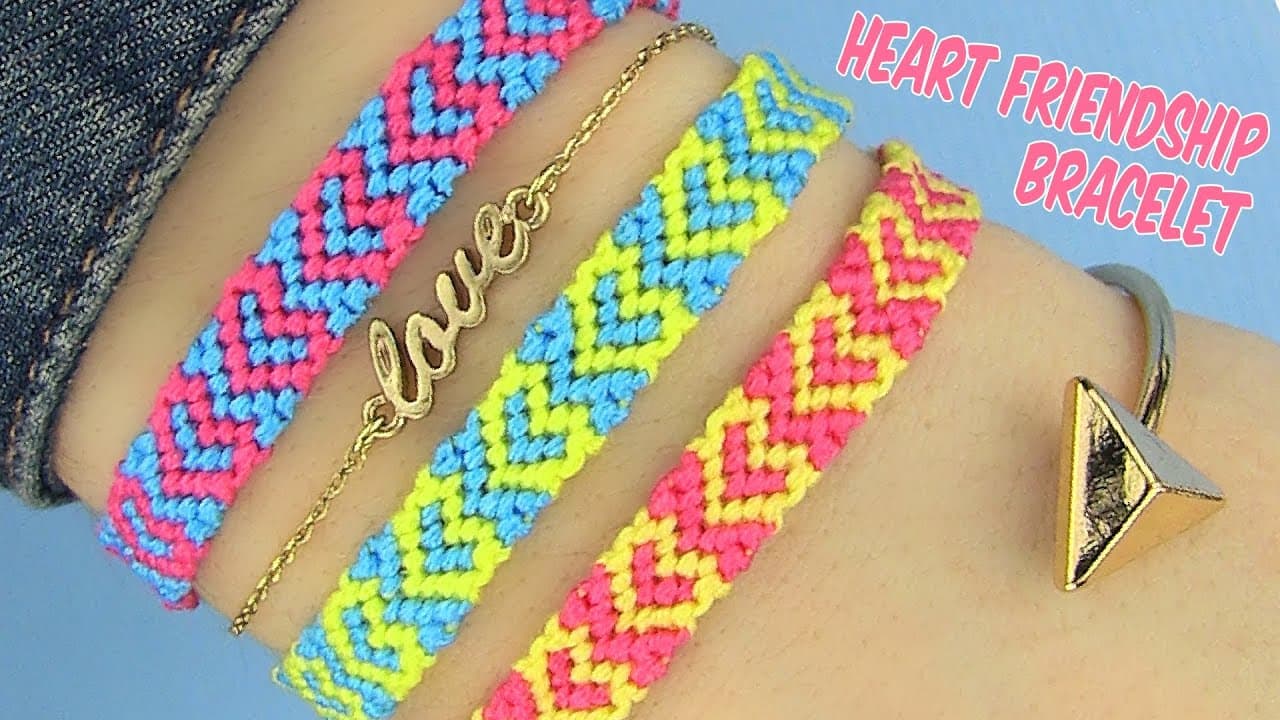
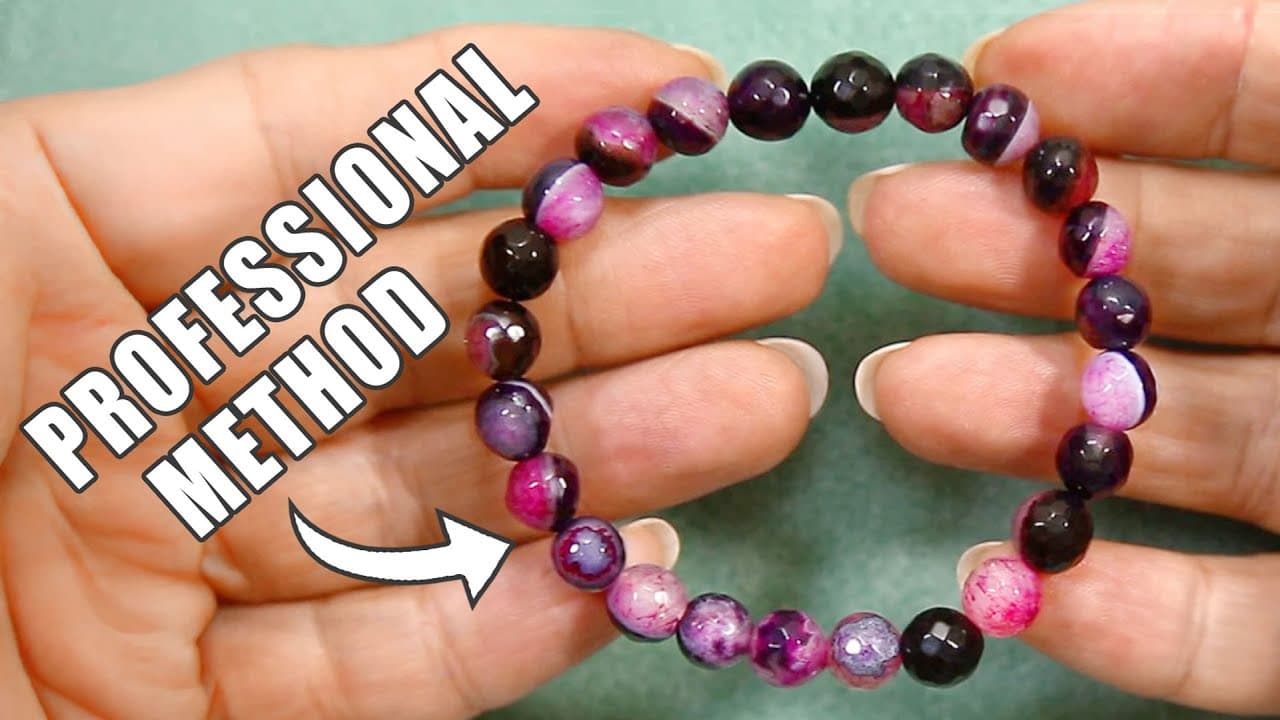
If you like this, the site has more friendship bracelet builds to try: a classic knotted string bracelet, a heart pattern, the chevron stripe, and a no-letter stretch beaded bracelet.

Step-by-Step Guide

1

Step 1: Pick your word and pull your alphabet beads

1:50
Step 1: Step 1: Pick your word and pull your alphabet beads

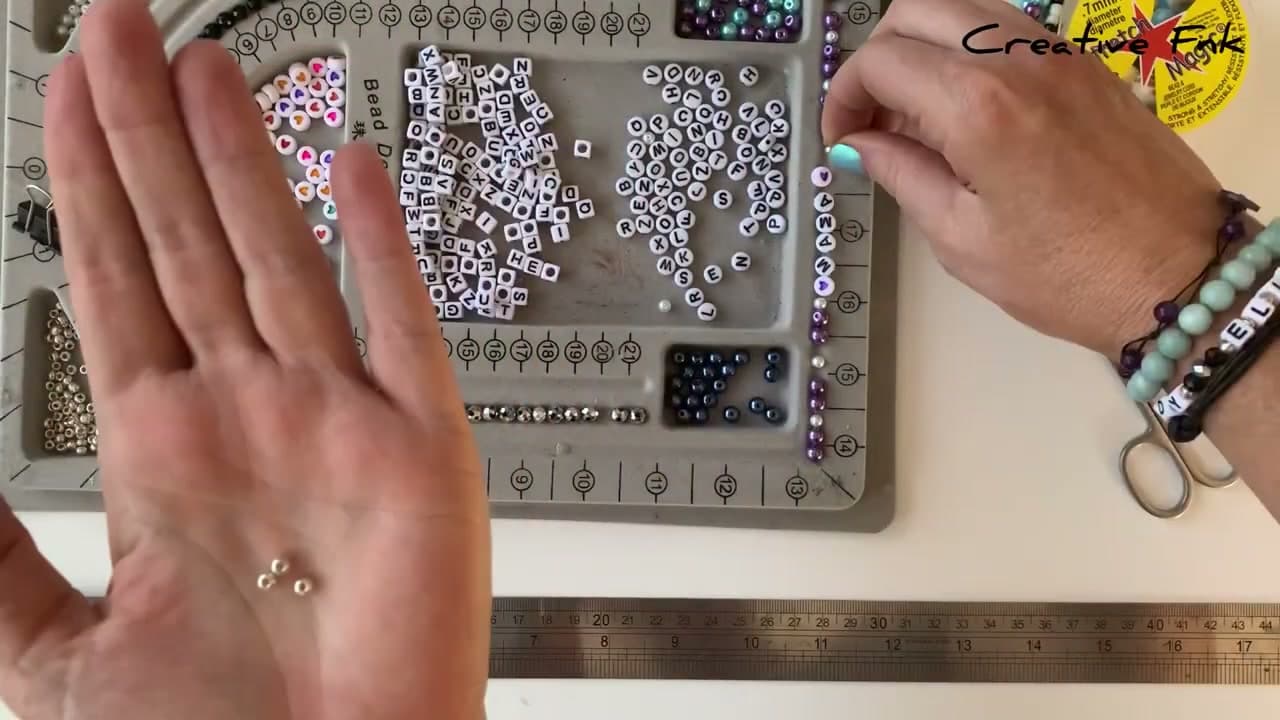
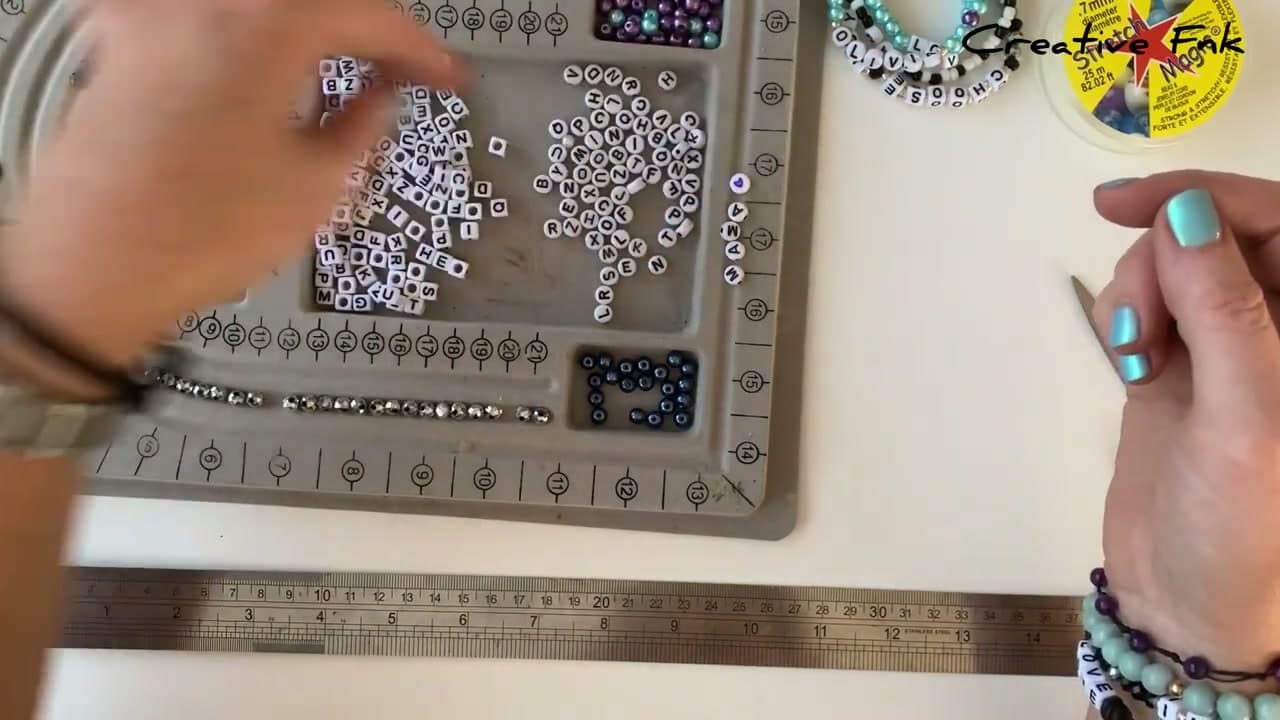
Decide what you want the bracelet to say. A name, a one-word reminder, a song lyric, a phone number - anything that fits across the front of your wrist. Short words read best. "MAMA", "LOVE", "OLIVIA", "CHOOSE JOY" - all good lengths.

Then dig out the letters from your alphabet bead mix. You'll need two options for letter beads: round flat ones (7mm by 3.5mm, letters on two sides) or cube ones (6mm, letters on all four sides). Both work. Cubes are louder and easier to read; rounds lie flatter.

Tip

Round flat beads sit nicer side by side on a long word. Cubes need a seed bead between each letter or they start to look chunky on the curve.
2

Step 2: Frame the word with seed beads

2:45
Step 2: Step 2: Frame the word with seed beads

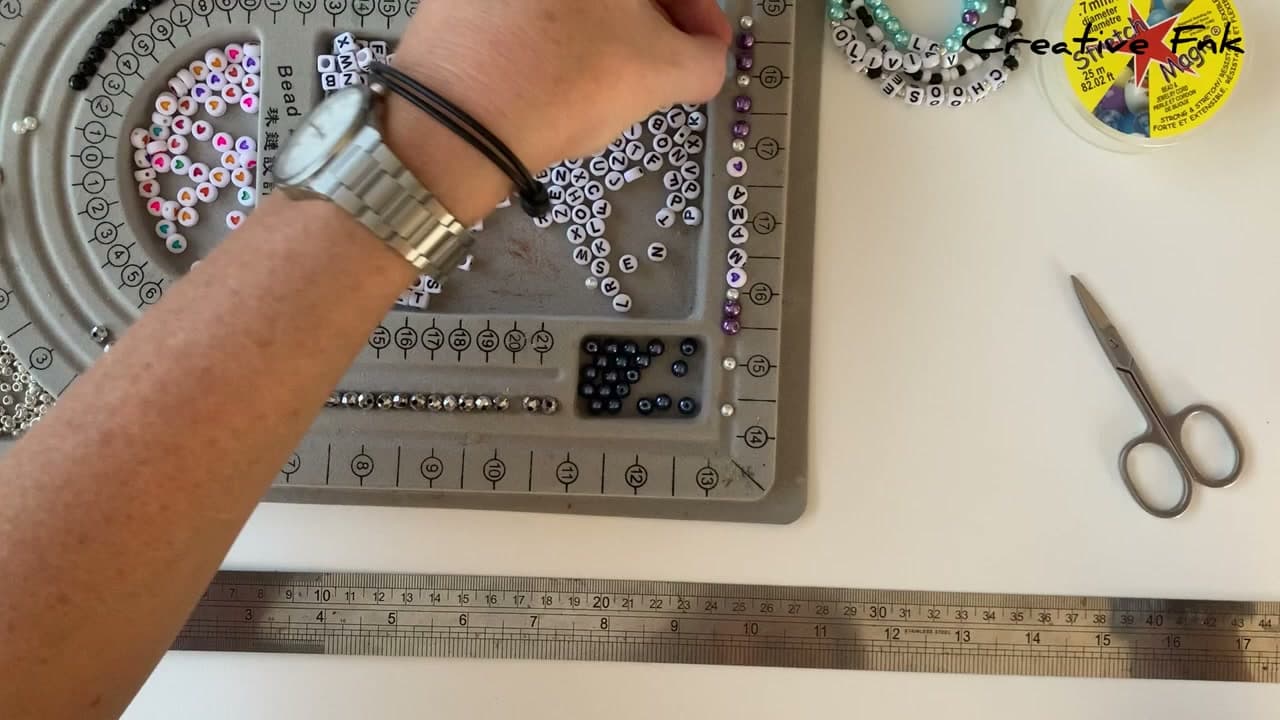
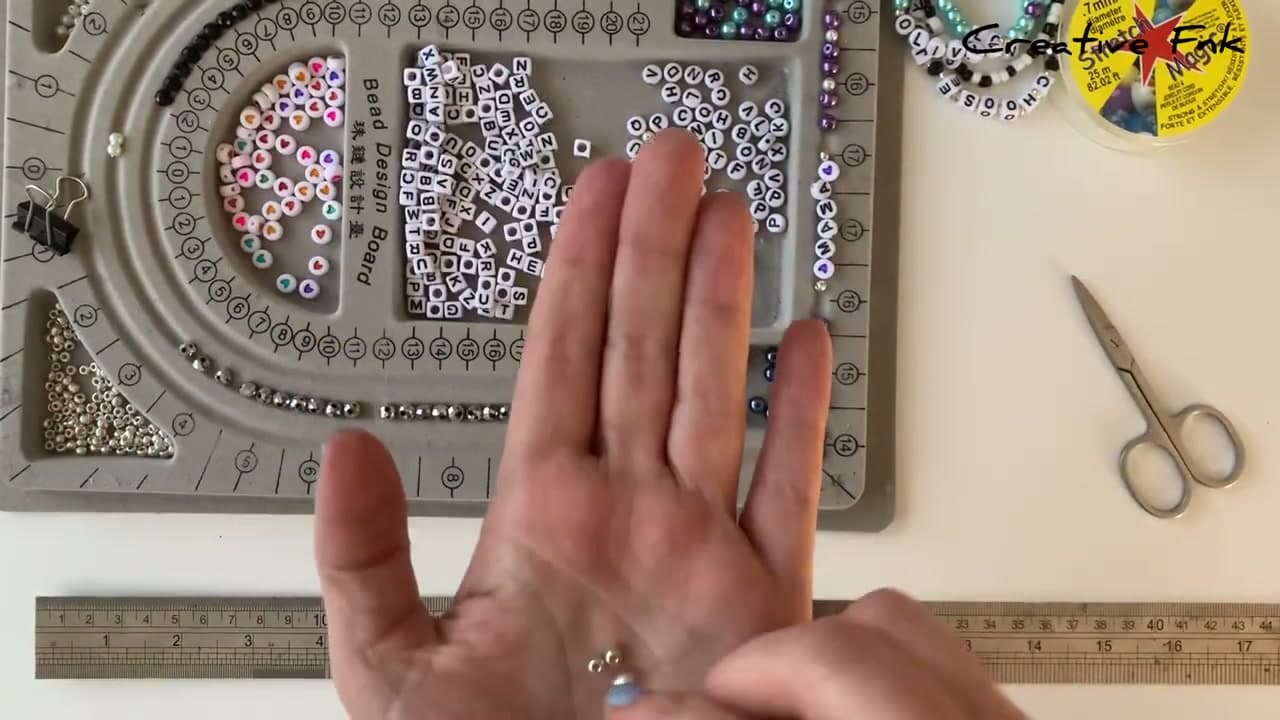
Set a 4mm seed bead on each side of the word. The frame makes the letters pop against the band beads and gives you something neutral to slide over the knot at the back later.

If your word has two parts - say a first and middle name, or two short words - drop a single contrasting bead in the gap. A black faceted bead between "CHOOSE" and "JOY" reads as a tiny visual pause without leaving an awkward space.

Products used in this step

3

Step 3: Measure your wrist and set the length

3:20
Step 3: Step 3: Measure your wrist and set the length

Wrap a tape measure around your wrist where the bracelet will sit. Add 2.5 to 3 centimeters (about an inch) for stretch. A 16.5cm wrist becomes a 19cm beaded bracelet.

That extra centimeter or so is what lets the bracelet slide on without straining the elastic. Too tight and the cord fatigues fast. Too loose and the bracelet flips upside down on your wrist and you can't read the word.

Tip

If the bracelet is a gift, ask the recipient or borrow a bracelet they already wear comfortably and copy that length.

Products used in this step

4

Step 4: Lay out the full design on the bead board

3:15
Step 4: Step 4: Lay out the full design on the bead board

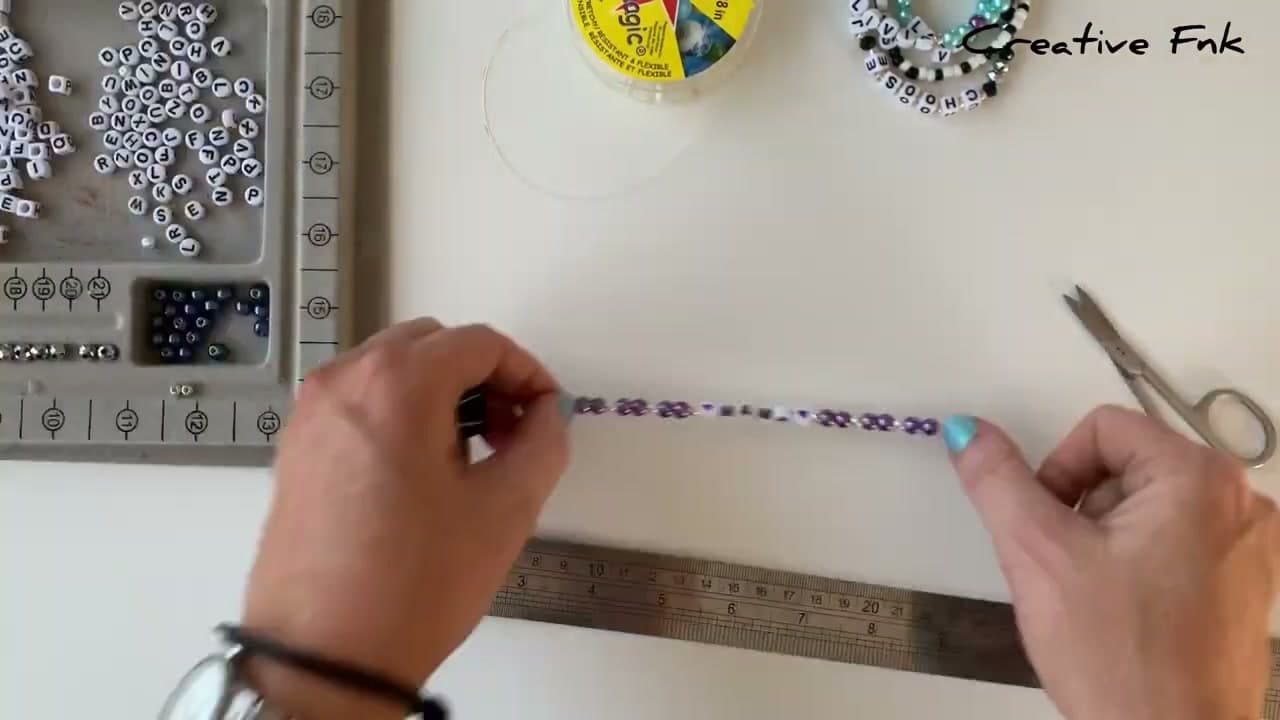
Work the design out flat before you string anything. Put the word in the middle, then add even rows of band beads on each side until the total length matches your target.

Creative Fnk uses two purple pearl beads and one white pearl bead in a repeating pattern. You can copy that or build your own rhythm - alternating colors, all one color, gradient from light to dark. As long as the word lands centered, the band design is yours.

5

Step 5: Cut and pre-stretch the elastic

4:10
Step 5: Step 5: Cut and pre-stretch the elastic

Cut about 25cm of 0.7mm Stretch Magic elastic. That's a generous length for a single bracelet, but you want plenty of slack at both ends to tie a clean knot.

Pre-stretch the cord before you string. Hold one end in each hand and give it a firm, steady pull a few times. Stretch Magic has a slight jelly quality fresh from the spool. Tugging it now stops the bracelet from going loose a week after you finish it.

Tip

If you skip the pre-stretch, the bracelet will look perfect when you tie it and feel sloppy by the second time you put it on. Always pre-stretch.

6

Step 6: Clip one end and thread the beads

4:40
Step 6: Step 6: Clip one end and thread the beads

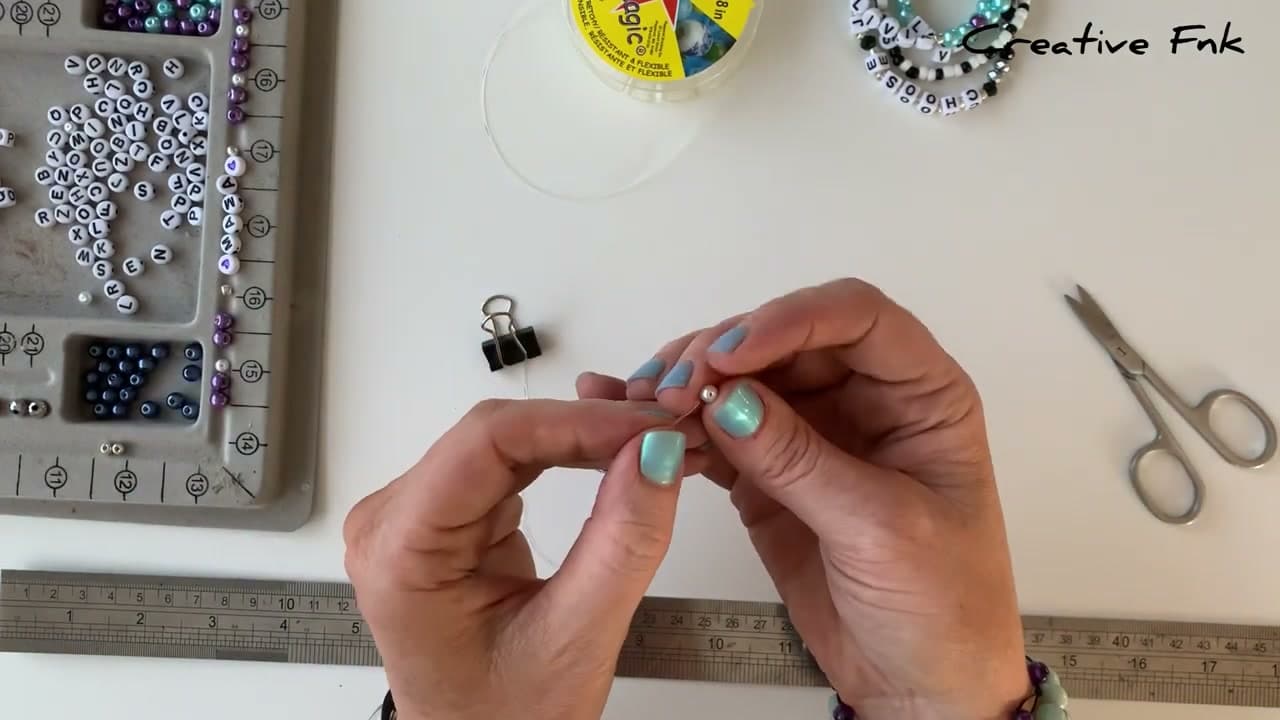
Slide a bead stopper or small binder clip onto one end of the elastic. That keeps the beads from sliding off while you string.

Now thread in your planned order - band beads, frame seed bead, the letters, frame seed bead, band beads. Push them down as you go and check the total length against your target every few beads. Stop a bead or two short of your number so you have room to fine-tune before the knot.

7

Step 7: Tie a surgeon's knot

5:20
Step 7: Step 7: Tie a surgeon's knot

Slide one last seed bead onto the back of the bracelet - that's the one you'll bury the knot under.

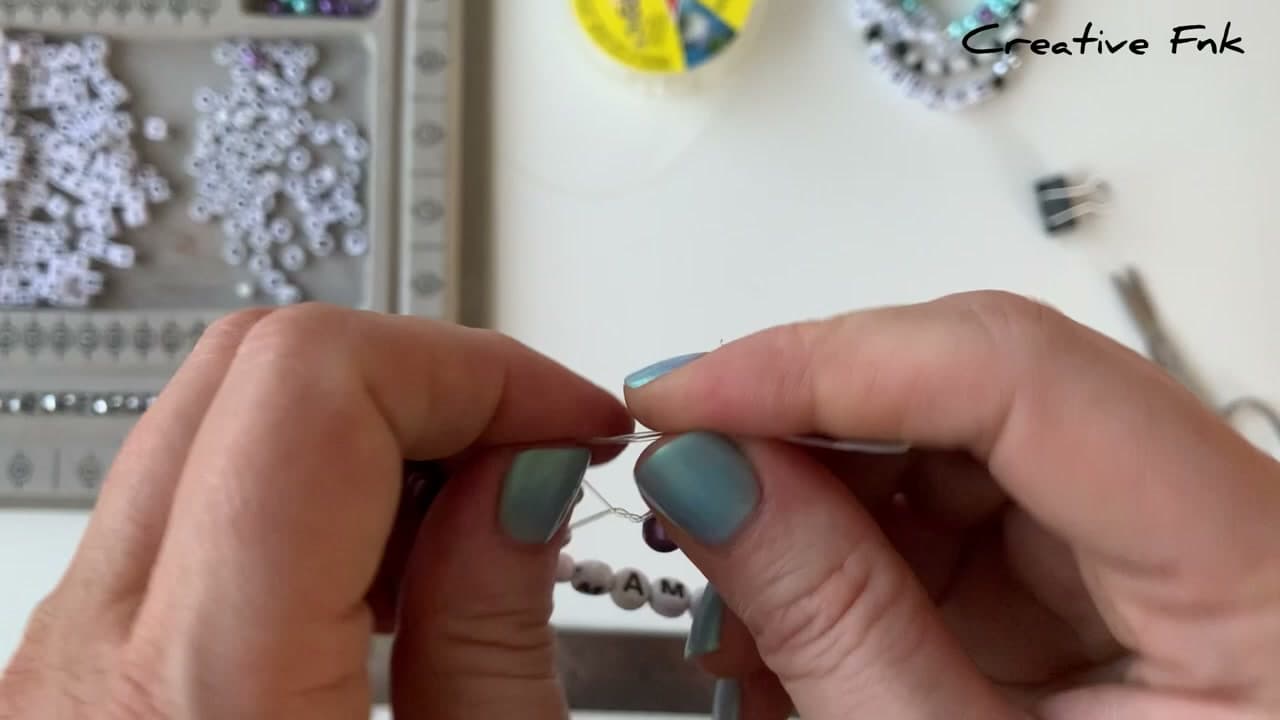
Now tie a surgeon's knot. First half is a normal knot: left strand over right, through the middle, pull snug. Second half is the lock: right strand over left, but this time wrap it through five times instead of once. Pull the first knot tight first, then carefully snug down the five-wrap stack on top of it. Tug gently on all four cord ends to set the elastic.

Tip

The five wraps are what makes this knot hold on stretch cord. A regular square knot will slip. A surgeon's knot won't.

Products used in this step

8

Step 8: Trim, hide the knot, then stack and wear

10:40
Step 8: Step 8: Trim, hide the knot, then stack and wear

Trim the elastic tails close to the knot - about 1 to 2mm. Don't shave them flush, the knot can pop loose if you cut too close. Gently twist the bracelet so the last seed bead slides over the top of the knot and hides it.

That's one done. Now make a few more. Letter bead bracelets look best stacked - one name, one word, one lyric, one inside joke. A single MAMA on its own is sweet. Three or four on the same wrist is the look. Trade one with a friend.

Tip

If the knot won't stay hidden, a tiny drop of clear nail polish or jewelry glue locks it without showing.

Products Used

☐ The Checklist

How to Make a Letter Bead Friendship Bracelet

Tools
4
Materials
5
Steps
8
Video
11 min

Your Guide

Creative Fnk

As an Amazon Associate we earn from qualifying purchases. Links on this page may be affiliate links - clicking them and buying doesn't change your price, but helps support ShowMeStepByStep.

Tags

Test your knowledge

Did the lesson stick? Find out in 2 minutes.

5 quick questions covering what you just read. No signup, no score saved — just a gut check.

Quick reference

Key takeaways from How to Make a Letter Bead Friendship Bracelet

5 questions, answers, and one-line explanations. Tap to expand.

  1. 1.How much length should you add beyond your wrist measurement?

    Answer: About 2.5 to 3 cm (an inch) for stretch

    An inch of slack lets the bracelet slide on without straining the elastic.

  2. 2.Why pre-stretch the elastic cord before stringing any beads?

    Answer: To stop the bracelet going loose a week later

    Stretch Magic has a jelly quality fresh from the spool; pre-stretching prevents post-build sag.

  3. 3.What cord thickness is the standard for letter-bead stretch bracelets?

    Answer: 0.7mm

    0.7mm is the standard for stretch bracelets sized to 6-7mm alphabet beads.

  4. 4.What knot actually holds elastic cord without slipping?

    Answer: A surgeon's knot (second half wrapped five times)

    The five-wrap second half is what locks an elastic knot in place.

  5. 5.After tying off, where should you trim the cord ends?

    Answer: About 1 to 2mm from the knot, not flush

    Trim too close and the knot can pop loose.

What's next

Weekly Digest

Liked this jewelry making tutorial?

Pick the categories you want to hear about. Weekly digest of new step-by-step tutorials. No spam, easy unsubscribe.

Send me tutorials about

We only email about new tutorials. Easy unsubscribe anytime.