How to Make a Beaded Bracelet

Jewelry MakingEasy8:268 steps
Also in:Crafts

By ShowMeStepByStepPublished Updated

Based on a video by Bead Spider.

Most beaded elastic bracelets fall apart in a week. The knot loosens, the elastic fatigues, and your work ends up scattered on the bathroom floor. The fix everyone reaches for is a drop of glue, which yellows, cracks, and shows.

Bead Spider's no-glue method skips the glue entirely. The trick is to work with doubled elastic and tie the knots so they travel along the thread instead of stacking on top of each other. Then a few surgeon's knots lock everything in place and the whole knot disappears inside a neighboring bead.

You'll need a metre of fine beading elastic, a few dozen beads, and a homemade V-shaped beading needle. Total project time is under ten minutes once you have the technique down.

Step-by-Step Guide

1

Step 1: Cut and double the elastic, thread the needle

0:20
Step 1: Step 1: Cut and double the elastic, thread the needle

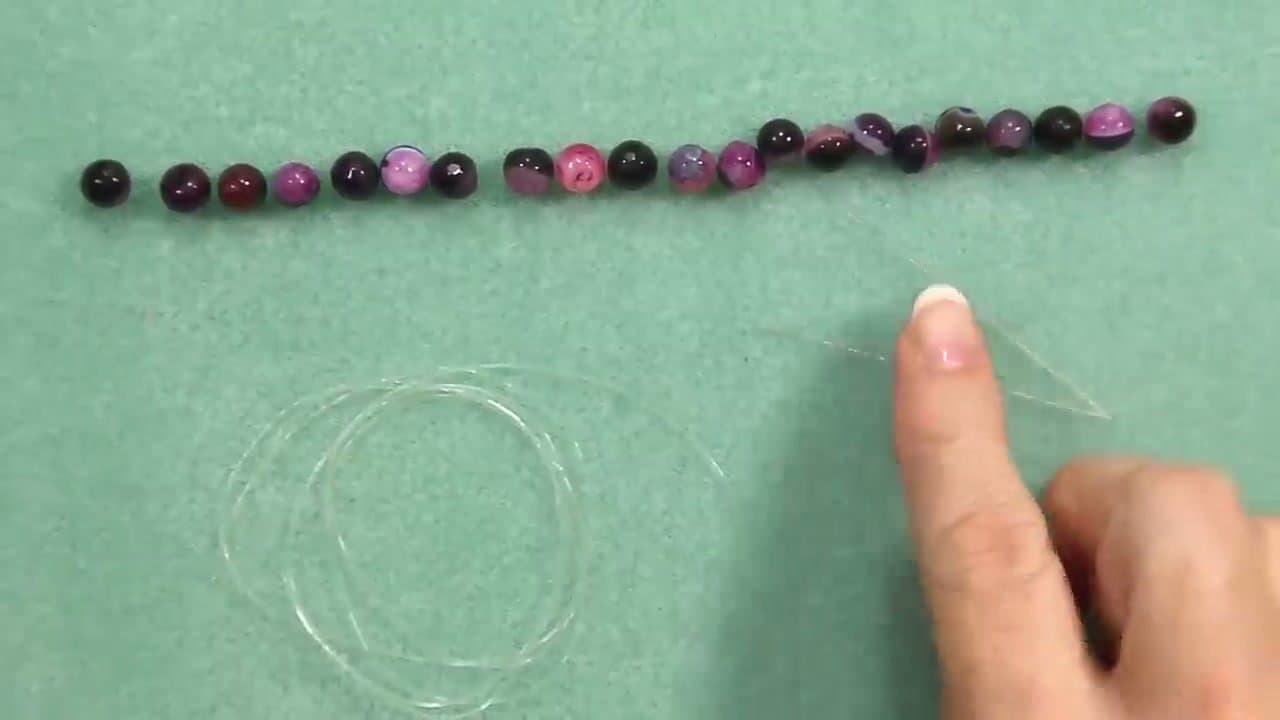
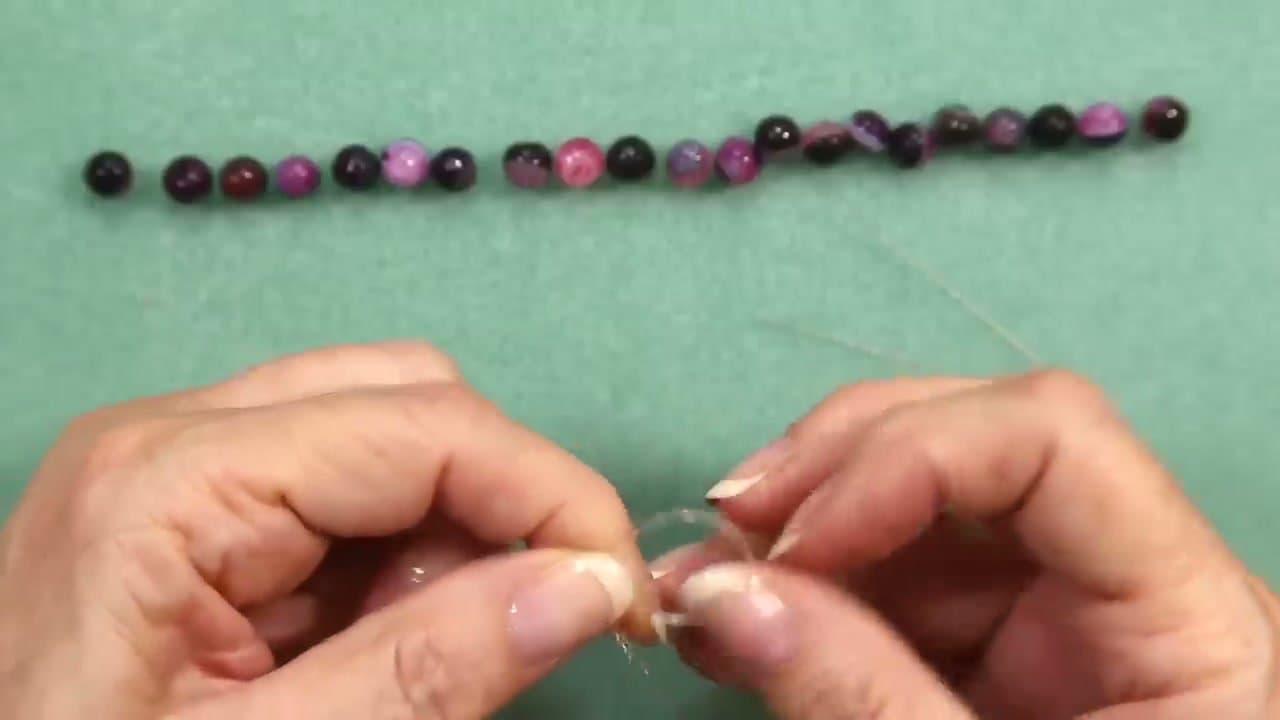
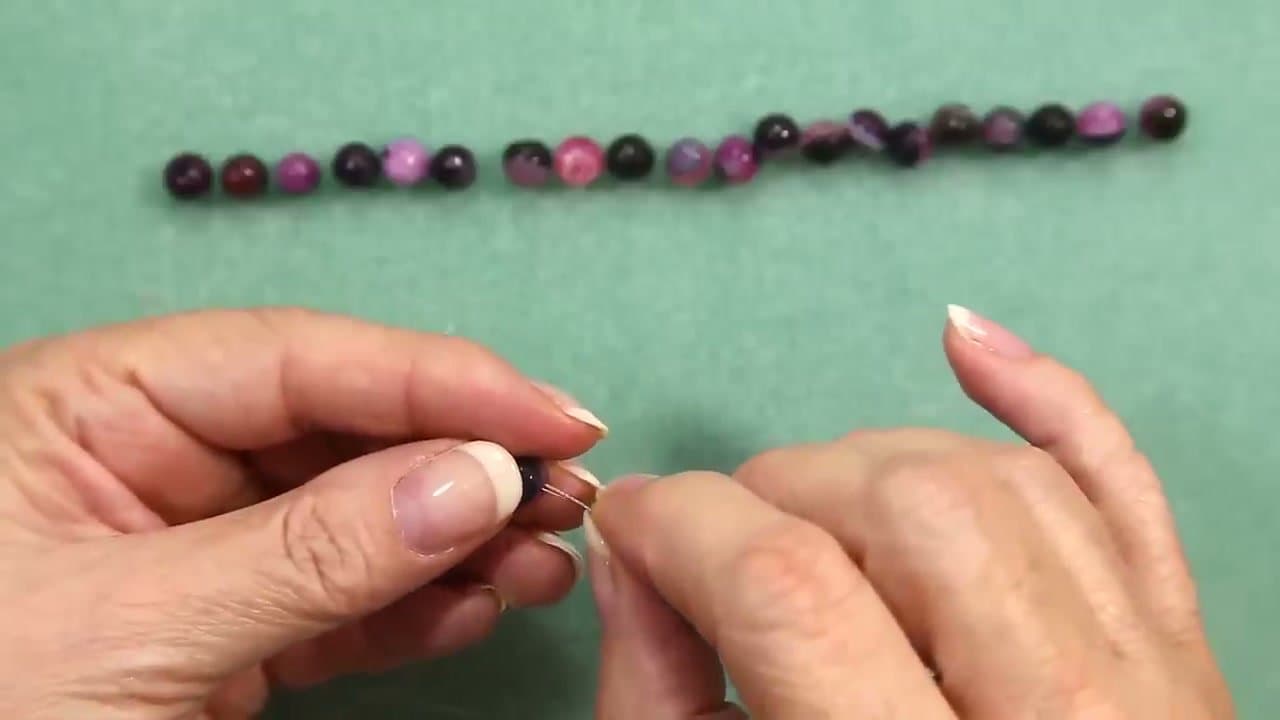
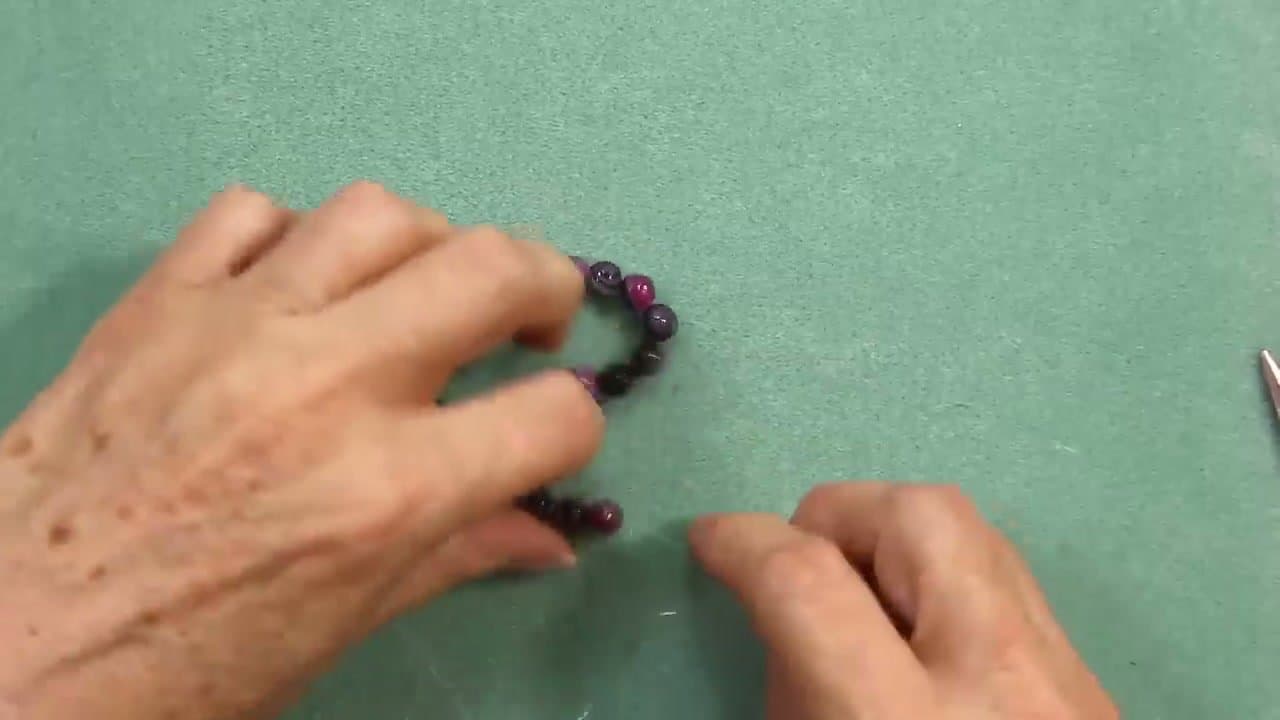
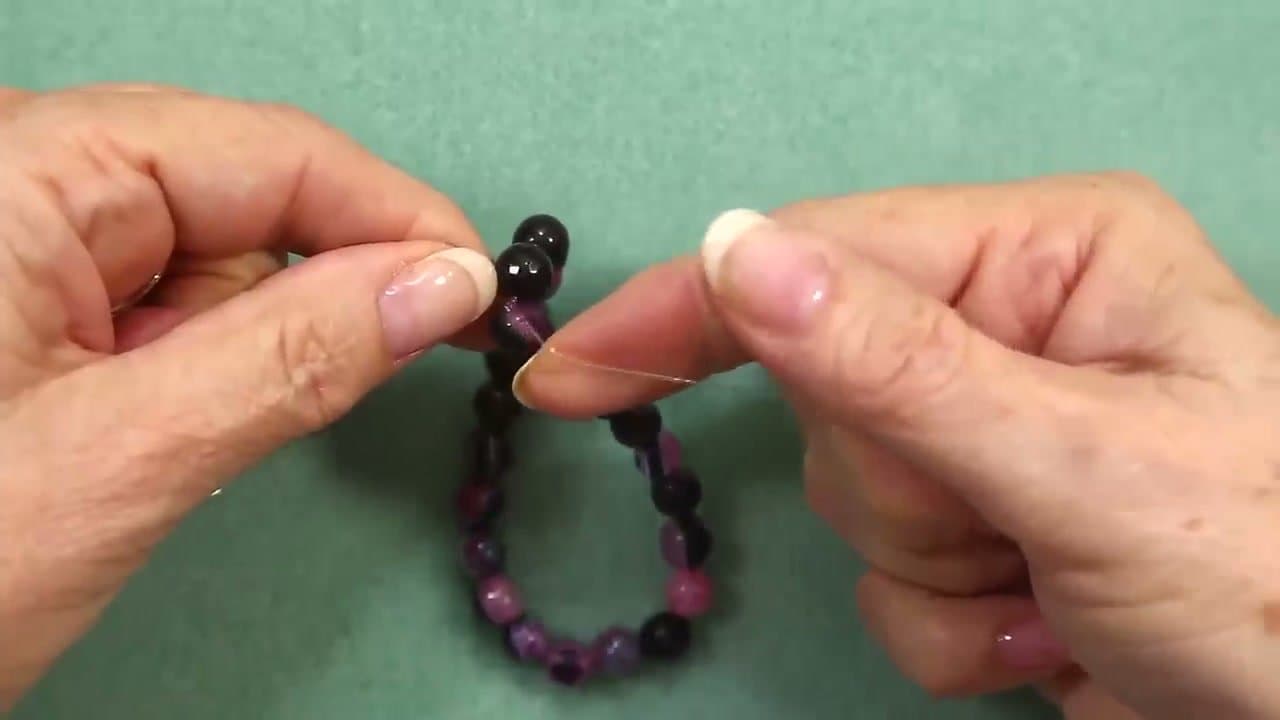
Cut about a metre of 0.5mm beading elastic. That sounds like a lot for one bracelet, but you'll work with the cord doubled, and you want plenty of slack for tying the final knots.

Bring both ends together so the cord folds in half, then push them through a V-shaped Tigertail beading needle. The needle is a thin loop of jewellery wire bent in half - it acts like a giant eye that any bead will slide over.

Tip

If you don't have a Tigertail needle, fold a 4-inch piece of beading wire in half and use the loop end as your needle eye.

2

Step 2: Tie a temporary stopper knot

0:55
Step 2: Step 2: Tie a temporary stopper knot

Hold the two free ends of the cord together and tie a simple overhand knot near the tips. This knot is temporary - it just keeps the cord from slipping back through the needle while you string beads.

The opposite end of the cord forms a tiny loop where the elastic doubles back on itself. Leave that loop alone for now. You'll use it later to close the bracelet.

Products used in this step

3

Step 3: String the beads on a bead mat

1:35
Step 3: Step 3: String the beads on a bead mat

Lay your beads out on a bead mat in the order you want them. The mat keeps round beads from rolling, so you can work flat without chasing anything across the table.

Slide each bead onto the doubled elastic. Push them down toward the loop end as you go. Keep stringing until the line of beads on the cord is close to your wrist measurement, but stop a bead or two short - you'll fine-tune in the next step.

Tip

Use a soft fabric mat (felt or microfiber) rather than a hard tray. Beads roll on hard surfaces.

4

Step 4: Check the fit on your wrist

2:25
Step 4: Step 4: Check the fit on your wrist

Slide the needle off and pinch the two single strands together. Wrap the beaded section around your wrist to check the size.

You want the bracelet loose, not stretched tight. If you have to pull hard to close it, the elastic is already under tension and it will give out fast. Add or remove beads until it sits comfortably with the cord still slack.

Tip

A good rule of thumb: the beads should overlap your wrist with no gap, but the elastic shouldn't visibly stretch.

Products used in this step

5

Step 5: Cut off the stopper knot

2:55
Step 5: Step 5: Cut off the stopper knot

Once the size is right, cut the temporary overhand knot off the open end. You're left with two single strands at one end and a small loop at the other - the place where the doubled cord originally folded.

Slide the beads down toward the open end a touch so the loop sits clear with a small gap of bare elastic. Don't push so far that the loop disappears inside the first bead.

Products used in this step

6

Step 6: Close the circle through the loop

4:00
Step 6: Step 6: Close the circle through the loop

Take one of the two single strands at the open end. Pass it through the small loop at the other end, then pull both strands away from each other slowly.

The loop tightens as you pull and gradually disappears into the bracelet. When it's gone, you have a closed circle of beads with two strands of elastic meeting at one point - exactly what you need to tie the final knots.

Tip

Pull slowly. Yanking can snap fine elastic.

7

Step 7: Tie five overhand knots that travel

5:05
Step 7: Step 7: Tie five overhand knots that travel

Tie a standard overhand knot with the two strands - left over right, through the middle. Pull firmly so the knot slides up against the beads, but stop before the elastic snaps.

Repeat at least five times. Here's the magic: each knot travels a short way along the cord instead of stacking on the previous one. You end up with a row of small knots strung along the elastic, not one fat lump. That's why this method holds without glue.

Tip

If the knots stack instead of traveling, you're not pulling hard enough between them. The tug is what slides each new knot down the line.

Products used in this step

8

Step 8: Finish with surgeon's knots and bury inside a bead

6:50
Step 8: Step 8: Finish with surgeon's knots and bury inside a bead

For the last two knots, switch to a surgeon's knot. Pass the strand through once, then bring the same end underneath and through a second time before pulling tight. That double pass locks the elastic.

Tie two of these in a row, then trim the tails close to the last knot. Pinch the bracelet on either side of the knots and tug gently - the row of knots slides into the nearest bead and disappears. No glue, no visible knot, no rough edge.

Tip

If the knot won't go inside the bead, the bead hole is too small for the doubled elastic. Pick a slightly bigger bead at that position before you start.

Products used in this step

Products Used

☐ The Checklist

How to Make a Beaded Bracelet

Tools
3
Materials
2
Steps
8
Video
8 min

Your Guide

Bead Spider

As an Amazon Associate we earn from qualifying purchases. Links on this page may be affiliate links - clicking them and buying doesn't change your price, but helps support ShowMeStepByStep.

Tags

Related Tutorials