How to Make a Friendship Bracelet - 3 Easy Designs

CraftsEasy8:155 steps
Also in:Fiber Arts

Based on a video by Audrey's Jar.

Friendship bracelets look way harder than they actually are. Every pattern in this tutorial - spiral, stripes, and chevron - is built from the same forward knot repeated over and over. Learn the knot once and you can make all three.

The materials list is short: six-strand embroidery floss, a pair of scissors, and something to anchor your work to (a clipboard, masking tape, or a safety pin pinned to your jeans all work). Audrey from Audrey's Jar has been making these at summer camp scale for years and her three-design walkthrough is the cleanest beginner intro on YouTube.

Budget an hour per bracelet once you've got the knot down. The first one takes longer while you're learning - after that you'll knock them out fast.

Step-by-Step Guide

1

Prep Your Strings and Make the Loop

0:30
Step 1: Prep Your Strings and Make the Loop

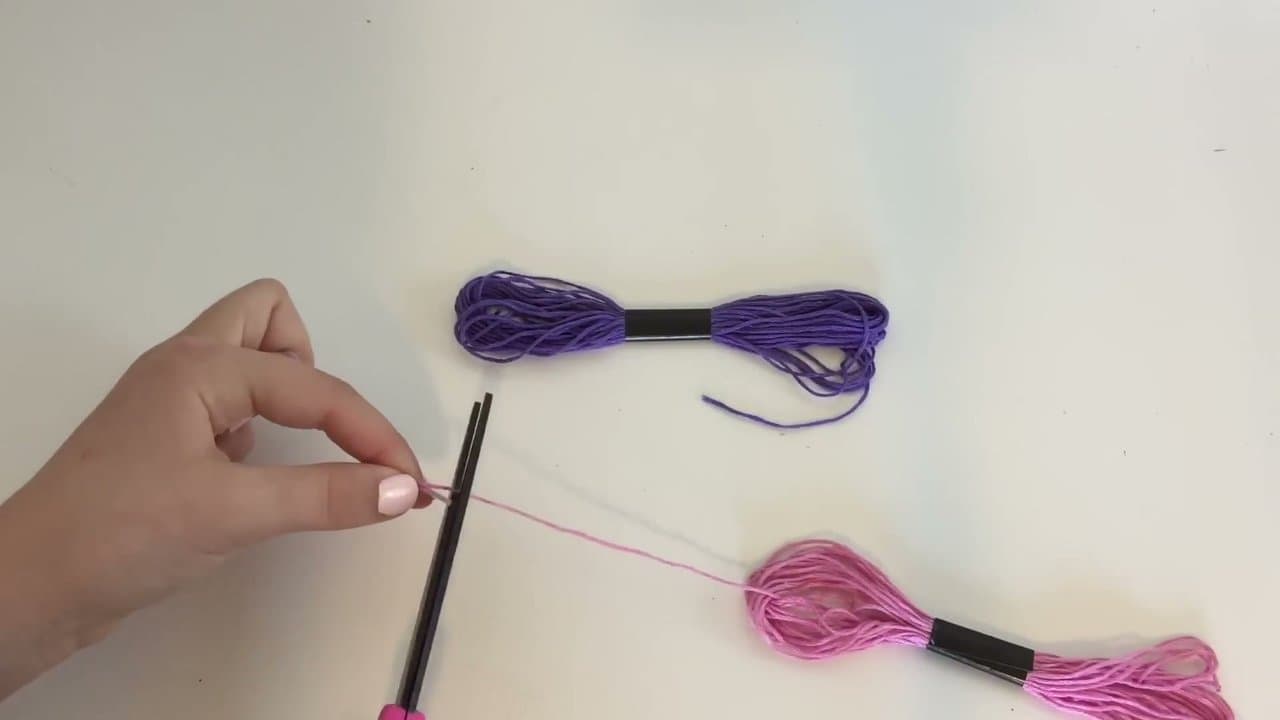
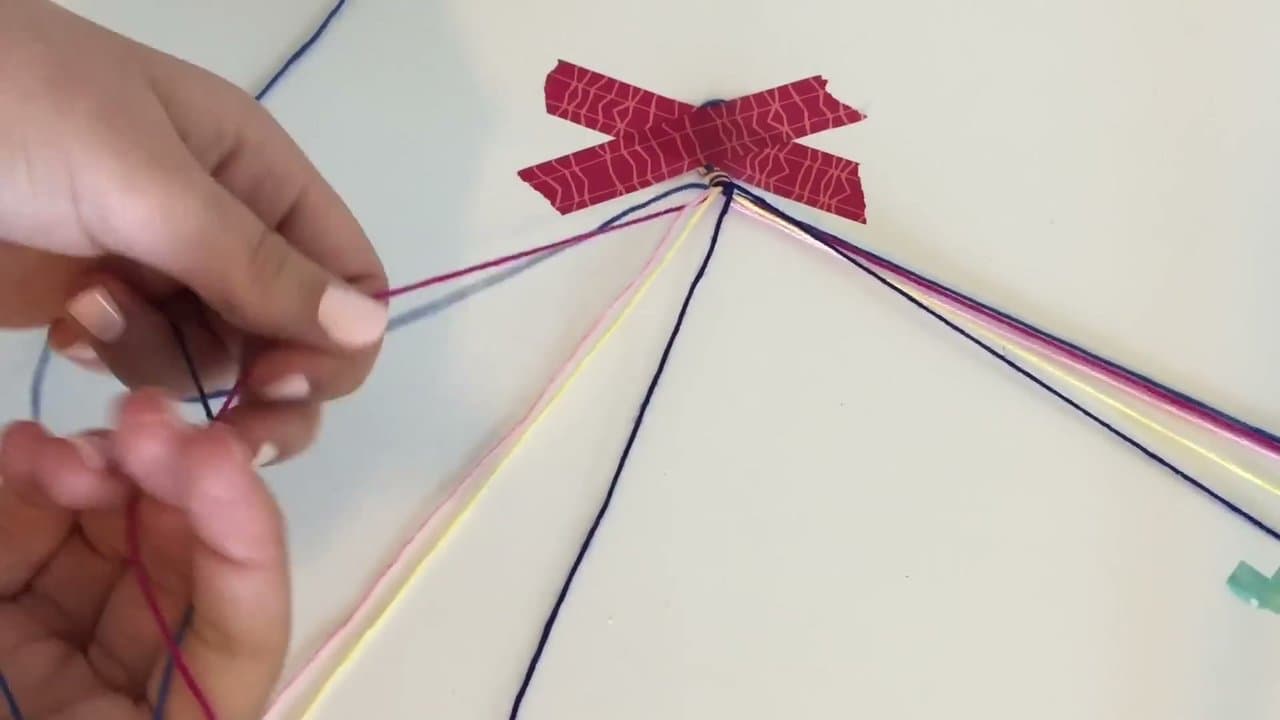
Pick three to six colors of six-strand embroidery floss. Cut each piece to about five feet long - that's longer than you think you need, because the knotting eats through string fast.

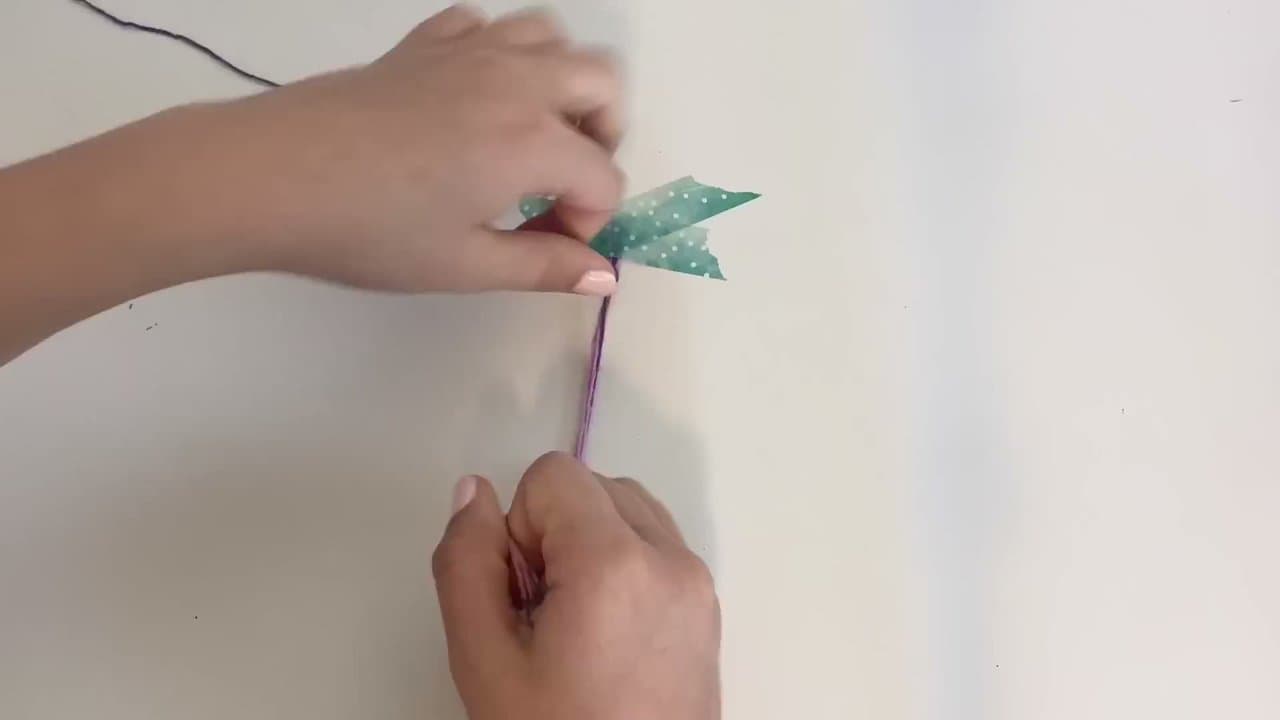
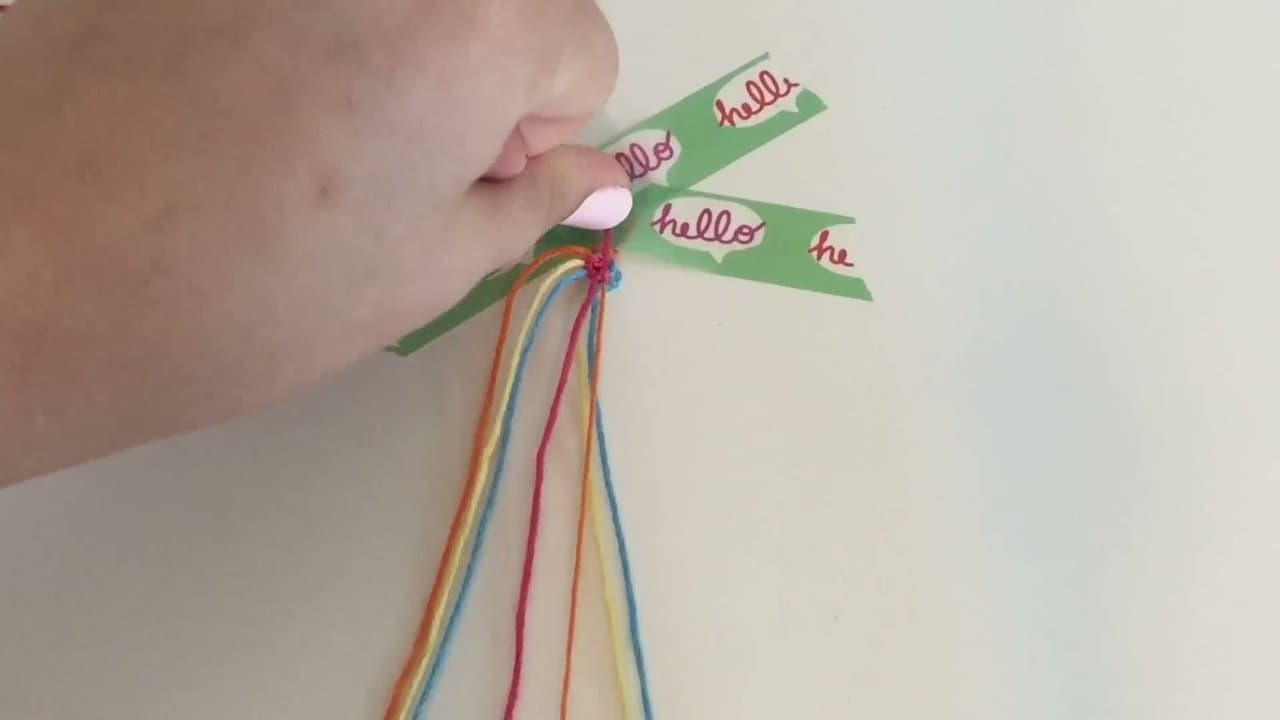
Line the strings up evenly and fold the whole bundle in half so the middle forms a small loop. Tie a knot right below the loop to hold it. That loop is how you'll tie the finished bracelet onto your wrist. Tape the knot to your table or clip it to a clipboard so the bracelet stays anchored while you work.

Tip

A safety pin pinned to your jeans or couch cushion also works as an anchor. You need something that holds the top still so both hands are free for knotting.

2

Design 1 - Spiral Bracelet

1:35
Step 2: Design 1 - Spiral Bracelet

Pick any one string as your working string and let the rest hang straight down as fillers. Make a forward knot: lay the working string over the fillers in the shape of the number 4, tuck the tail behind the fillers, and pull it up through the loop. Snug it tight against the anchor knot.

Repeat that exact same knot over and over with the same working string. After fifteen or twenty knots, the bracelet will start spiraling around on its own. To switch colors, drop the current working string down with the fillers and pick up a different string.

Tip

If the bracelet isn't spiraling, you're probably alternating the knot direction. Every knot has to start with the 4 shape going the same way.

3

Design 2 - Striped Bracelet

4:20
Step 3: Design 2 - Striped Bracelet

Fold your strings and make the loop like before, then lay the strings out in the order you want the stripes. The leftmost string becomes the top stripe, the rightmost becomes the bottom.

Take the far-left string and forward-knot it twice over the string right next to it. Then forward-knot twice over the next string. Keep going across until that string has knotted over every other string. That's one complete stripe. Drop it over to the right side and start the next stripe with what's now the leftmost string.

Tip

Two knots per string is what keeps the stripe thick and straight. One knot looks thin and crooked.

4

Design 3 - Chevron Bracelet

7:20
Step 4: Design 3 - Chevron Bracelet

Split the strings into two even halves with matching colors mirrored - if the left side is red-pink-blue-yellow, the right side should be yellow-blue-pink-red.

Take the far-left string and forward-knot it across each string working toward the middle. Stop when you reach the center. Then take the far-right string and backward-knot (the mirror of the forward knot - tuck in front of the fillers instead of behind) across each string working back toward the middle. When both sides meet at the center, tie the two middle strings together with one knot. That closes the V. Every row of that sequence is one chevron.

Tip

Backward knots feel awkward at first. Think of it as making the same 4 shape but pointing the other way - left side goes forward, right side goes backward.

5

Finish and Tie It On

2:35
Step 5: Finish and Tie It On

Keep knotting rows until the bracelet wraps around your wrist with a little slack. Tie a tight knot at the end so the pattern won't unravel, then braid or twist the loose strings together for a couple of inches to form a tie.

Thread that tie through the loop you made at the start and pull snug - that's how you put it on and take it off. Trim the loose ends with scissors. Done.

Tip

Give it as a gift with the wearer's matching bracelet on your own wrist. That's the tradition.

Products Used

☐ The Checklist

How to Make a Friendship Bracelet - 3 Easy Designs

Tools
2
Materials
1
Steps
5
Video
8 min

Your Guide

Audrey's Jar

As an Amazon Associate we earn from qualifying purchases. Links on this page may be affiliate links - clicking them and buying doesn't change your price, but helps support ShowMeStepByStep.

Related Tutorials