How to Crochet the Bobble Stitch

CrochetEasy4:586 stepsBrowse more →
Also in:Fiber Arts

By ShowMeStepByStepPublished Updated

Based on a video by The Woobles.

The bobble stitch is one of those crochet moves that instantly makes your work look more interesting. It is a cluster of five double crochets worked into a single stitch and gathered into one raised puff, and it is the building block behind bobble blankets, textured baby blankets, and cozy cushions. In this tutorial, The Woobles breaks down the dc5tog so even a confident beginner can follow along.

You will start by understanding what the stitch is, work five double crochets into the same hole leaving each one unfinished, then join them all in a single pull and pop the finished bobble to the front. The whole thing comes down to one rule: leave each double crochet one step short, then close them together at the end.

Step-by-Step Guide

1

Step 1: Know What a Bobble Stitch Is

0:09
Step 1: Step 1: Know What a Bobble Stitch Is

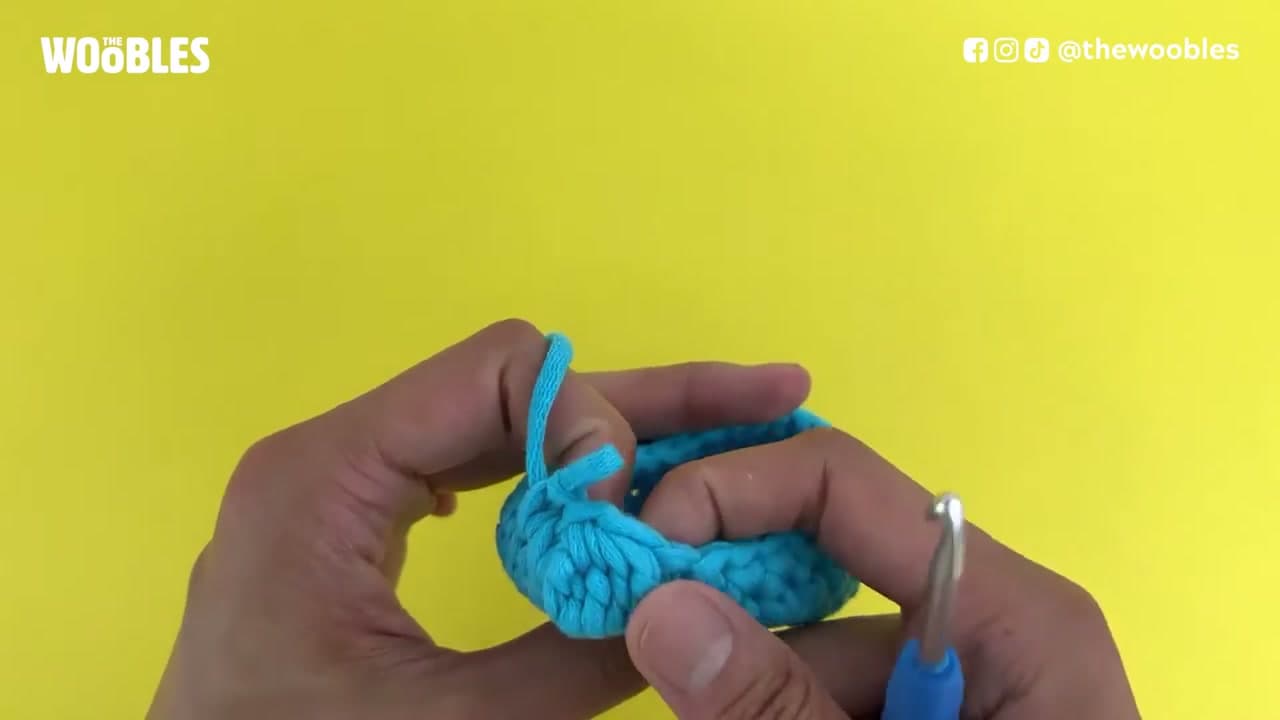
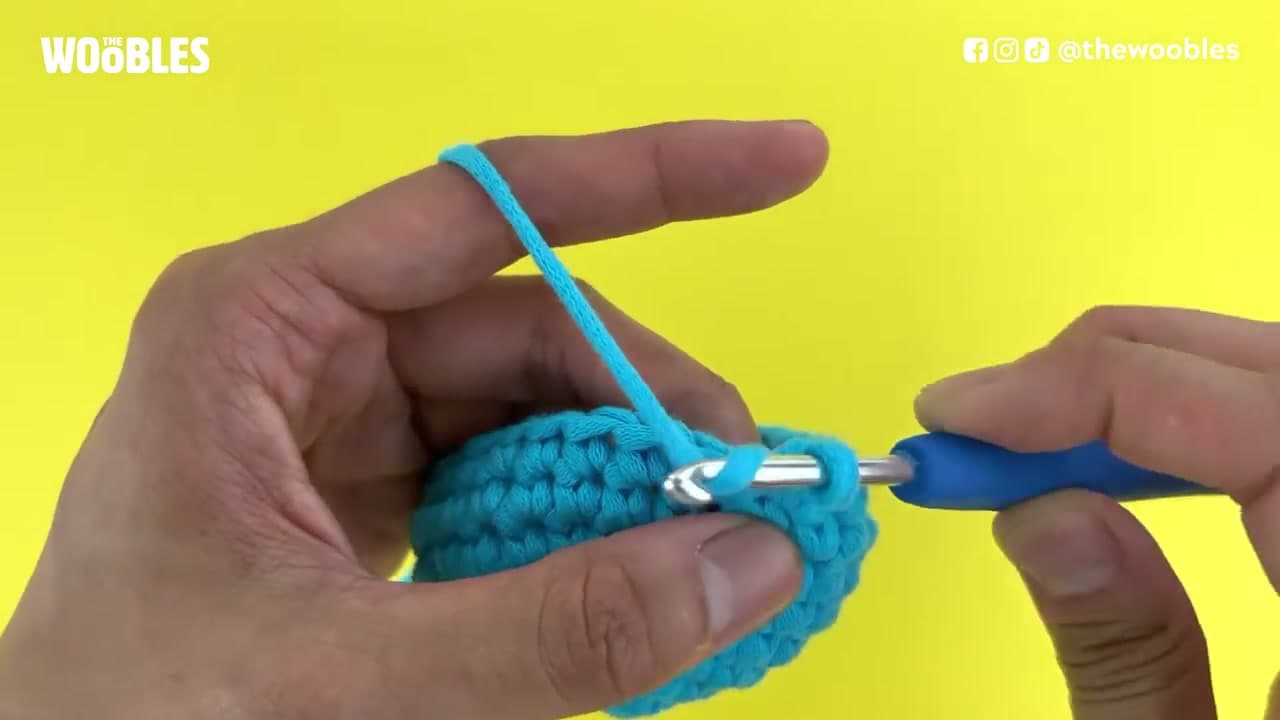
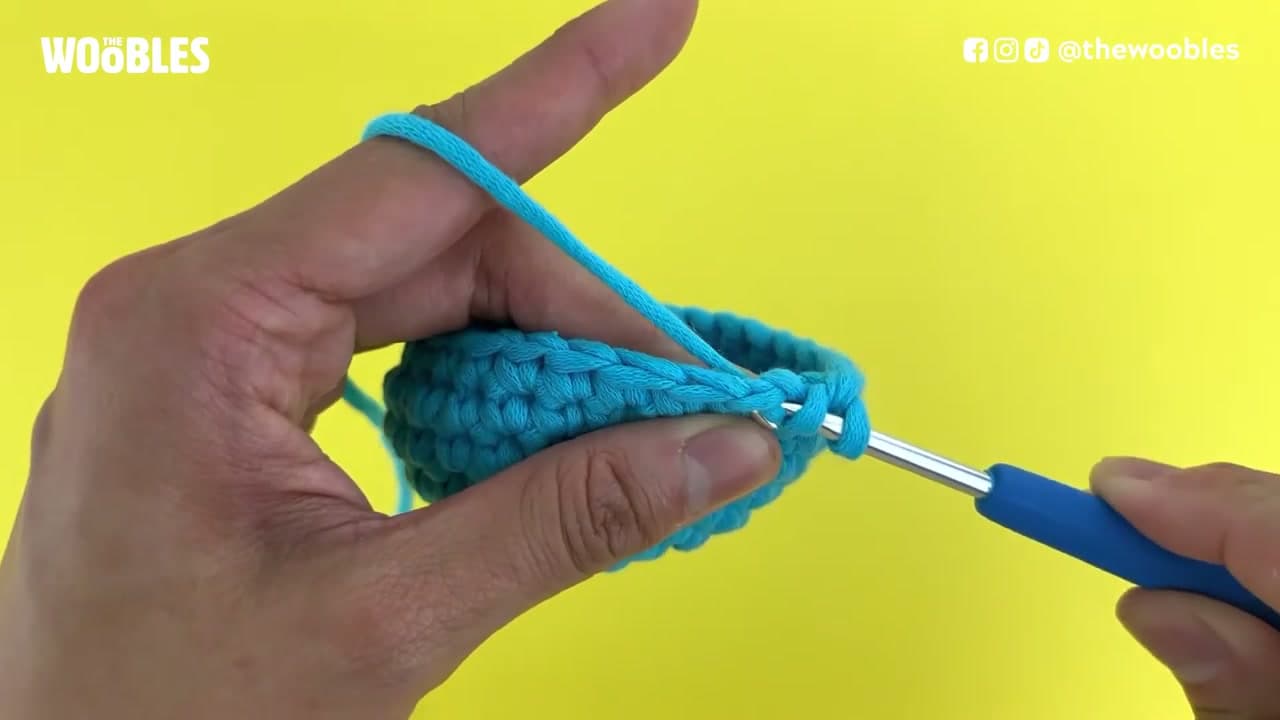
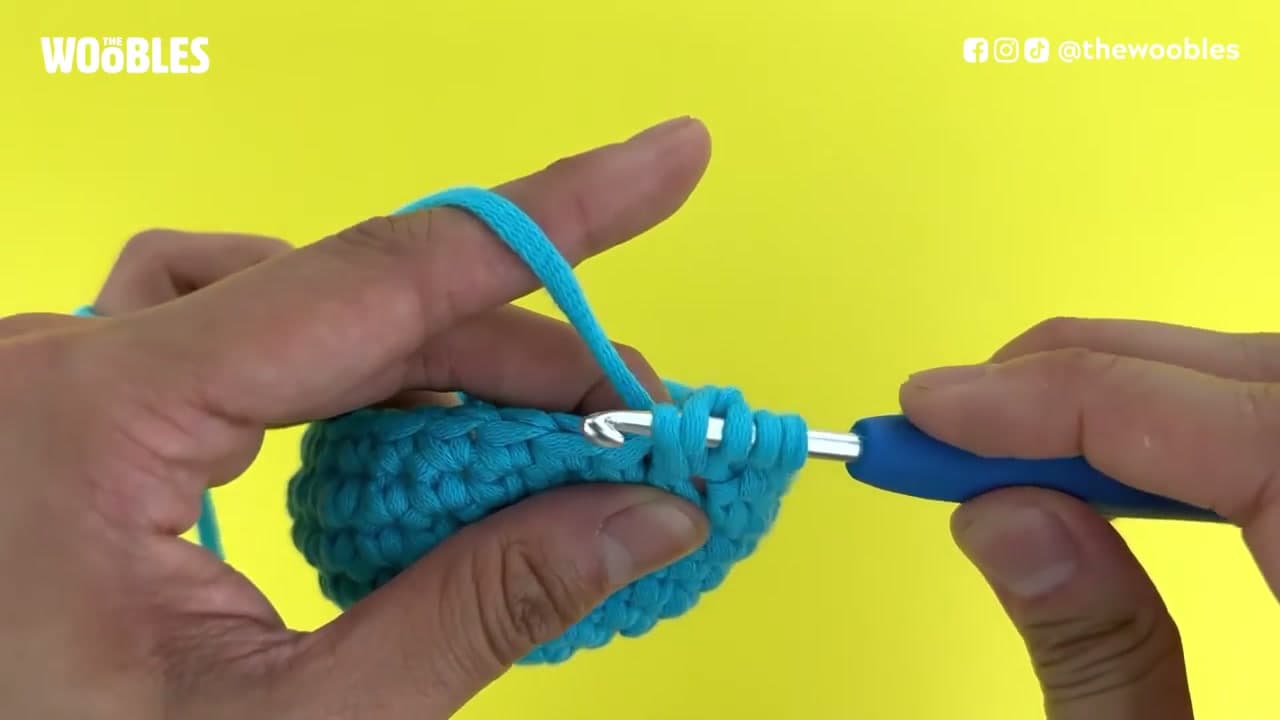
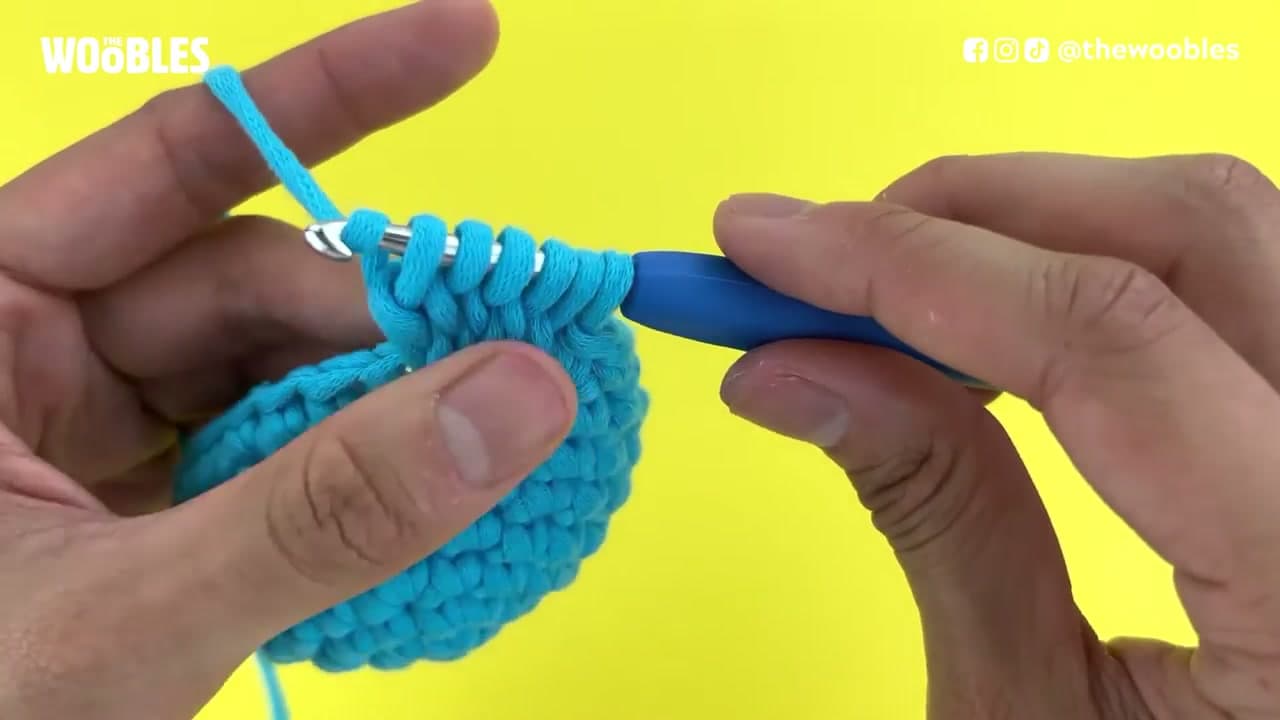
A bobble stitch, written in patterns as dc5tog (double crochet five together), is five double crochet stitches all worked into one stitch and then joined at the top. That bundle of stitches stands up off the surface as a soft, rounded puff.

The puff is the whole point. It is what gives bobble blankets, baby blankets, and textured cushions their bumpy, hand-made feel. Once you can make one, you can drop them into any pattern that calls for texture.

Tip

Watch this step You only need to know one stitch going in: the double crochet. A bobble is just five of them stacked in the same spot, so if your double crochet is solid, this will click fast.

2

Step 2: Yarn Over and Hook Into the Stitch

0:28
Step 2: Step 2: Yarn Over and Hook Into the Stitch

Hold your hook in front of the working yarn with the tip facing you. Yarn over by bringing the hook below and behind the yarn, then push the hook into the next stitch, going from the front to the back of the piece.

Look at the hook now. You should see four strands of yarn sitting on it. That is your starting position for the first of the five double crochets.

Tip

Watch this step Keep working into the same hole for all five stitches. If you spread them across different stitches you will get five separate stitches instead of one bobble.

3

Step 3: Work the First Double Crochet Part Way

0:50
Step 3: Step 3: Work the First Double Crochet Part Way

Yarn over again and pull the yarn through only the first two loops on the hook. Yarn over and pull through two loops one more time, until you are left with two loops on the hook.

That is one double crochet, left deliberately unfinished. You stop one step short so that later you can gather all five together in a single move. This half-finished state is the trick behind every cluster stitch.

Tip

Watch this step Pull through two loops, not all of them. Finishing the stitch the normal way here is the most common bobble mistake.

Products used in this step

4

Step 4: Add Four More Double Crochets in the Same Hole

2:48
Step 4: Step 4: Add Four More Double Crochets in the Same Hole

Repeat the same move four more times into that exact same hole: yarn over, hook in, yarn over and pull up a loop, then yarn over and pull through two loops so the stitch sits unfinished.

By the end you will have six loops crowded on the hook. An easy way to keep count is that you always have one more loop on the hook than the number of stitches you have finished, so five stitches means six loops.

Tip

Watch this step Lost count? Count the loops on your hook and subtract one. That is how many double crochets you have already made.

5

Step 5: Join All Five Stitches Into the Bobble

3:46
Step 5: Step 5: Join All Five Stitches Into the Bobble

With all six loops on the hook, yarn over one last time and pull that yarn through all six loops at once. Move the hook nice and parallel as you draw it through instead of wiggling it side to side, so you do not accidentally drop a loop.

You are done when a single loop is left on the hook. That one pull cinches the five double crochets into a single bobble.

Tip

Watch this step If the pull-through feels tight, ease the loops looser on the hook before the final yarn over. A relaxed final stitch slides through all six loops cleanly.

Products used in this step

6

Step 6: Pop the Bobble to the Front

4:46
Step 6: Step 6: Pop the Bobble to the Front

Right after you make it, the bobble can fold toward the back as you keep crocheting. Work a few stitches past it, then push the bump through to the front of your work with a finger.

Now it sits proud on the right side as a clean raised puff. Make sure every bobble in a row faces the same way and your texture will look even and intentional.

Tip

Watch this step Decide which side is your right side before you start a bobble row, then always push the bumps to that side so the finished piece looks consistent.

Products Used

☐ The Checklist

How to Crochet the Bobble Stitch

Tools
1
Materials
1
Steps
6
Video
5 min

Tools

1 item

Materials

1 item

Your Guide

The Woobles

As an Amazon Associate we earn from qualifying purchases. Links on this page may be affiliate links - clicking them and buying doesn't change your price, but helps support ShowMeStepByStep.

Tags

Free printable

Get the Crochet Cheat Sheet

Every basic stitch on one printable page. No spam, one-click unsubscribe.

What's next

Weekly Digest

Liked this crochet tutorial?

Pick the categories you want to hear about. Weekly digest of new step-by-step tutorials. No spam, easy unsubscribe.

Send me tutorials about

We only email about new tutorials. Easy unsubscribe anytime.