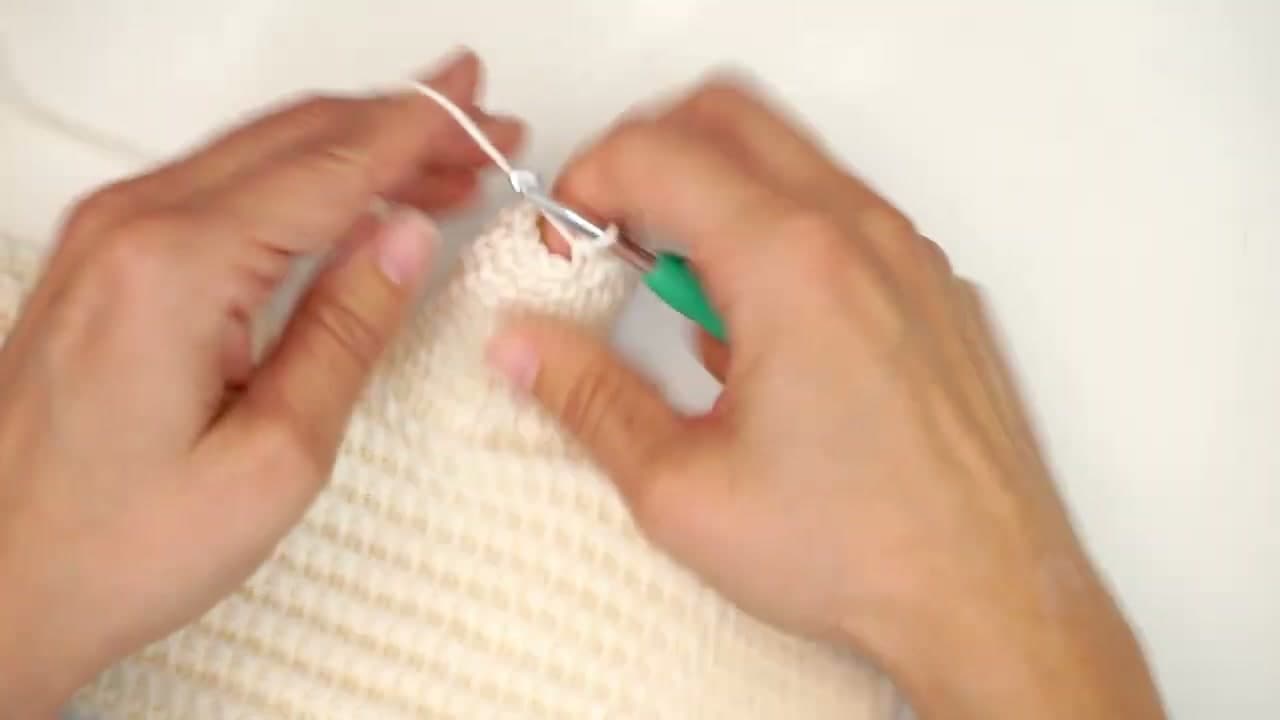
How to Crochet Mittens: Easy Beginner Pattern for Adults

CrochetMedium14:4011 stepsBrowse more →
Also in:Crafts

By ShowMeStepByStepPublished

Based on a video by Diving Ducks Crochet.

Mittens are the wearable that finally proves crochet is a real wardrobe skill. Once you can make one, you can make a matched pair, gift them, and start eyeing a beanie or a pair of fingerless gloves next.

This pattern from Diving Ducks Crochet is genuinely beginner-friendly. You work a flat rectangle of back-loop slip stitch and single crochet, fold it in half, then sew up the long side leaving a gap for the thumb. The ribbed texture stretches around your wrist and keeps the cuff snug. The thumb is added at the end by picking up stitches around the gap and spiraling them into a small tube.

You will need one ball of worsted-weight yarn, a 4.5mm crochet hook, scissors, a tapestry needle, and a few stitch markers to keep your place. If you already know how to half double crochet or have made a magic ring, you are more than ready for this. The only new technique is back-loop ribbing, and you will pick that up by the third row. By the end of the video you will have one finished mitten - the second one is exactly the same.

Step-by-Step Guide

1

Step 1: Gather your supplies

0:25
Step 1: Step 1: Gather your supplies

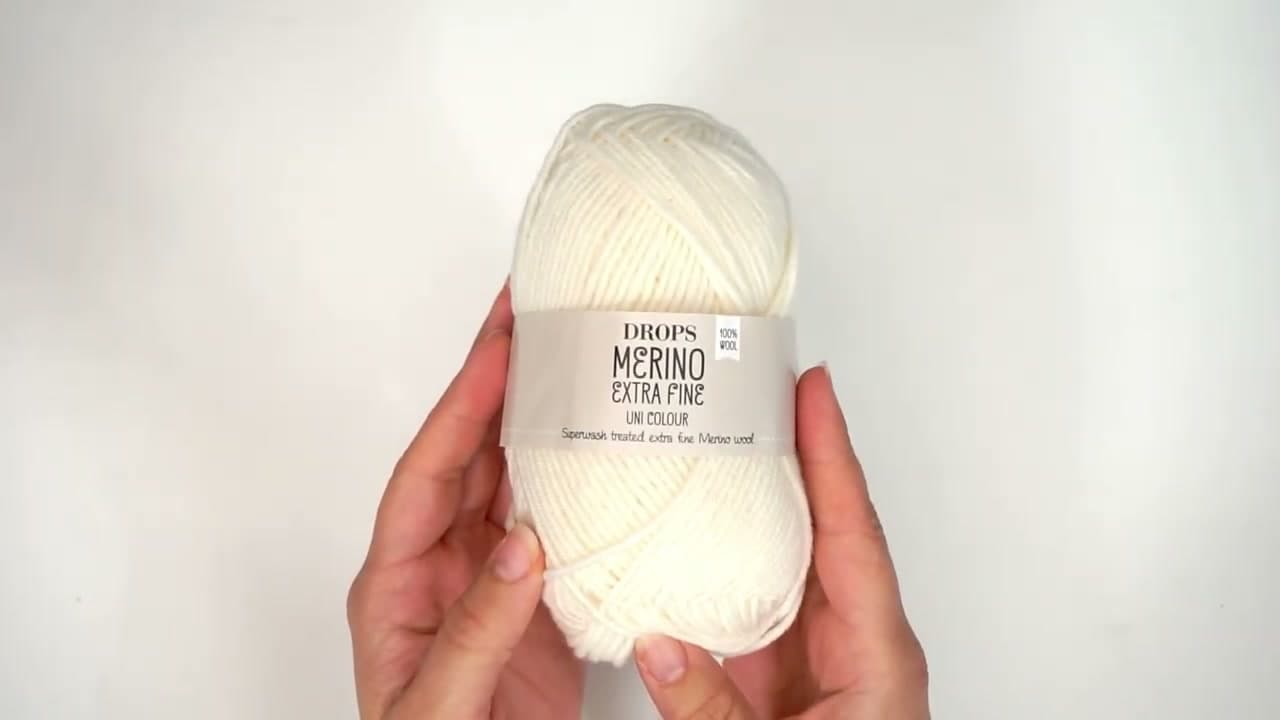
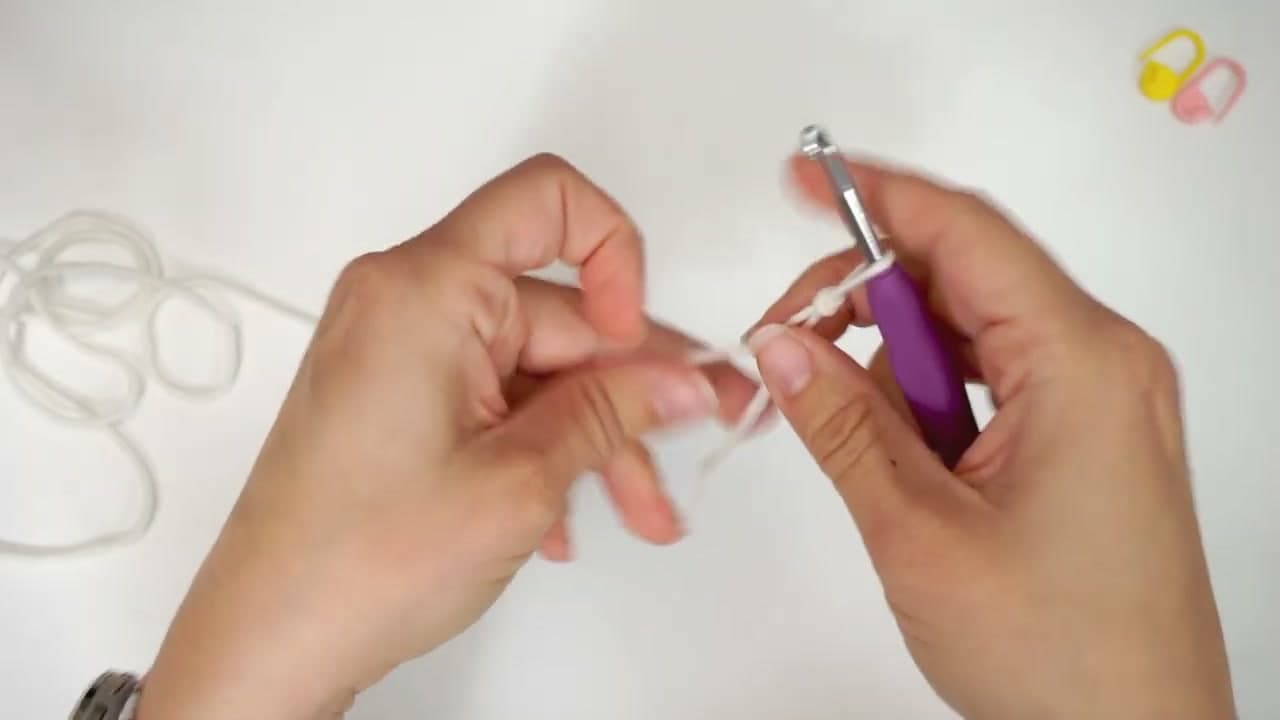
You will need worsted weight yarn (the video uses Drops Merino Extra Fine in off-white), a 4.5mm crochet hook, scissors, a tapestry needle, and a couple of stitch markers. One 50g ball is enough for a single mitten, so grab two balls if you want to finish the pair in one sitting.

Wool or a wool blend is the warmest choice for winter mittens, but a soft acrylic works fine if you are allergic to wool or want something machine washable. Pick a color you will actually wear - the project moves fast enough that you might make a second pair in a different shade.

Tip

If your gauge tends to run tight, go up to a 5mm hook. The mitten should hug your hand but not feel like it is squeezing.
2

Step 2: Make a slipknot and chain 45

0:58
Step 2: Step 2: Make a slipknot and chain 45

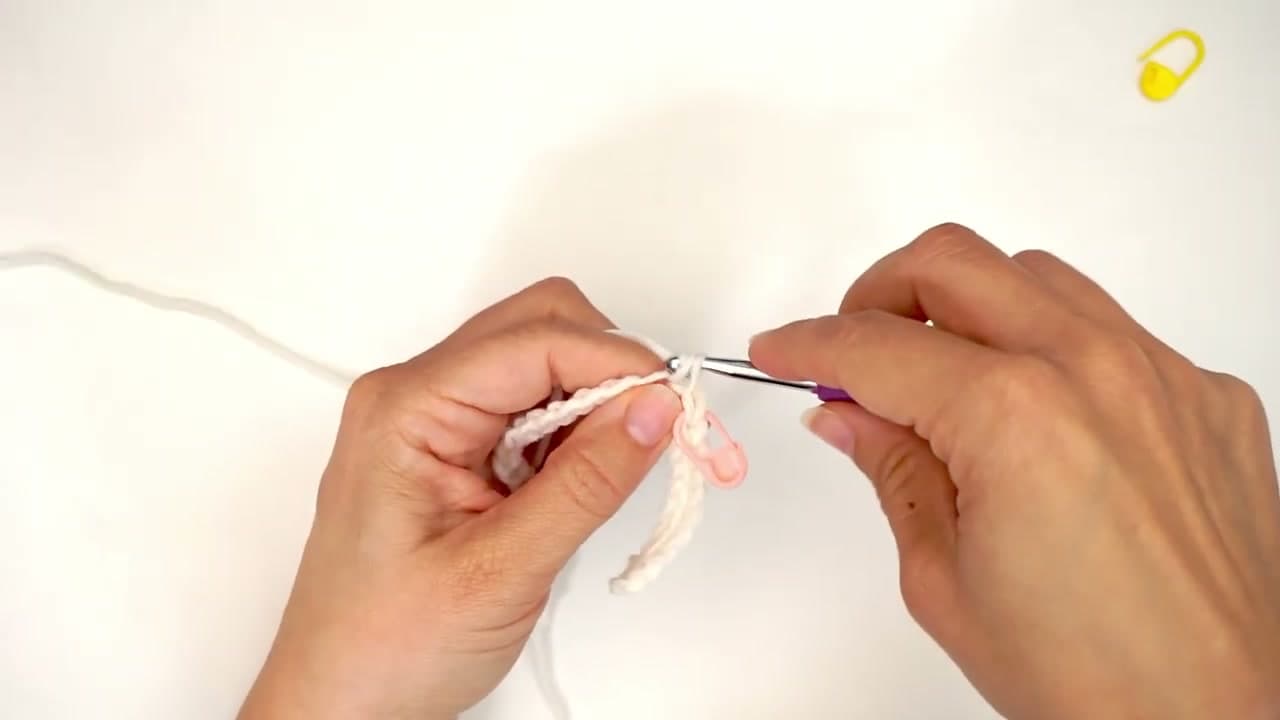
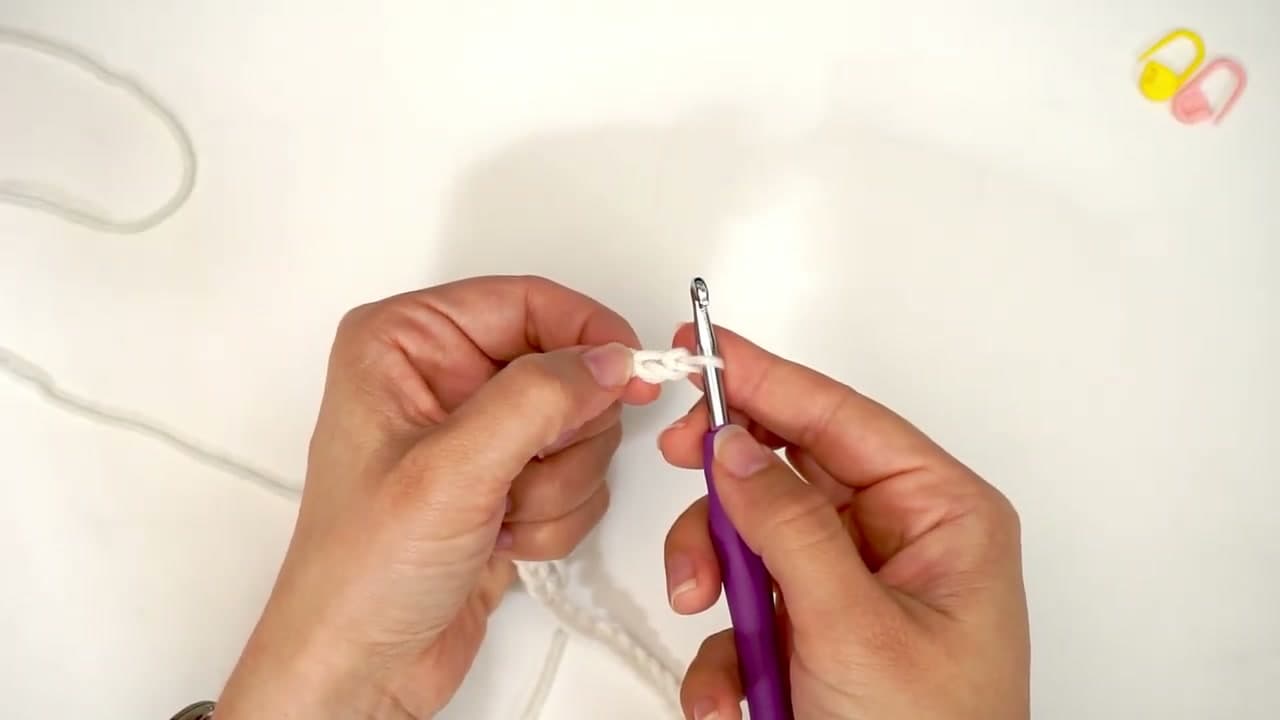
Start with a slipknot on your hook. Then chain 45 by yarning over and pulling through the loop on your hook 45 times. Keep the chains relatively loose - you will be working into every single one in the next step, and tight chains are painful to crochet into.

Forty-five chains gives an average adult hand circumference once the ribbing stretches a little. If you have small hands or want a snug fit, drop to 40. For larger hands, add a few extra. This is the long edge that becomes the side of the mitten.

Tip

Count your chains as you go. If you lose track, lay the chain flat and count the little Vs on the front - the slipknot does not count as a chain.

3

Step 3: Work 10 slip stitches at the cuff end

1:15
Step 3: Step 3: Work 10 slip stitches at the cuff end

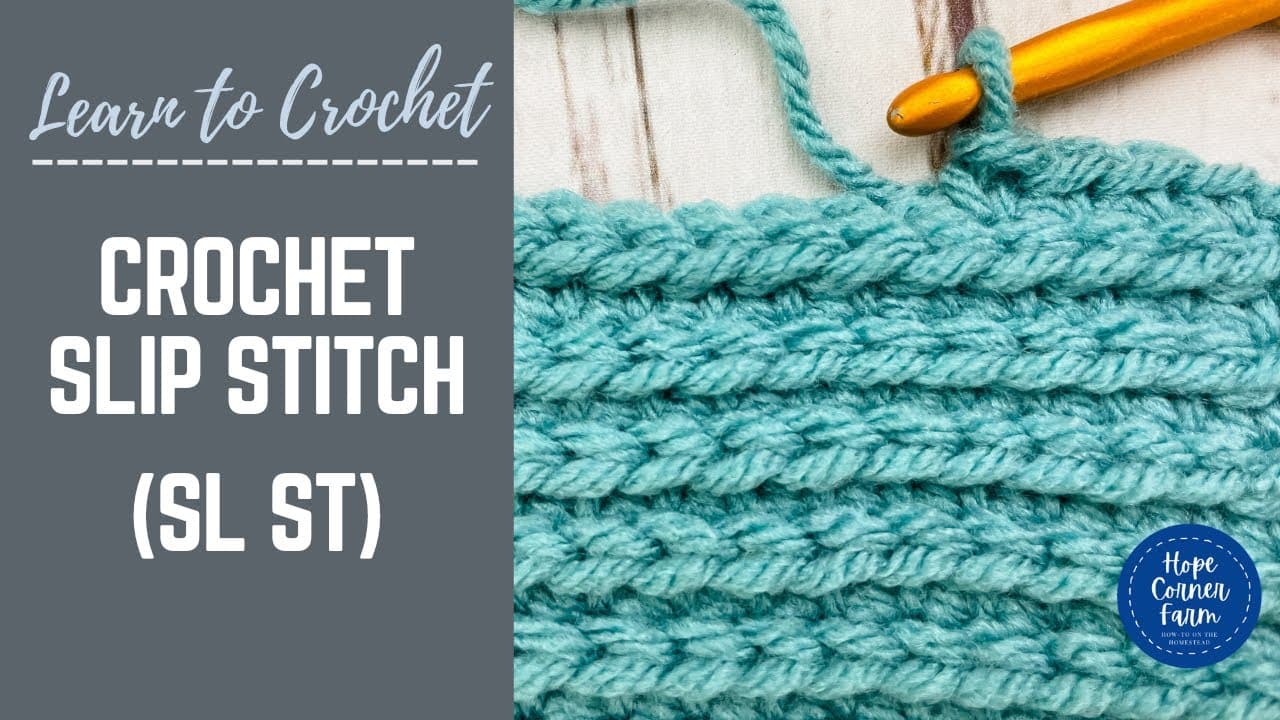
Skip the very first chain next to your hook. In the second chain, work a slip stitch by inserting the hook, yarning over, and pulling through both the chain and the loop on your hook. That is one slip stitch.

Keep going - one slip stitch in each of the next chains - until you have 10 slip stitches in total. In the 10th slip stitch, slide on a stitch marker so you know where the cuff ends. The 10 slip stitches are denser than single crochet and become the cuff edge of the mitten.

Tip

Slip stitches can be tricky to work into chains - they want to disappear. Wiggle the hook a bit and pull through both loops in one motion.

4

Step 4: Single crochet across, then 3 slip stitches at the end

2:10
Step 4: Step 4: Single crochet across, then 3 slip stitches at the end

Right after the stitch marker, switch to single crochet for the middle section. Insert the hook in the next chain, yarn over, pull up a loop, yarn over, pull through both loops. That is one single crochet. Work one in every chain until only three chains are left.

Those last three chains get slip stitches, just like the first 10 at the other end. Insert the hook, yarn over, pull through both. Three slip stitches close out the row. Chain one and turn your work.

Tip

The 3-slip-stitch ends become the top of the mitten where you will gather the fabric. The 10-slip-stitch end becomes the cuff at the wrist. Keeping that orientation straight helps once you start the ribbing rows.

5

Step 5: Switch to back-loop-only and repeat the row pattern

2:55
Step 5: Step 5: Switch to back-loop-only and repeat the row pattern

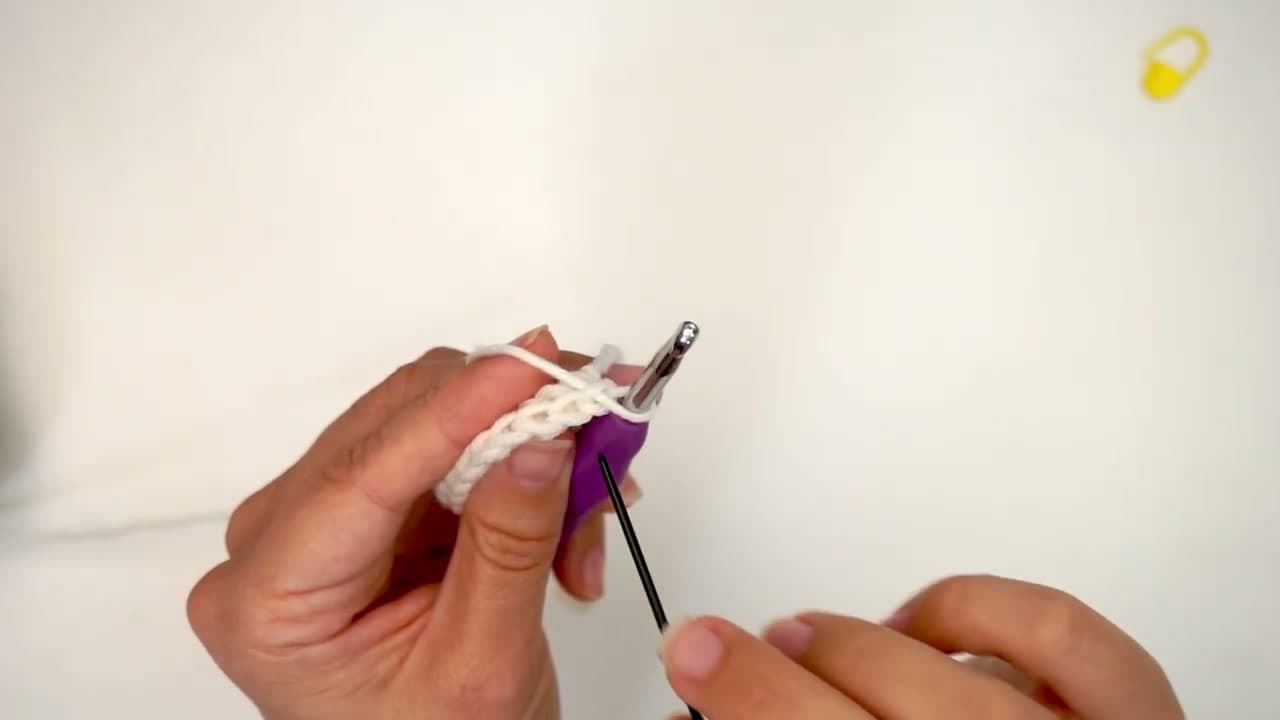
From now on every row is the same: 10 back-loop slip stitches at the cuff end, back-loop single crochet across the middle, 3 back-loop slip stitches at the top end. Working only through the back loop is what creates the ribbed stretchy texture.

Look at the top of each stitch and you will see a small V made of two loops. Slide your hook under only the back loop (further from you) and ignore the front loop. Skip the turning chain at the start of each row and work your first stitch in the second stitch over. Use the stitch markers to remember where the slip stitch sections end and the single crochet begins.

Tip

The ribbing shows up clearly after about four rows. If you only see one smooth side, you are accidentally working through both loops - back up and try again.

6

Step 6: Repeat the row pattern for about 42 rows

6:10
Step 6: Step 6: Repeat the row pattern for about 42 rows

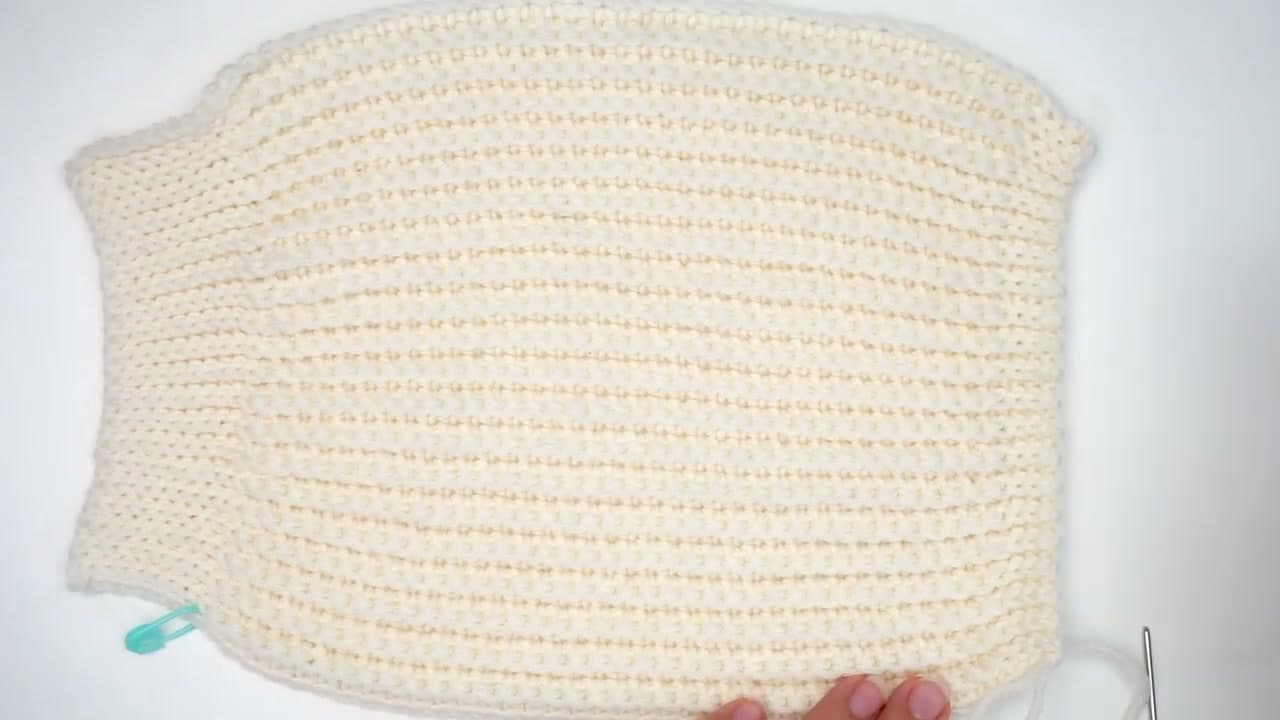
Keep repeating the row pattern - chain one, turn, 10 back-loop slip stitches, back-loop single crochet across, 3 back-loop slip stitches - until the rectangle wraps comfortably around your hand. Diving Ducks Crochet works 42 rows total for an average adult fit.

Check the fit by wrapping it around your widest knuckle area. The fabric should stretch slightly to meet itself. If it feels tight, add another two rows. When you are done, cut the yarn leaving a tail at least a foot long - you need it for sewing in the next steps.

Tip

Count rows by the bumps along the edge - each back-loop row makes a visible bump on one side. 42 rows is roughly 21 bumps.

7

Step 7: Cinch the top closed

7:00
Step 7: Step 7: Cinch the top closed

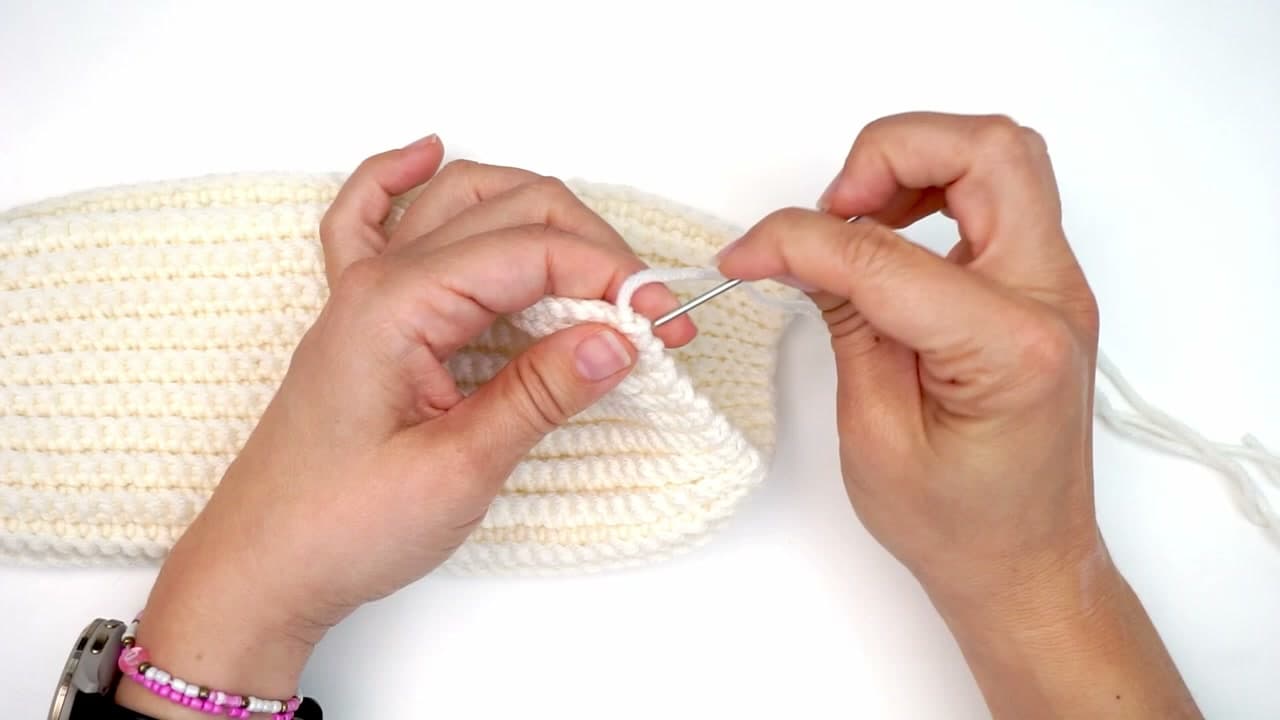
Thread the long tail onto a tapestry needle. Fold the rectangle in half so the short ends meet. The 3-slip-stitch edges at the top are now stacked on top of each other - that is where you will gather to close the top of the mitten.

Weave the needle in and out across the top edge, picking up about every other row. When you have gone across, pull the yarn gently to gather the fabric into a closed top. Do not yank - pull a little at a time so the yarn does not snap. Once the top is fully closed, run the needle through the same stitches three times to lock it.

Tip

If gaps remain along the gathered top, add a few extra stitches with the same yarn until it looks closed. Mittens forgive small inconsistencies.

8

Step 8: Sew the side seam, leaving a thumb gap

8:45
Step 8: Step 8: Sew the side seam, leaving a thumb gap

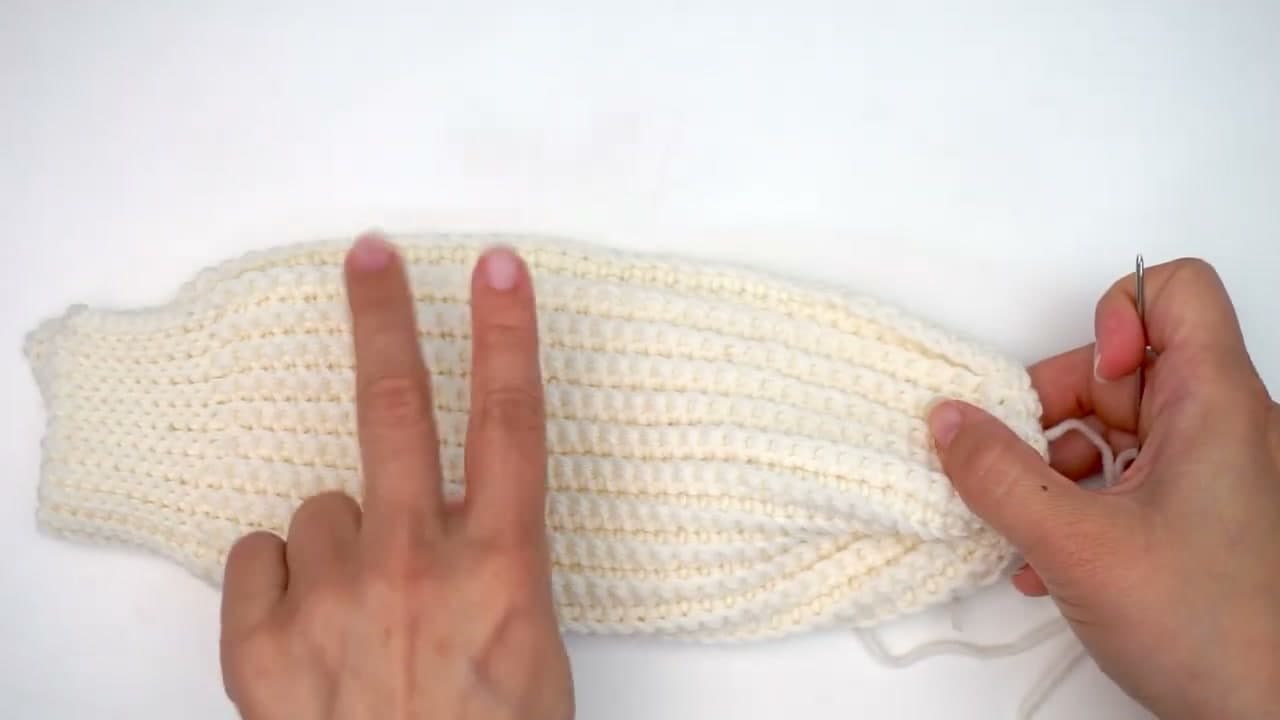
With the rectangle still folded in half, sew the long side closed from the top down toward the cuff. Use a whip stitch or running stitch - pass the needle through both layers, then back through, working your way along the edge.

About a third of the way down, stop sewing and leave a 5cm gap. That gap is the thumb hole. Then continue sewing the rest of the seam down to the cuff. Secure the yarn with a few back-and-forth stitches and trim. Turn the mitten right-side out by reaching through the cuff opening.

Tip

Put the mitten on before fully closing the seam to check the thumb gap is positioned where your thumb naturally sits. Adjust the gap location on the second mitten if needed.

9

Step 9: Attach yarn and pick up 15 stitches around the thumb gap

9:40
Step 9: Step 9: Attach yarn and pick up 15 stitches around the thumb gap

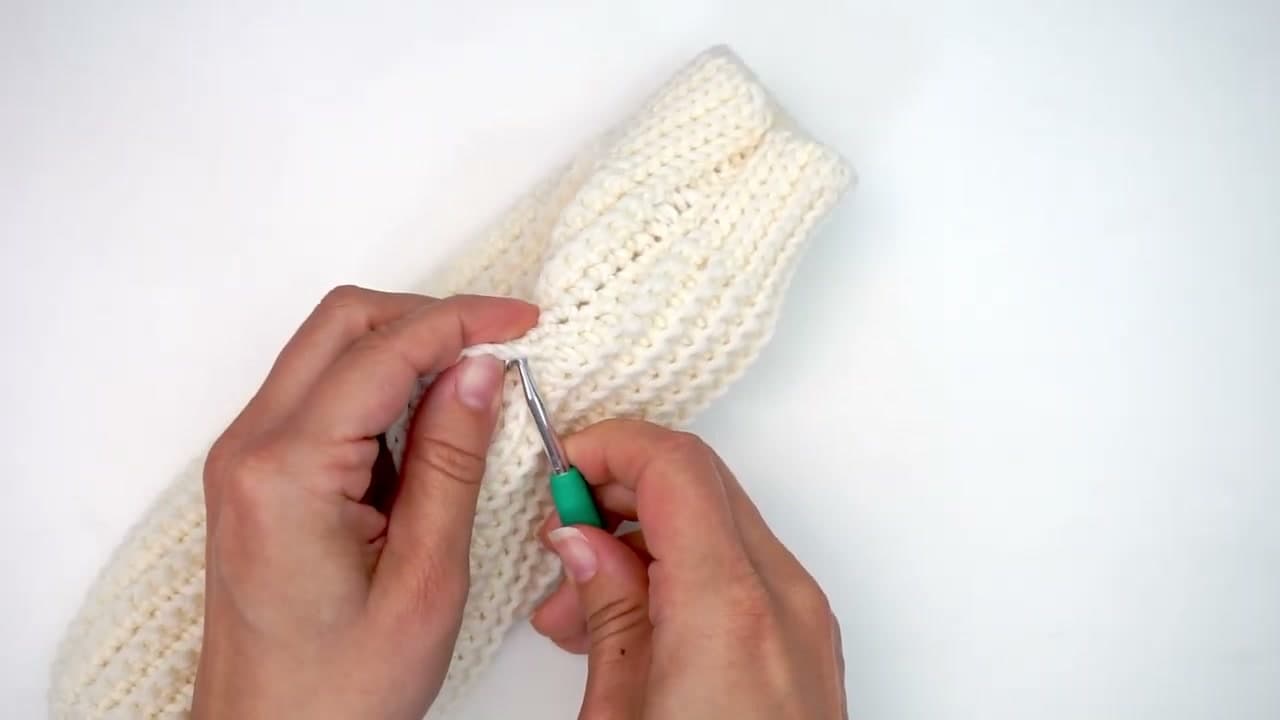
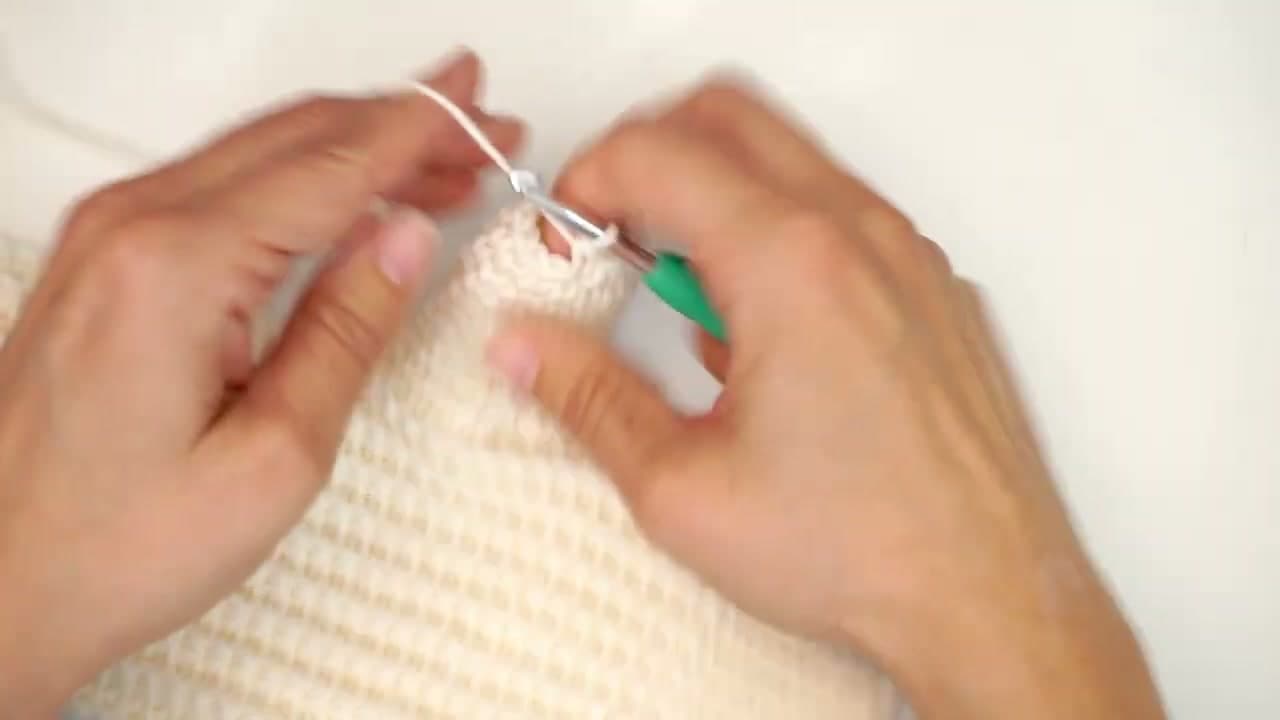
Insert your hook into one of the stitches along the thumb gap. Grab the working yarn (from a new ball or what is left of the old one), pull up a loop, and tie a knot to anchor it. Tie a second knot for security.

Now single crochet all the way around the thumb opening. You want 15 single crochets total. If the gap gives you more than 15 stitches when you come back to the start, do a few decreases to bring the count down. Fewer than 15? Add an extra stitch by working twice into one spot.

Tip

If you have a thicker thumb, work 17 or 18 stitches instead. The thumb tube should fit snugly without squeezing.

10

Step 10: Spiral up the thumb tube

12:00
Step 10: Step 10: Spiral up the thumb tube

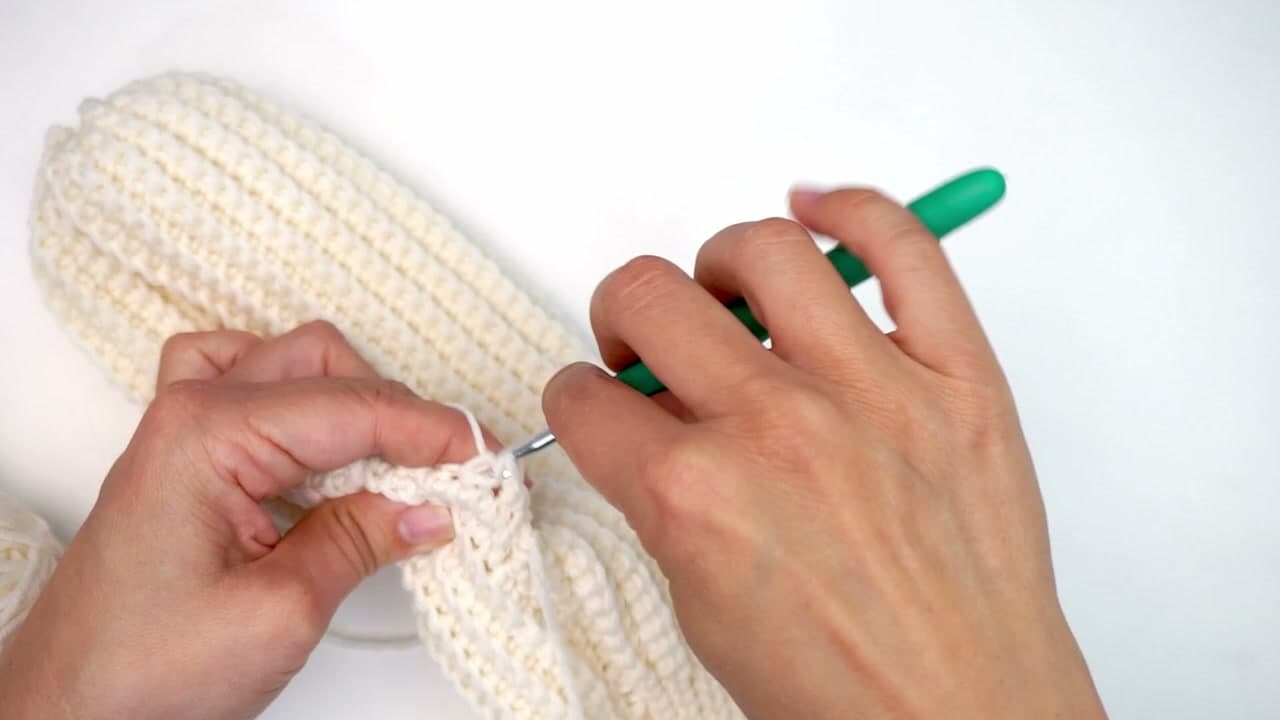
Continue working single crochet around and around in a spiral - no joining, no chaining up. Just keep going into the next stitch each time. Working in the round this way creates a smooth tube without a visible seam.

Keep going until the thumb tube is almost as long as your own thumb. Try it on once or twice as you work. Stop about half a centimeter shorter than your thumb tip - you will close the top with a few decreases, and that adds the last bit of height.

Tip

Drop a stitch marker into the first stitch of each round so you can keep track of where the spiral started.

11

Step 11: Close the thumb tip and weave in ends

12:40
Step 11: Step 11: Close the thumb tip and weave in ends

Work decreases all the way around to close the top of the thumb. To decrease, insert the hook in the next stitch, pull up a loop, insert in the following stitch, pull up another loop, then yarn over and pull through all three loops. Keep decreasing until only a few stitches remain.

Cut the yarn with a 6-inch tail. Thread it on the tapestry needle, then stitch through the remaining loops and pull tight to close any final gap. Weave the tail through the inside of the thumb a few times, then trim. Do the same for any other tails. Make a second mitten the same way and your pair is ready to wear.

Tip

Always weave tails on the inside of the mitten where they will not show. If a tail still pokes through after weaving, run it through a fourth time in a different direction.

Products Used

☐ The Checklist

How to Crochet Mittens: Easy Beginner Pattern for Adults

Tools
5
Materials
1
Steps
11
Video
15 min

Your Guide

Diving Ducks Crochet

As an Amazon Associate we earn from qualifying purchases. Links on this page may be affiliate links - clicking them and buying doesn't change your price, but helps support ShowMeStepByStep.

Tags

Free printable

Get the Crochet Cheat Sheet

Every basic stitch on one printable page. No spam, one-click unsubscribe.

What's next

Weekly Digest

Liked this crochet tutorial?

Pick the categories you want to hear about. Weekly digest of new step-by-step tutorials. No spam, easy unsubscribe.

Send me tutorials about

We only email about new tutorials. Easy unsubscribe anytime.