How to Crochet a Snowman Ornament

CrochetEasy30:4310 stepsPart of Crafting for BeginnersBrowse more →
The finished result: How to Crochet a Snowman Ornament

By Show Me Step by StepPublished

Based on a video by Crouton Crafts.

This little snowman is a classic tree ornament. He is crocheted in one piece from the bottom up, stuffed, then dressed in a red scarf with fringe and a black top hat. His face and buttons are dots of puffy fabric paint, so there is nothing tiny to sew on. The pattern comes from the Crouton Crafts YouTube channel, which walks through every round on camera.

Crochet snowman ornament: what you are making

The body is two balls made in one go. You increase out for the lower ball, decrease in to a six stitch neck, then increase again for a smaller head. All of it is single crochet worked in the round. If those words are new, start with how to crochet a magic ring and how to crochet in the round. The only other skill is the single crochet decrease, covered in how to decrease in crochet.

Yarn weight and hook size

The video uses Caron Simply Soft Party, a worsted weight (4) acrylic with a thin metallic thread that sparkles under tree lights. Any worsted white works. A plain white, a cream or an off-white from your stash all make a fine snowman. You also need small amounts of red for the scarf and black for the hat.

The hook is a size H, 5 mm. Amigurumi wants tight stitches so the stuffing does not show, so if your fabric looks loose, drop to a 4.5 or 4 mm hook.

Finished size, time and yarn

He stands about 3 1/2 to 4 inches tall with his hat on. The creator makes one in about half an hour. A beginner should plan on an hour or two, plus drying time for the paint. Each snowman takes only a few yards of each color, so one skein of white makes a dozen or more.

Adding a hanging loop

Thread a 6 inch piece of gold cord or ribbon on a yarn needle. Pass it through the top of the hat and down into the head, back up, and tie the ends in a knot. Sew it on before you paint so you are not handling wet dots.

Puffy paint, drying and safety

Paint dots are a safer choice than plastic safety eyes or buttons if small grandchildren will handle the ornament, since there is nothing to pull off. The first coat soaks into the yarn, so dot it small, let it dry, then add a second, bigger dot. Let the finished face dry flat overnight before you hang him.

Gift ideas and variations

  • Gift toppers. Tie one to a wrapped present in place of a bow.
  • Garland. String several on a red cord across a mantel.
  • A set. Box three with different scarf colors. Our Christmas ornaments guide has more to pair with them.
  • Colors. Try a green, blue or plaid scarf, or a red hat.
  • A smaller snowman. Use DK or sport yarn and a 3.5 mm hook.

Troubleshooting

  • Gaps between stitches. Go down a hook size and pull each stitch snug.
  • Stuffing showing. Use less, pushed in small pieces, and keep it off your hook on the last round. See how to stuff amigurumi for more tips.
  • Lopsided shape. Recount each round. One missed increase shows.
  • A hat brim that curls up. Work round 7 in the front loops only, and keep the brim rounds a little loose.

What you'll need

Step-by-Step Guide

10 steps · about 31 minutes.Check off each step as you go and your progress saves automatically.

1

Start the Snowman Body With a Magic Ring

3:04
Step 1: Start the Snowman Body With a Magic Ring - How to Crochet a Snowman Ornament

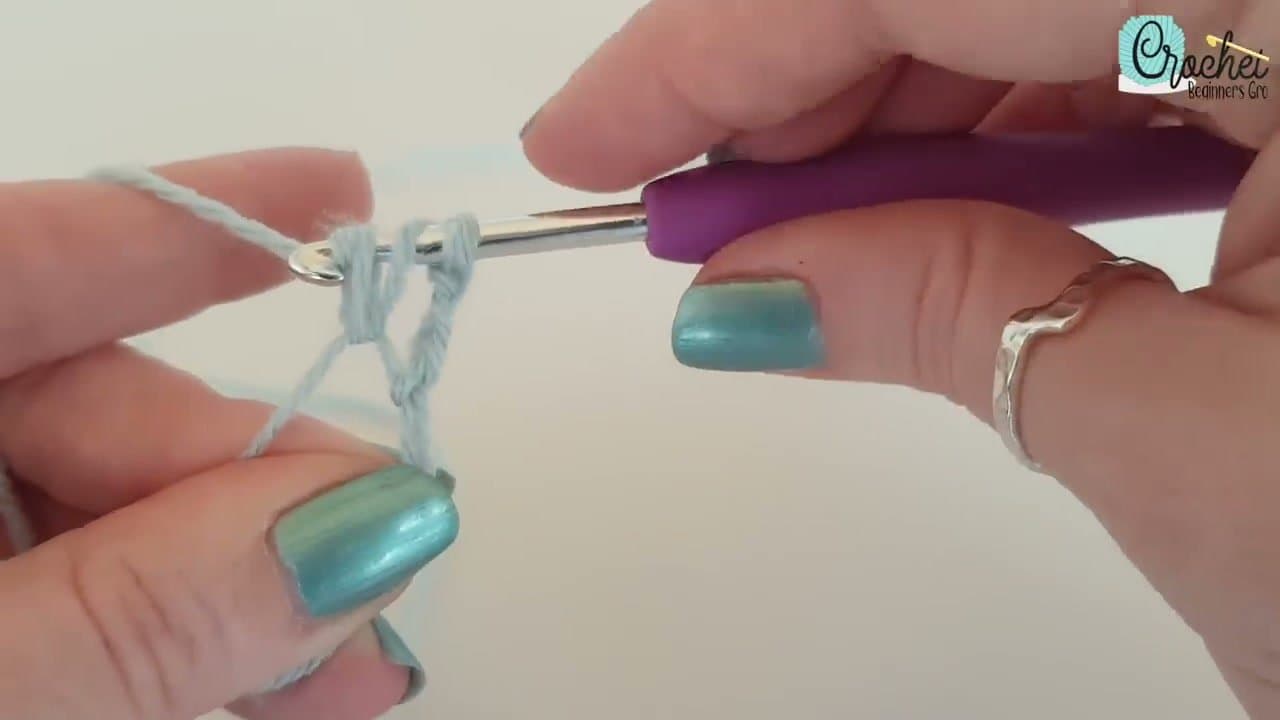
Wrap the white yarn twice around your finger, slip the 5 mm hook under both strands, yarn over and pull up a loop. Chain one to lock it. Work six single crochets into the ring, then pull the tail so the center closes tight. Join to the first stitch with a slip stitch and chain one. Joining every round is optional. If you skip it, use a stitch marker to find the start.

Tip

Prefer a chain? Chain two and work the six stitches into the second chain from the hook.

2

Increase to 24 Stitches for the Snowman's Lower Body

5:00
Step 2: Increase to 24 Stitches for the Snowman's Lower Body - How to Crochet a Snowman Ornament

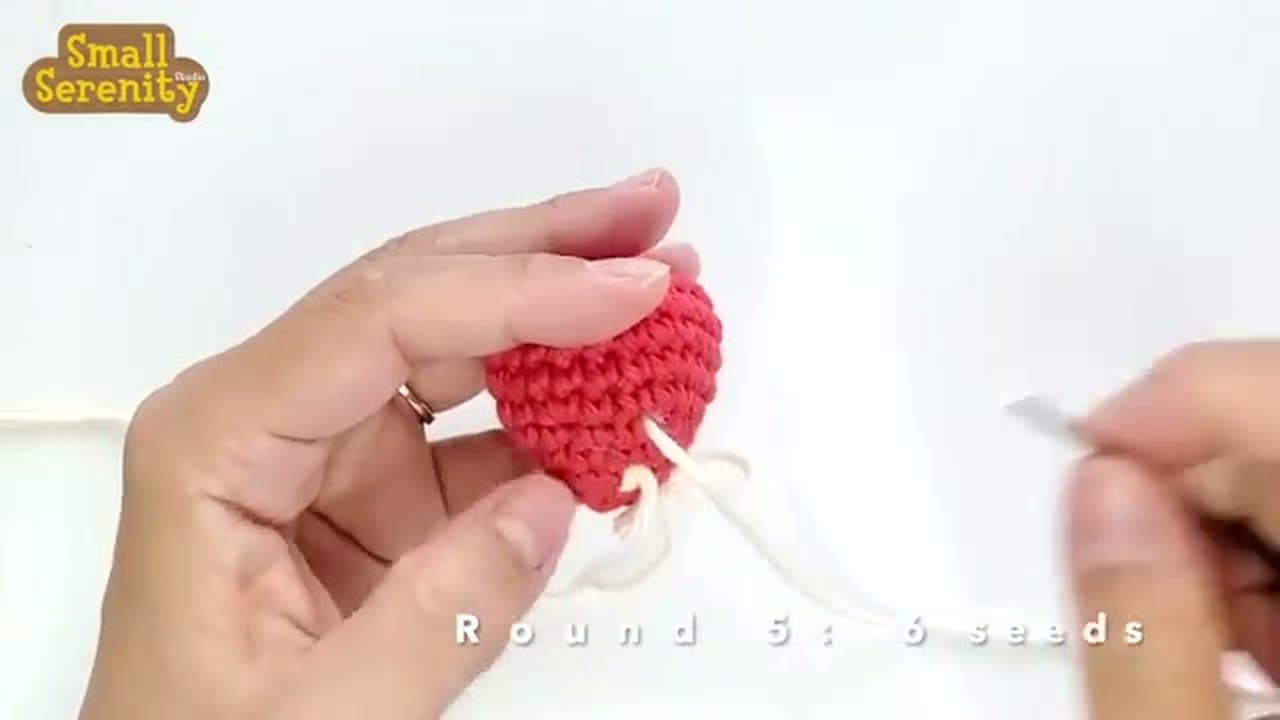
Round 2: two single crochets in every stitch, for 12. Round 3: two in the next stitch, one in the next, all the way around, for 18. Round 4: two in the next stitch, then one in each of the next two, for 24. Rounds 5 to 8 are one single crochet in each stitch with no increases. The flat circle starts to cup up into a little bowl.

Tip

Count your stitches at the end of each round. A missed increase makes the ball lopsided.

3

Decrease to Shape the Snowman's Lower Body Ball

8:48
Step 3: Decrease to Shape the Snowman's Lower Body Ball - How to Crochet a Snowman Ornament

To decrease, put the hook into one stitch and pull up a loop, then into the next stitch and pull up another. Yarn over and pull through all three loops. Round 9: decrease, then one single crochet in each of the next two, for 18. Round 10: decrease, one single crochet, for 12. Round 11: decrease all the way around, for 6. The hole gets small, so fold the piece flat to reach the stitches.

Tip

Stuff the lower ball firmly before you close round 11. Once the neck is down to 6 stitches, it is hard to reach.

4

Crochet the Snowman's Head Rounds

14:22
Step 4: Crochet the Snowman's Head Rounds - How to Crochet a Snowman Ornament

The six stitches of the neck become the start of the head. Round 12: two single crochets in each stitch, for 12. Round 13: two in the next, one in the next, around, for 18. Rounds 14 and 15: one single crochet in each stitch. Round 16: decrease, then one single crochet, around, for 12. Stop here and leave the top open for stuffing.

Tip

The head has fewer rounds than the body, so it comes out smaller. That is what you want.

5

Stuff the Crochet Snowman With Fiberfill

16:16
Step 5: Stuff the Crochet Snowman With Fiberfill - How to Crochet a Snowman Ornament

Pull off small tufts of fiberfill and push them through the top opening and down through the neck to top up the lower ball. Fill it firmly so it holds a round shape. Then stuff the head, a little less firmly. Yarn scraps or fabric scraps work too. Skip rice or beans, since the ornament will sit in a box for most of the year.

Tip

Do not overstuff. Too much filling stretches the stitches and the white fiber shows through.

6

Close the Top of the Snowman's Head and Fasten Off

18:42
Step 6: Close the Top of the Snowman's Head and Fasten Off - How to Crochet a Snowman Ornament

Round 17: decrease all the way around, from 12 stitches down to 6. Keep a finger over the stuffing so the hook does not catch it. Top up the head through the last small hole if it feels soft. Slip stitch, cut the yarn and pull the tail through. Push the tail down through the head and out the side, then trim it close so it disappears.

Tip

A wisp of fiberfill poking out? Push it back inside with the blunt end of your hook.

7

Crochet the Snowman Scarf With a Chainless Foundation

20:20
Step 7: Crochet the Snowman Scarf With a Chainless Foundation - How to Crochet a Snowman Ornament

Make a slip knot in red and chain two. Insert the hook into the first chain, yarn over and pull up a loop, chain one, then yarn over and pull through both loops. Each new stitch goes into the chain one of the stitch before. Make 25 stitches and fasten off. Easier option: chain 26, then single crochet in the second chain from the hook and in each chain across.

Tip

Both methods give the same strip. The chainless one has a stretchier, neater bottom edge.

8

Add Fringe and Tie the Scarf on the Snowman

22:24
Step 8: Add Fringe and Tie the Scarf on the Snowman - How to Crochet a Snowman Ornament

Wrap red yarn three times around three fingers and cut through one end of the loops. Put your hook through the last stitch of the scarf, catch the folded loops and pull them through. Pull the cut ends through those loops and tug to lock the knot. Repeat on the other end, trim to about an inch and separate the plies. Wrap the scarf around the neck and tie it once.

Tip

Separating the plies makes the fringe fuller and softer, a bit like a real wool scarf.

9

Crochet the Snowman's Top Hat

26:20
Step 9: Crochet the Snowman's Top Hat - How to Crochet a Snowman Ornament

Use black yarn. The video shows white so you can see the stitches. Start with six single crochets in a magic ring. Round 2: two in each stitch, for 12. Round 3: back loops only, one in each stitch, which turns a sharp corner. Rounds 4 to 6: one in each stitch. Round 7: front loops only, two in the next and one in the next, for 18. Round 8: two in the next, one in each of the next two, for 24.

Tip

Leave a long tail when you fasten off. You will use it to sew the hat onto the head.

10

Sew On the Hat and Paint the Snowman's Face

30:08
Step 10: Sew On the Hat and Paint the Snowman's Face - How to Crochet a Snowman Ornament

Sew the hat to the head with the tail or with thread and a needle. Tilt it a little for some personality. Add the hanging loop. With black puffy paint, dot two eyes, five small dots for a smile and three buttons. Use orange for the nose, building up three dots and pulling the last one out into a carrot point. Add green holly leaves and red berries to the hat.

Tip

Give the first coat of dots 3 to 4 hours to dry before the second coat.

How to Sew Amigurumi Pieces Together (Invisible Seam)

Keep going

How to Sew Amigurumi Pieces Together (Invisible Seam)

Products Used

The Checklist

How to Crochet a Snowman Ornament

Tools
5
Materials
6
Steps
10
Video
31 min

Tools we recommend

Your Guide

Crouton Crafts

As an Amazon Associate we earn from qualifying purchases. Links on this page may be affiliate links - clicking them and buying doesn't change your price, but helps support Show Me Step by Step.

Tags

Sunday How-To

New crochet tutorials, every Sunday

One short email with the week's best step-by-step guides. Free, no spam, unsubscribe anytime.

Did this work for you?

What's next

Weekly Digest

Liked this crochet tutorial?

Pick the categories you want to hear about. Weekly digest of new step-by-step tutorials. No spam, easy unsubscribe.

Send me tutorials about

We only email about new tutorials. Easy unsubscribe anytime.