How to Crochet a Blanket

CrochetEasy17:297 steps
Also in:Crafts

By ShowMeStepByStepPublished Updated

Based on a video by Bella Coco.

Most beginner blanket patterns hide a lie - they look easy but take forever. This one from Sarah-Jayne Fragola at Bella Coco genuinely does build up in about three hours because the chunky yarn and big hook do the heavy lifting for you.

You'll only use two stitches: a slip knot and the half double crochet (called half treble in UK terms - same stitch, different name). The pattern is just rows of half doubles all the way up. Color stripes give you a finished look without needing fancy techniques.

Materials are simple: about 200g each of two colors of Bernat Baby Blanket yarn (the 300g balls are easiest to find), an 8mm crochet hook, scissors, and a yarn needle for weaving in ends at the finish. The whole thing makes a stroller- or lap-size blanket that's perfect as a baby shower gift or a quick housewarming.

Step-by-Step Guide

1

Step 1: Gather your materials

0:35
Step 1: Step 1: Gather your materials

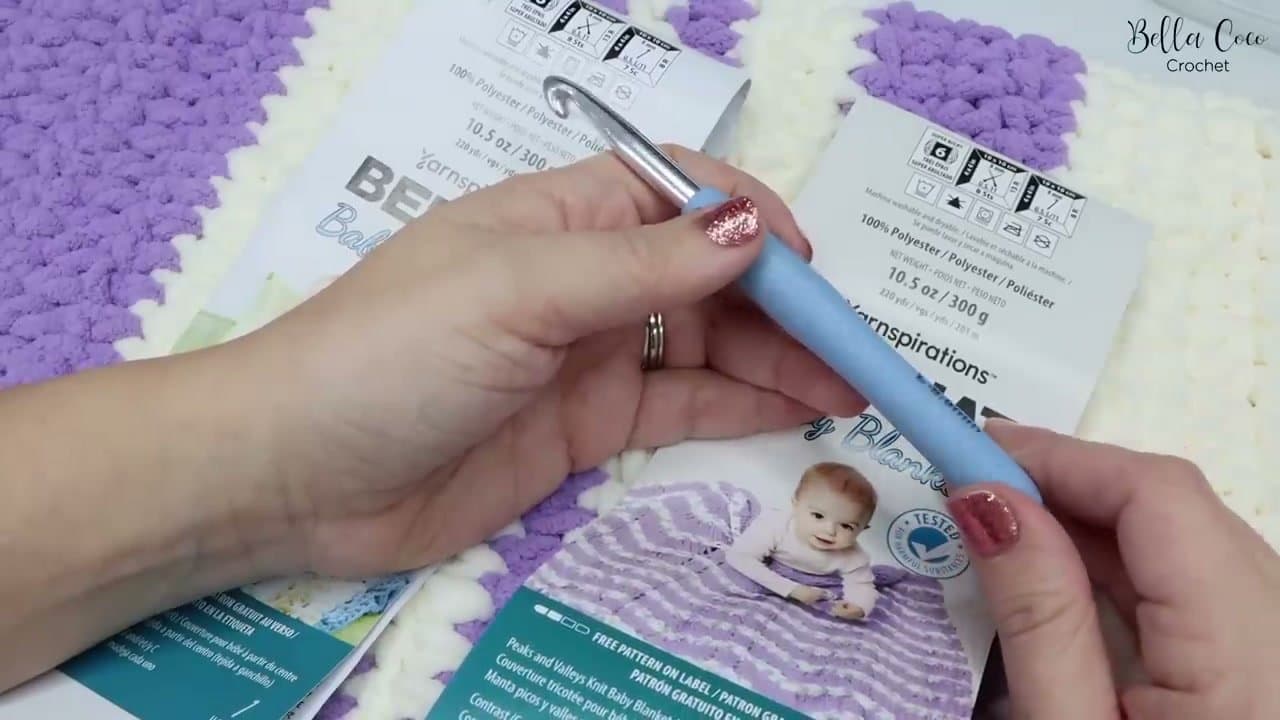
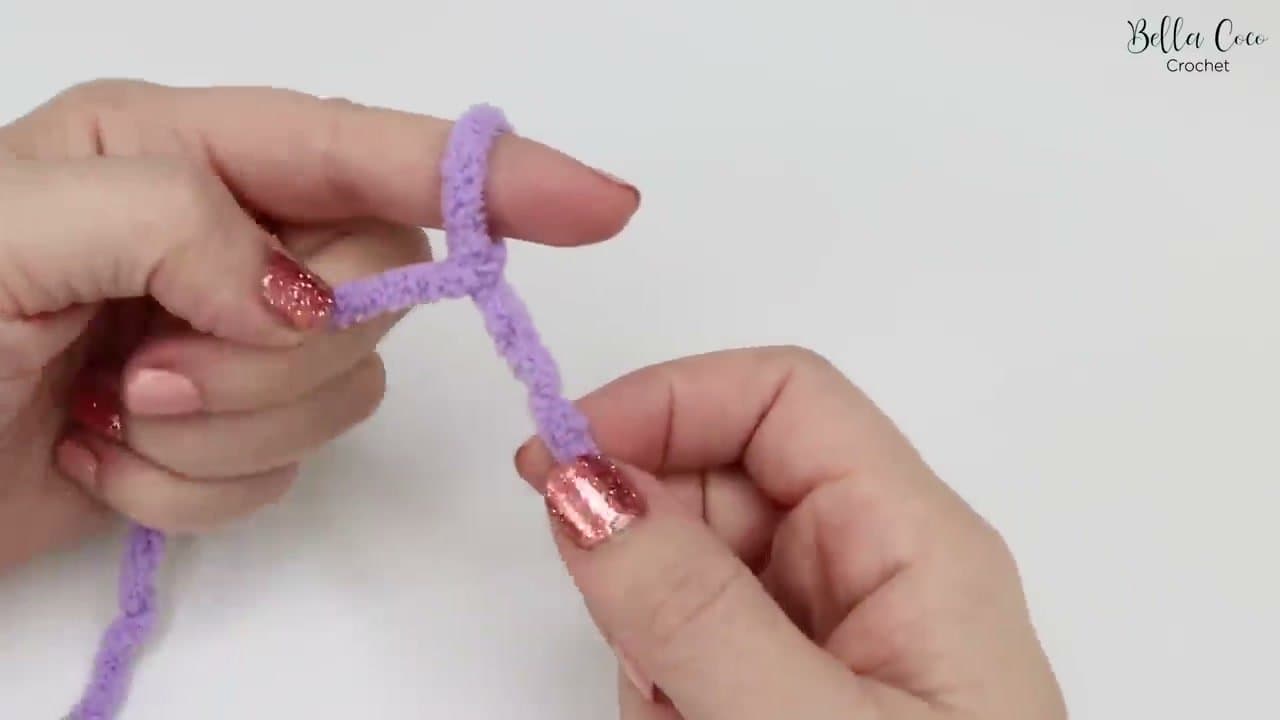
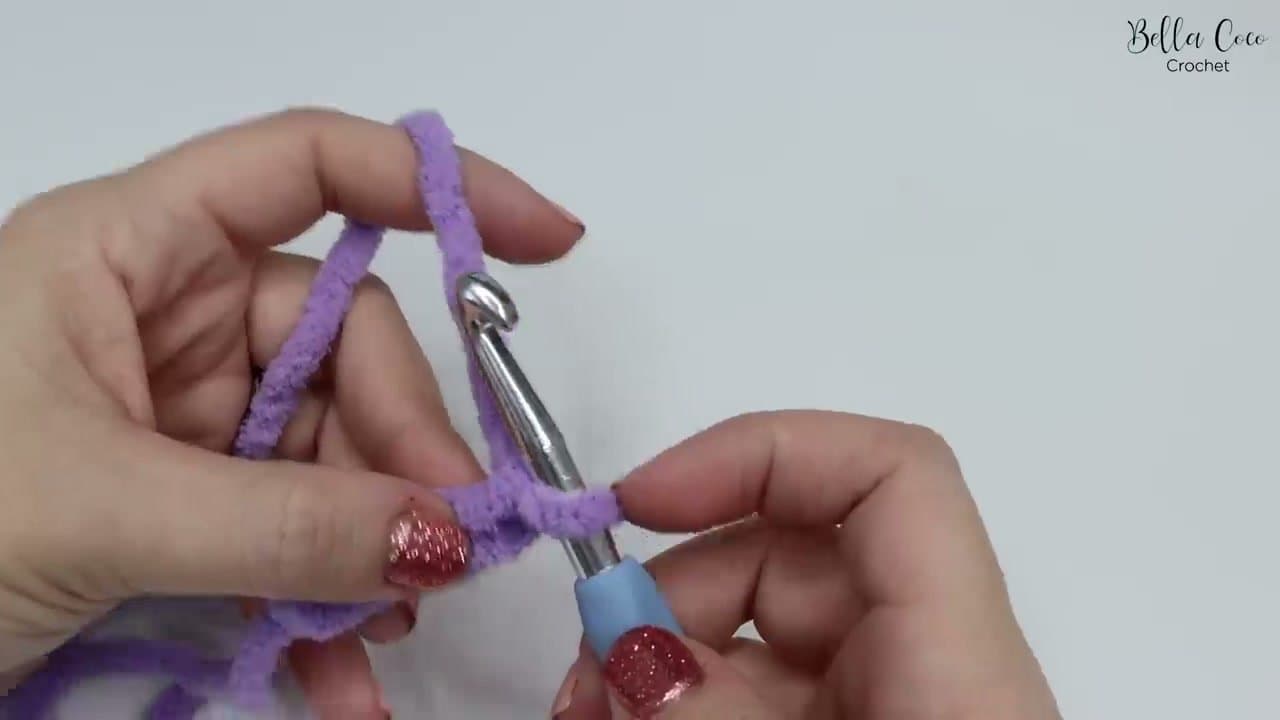
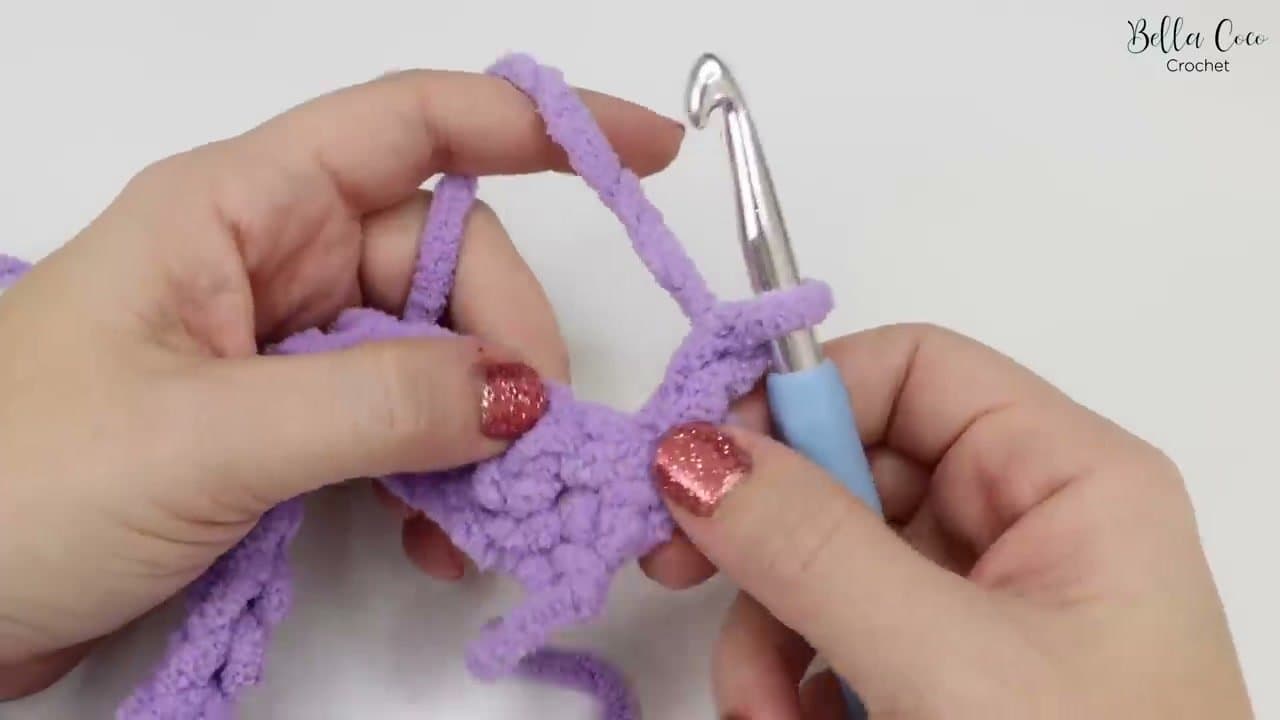
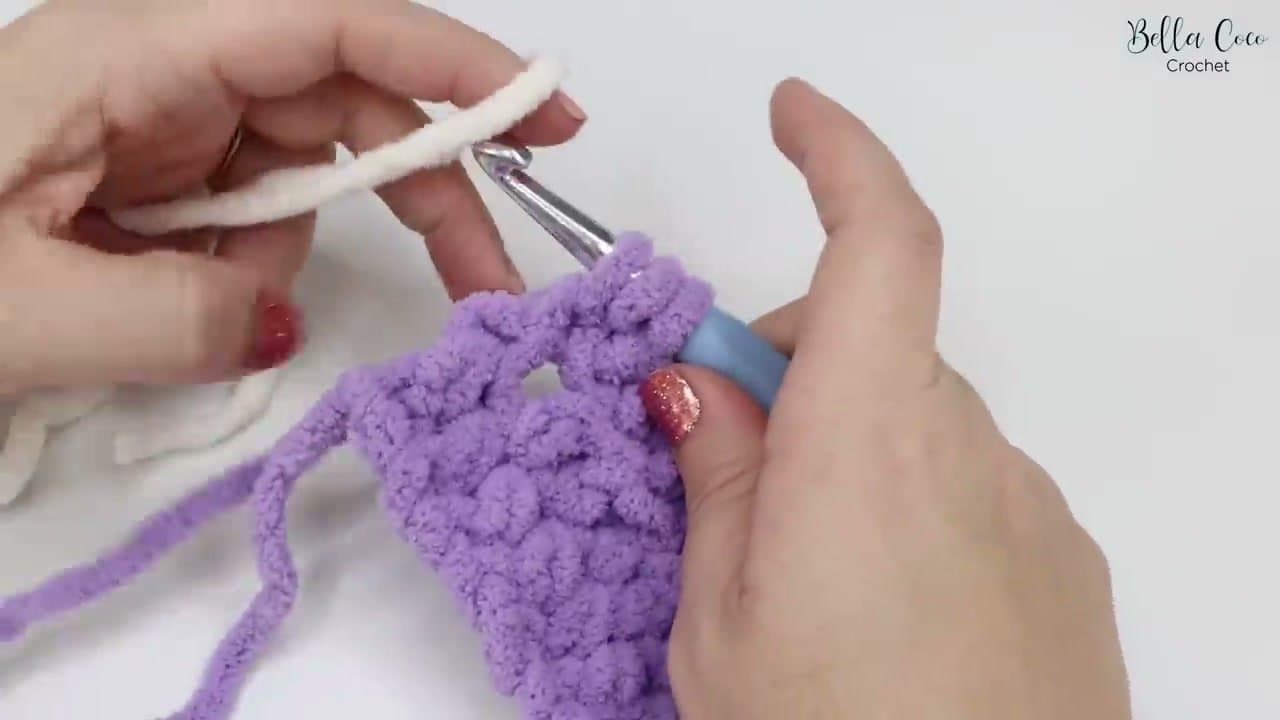
Pull out two 300g balls of Bernat Baby Blanket yarn in two contrasting colors and an 8mm crochet hook. The big hook plus the chunky yarn is what makes this blanket fast - thinner yarn doubles or triples the time.

Roughly 200g of each color is enough for a baby blanket. If you want a bigger lap blanket or throw, double up to 400g per color. You'll also want a pair of scissors and a yarn needle to weave in the ends at the finish.

Tip

If your local shop is out of Bernat Baby Blanket, look for any super bulky (size 6) chenille yarn. The texture is what hides any tension wobbles in your stitches - perfect for a first project.

2

Step 2: Make a slip knot

2:12
Step 2: Step 2: Make a slip knot

Pull about six inches of yarn off the ball as your tail. Wrap the yarn around two fingers to form a small cross, then bring the working yarn (the part still attached to the ball) over the front of the cross.

Slide the back loop forward through the front loop. Pull the working yarn to tighten the knot. Slip the loop onto your crochet hook and pull snug - tight enough to stay on the hook, loose enough to slide along it.

Products used in this step

3

Step 3: Chain 55 to start the foundation

3:20
Step 3: Step 3: Chain 55 to start the foundation

Yarn over the hook (wrap the working yarn around the shaft from back to front) and pull through the loop already on the hook. That's your first chain. Repeat 54 more times for a total of 55 chains.

The first 53 chains define how wide your blanket will be. The extra 2 at the end act as turning chains so the first stitch sits at the right height. Keep your tension loose - tight foundation chains make the first row a fight to work into.

Tip

Don't count the loop on the hook itself - it's not a chain. Count the V-shapes that lay flat below the hook.

Products used in this step

4

Step 4: Work the first row of half double crochet

5:20
Step 4: Step 4: Work the first row of half double crochet

Skip the first two chains from the hook. Insert the hook into the third chain. Yarn over and pull a loop through that chain - you should now have three loops on the hook. Yarn over again and pull through all three loops at once. That's one half double crochet.

Repeat into every chain along the row. By the end you'll have 53 stitches sitting on top of your foundation chain.

Tip

If your stitches look uneven, you're probably yarning over inconsistently. Keep the yarn flowing from the same finger every time and the tension evens out.

5

Step 5: Turn and work row two

7:20
Step 5: Step 5: Turn and work row two

Chain 2 to lift up to the next row's height, then flip the work over so the back of row one faces you. From here on, that chain-2 counts as the first stitch of the new row.

Half double crochet into the top of the next stitch and work all the way across. When you reach the end, work one final half double into the very top of the previous row's turning chain - that last stitch is what keeps the edges from leaning inward.

6

Step 6: Build rows and change colors

11:40
Step 6: Step 6: Build rows and change colors

Repeat the row pattern - chain 2, turn, half double across - for 12 rows in your first color. To switch colors, work the last stitch of row 12 right up to the final yarn-over. Drop the old color, pick up the new color, and pull it through the loops on the hook to complete the stitch.

Snip the old yarn leaving a 6-inch tail (you'll weave it in later). Continue with the new color. Repeat the color stripes however many times your blanket calls for - Bella Coco's full pattern with row counts is in her blog post.

Tip

Count your stitches at the end of every row. Accidentally adding or skipping one stitch makes the blanket get wider or narrower, and the edges start to slope.

Products used in this step

7

Step 7: Tie off and weave in the ends

16:50
Step 7: Step 7: Tie off and weave in the ends

After the last stitch of your final row, cut the working yarn six inches from the hook. Yarn over and pull the cut tail all the way through the loop on the hook to lock the stitch.

Thread each loose tail (including the color-change tails) onto a yarn needle. Weave the tail back and forth through three or four stitches on the back side of the blanket so it hides between the rows. Trim flush so nothing pokes through to the front.

Tip

Weaving in ends is the most-skipped step and the reason cheap-looking blankets unravel after a few washes. Don't shortcut it.

Products Used

Your Guide

Bella Coco

As an Amazon Associate we earn from qualifying purchases. Links on this page may be affiliate links - clicking them and buying doesn't change your price, but helps support ShowMeStepByStep.

Tags

Related Tutorials