How to Make Moss Wall Art

CraftsEasy7:157 stepsBrowse more →
Also in:Gardening

By ShowMeStepByStepPublished

Based on a video by HGTV Home.

Not every plant has to be alive to make a room feel green. Plant stylist Hilton Carter, author of Wild Creations, uses preserved moss to add that lush jungle vibe to spaces that lack the light or the time for real houseplants.

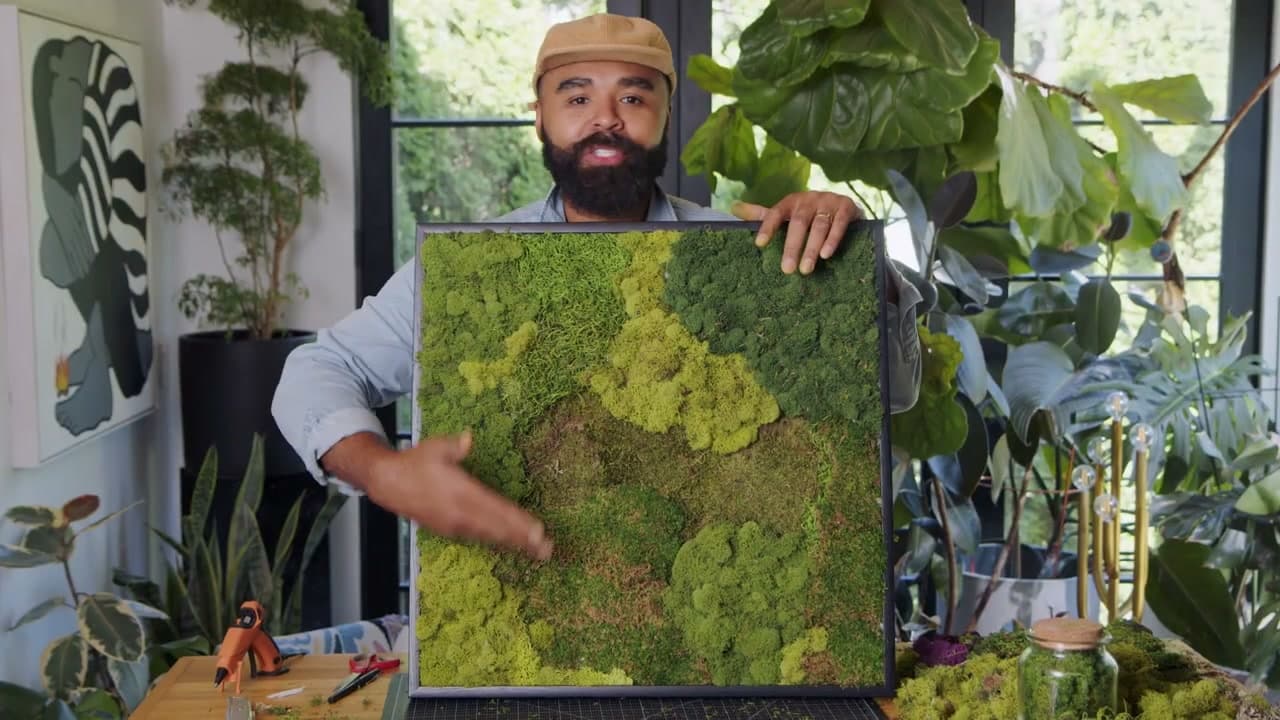
In this project you turn a simple frame and a few types of preserved moss into a piece of living-looking wall art. You build up layers of board first to give it real depth, then glue moss across the whole surface so it reads like rolling green hills.

The best part: preserved moss is dried and protected, so once it is framed you just hang it and enjoy. No watering, no light, no fuss.

Step-by-Step Guide

1

Gather Your Supplies

0:50
Step 1: Gather Your Supplies

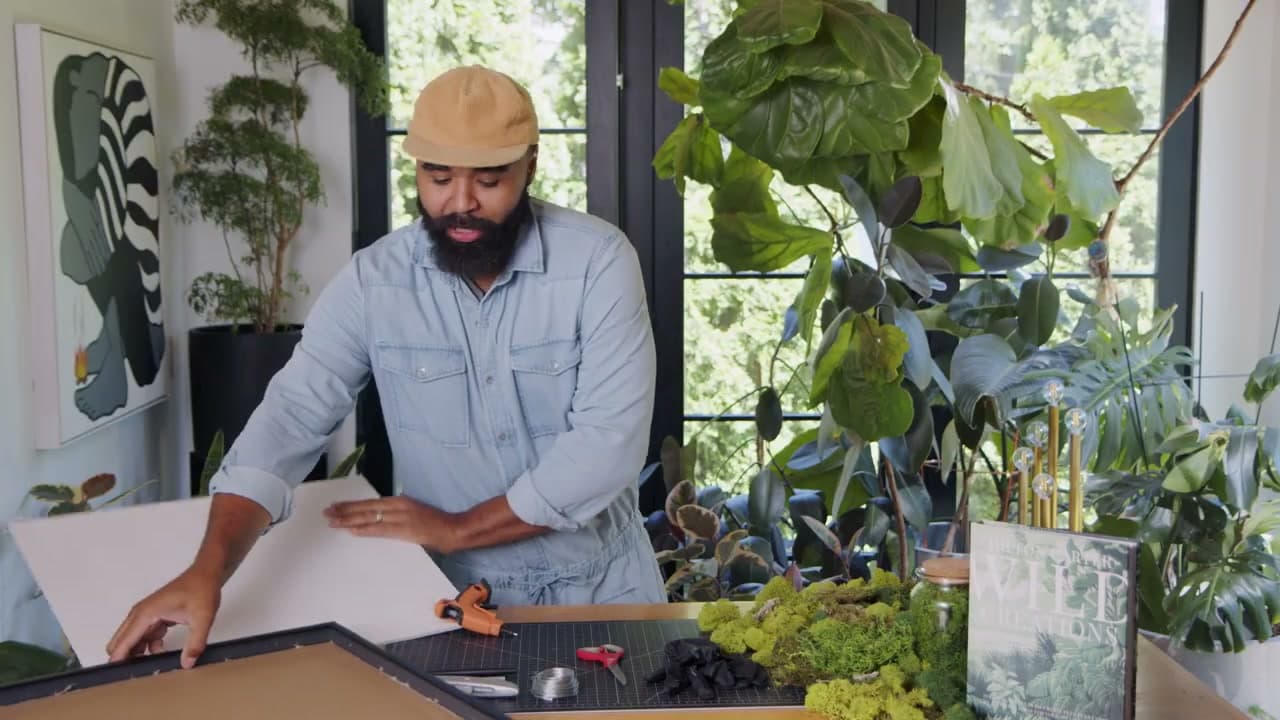
Start with a frame. Buy one, grab a thrift-store find, or pull down a piece of art you are over and reuse it. Then round up foam board or cardboard for the base, a hot glue gun with plenty of sticks, a sharp box cutter, scissors, and a pencil. The star of the show is the moss. Hilton uses both sheet moss and reindeer moss, and as he says, you can never have enough. It is all preserved, so it will not need watering once it is up.

Tip

Preserved moss is like the taxidermy of moss. It was once alive and is now dried and protected, so it holds its color for years without any care.

2

Sketch Your Shapes

2:20
Step 2: Sketch Your Shapes

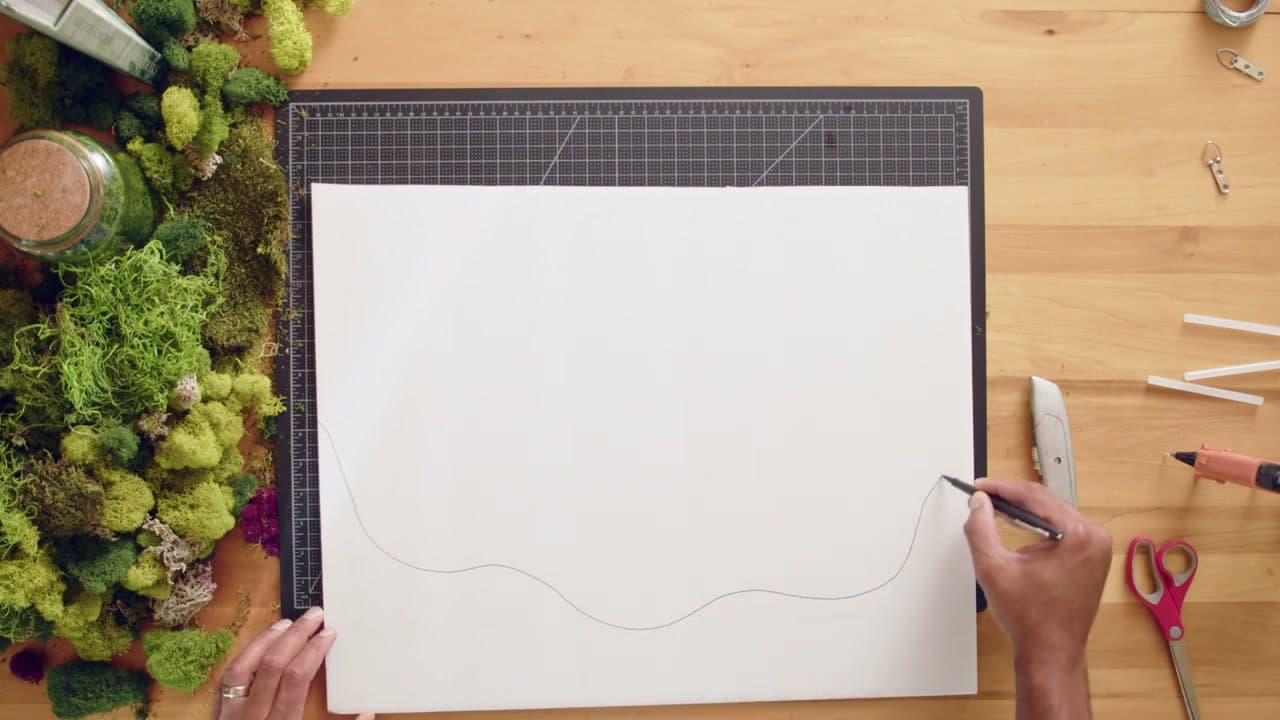
Lay your board on a cutting mat and sketch out loose, wavy shapes with a pencil. You are planning where the layers will sit. Think of it like a landscape: flat plains along the bottom, ridges that bubble up toward the edges. Draw a few different pieces so you can stack them later and give the art some depth. Have fun with the edges here. There is no wrong shape, and the wilder the outline, the more natural the finished piece looks.

Tip

Draw several pieces, not just one. Stacking multiple layers is what makes the finished art pop off the wall instead of lying flat.

3

Cut Out the Pieces

2:50
Step 3: Cut Out the Pieces

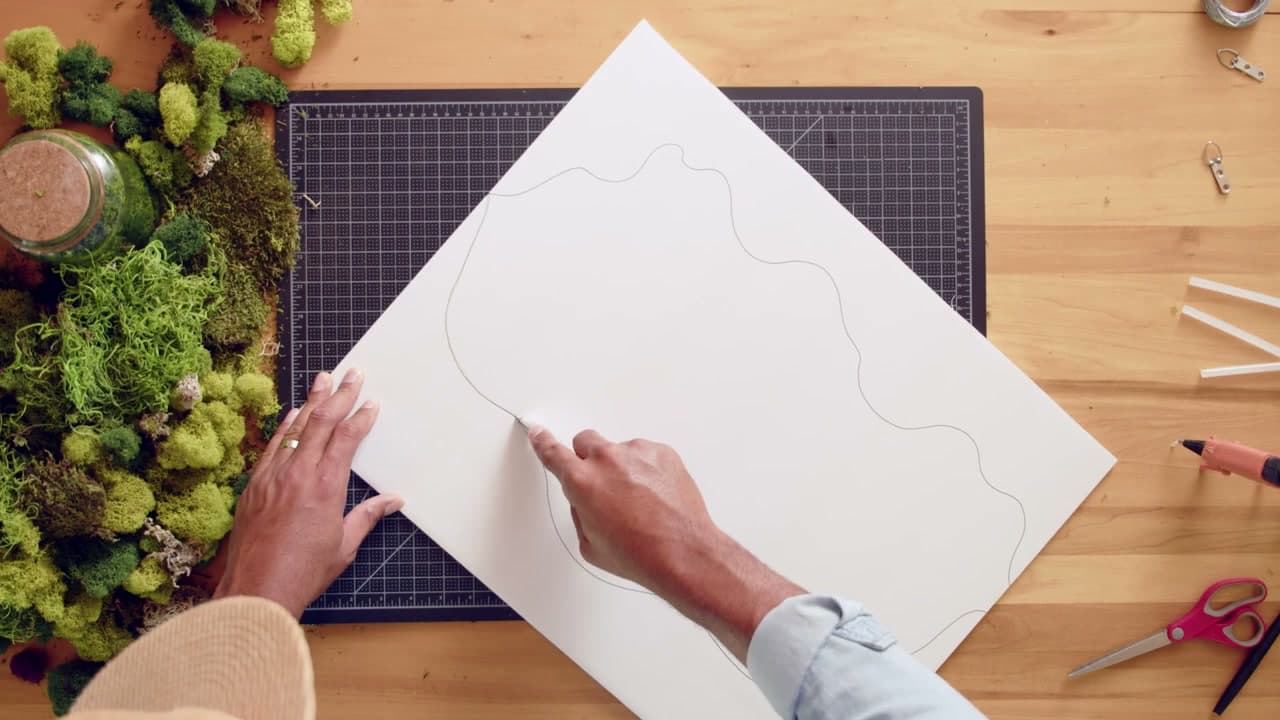
Take your box cutter and follow the pencil lines. A sharp blade is the whole game here. The sharper it is, the cleaner and easier the cut, so swap in a fresh blade if yours is dull. Work slowly around the curves and let the shape guide you. Hang on to every scrap you cut away too, because the leftover board gets tucked back into the piece later to fill gaps and add height.

Tip

Always cut on a mat and keep your free hand behind the blade. Save the offcuts - they double as filler under the moss.

Products used in this step

4

Layer for Depth

4:05
Step 4: Layer for Depth

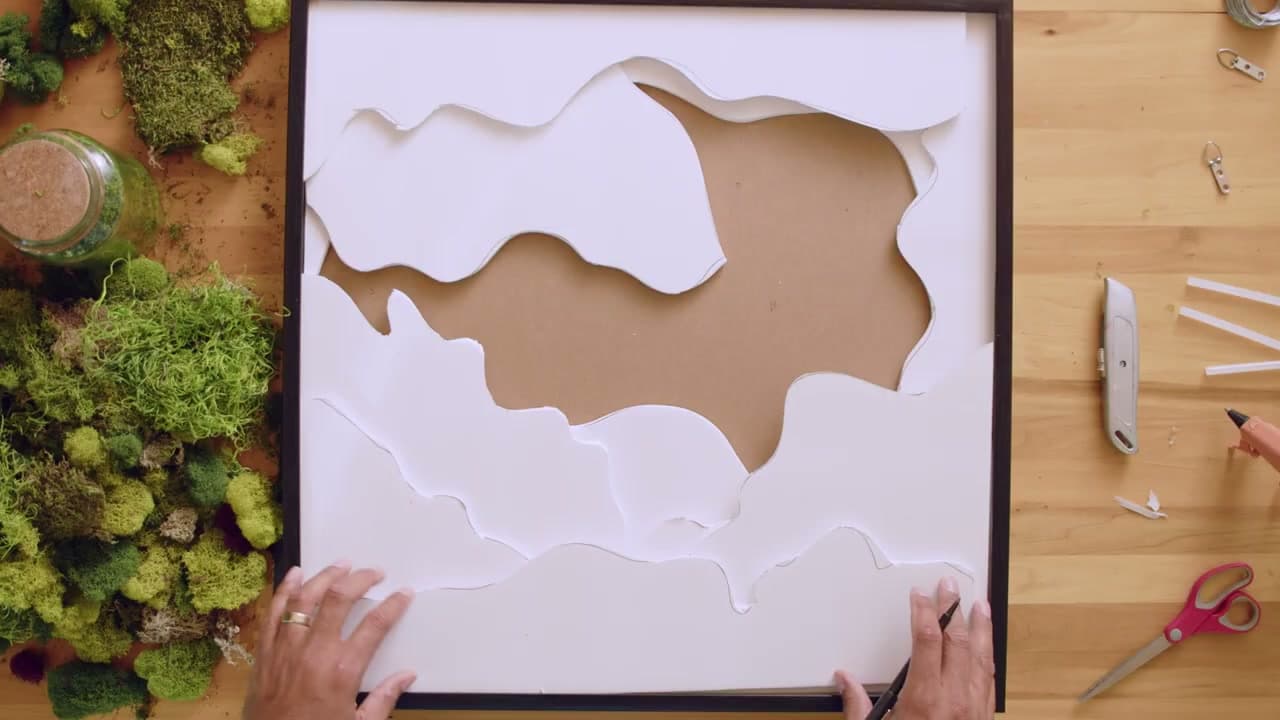
Bring in the frame and work on the back panel. Start arranging your cut pieces, stacking them so the shapes build up around the center. Hilton describes it as rolling hills: flat plains low, mountain ranges bubbling up at the edges. Move things around until you like the look. Once the arrangement feels right, jot down the order of your layers so you remember what goes where when you start gluing.

Tip

Number your layers with a pencil before you glue anything. It is easy to forget the order once the pieces come off the frame.

Products used in this step

5

Glue the Moss Base

4:35
Step 5: Glue the Moss Base

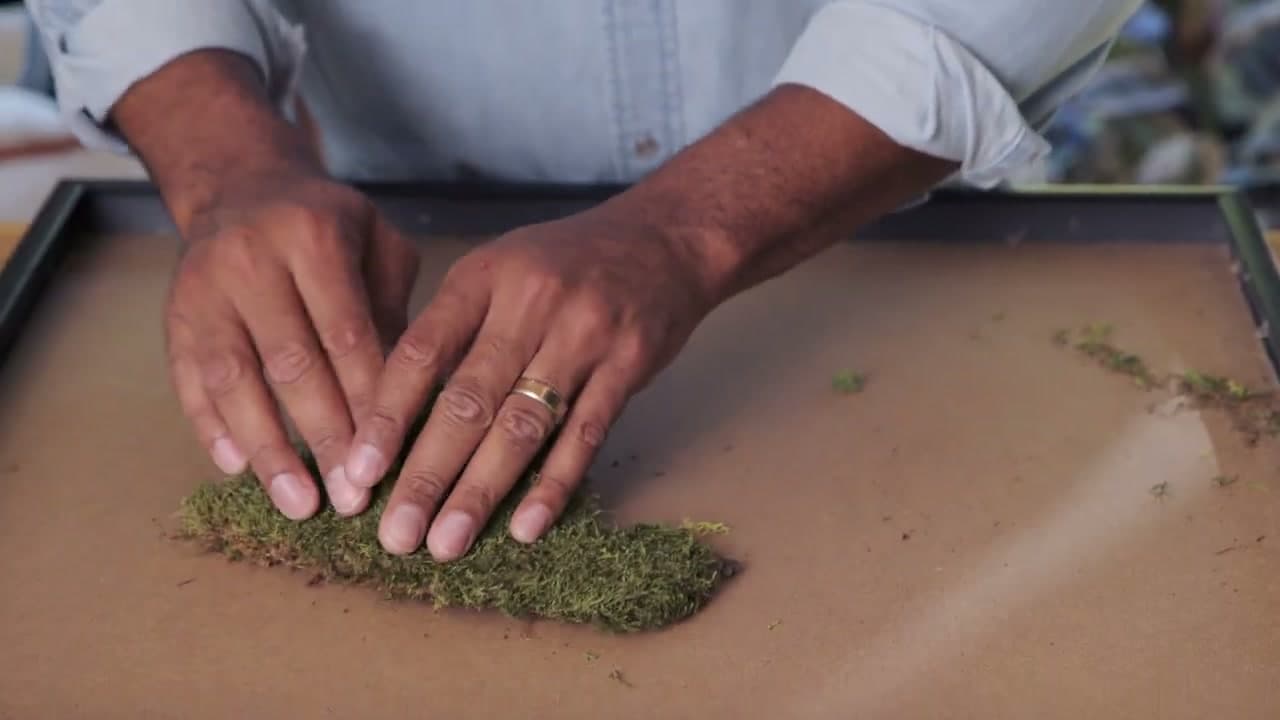
Now the fun part. Flip a piece over, run nice big dollops of hot glue across the back, and press your sheet moss down hard so it grabs. Work layer by layer, following the order you wrote down. Do not stress about the edges around the sides. Those gaps get filled in with extra moss at the end, so a little overhang or bare spot now is completely fine.

Tip

Use generous dollops of glue. Moss is textured and springy, so it needs more glue than a flat surface to hold tight.

6

Fill In With Moss

5:35
Step 6: Fill In With Moss

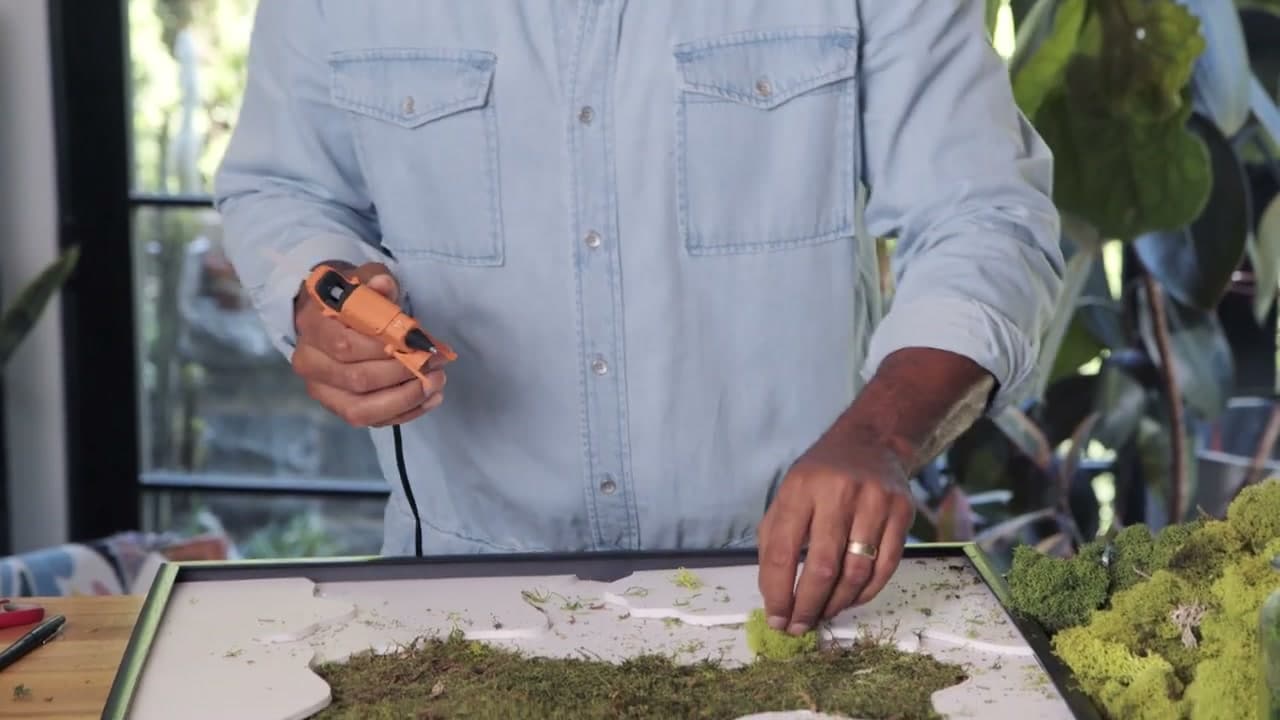
With the base down, start filling every open spot. Glue in reindeer moss and mix your greens, from deep forest tones to that almost neon lime, to keep it looking alive. Squeeze moss into the seams and tuck it around the frame edges so no board shows through. Keep building and adding until the whole surface is a full, textured carpet of green with no bare patches left.

Tip

Vary the shades of green as you go. Mixing tones is what makes preserved moss look like a real living landscape instead of a flat mat.

Products used in this step

7

Hang and Enjoy

6:02
Step 7: Hang and Enjoy

That is it. Trim any stray bits with scissors, add picture hangers to the back, and lift your finished moss wall art up to admire it. The layered greens read like a lush little slice of the outdoors, framed and ready for any wall. Best of all, there is nothing left to do. No watering, no light, no upkeep. Hang it where it makes you smile and let it bring the jungle indoors.

Tip

Preserved moss keeps its look best out of direct sun and away from damp rooms, so pick a wall in a normal, dry spot.

Products Used

☐ The Checklist

How to Make Moss Wall Art

Tools
5
Materials
6
Steps
7
Video
7 min

Your Guide

HGTV Home

As an Amazon Associate we earn from qualifying purchases. Links on this page may be affiliate links - clicking them and buying doesn't change your price, but helps support ShowMeStepByStep.

Tags

Did this work for you?

What's next

Weekly Digest

Liked this crafts tutorial?

Pick the categories you want to hear about. Weekly digest of new step-by-step tutorials. No spam, easy unsubscribe.

Send me tutorials about

We only email about new tutorials. Easy unsubscribe anytime.