How to Use a Pizza Oven

CookingMedium5:019 stepsBrowse more →

By ShowMeStepByStepPublished

Based on a video by Got2EatPizza.

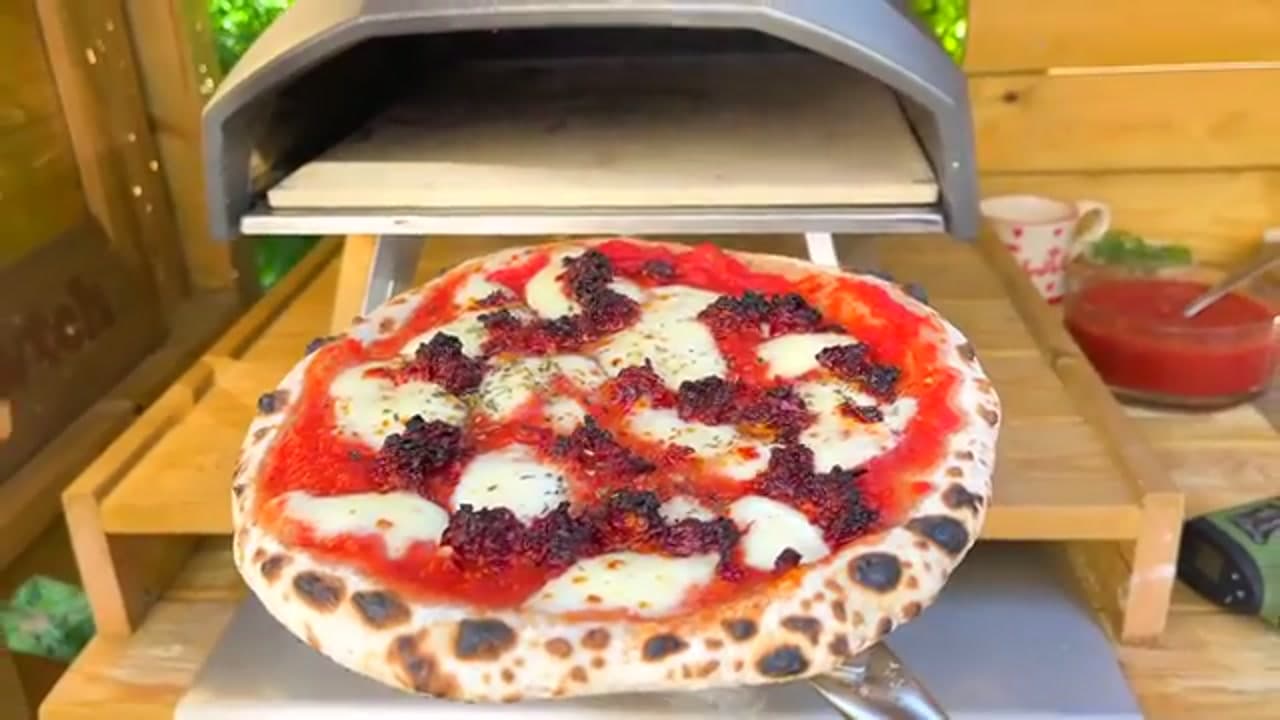
A home pizza oven runs hotter than your kitchen range will ever go, and that heat is what gives you the airy, charred Neapolitan crust you can't get from a domestic oven. Ellie at Got2EatPizza has been cooking pizza since 2017, and in this guide she walks through the moves that separate a stuck, pale pizza from a proper one.

The dough and the sauce matter as much as the oven. If you haven't made them yet, start with our homemade pizza dough recipe and a batch of pizza sauce so your base is ready to go before the stone is hot. A well-fermented dough ball stretches thin without tearing and puffs up fast under the flame.

Follow along with a classic margherita: 00-flour dough, a light coat of tomato sauce, torn fresh mozzarella, and a few basil leaves. Keep it light, keep the stone screaming hot, and turn often. That is the whole game.

Step-by-Step Guide

1

Step 1: Get Both Peels Ready

0:12
Step 1: Step 1: Get Both Peels Ready

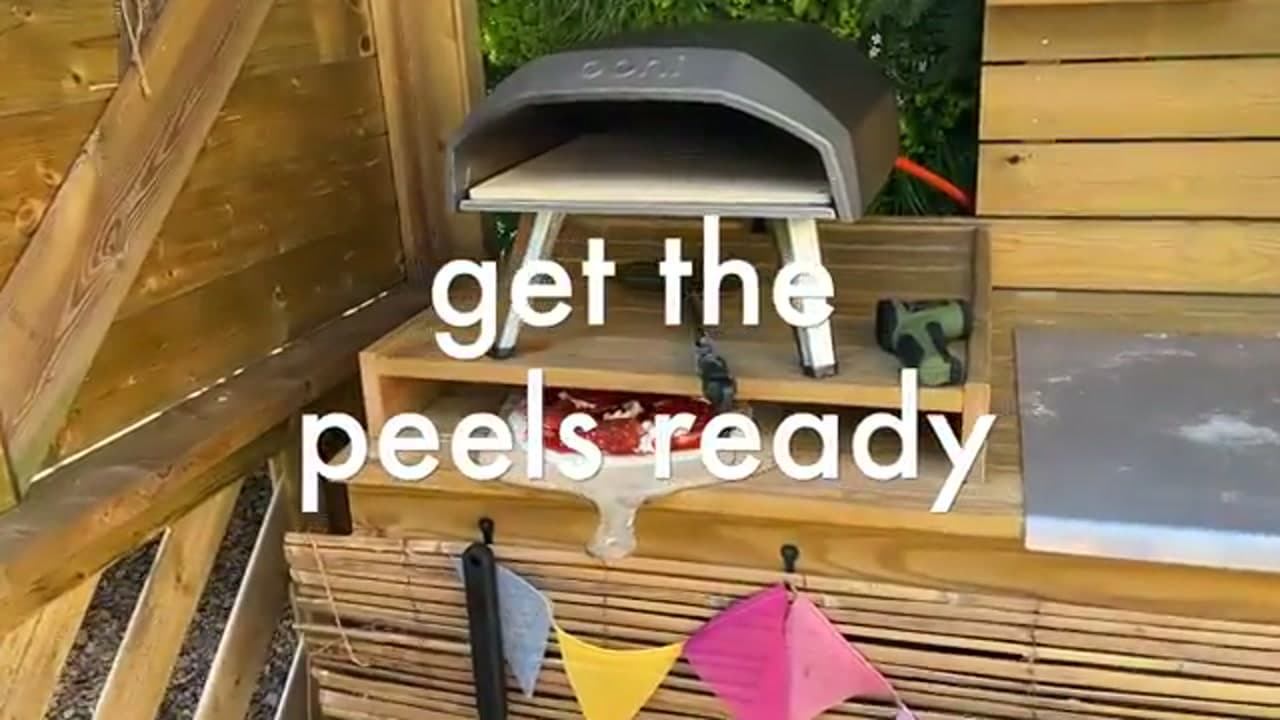
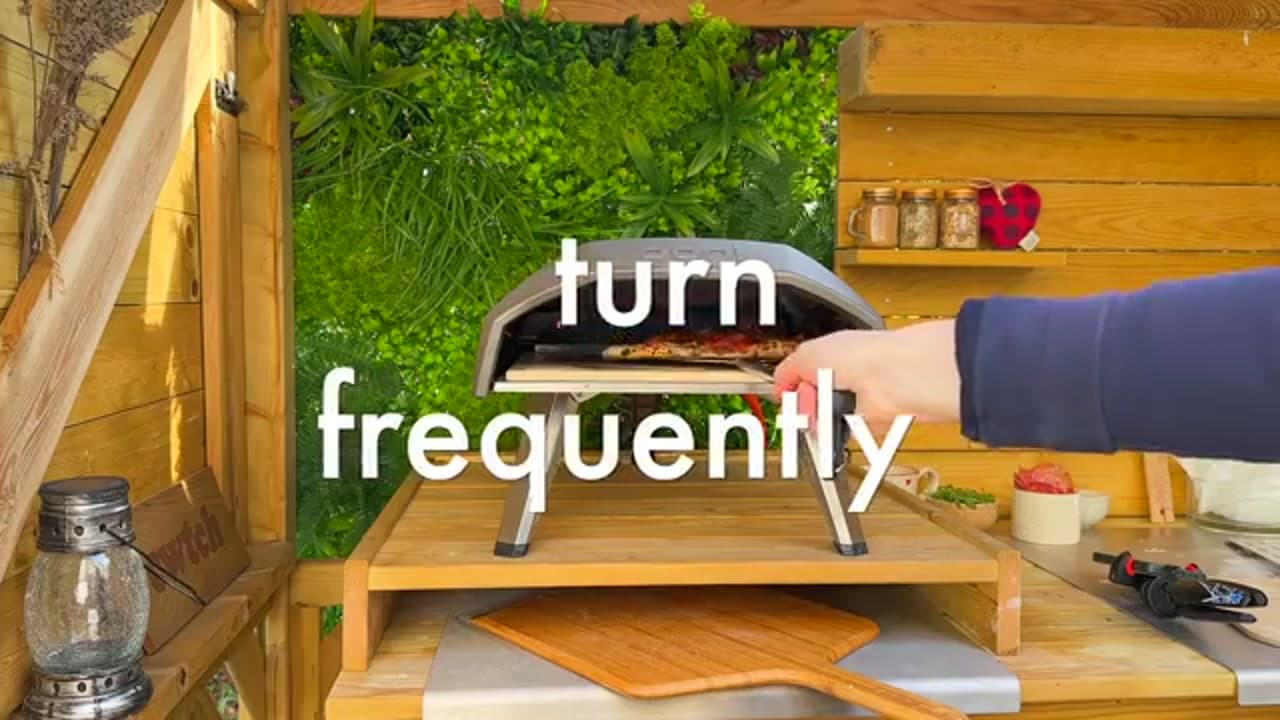
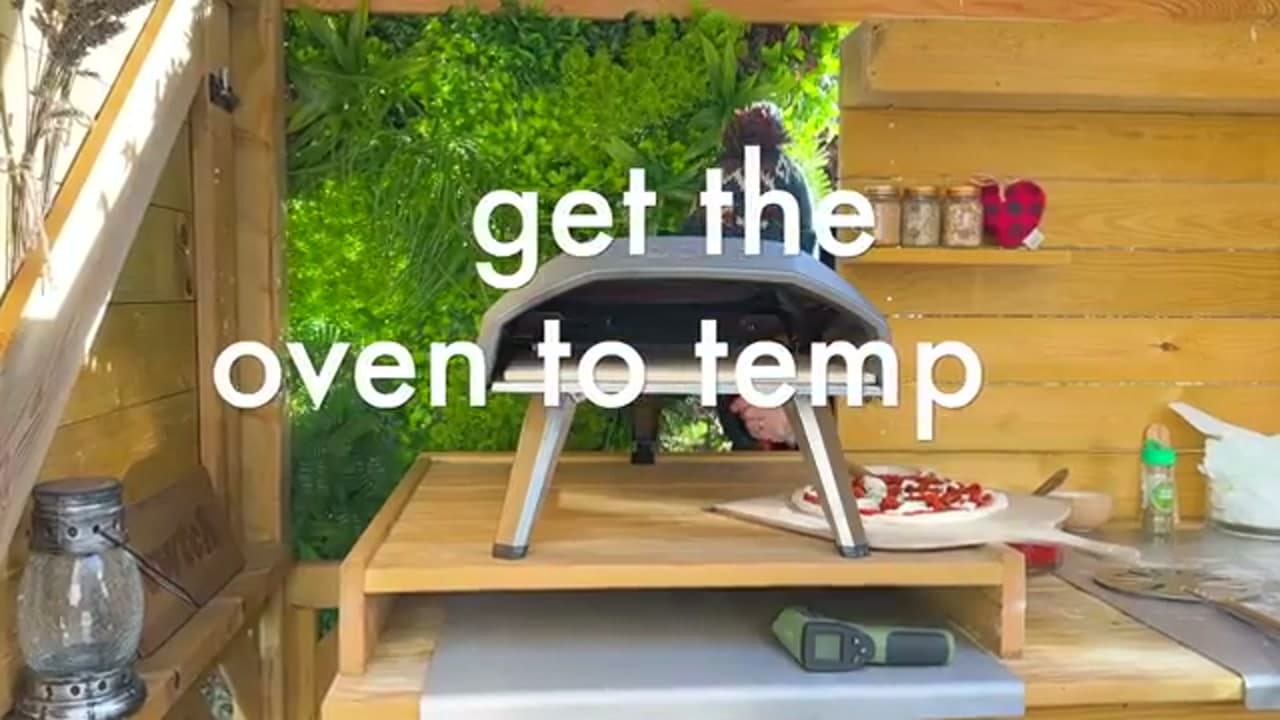
You want two peels within arm's reach before you start. The wide wooden launch peel carries the topped pizza to the oven mouth and slides it onto the stone. The small round metal turning peel is what you use to spin the pizza once it's cooking. Trying to turn a pizza with the big wooden peel is clumsy and you'll drag toppings everywhere. Set them both on the bench where you can grab them fast.

Tip

A perforated metal turning peel sheds excess flour, so you get less burnt semolina smoking up your oven.
2

Step 2: Preheat Until the Stone Is Roaring

0:55
Step 2: Step 2: Preheat Until the Stone Is Roaring

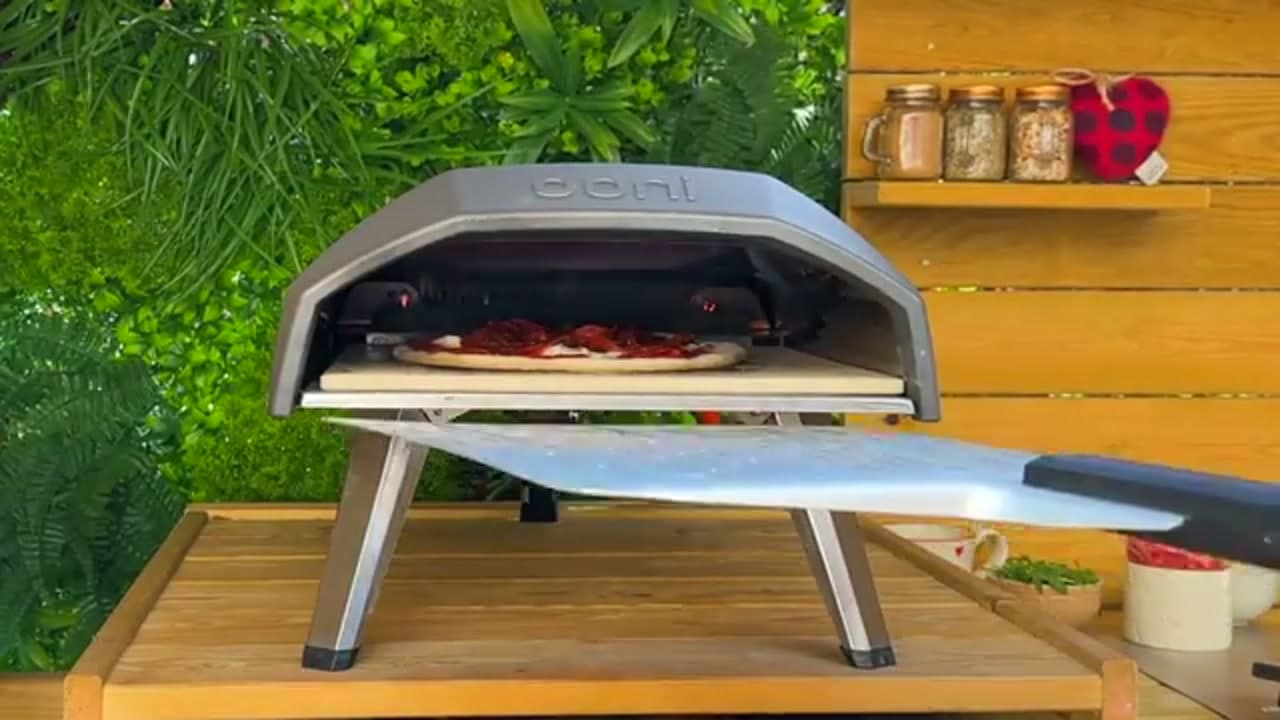
Fire up the gas and let the oven run wide open. This is the step most people rush. A pizza oven can look hot in five minutes, but the stone itself needs a good 15 to 20 minutes to fully saturate with heat. Skip that and your base comes out pale and floppy while the top burns. Let the flame roll across the roof and settle in before you even think about launching.

Tip

On a cool or windy day, add another five minutes. Wind steals heat from a gas oven fast.

Products used in this step

3

Step 3: Check the Stone Temperature

1:15
Step 3: Step 3: Check the Stone Temperature

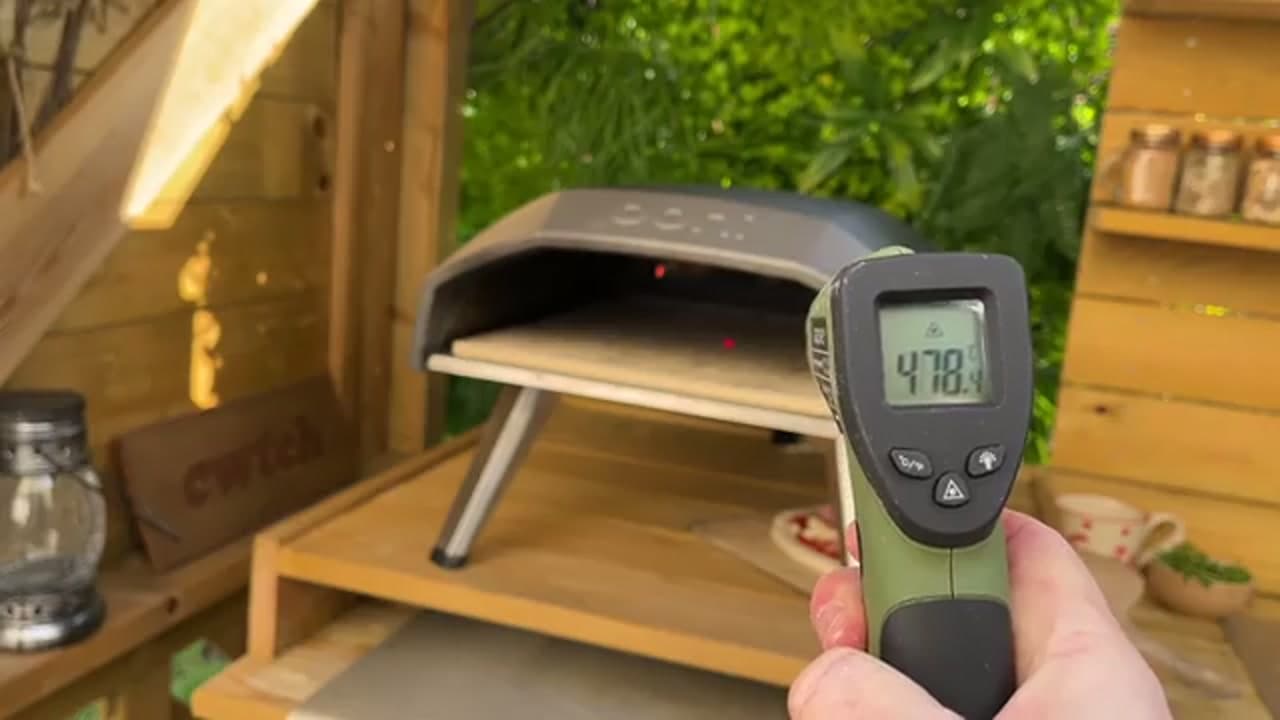
Point an infrared laser thermometer at the center of the stone, not the edge. The middle is where your pizza lands, and it runs cooler than the spots directly under the flame. You're aiming for roughly 400 to 450C. If the center is still low, close the oven and give it more time. A laser thermometer takes the guesswork out and saves you a stuck, undercooked first pizza.

Tip

Take a couple of readings across the stone so you know your hot spots before you launch.

Products used in this step

4

Step 4: Stretch the Dough

1:35
Step 4: Step 4: Stretch the Dough

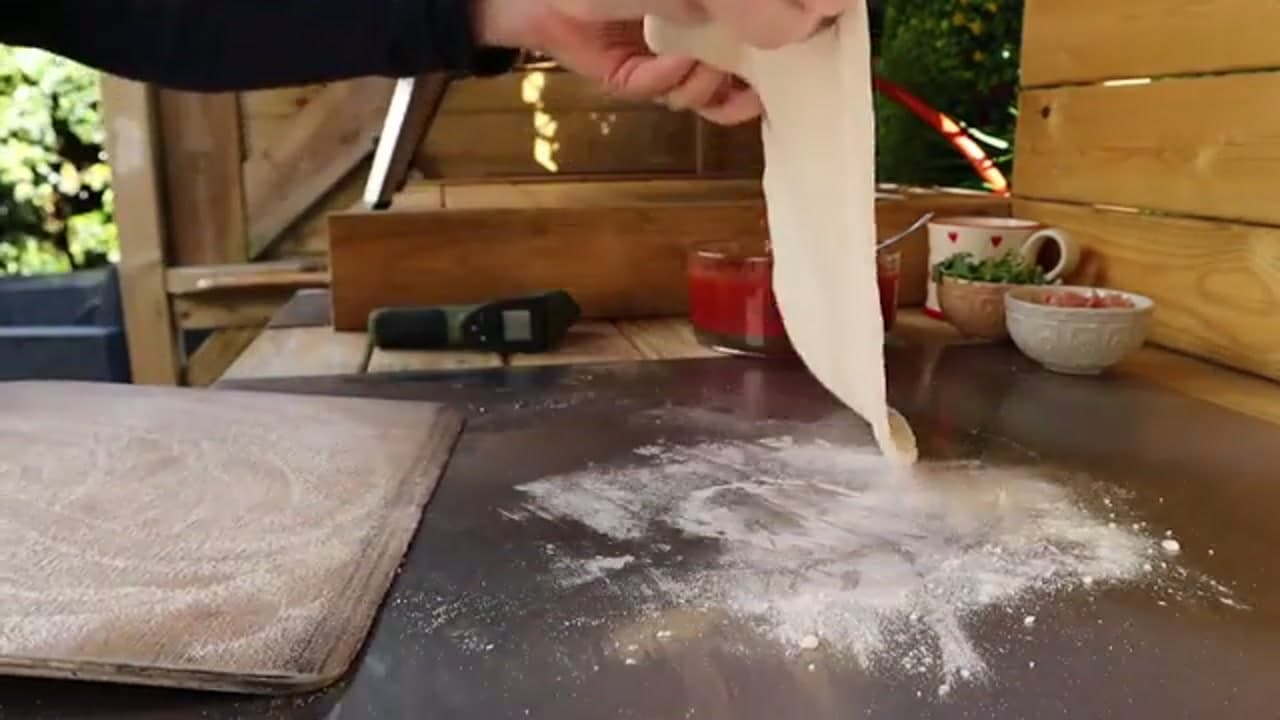
Take your 00-flour dough ball and press it out on a floured surface. Work from the middle outward with your fingertips, pushing the air toward the edge so you keep a puffy rim for the crust. Don't use a rolling pin, it flattens the gas out of the dough and you lose the airy cornicione. Stretch it thin in the center, aiming for a round about 10 to 12 inches across.

Tip

If the dough springs back and won't stay stretched, let it rest for 10 minutes and try again. It relaxes.

5

Step 5: Top It Light

2:30
Step 5: Step 5: Top It Light

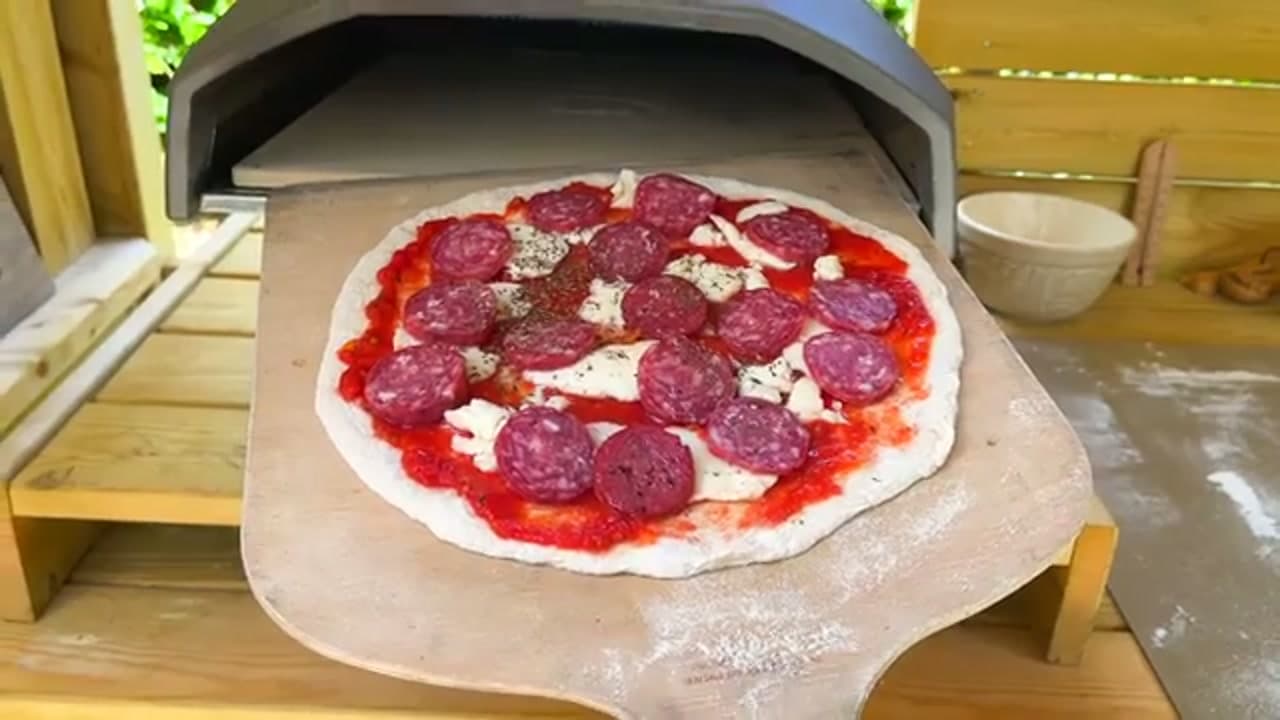
For a margherita, spread a thin layer of tomato sauce, then dot on torn fresh mozzarella and a few basil leaves. Resist piling it on. Heavy toppings weigh the pizza down, release water as they cook, and steam the base so it sticks to the peel. A light hand also lets the pizza cook through in the short time it's in there. Less really is more with a high-heat oven.

Tip

Pat wet mozzarella dry with a paper towel first. Excess moisture is the number one cause of a soggy middle.

6

Step 6: Do the Wiggle Test

2:00
Step 6: Step 6: Do the Wiggle Test

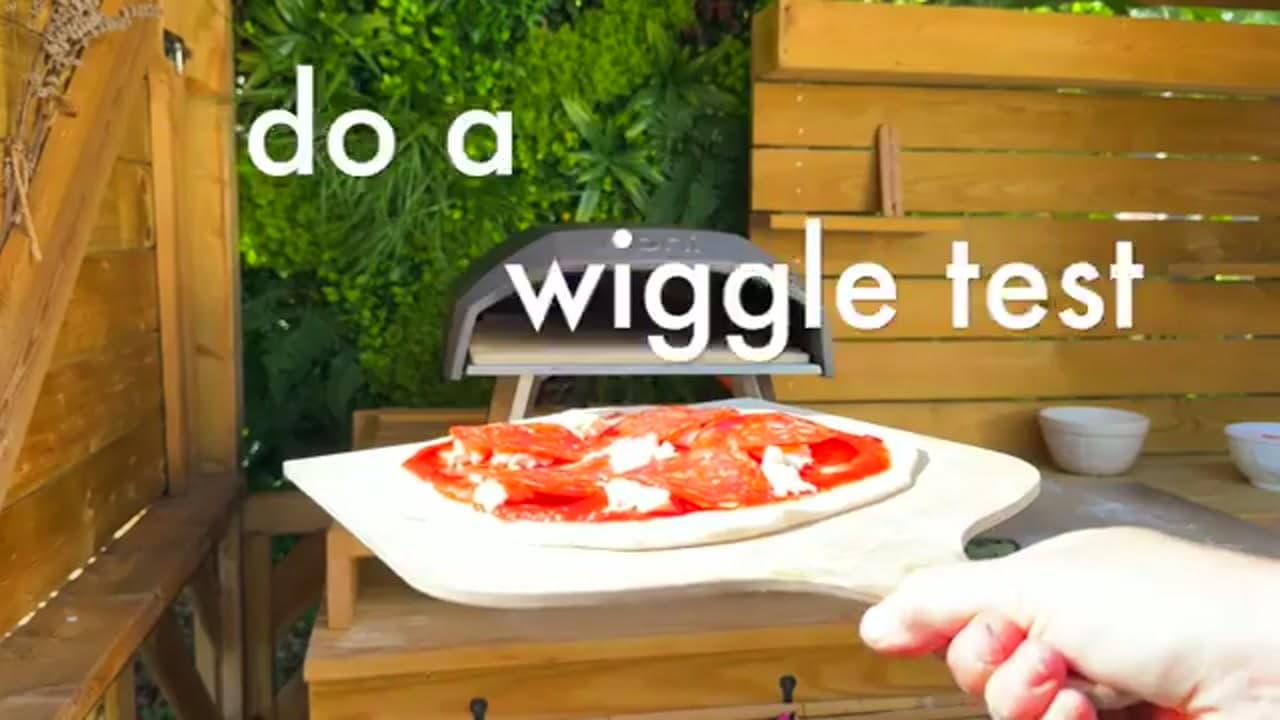
Before you launch, give the loaded peel a gentle shake. If the pizza slides around freely, it will release clean onto the stone. If it grabs and won't budge, stop. Lift the sticking edge and dust semolina underneath, then wiggle again. Launching a pizza that's stuck to the peel is how you end up with a folded mess on the stone. Two seconds here saves a ruined pizza.

Tip

Semolina works better than plain flour for this. It's coarser, so it acts like tiny ball bearings under the dough.

Products used in this step

7

Step 7: Launch the Pizza

0:40
Step 7: Step 7: Launch the Pizza

Line the front edge of the peel up with the back of the stone. Tilt the peel down at a low angle, give one small forward jiggle to start the pizza sliding, then pull the peel straight back out from under it. Commit to the motion. A slow, timid launch is what makes pizzas land crooked or bunched up. One confident move and it drops flat on the stone.

Tip

Aim to land the pizza toward the back of the stone. You have more room to turn it that way.

Products used in this step

8

Step 8: Turn, Don't Burn

3:30
Step 8: Step 8: Turn, Don't Burn

A gas oven cooks from one side, so the edge nearest the flame chars fast. Slip the metal turning peel under the pizza and rotate it a little every 20 to 30 seconds. Keep it moving so every part of the crust gets equal time near the fire. This is the step that gives you even leoparding all the way around instead of one black edge and one raw one.

Tip

Small, frequent turns beat one big spin. A quarter turn every 20 seconds keeps it even.

Products used in this step

9

Step 9: Pull Out Your Finished Pizza

4:12
Step 9: Step 9: Pull Out Your Finished Pizza

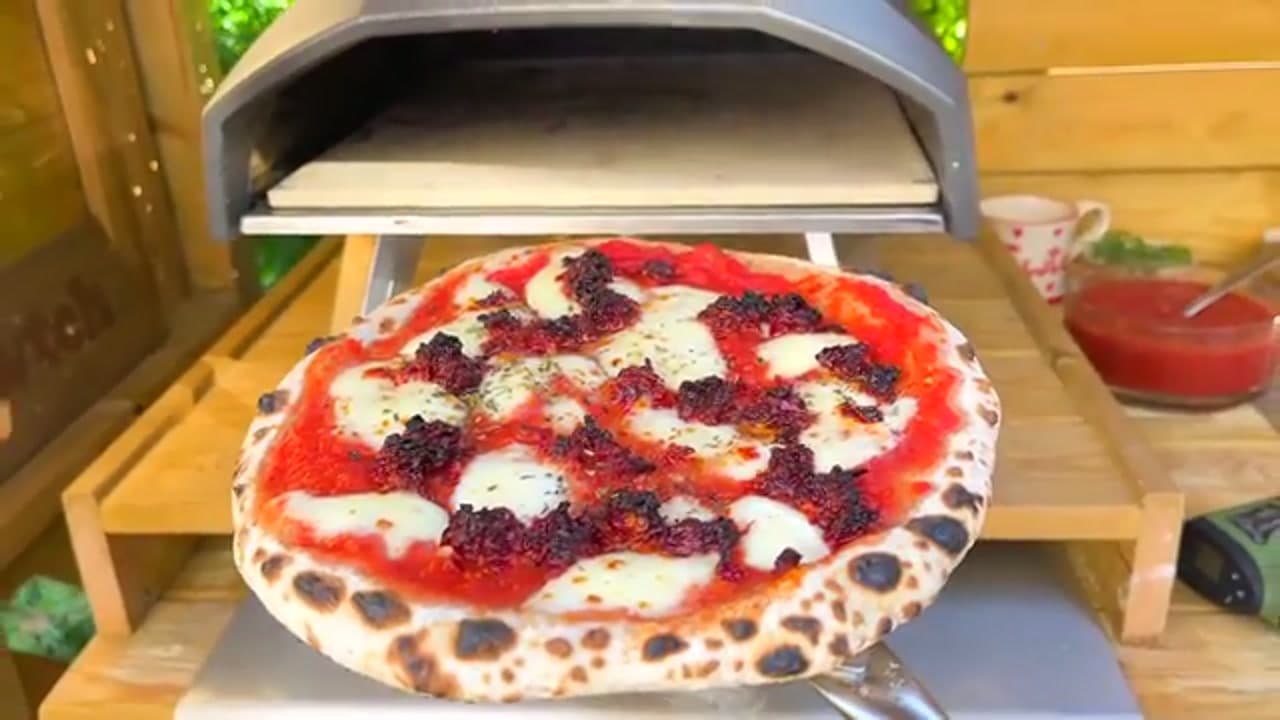
When the crust is puffed and leopard-spotted and the cheese is bubbling, it's done. The whole cook takes about 60 to 90 seconds once you have your technique down. Slide the pizza out onto a board, finish it with a drizzle of olive oil, and eat it while it's hot. Then get the next dough ball ready, because the oven is already screaming for round two.

Tip

Cut and eat it within a minute or two. Neapolitan pizza is at its best straight out of the oven.

Products used in this step

Products Used

❖ The Recipe

How to Use a Pizza Oven

Italian
Serves
Makes one 12-inch pizza
Prep
10 min
Cook
2 min
Total
12 min

Ingredients

6 items
  • 1 (about 250g)00 flour pizza dough ball
  • 3 tbsptomato saucecrushed San Marzano or passata
  • 4 ozfresh mozzarellatorn, patted dry
  • 5 to 6fresh basil leaves
  • 1 tspextra virgin olive oilfor finishing
  • 2 tbspsemolina flourfor dusting the peel

Method

  1. 1
    Step 1: Get Both Peels Ready. You want two peels within arm's reach before you start.
  2. 2
    Step 2: Preheat Until the Stone Is Roaring. Fire up the gas and let the oven run wide open.
  3. 3
    Step 3: Check the Stone Temperature. Point an infrared laser thermometer at the center of the stone, not the edge.
  4. 4
    Step 4: Stretch the Dough. Take your 00-flour dough ball and press it out on a floured surface.
  5. 5
    Step 5: Top It Light. For a margherita, spread a thin layer of tomato sauce, then dot on torn fresh mozzarella and a few basil leaves.
  6. 6
    Step 6: Do the Wiggle Test. Before you launch, give the loaded peel a gentle shake.
  7. 7
    Step 7: Launch the Pizza. Line the front edge of the peel up with the back of the stone.
  8. 8
    Step 8: Turn, Don't Burn. A gas oven cooks from one side, so the edge nearest the flame chars fast.
  9. 9
    Step 9: Pull Out Your Finished Pizza. When the crust is puffed and leopard-spotted and the cheese is bubbling, it's done.
☐ The Checklist

How to Use a Pizza Oven

Tools
5
Materials
6
Steps
9
Video
5 min

Your Guide

Got2EatPizza

As an Amazon Associate we earn from qualifying purchases. Links on this page may be affiliate links - clicking them and buying doesn't change your price, but helps support ShowMeStepByStep.

Tags

Sunday How-To

New cooking tutorials, every Sunday

One short email with the week's best step-by-step guides. Free, no spam, unsubscribe anytime.

Did this work for you?

What's next

Related collections

Curated theme pages that include this tutorial.

Weekly Digest

Liked this cooking tutorial?

Pick the categories you want to hear about. Weekly digest of new step-by-step tutorials. No spam, easy unsubscribe.

Send me tutorials about

We only email about new tutorials. Easy unsubscribe anytime.