How to Smoke Salmon (Brined and Hot-Smoked)

CookingMedium12:018 stepsBrowse more →

By ShowMeStepByStepPublished

Based on a video by Chef Billy Parisi.

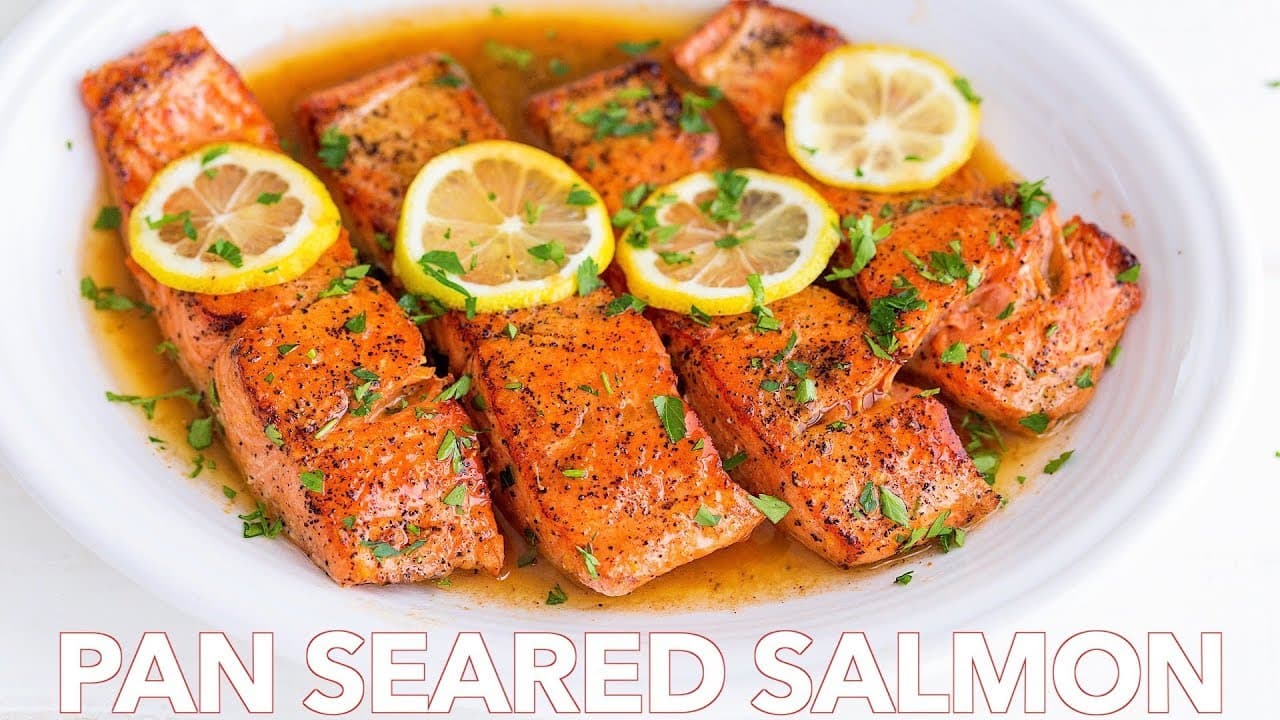
This smoked salmon comes from Chef Billy Parisi, and it fixes the problem most of us run into: salmon that comes off the smoker dry and overcooked. His version stays tender and juicy because of a few small choices made before the fire ever gets going.

You brine a whole side in a sweet brown sugar and citrus brine, leave the skin on to seal in moisture, and let a pellicle form so the smoke actually sticks. Then it goes on the smoker low and slow with a buttery orange-lemon glaze brushed on every half hour. This is what's known as kippered salmon, hot-smoked and cooked to 140F so you can eat it warm right away or chill it and serve it cold later in the week.

The technique here is a cousin of low-and-slow barbecue. If you want another project that rewards patience and a good thermometer, take a look at our guide to smoking a brisket next.

Step-by-Step Guide

8 steps · about 12 minutes.Check off each step as you go and your progress saves automatically.

1

Step 1: Make the Brown Sugar and Citrus Brine

0:58
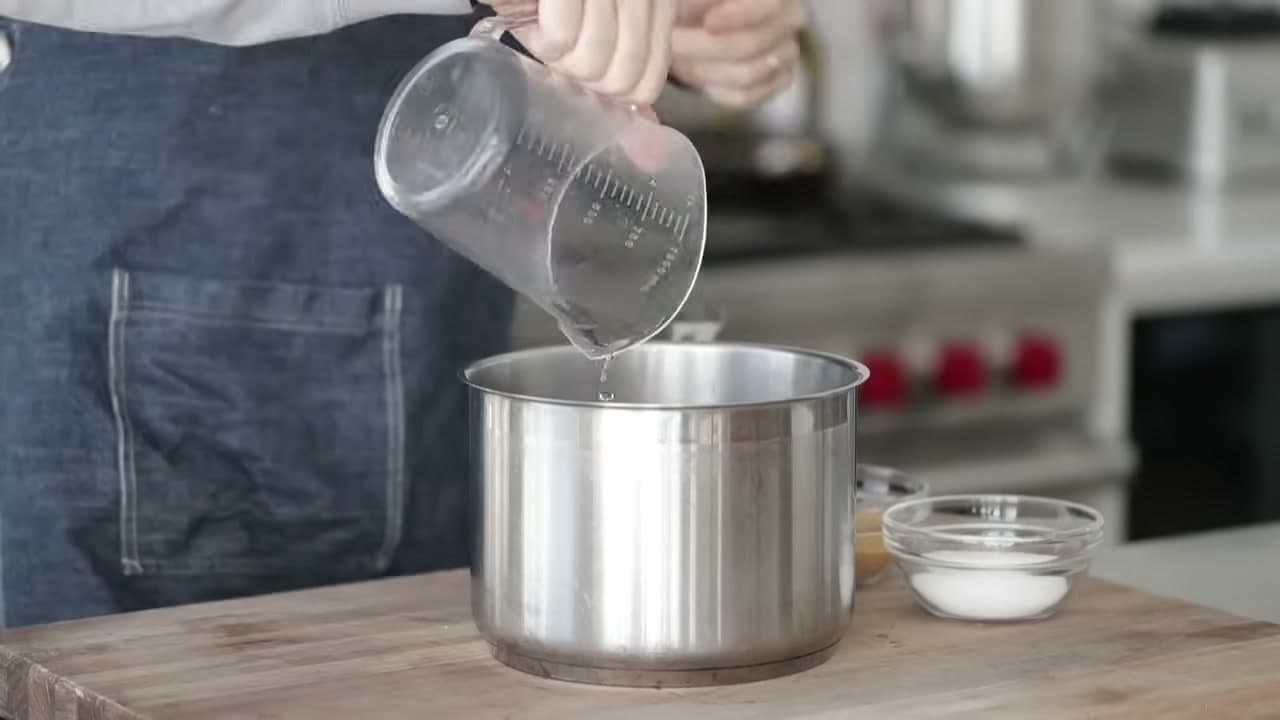
Step 1: Step 1: Make the Brown Sugar and Citrus Brine

Pour 3 cups of cold water into a medium pot. Add 3/4 cup of packed light brown sugar and 1/3 cup of coarse sea salt. Use a peeler to take the zest off one orange and one lemon, staying shallow so you skip the bitter white pith, and drop the zest in.

Bring it up to a boil and stir until the sugar and salt fully dissolve. Kill the heat and add 4 cups of ice. That chills the brine fast so you can pour it over cold salmon, and it dilutes the sweet and salty edge at the same time. Keep the brine simple. You want every bite to taste like salmon first, not like a spice cabinet.

Tip

Watch this step The ice does double duty. It cools the brine to a safe temperature and softens the sweetness, so don't skip it or rush the fish into warm brine.
2

Step 2: Trim the Salmon Side

3:32
Step 2: Step 2: Trim the Salmon Side

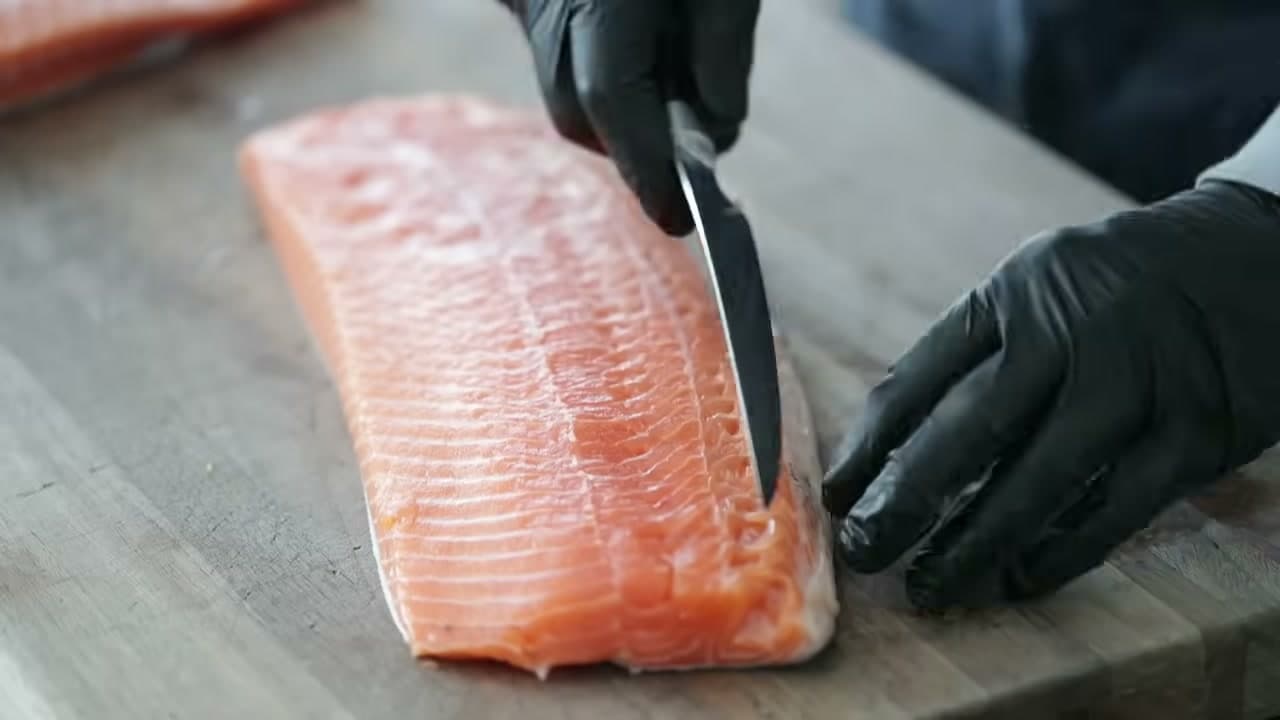
Work with a whole side of salmon, skin on, and use a sharp non-flexible boning knife. Bigger, evenly thick pieces cook up more tender, so trim off the thin tail end and the belly strip where the fillet tapers down. Save both for another meal.

That belly fat is worth holding onto. Fat is flavor, and a quick sear of the belly with a little oil, salt, and pepper is a treat on its own. On the back edge, curve the blade and follow the pinbone line to trim it clean. Leave the skin fully attached. It acts as a barrier that keeps moisture from escaping the bottom while the salmon smokes.

Tip

Watch this step A sharp, stiff boning knife is what makes clean trimming possible. A dull or flexible blade drags through the flesh and tears it up.

3

Step 3: Brine the Salmon Overnight

4:24
Step 3: Step 3: Brine the Salmon Overnight

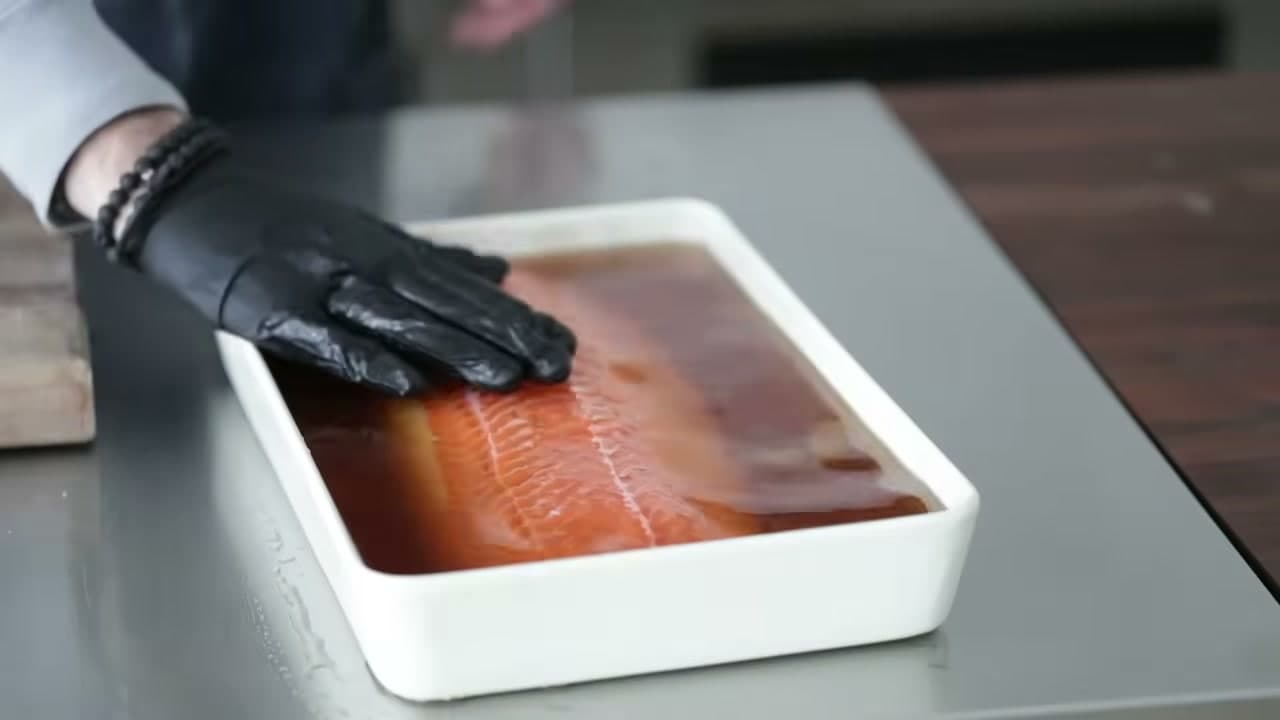
Lay the trimmed side in a non-reactive dish. Ceramic, stainless steel, glass, or plastic all work. Avoid reactive metal like bare aluminum. Pour the cooled brine right over the top.

If the salmon floats and pokes above the liquid, flip it skin side up. The flesh stays down in the brine where it belongs, and the skin can ride on top. Cover with plastic wrap and refrigerate for 12 hours or overnight. Here's the rule on overnight: brine in the morning, cook the next morning. Do not stretch it past 24 hours or the fish turns way too salty.

Tip

Watch this step Set a reminder if you need to. Twelve to twenty-four hours is the window. Go longer and the salt overpowers everything you worked to build.

4

Step 4: Rinse Off the Brine

5:48
Step 4: Step 4: Rinse Off the Brine

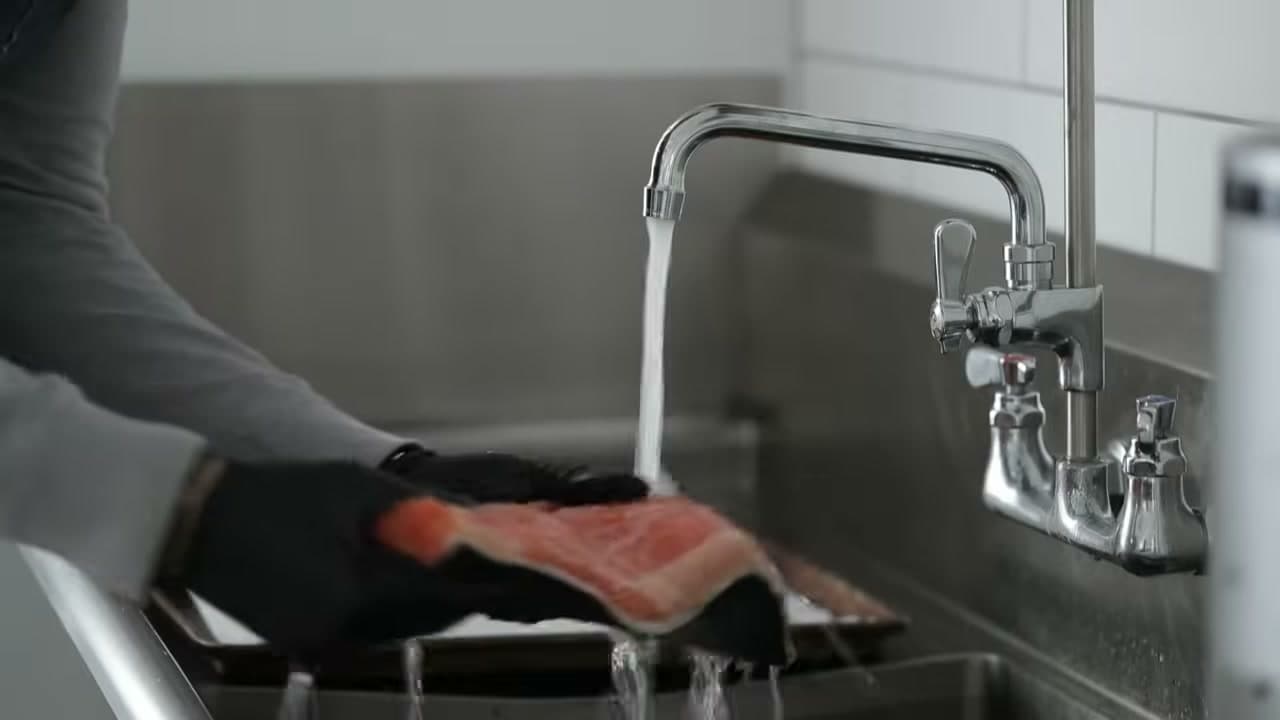
Pull the salmon out of the brine and set it on a parchment-lined sheet tray or a platter. Give it a quick rinse under cold running water, both sides, to wash off the surface brine.

This takes a few seconds and it matters. Leave that concentrated brine sitting on the surface and the finished salmon reads too salty. A short cold rinse pulls the seasoning back into balance without washing out the flavor you built inside the fish.

Tip

Watch this step Rinse both sides, not just the top. Any brine left clinging to the skin side keeps concentrating as the fish dries.

5

Step 5: Pat It Dry and Form the Pellicle

6:15
Step 5: Step 5: Pat It Dry and Form the Pellicle

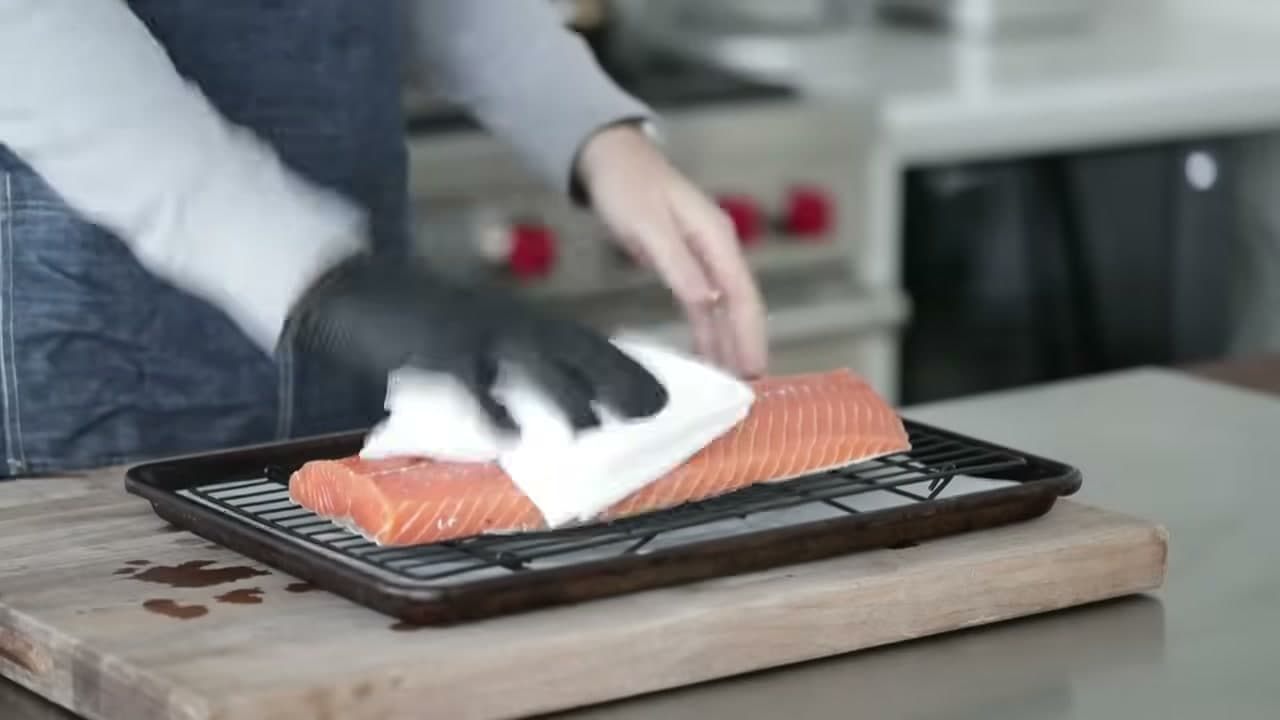
Move the salmon to a sheet tray fitted with a wire rack so air can move all the way around it. Pat the surface dry with paper towels for a minute or so, dabbing gently rather than scrubbing.

What you're building here is the pellicle, a thin tacky skin that forms as the surface dries. It seals things in and, because it's a little sticky, it grabs the smoke and pulls in that flavor and color. After patting, let the salmon sit and air-dry for about two hours. It feels like a long wait for a small step, but this is the part most people skip and then wonder why their smoke doesn't stick. Don't skip it.

Tip

Watch this step The rack is doing real work. Air circulating underneath dries the whole surface evenly, so the pellicle forms top and bottom instead of just on top.

6

Step 6: Set the Smoker and Lay On the Salmon

7:32
Step 6: Step 6: Set the Smoker and Lay On the Salmon

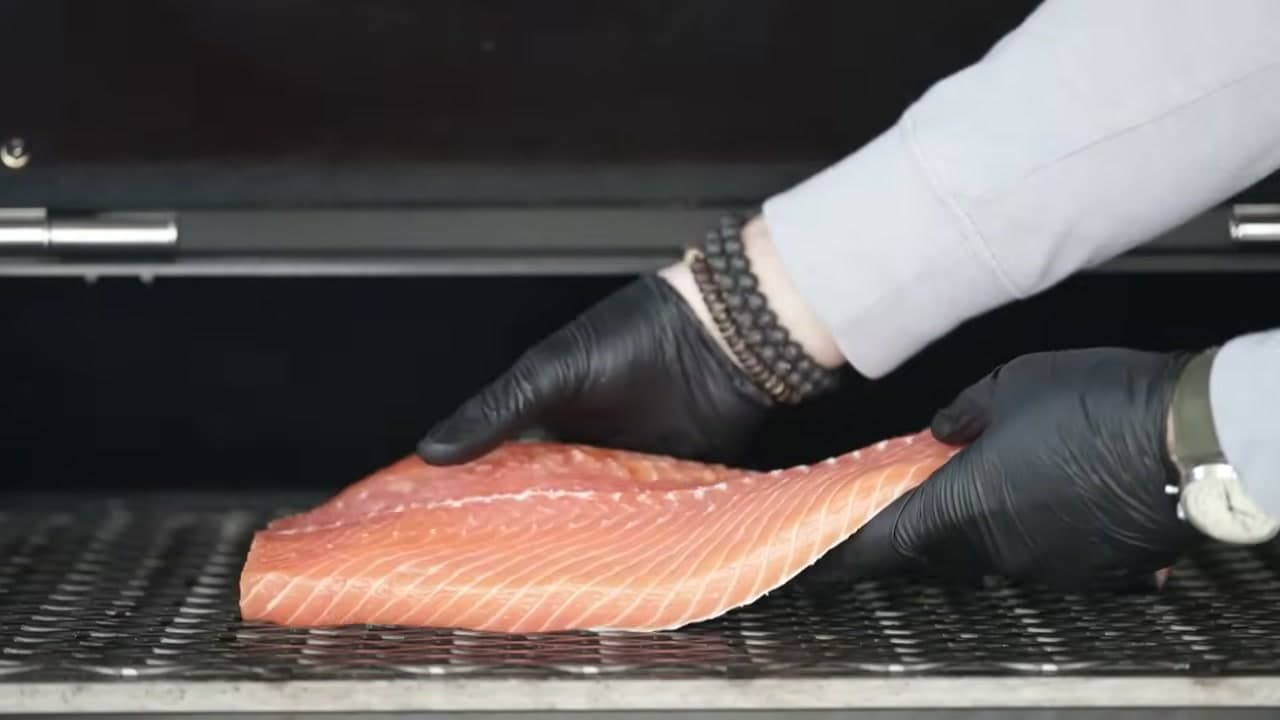
With about 30 minutes left in the drying time, load your hopper and fire up the smoker at 150F. Once it's up to temperature and the salmon has had its full two hours to dry, brush the grates with plenty of neutral oil so the fish releases cleanly.

Set the salmon on an upper rack, away from the hot firebox, so it takes on smoke without cooking too fast. Push a probe thermometer into the thickest part of the fillet and set your target to 140F internal. A pellet smoker runs humid inside, so there's no need for a water pan. Expect roughly two to two and a half hours at this temperature.

Tip

Watch this step Keep the salmon on an upper rack, away from the firebox. Direct heat from below cooks it too fast and dries out the very thing you brined to keep moist.

7

Step 7: Make the Glaze and Baste

9:05
Step 7: Step 7: Make the Glaze and Baste

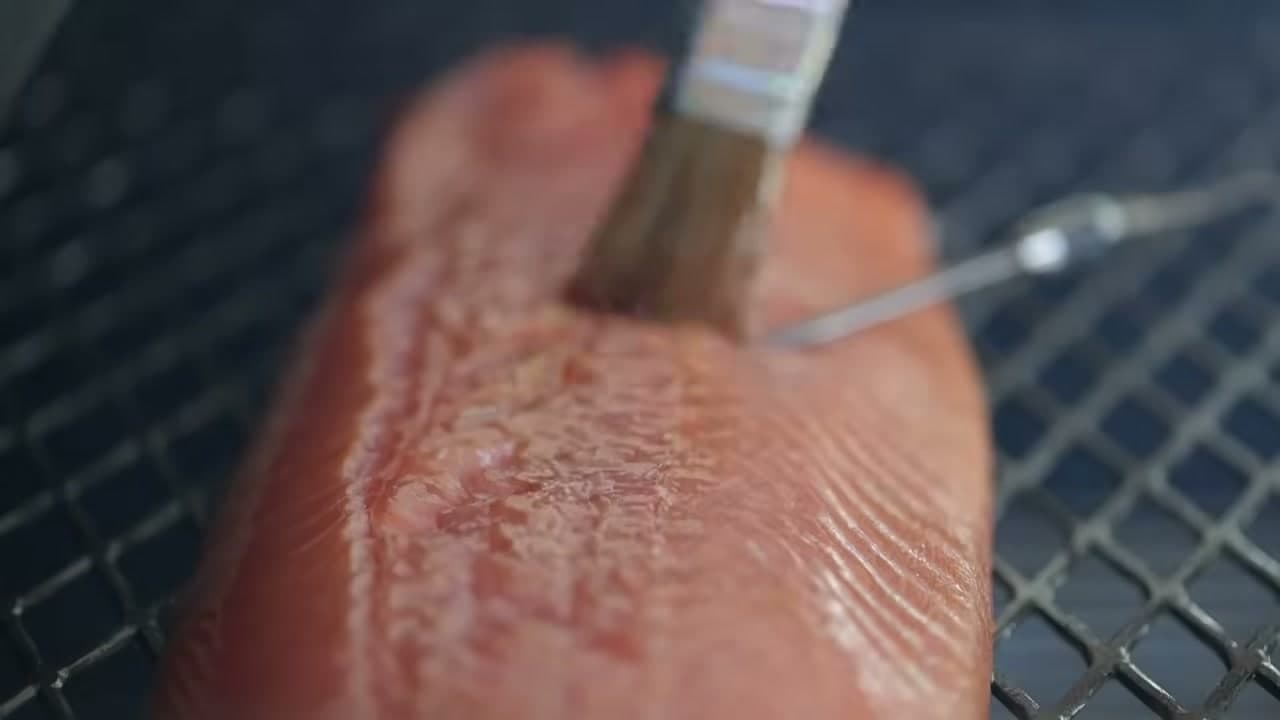
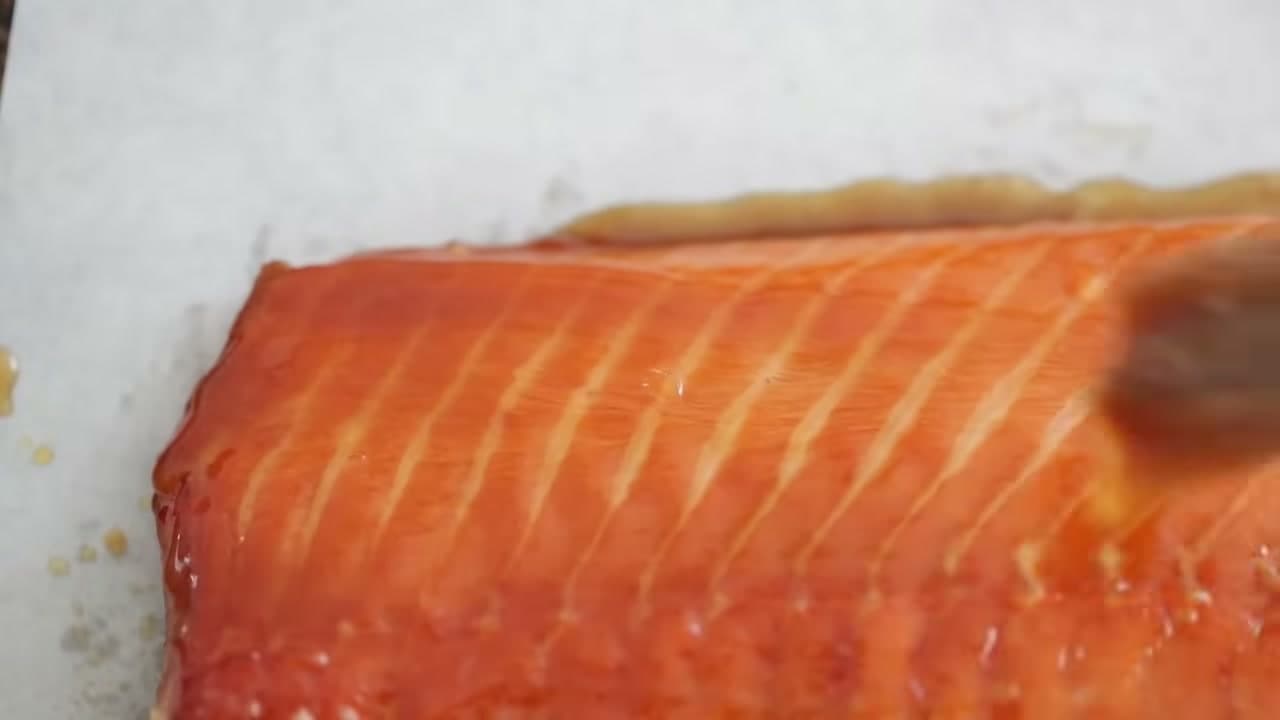
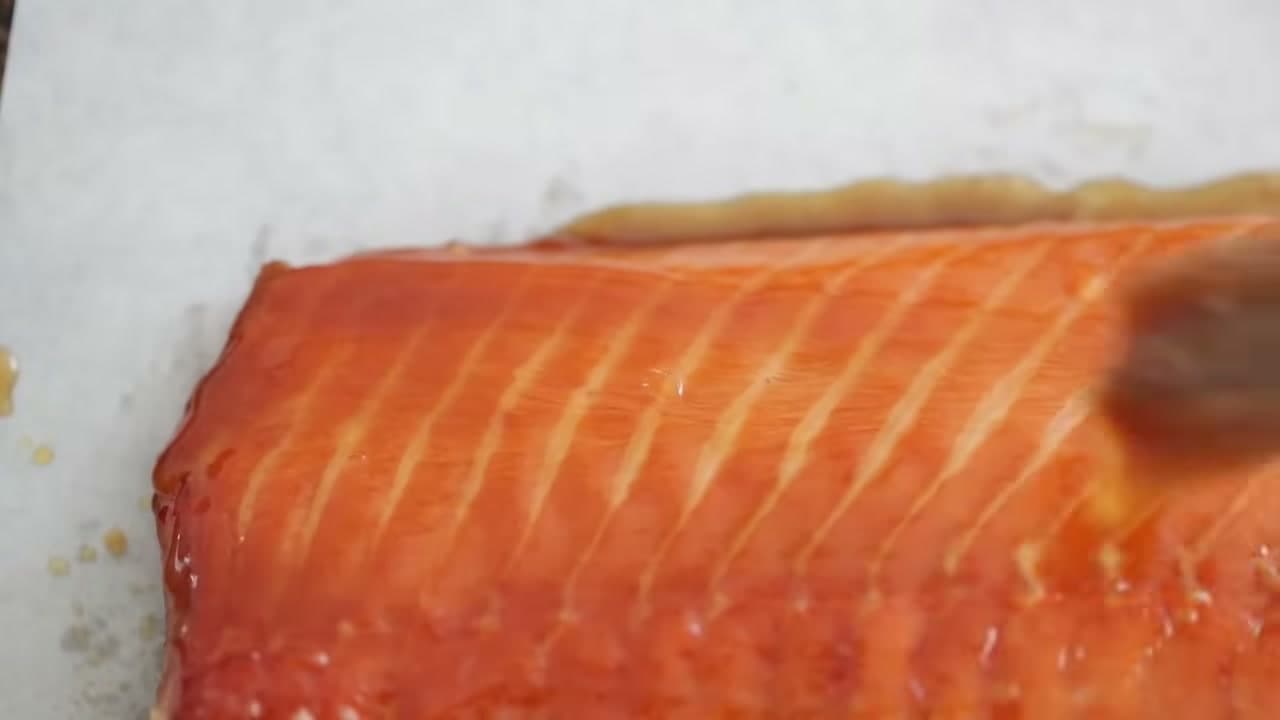
After about an hour of smoking, build the glaze. In a small saucepan combine 1/2 cup of packed light brown sugar, 1/2 stick of unsalted butter, and 1 tablespoon of soy sauce. Halve the orange and lemon you zested earlier and squeeze in all their juice, catching seeds with your other hand.

Bring it to a boil over medium heat and stir until the sugar dissolves. Brush heaping loads over the salmon, then keep basting every 30 minutes as it cooks. Around the two-hour mark you can bump the smoker up to 200F for a little extra browning. If you see white albumin creeping out, that's normal, but if the fish gets covered in it, slide the salmon farther from the heat.

Tip

Watch this step Basting every half hour is what builds that glassy, candy-like coat. Each layer adheres to the last, so consistent timing gives you the color and shine.

8

Step 8: Rest, Glaze Again, and Serve

11:25
Step 8: Step 8: Rest, Glaze Again, and Serve

When the probe hits 140F internally, the salmon is done. It should look like candy, with a glassy sheen over that deep mahogany top. Pull the thermometer and lift the salmon off with a wide fish spatula or gloved hands, since it's delicate and warm.

Rest it on a lined sheet tray for 10 to 15 minutes to settle. Brush on one last coat of glaze right before serving. Eat it warm as is, or cool it down, wrap it, and keep it in the fridge for seven to ten days. It also freezes well for up to six months, so a single side stretches into a lot of good eating.

Tip

Watch this step Move it with a wide fish spatula, not tongs. Hot-smoked salmon is fragile and flaky, and tongs will pull it apart before it reaches the plate.

Products Used

❖ The Recipe

How to Smoke Salmon (Brined and Hot-Smoked)

American
Serves
Serves 8
Prep
40 min
Cook
3 hr
Total
3 hr 40 min

Ingredients

12 items
  • 4 to 4 1/2 lbside of salmonwild caught if you can get it, skin left on
  • 3 cupscold waterfor the brine
  • 3/4 cuppacked light brown sugarfor the brine
  • 1/3 cupcoarse sea saltfor the brine
  • 1orangezest for the brine, juice for the glaze
  • 1lemonzest for the brine, juice for the glaze
  • 4 cupsiceto chill the brine
  • 1/2 cuppacked light brown sugarfor the glaze
  • 1/2 stickunsalted butterfor the glaze
  • 1 tbspsoy saucefor the glaze
  • as neededneutral oilto oil the smoker grates
  • as neededwood pelletsyour favorite smoking wood

Method

  1. 1
    Step 1: Make the Brown Sugar and Citrus Brine. Pour 3 cups of cold water into a medium pot.
  2. 2
    Step 2: Trim the Salmon Side. Work with a whole side of salmon, skin on, and use a sharp non-flexible boning knife.
  3. 3
    Step 3: Brine the Salmon Overnight. Lay the trimmed side in a non-reactive dish.
  4. 4
    Step 4: Rinse Off the Brine. Pull the salmon out of the brine and set it on a parchment-lined sheet tray or a platter.
  5. 5
    Step 5: Pat It Dry and Form the Pellicle. Move the salmon to a sheet tray fitted with a wire rack so air can move all the way around it.
  6. 6
    Step 6: Set the Smoker and Lay On the Salmon. With about 30 minutes left in the drying time, load your hopper and fire up the smoker at 150F.
  7. 7
    Step 7: Make the Glaze and Baste. After about an hour of smoking, build the glaze.
  8. 8
    Step 8: Rest, Glaze Again, and Serve. When the probe hits 140F internally, the salmon is done.

Tools we recommend

Your Guide

Chef Billy Parisi

As an Amazon Associate we earn from qualifying purchases. Links on this page may be affiliate links - clicking them and buying doesn't change your price, but helps support ShowMeStepByStep.

Tags

Sunday How-To

New cooking tutorials, every Sunday

One short email with the week's best step-by-step guides. Free, no spam, unsubscribe anytime.

Did this work for you?

What's next

Related collections

Curated theme pages that include this tutorial.

Weekly Digest

Liked this cooking tutorial?

Pick the categories you want to hear about. Weekly digest of new step-by-step tutorials. No spam, easy unsubscribe.

Send me tutorials about

We only email about new tutorials. Easy unsubscribe anytime.