How to Smoke a Brisket: A Beginner's Step-by-Step Guide

CookingAdvanced13:288 stepsBrowse more →

By ShowMeStepByStepPublished

Based on a video by Hey Grill Hey.

This is Susie from Hey Grill Hey's take on Brisket 101, and it's built for anyone who has never cooked a brisket before. The whole approach is central Texas simple: a good whole packer brisket, a basic backyard trim, and nothing but coarse salt and pepper for the rub. No competition-level fuss, no exotic ingredients, just the fundamentals that give you tender, smoky beef your first time out.

You'll learn how to pick a brisket at the store using the bend test, how to trim it down without wasting the good scraps, and how to slather and season it so a dark, crunchy bark forms. Then it's low and slow on the smoker at 225 degrees, a butcher paper wrap once you hit the stall, and a long rest that does half the work for you. The cook takes patience, but the actual steps are short.

The finish is the fun part. You slice the point and the flat separately, always against the grain, into pencil-thick slices with a pink smoke ring running through each one. Cube the crispy end of the point for burnt ends. Brisket rewards practice, so if your first one isn't perfect, cook another. This guide gives you everything you need to get close on try one.

Step-by-Step Guide

1

Step 1: Pick the Right Whole Packer Brisket

0:43
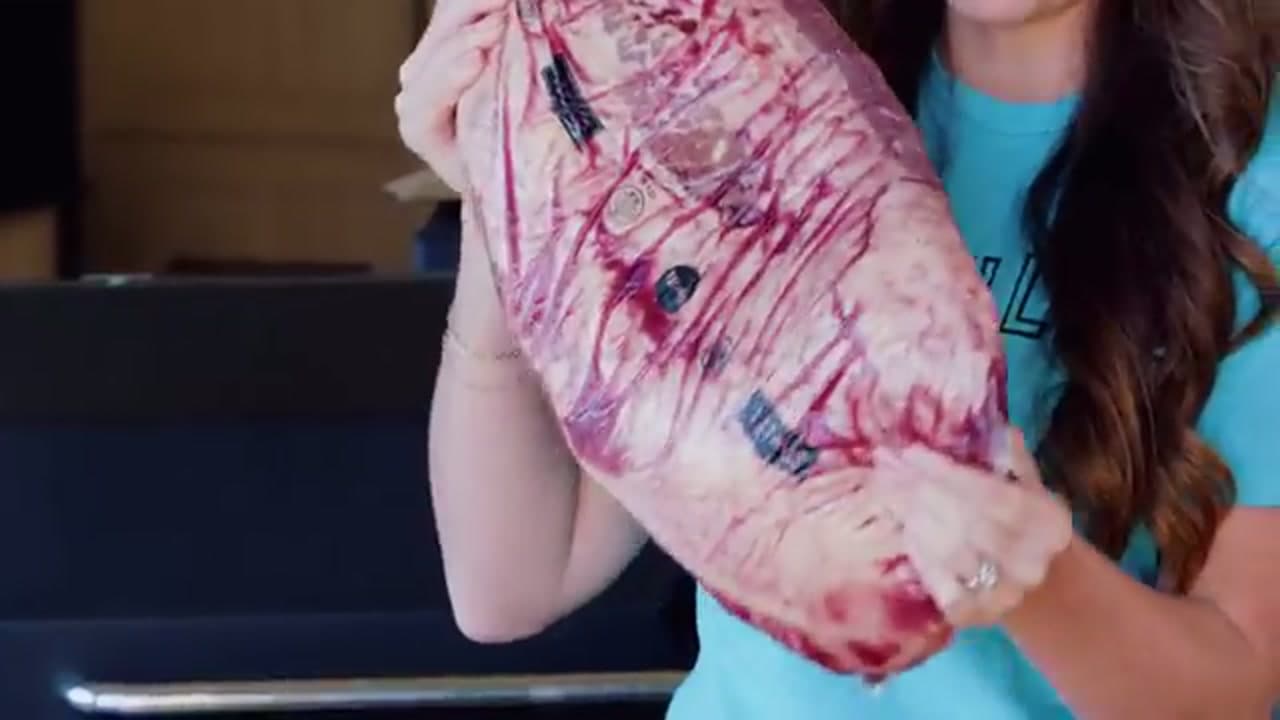
Step 1: Step 1: Pick the Right Whole Packer Brisket

Head to the store and look for a whole packer brisket, not just the flat. A packer is the full cut with two overlapping muscles, and it usually weighs between 11 and 18 pounds in the Cryovac. Grab a choice or prime grade if you can. The extra fat marbling gives you a juicier finished brisket.

Do the bend test right there in the meat aisle. Pick up the package and see how much it flexes. If it drapes into a soft U shape, that tells you the fat layer between the two muscles is thin, which means more even cooking and better texture. A stiff, board-flat brisket usually has a thick fat seam that never fully renders.

Tip

Watch this step Once it's home, pop the brisket in the freezer for about 30 minutes before you trim. Really cold fat firms up and cuts so much cleaner.
2

Step 2: Trim the Bottom Side

2:28
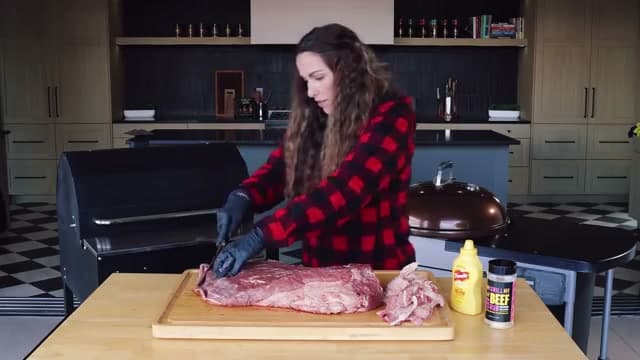
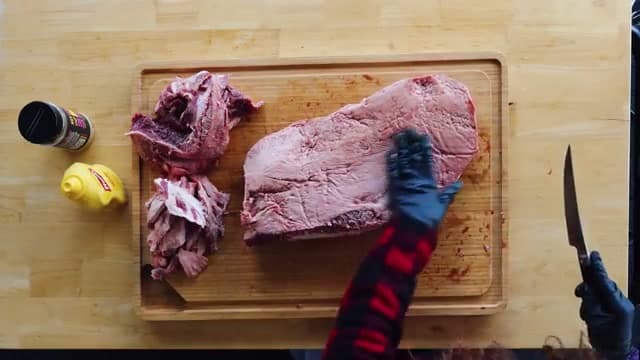
Step 2: Step 2: Trim the Bottom Side

Flip the brisket bottom-side up and grab a sharp knife. A thin, flexible boning or filet knife glides under fat better than a big chef's knife here. Start by shaving off any silver skin and stringy fat across the bottom. It won't render and it blocks smoke, so it has to go.

Next find the thick half-moon fat pad and knock it down. You don't cut it out completely. You just trim it flat so the bottom of the brisket sits even. Work slowly your first time. You can rewind the video and match the cuts as many times as you need to get it right.

Tip

Watch this step Keep your non-knife hand flat on top of the meat to hold it steady, and cut away from your fingers. Cold brisket grips the board better than a warm one.

3

Step 3: Trim the Sides, Flat, and Point

3:20
Step 3: Step 3: Trim the Sides, Flat, and Point

Run a long straight cut up each side to take off ragged edges and anything left from processing. Then move to the flat, which is the thin end of the brisket. Round those thin edges off. Left on, they just char and turn to charcoal in the smoker, so trim them before they ever see heat.

Turn to the point, the thick end where the two muscles pile up, and tidy any loose overhanging chunks. Flip the brisket over and take the top fat cap down to about a half inch. Save your trimmings in two piles: the meaty scraps for homemade ground beef, and the pure fat for rendering into beef tallow. You paid for it, so don't toss it.

Tip

Watch this step A half-inch fat cap is the sweet spot. Too thin and the meat dries out, too thick and it blocks the rub and smoke from reaching the beef.

4

Step 4: Slather with Mustard and Season

4:38
Step 4: Step 4: Slather with Mustard and Season

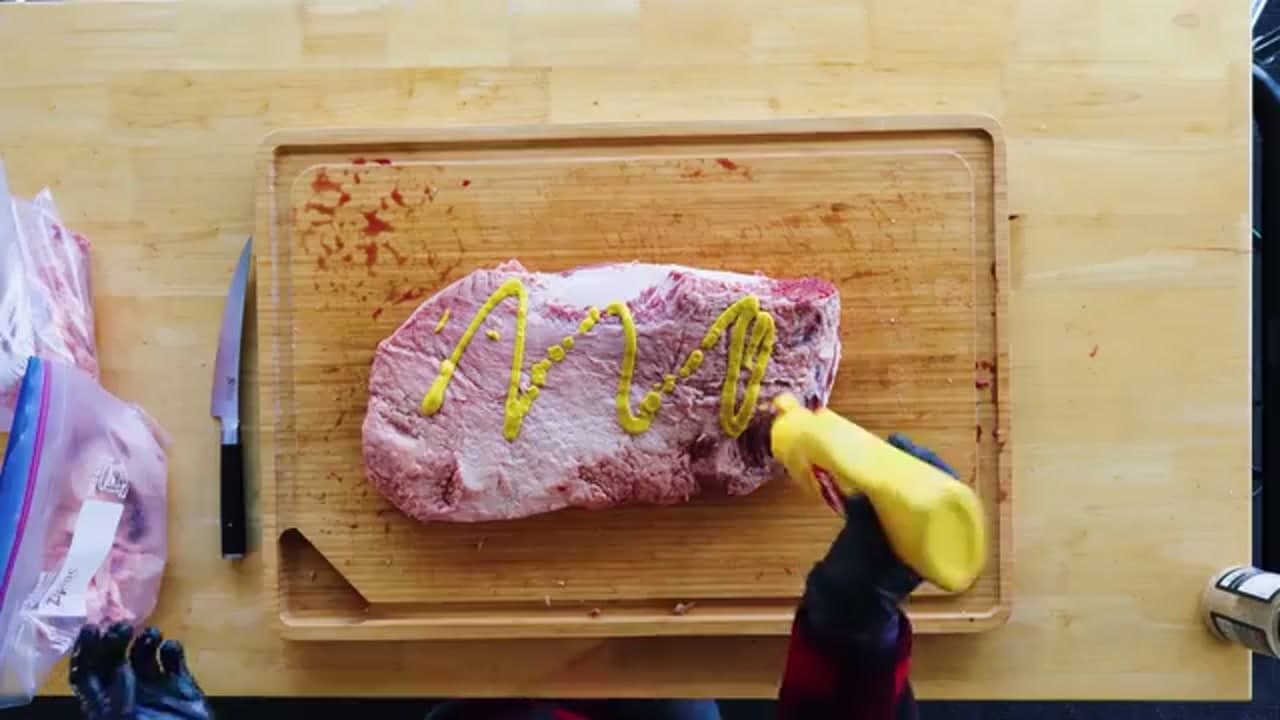
Squeeze a thin layer of plain yellow mustard over the whole brisket and spread it around with a gloved hand. You won't taste the mustard at all after it cooks. It just acts as a binder that helps the rub stick and gives the smoke something to grab, which builds a darker, crunchier bark.

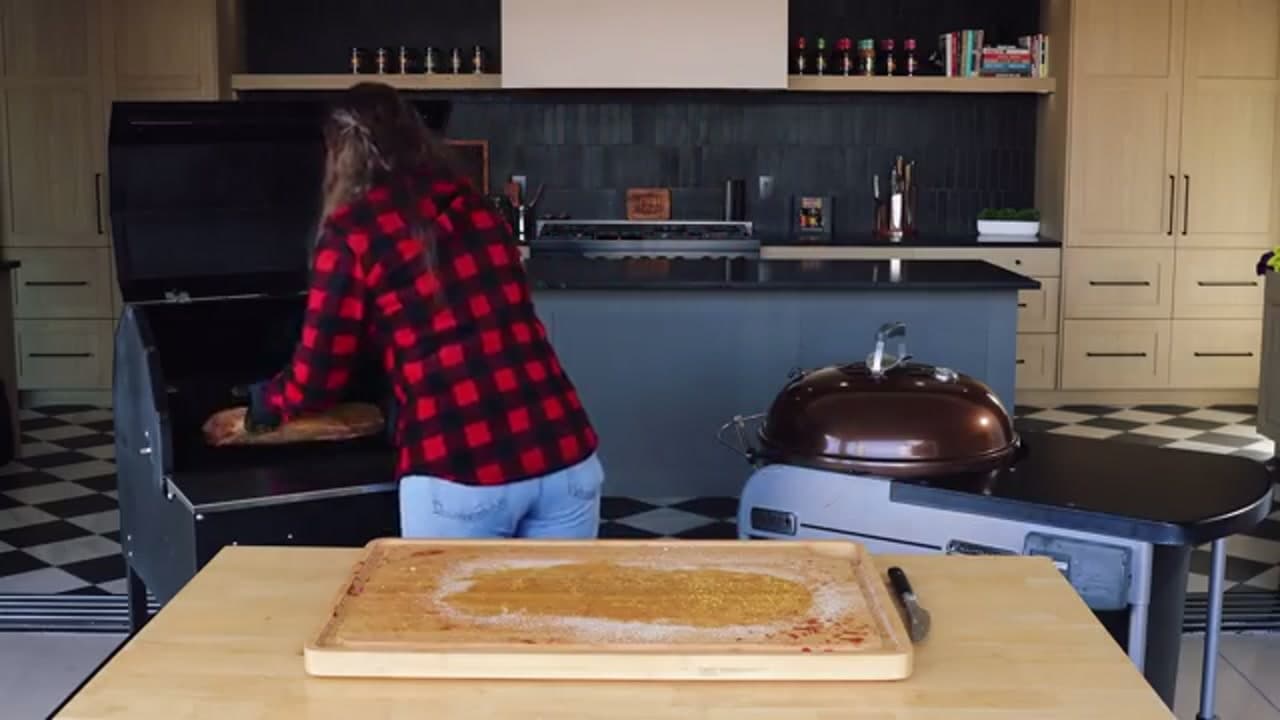
Now season. Equal parts coarse kosher salt and coarse ground black pepper is the classic central Texas rub, and it's genuinely all you need. Sprinkle it on from up high so it falls evenly, and hit every side. If you like a beef rub, use that instead. Don't be shy with the coverage.

Tip

Watch this step Hate the idea of mustard? Skip it and go straight to salt and pepper. The rub still sticks to the raw surface, you just get a slightly thinner bark.

5

Step 5: Fire Up the Smoker and Load the Brisket

5:16
Step 5: Step 5: Fire Up the Smoker and Load the Brisket

Set your smoker to 225 degrees Fahrenheit and let it settle. A pellet grill is the easiest beginner smoker for a first brisket. It holds temperature for hours without you babysitting the fire. Lay the seasoned brisket on the grate fat-side up to start, since the heat on a pellet grill rises from the bottom and the fat cap shields the meat.

For wood, a mix of oak and cherry pellets plays beautifully with beef. This is a long, low cook, so you'll actually taste the wood you pick. Close the lid and leave it alone for at least six to eight hours before you peek. Plan roughly 90 minutes per pound of trimmed weight, then add two hours of buffer just to be safe.

Tip

Watch this step Trim and season the night before, then put the brisket on before bed. Set a temperature alarm so a swing wakes you up, and you'll wake to a brisket ready to wrap.

6

Step 6: Wrap in Butcher Paper at the Stall

6:36
Step 6: Step 6: Wrap in Butcher Paper at the Stall

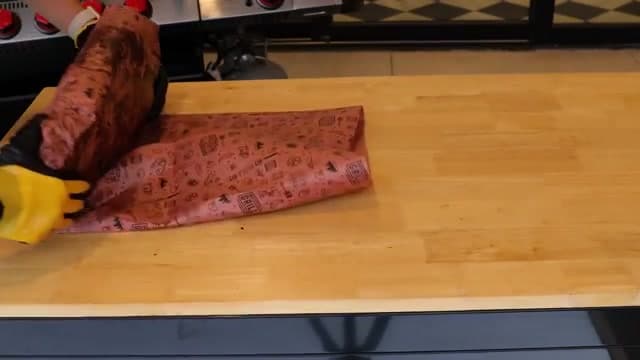
After six to eight hours the outside should look dark, crisp, and set, and the internal temperature will read somewhere between 160 and 175 degrees. That's the stall, and it's your cue to wrap. Pull the brisket and set it on a large sheet of pink butcher paper.

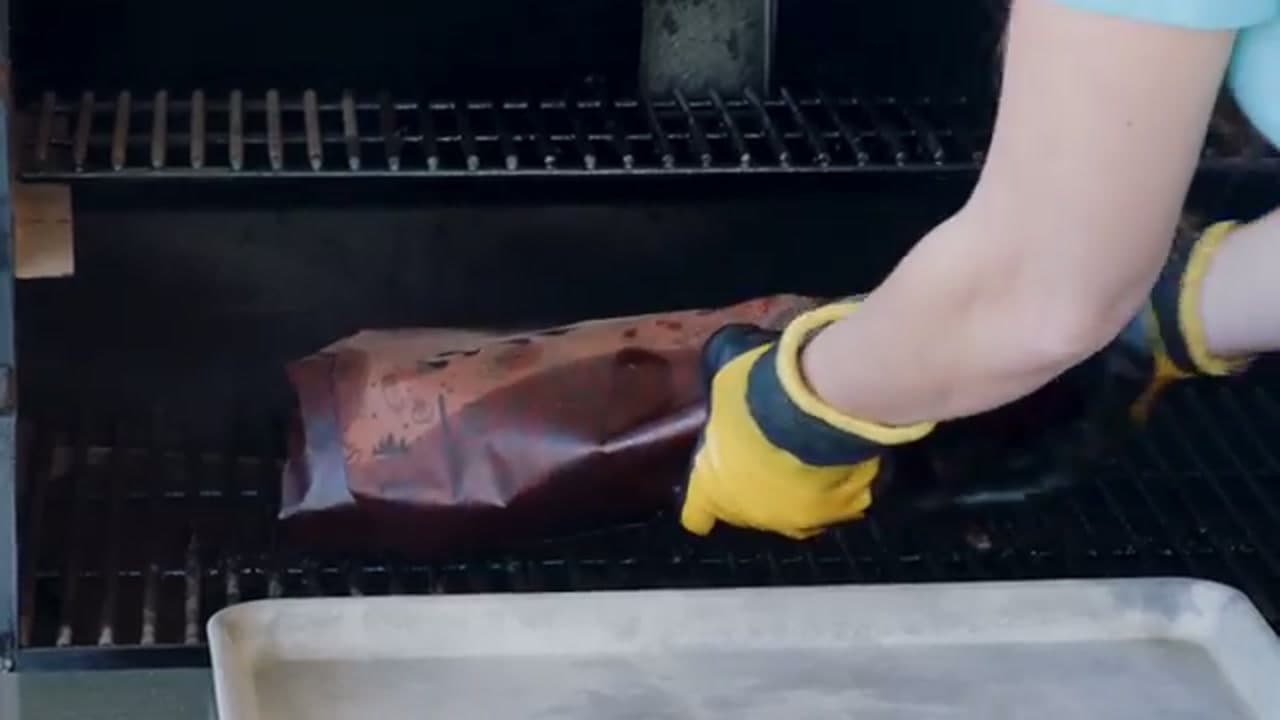
Roll it up snug, tucking the sides in like a burrito so it's fully sealed. Butcher paper is untreated, so it traps moisture while still letting the bark keep firming up instead of going soft. No butcher paper on hand? Unwaxed parchment works in a pinch. Never use waxed paper. Then set the wrapped brisket back on the smoker.

Tip

Watch this step Check the temp with an instant-read thermometer before you wrap, not just the color. Both signals lining up is how you know it's really time.

7

Step 7: Cook to Probe-Tender, Then Rest

7:32
Step 7: Step 7: Cook to Probe-Tender, Then Rest

Let the wrapped brisket ride until it's done, which lands anywhere from 195 to 205 degrees. There's no single magic number. What you're really feeling for is probe tenderness. Slide your thermometer into the thickest part of the flat. When it glides in and out like the meat is softened butter, it's ready. Give the brisket a gentle squish too. It should bend and give under your hand.

Pull it off and rest at room temperature for at least an hour before slicing. This is where a built-in time buffer pays off. If the cook ran long, you've got grace. If it finished early, wrap it in a dedicated towel and hold it in a cooler or a turned-off 170-degree oven for four to six hours. A longer rest almost always means a juicier brisket.

Tip

Watch this step Three to four hours of rest is the real sweet spot. Use a towel you don't mind smelling like smoke forever, because it will.

8

Step 8: Slice Against the Grain and Serve

10:45
Step 8: Step 8: Slice Against the Grain and Serve

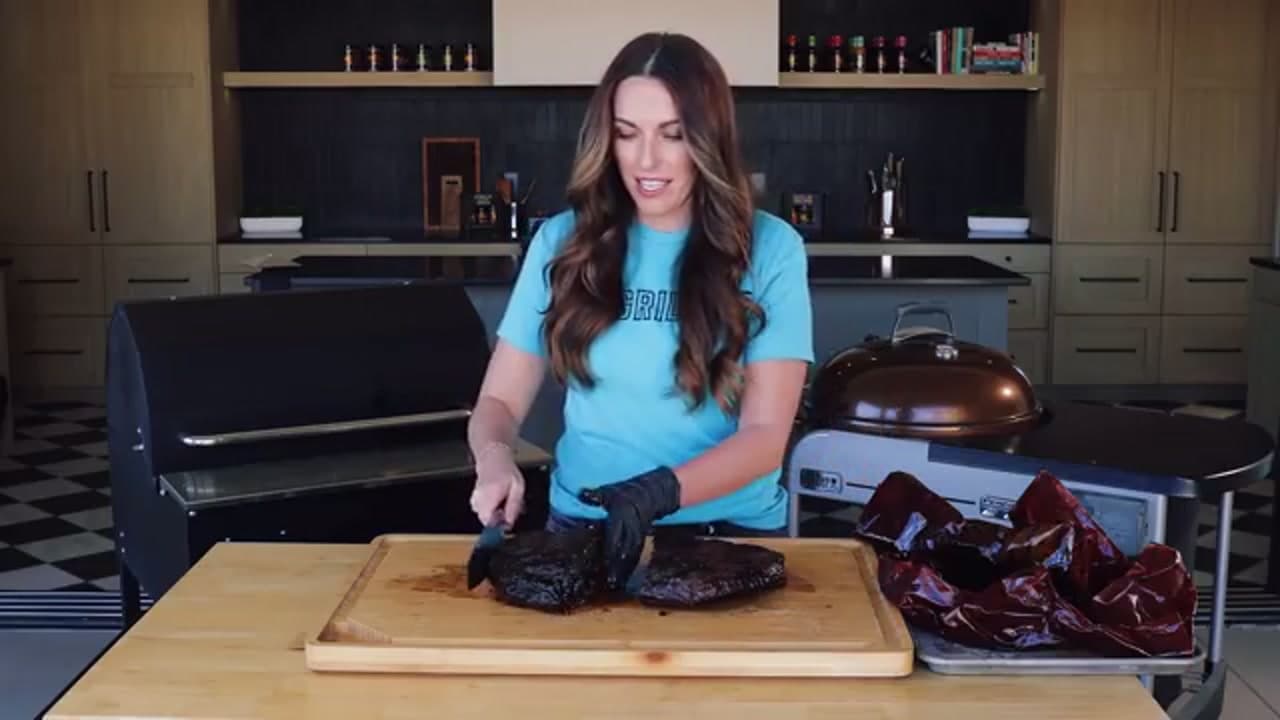
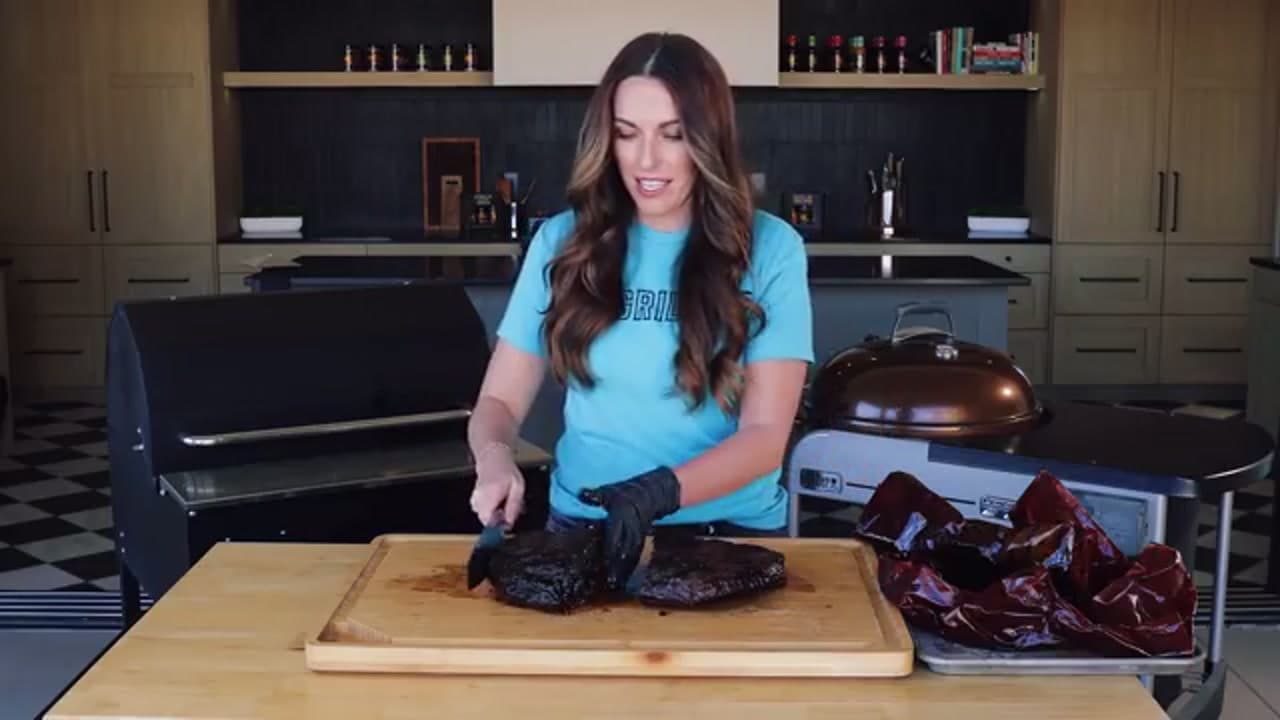
Unwrap the rested brisket and save those juices to drizzle back on. The point and the flat have grains running in two different directions, so you slice them separately. Cut the brisket where the two muscles meet to split it into the point and the flat.

Slice the flat straight across into pencil-thick slices. Rotate the point 90 degrees so you're again cutting against its grain, then slice it the same width. Cut the far crispy end of the point into cubes for burnt ends. Fan the slices out, spoon the saved juice over the top, and dig in. The pitmaster gets the first caramelized bite. You earned it.

Tip

Watch this step Slicing against the grain is what makes each bite tender instead of chewy. A long, sharp slicing knife lets you cut clean slices in one smooth pull.

Products Used

❖ The Recipe

How to Smoke a Brisket: A Beginner's Step-by-Step Guide

Southern US
Serves
Serves 10-12
Prep
30 min
Cook
12 hr
Total
12 hr 30 min

Ingredients

5 items
  • 1 (12-14 lb trimmed)whole packer brisketchoice or prime grade
  • 1/2 cupcoarse kosher saltequal parts with the pepper
  • 1/2 cupcoarse ground black pepper16 mesh is ideal
  • 2 tbspyellow mustardbinder only, flavor cooks off
  • as neededoak and cherry wood pelletsor your favorite beef-friendly wood

Method

  1. 1
    Step 1: Pick the Right Whole Packer Brisket. Head to the store and look for a whole packer brisket, not just the flat.
  2. 2
    Step 2: Trim the Bottom Side. Flip the brisket bottom-side up and grab a sharp knife.
  3. 3
    Step 3: Trim the Sides, Flat, and Point. Run a long straight cut up each side to take off ragged edges and anything left from processing.
  4. 4
    Step 4: Slather with Mustard and Season. Squeeze a thin layer of plain yellow mustard over the whole brisket and spread it around with a gloved hand.
  5. 5
    Step 5: Fire Up the Smoker and Load the Brisket. Set your smoker to 225 degrees Fahrenheit and let it settle.
  6. 6
    Step 6: Wrap in Butcher Paper at the Stall. After six to eight hours the outside should look dark, crisp, and set, and the internal temperature will read somewhere between 160 and 175 degrees.
  7. 7
    Step 7: Cook to Probe-Tender, Then Rest. Let the wrapped brisket ride until it's done, which lands anywhere from 195 to 205 degrees.
  8. 8
    Step 8: Slice Against the Grain and Serve. Unwrap the rested brisket and save those juices to drizzle back on.
☐ The Checklist

How to Smoke a Brisket: A Beginner's Step-by-Step Guide

Tools
7
Materials
5
Steps
8
Video
13 min

Your Guide

Hey Grill Hey

As an Amazon Associate we earn from qualifying purchases. Links on this page may be affiliate links - clicking them and buying doesn't change your price, but helps support ShowMeStepByStep.

Tags

Sunday How-To

New cooking tutorials, every Sunday

One short email with the week's best step-by-step guides. Free, no spam, unsubscribe anytime.

Did this work for you?

What's next

Related collections

Curated theme pages that include this tutorial.

Weekly Digest

Liked this cooking tutorial?

Pick the categories you want to hear about. Weekly digest of new step-by-step tutorials. No spam, easy unsubscribe.

Send me tutorials about

We only email about new tutorials. Easy unsubscribe anytime.