How to Grill Corn on the Cob

By ShowMeStepByStepPublished Updated

Based on a video by GQue BBQ - Westminster.

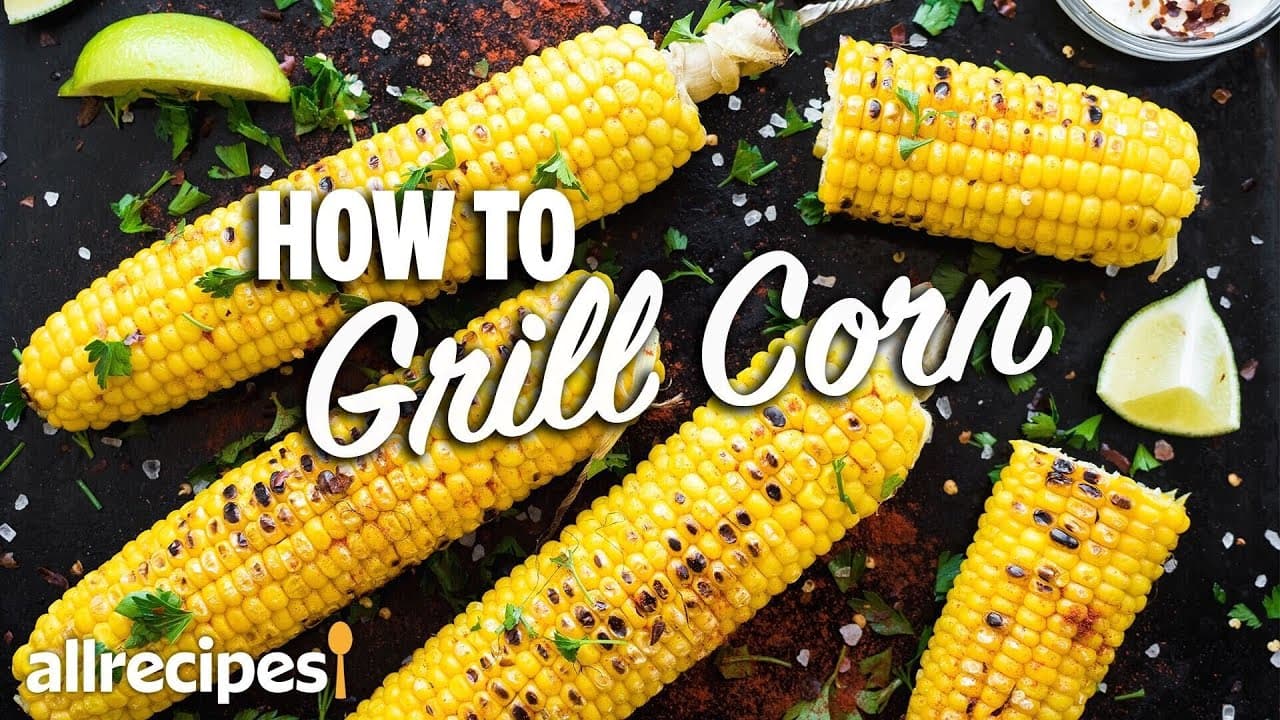
Grilled corn on the cob is the workhorse side of summer. It belongs next to hot dogs, burgers, and a tray of grilled chicken. This is the husk-off method from Jason Cona at GQue BBQ, and it gives you real char and sweetness instead of the steamed flavor you get from foil or husk-on cooking.

You grill the corn naked over a two-zone fire. Medium heat first to soften the kernels, then over the coals to get those dark char marks. Brush on a quick garlic BBQ butter at the end and you have a corn that holds its own against anything else on the table at your Memorial Day or July 4th cookout.

Step-by-Step Guide

1

Step 1: Husk the Corn

0:32
Step 1: Step 1: Husk the Corn

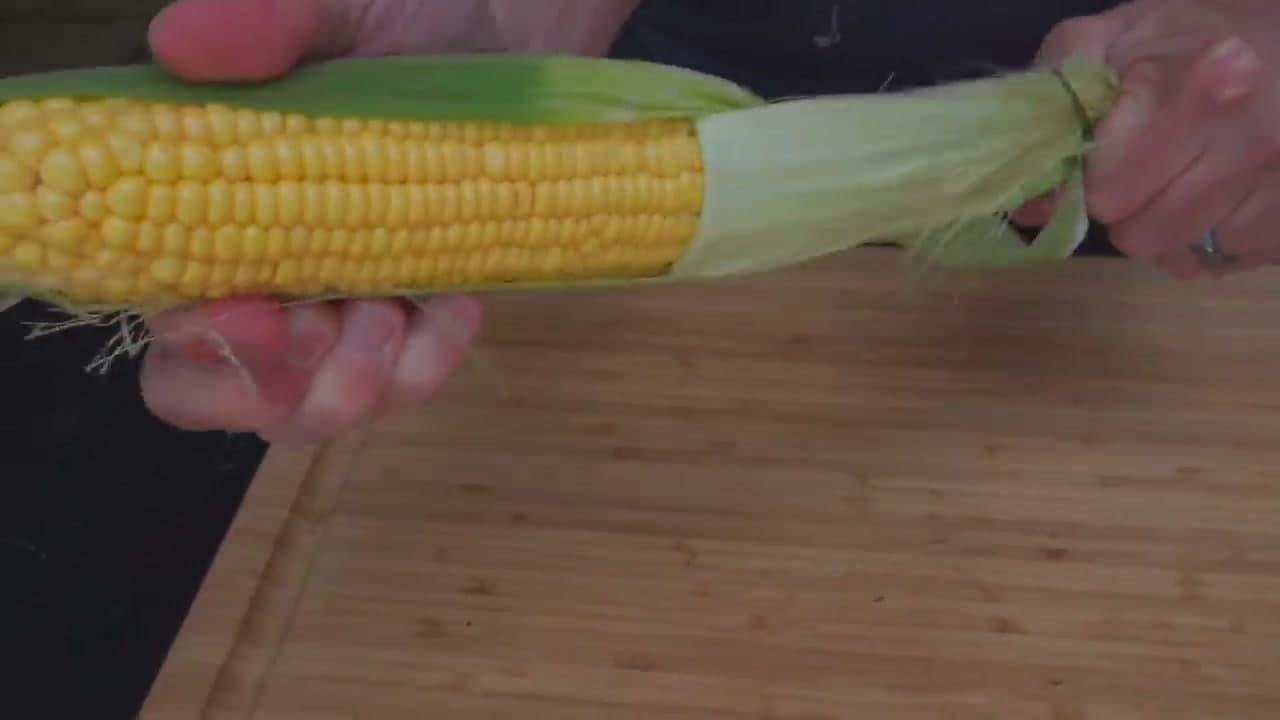
Start at the narrow end of the ear and peel the husk back to expose the kernels. Once you have a handful of leaves pulled back, grab the other end and pull again. Two clean pulls strips the husk and the silk together. Trying to do it in one go almost always leaves stringy silk stuck on the cob. Watch

Tip

Pick ears that feel heavy for their size with tight, green husks. Fresh corn is the difference between sweet and starchy.

Products used in this step

2

Step 2: Set Up a Two-Zone Fire

1:13
Step 2: Step 2: Set Up a Two-Zone Fire

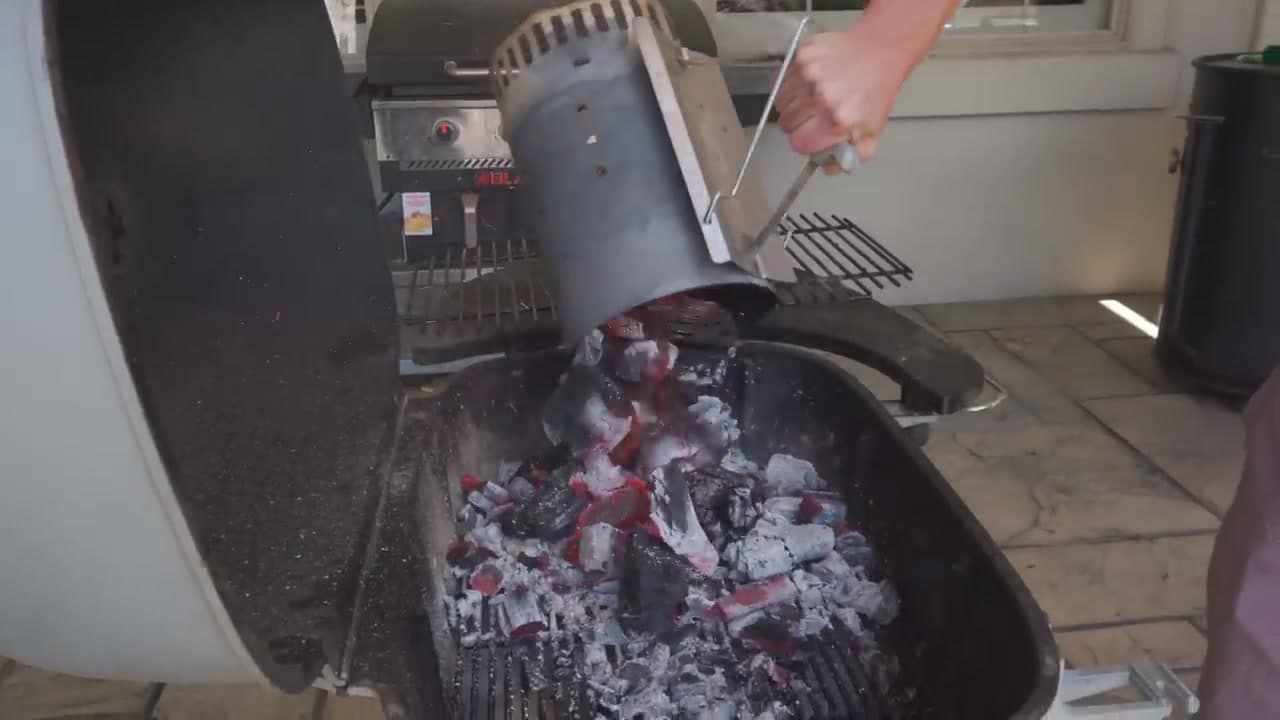
Build your charcoal pile on one side of the grill and leave the other side empty. That gives you a hot side for char and a cooler side to cook through without burning. On a PK or kettle grill, open the front intake vent and the top vent, and close the back vents. The oxygen pulls up and over the cooking grate for steady, even heat. Watch

Tip

Working on a gas grill instead? Light only the burners on one side and leave the others off. Same idea, less fire-building.

3

Step 3: Oil the Grates and the Corn

1:40
Step 3: Step 3: Oil the Grates and the Corn

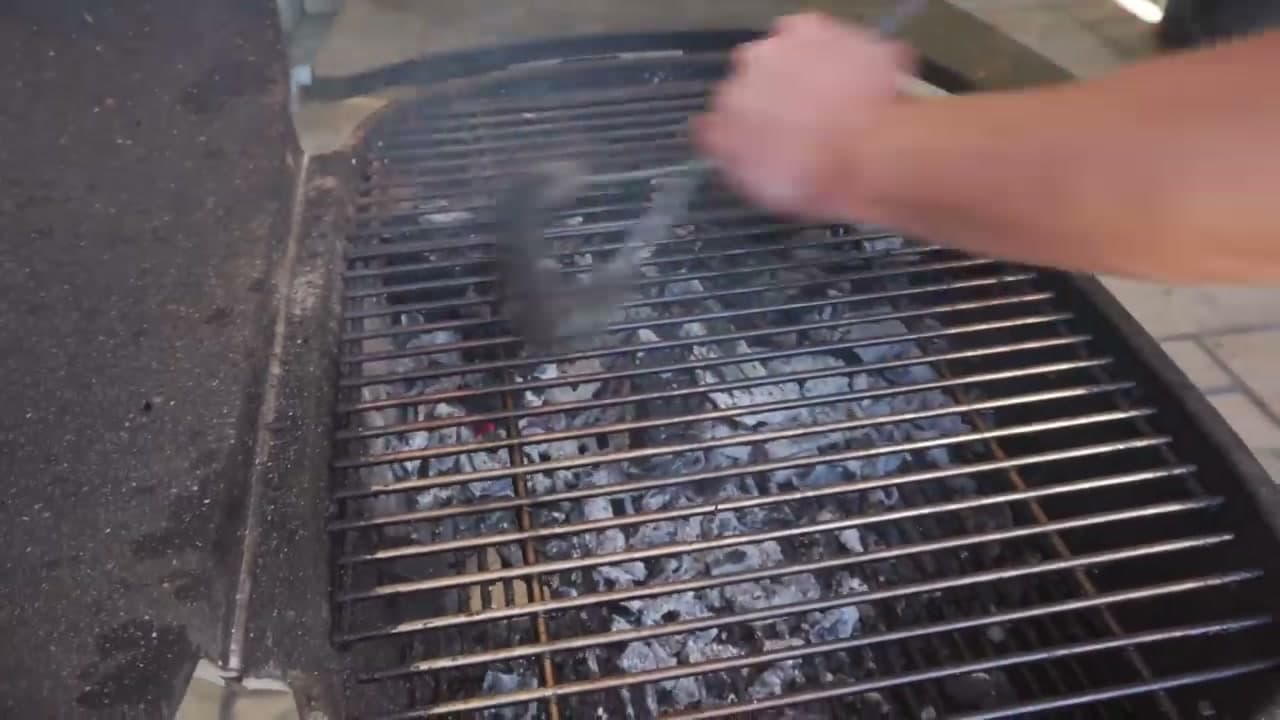
Fold a paper towel, dip it in oil, and wipe the hot grates down with your tongs. Then brush a thin layer of oil over each ear of corn. The grates stay slick so the cobs do not stick, and the oil on the kernels protects them from over-charring once they hit the heat. Watch

Tip

Any high-smoke-point oil works. Vegetable, canola, or avocado are all fine. Olive oil burns too fast.

4

Step 4: Make the BBQ Butter

1:59
Step 4: Step 4: Make the BBQ Butter

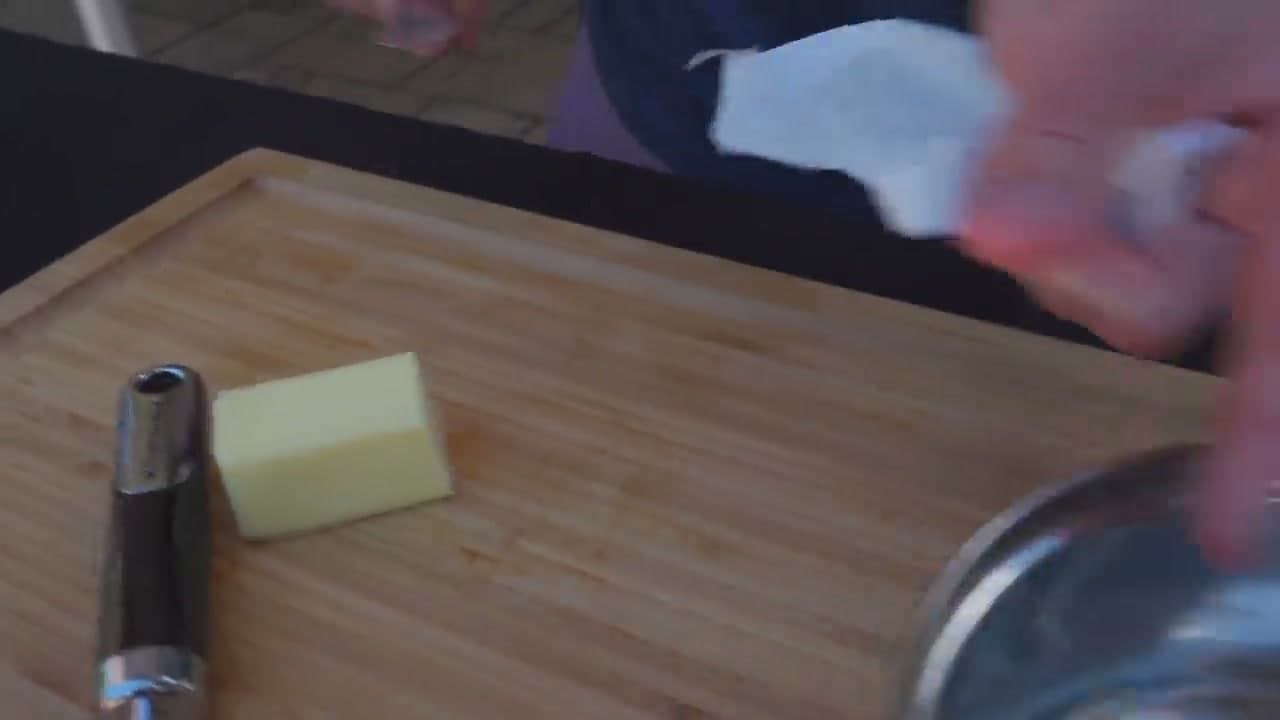
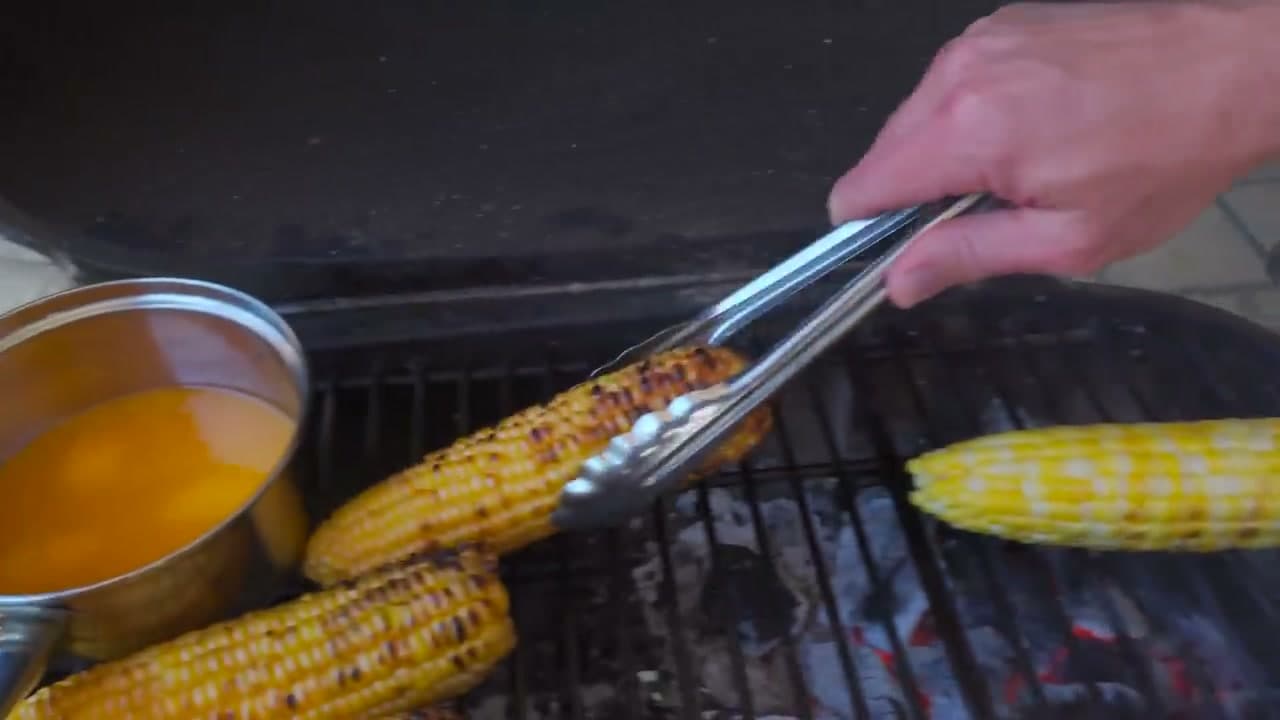
While the corn starts cooking, melt a stick of unsalted butter in a small saucepan. Add minced garlic and a tablespoon of BBQ rub and stir it together. Use unsalted butter on purpose - the rub already has salt, and salted butter on top makes the finish too salty. This buttery, garlicky, smoky mix is the whole point. Watch

Tip

Make a double batch. You will want extra for dunking, and it keeps in the fridge for a few days to brush on grilled chicken or steak.

5

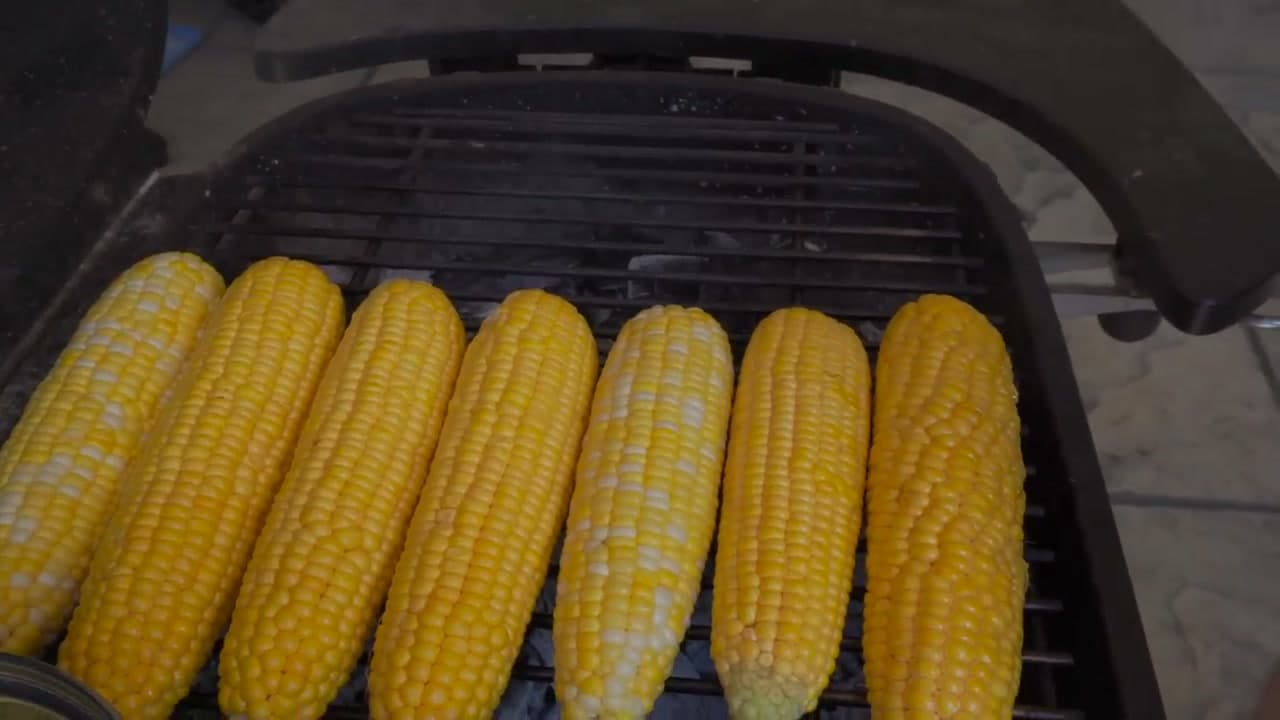
Step 5: Grill the Corn Over Medium Heat

2:21
Step 5: Step 5: Grill the Corn Over Medium Heat

Lay the ears across the cooler side of the grill, close the lid, and let them cook for about 7 minutes. The kernels start to soften and the color deepens to a richer yellow. Give them another quick brush of oil at this point to keep the surface from drying out before they hit the char side. Watch

Tip

Resist flipping every minute. Let one side actually take some color before you rotate.

Products used in this step

6

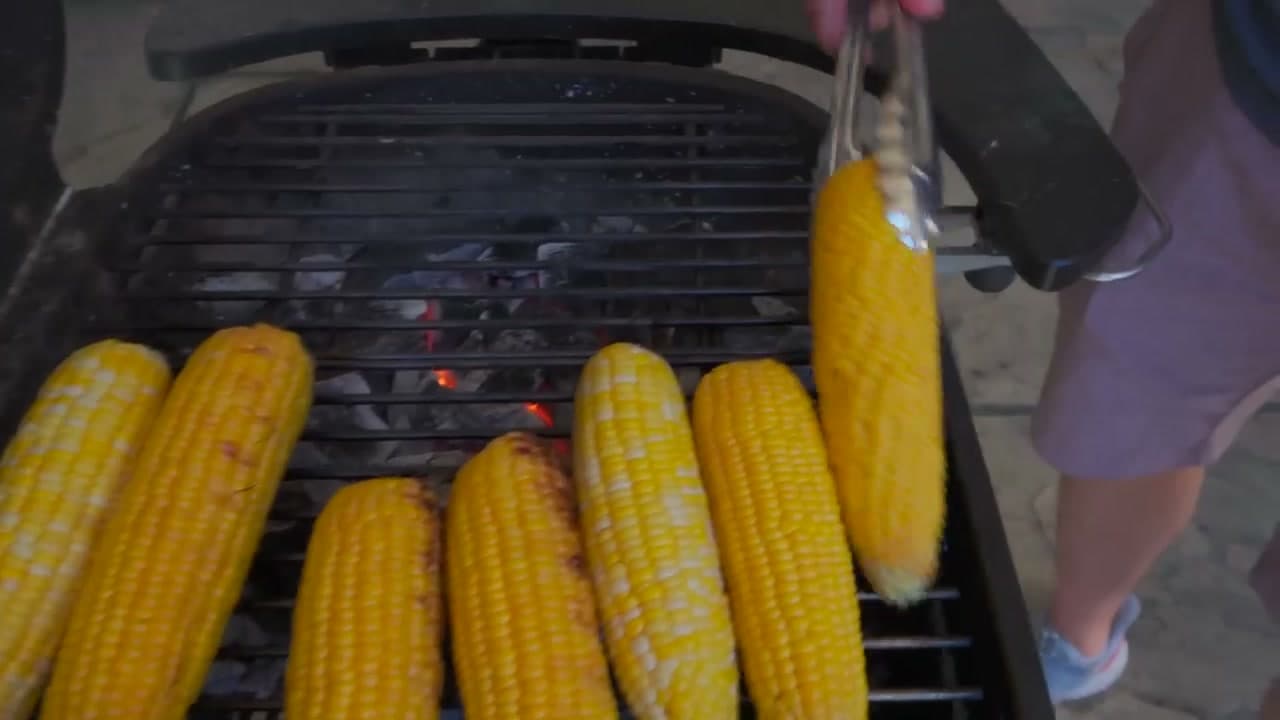
Step 6: Move the Corn Over the Coals

2:35
Step 6: Step 6: Move the Corn Over the Coals

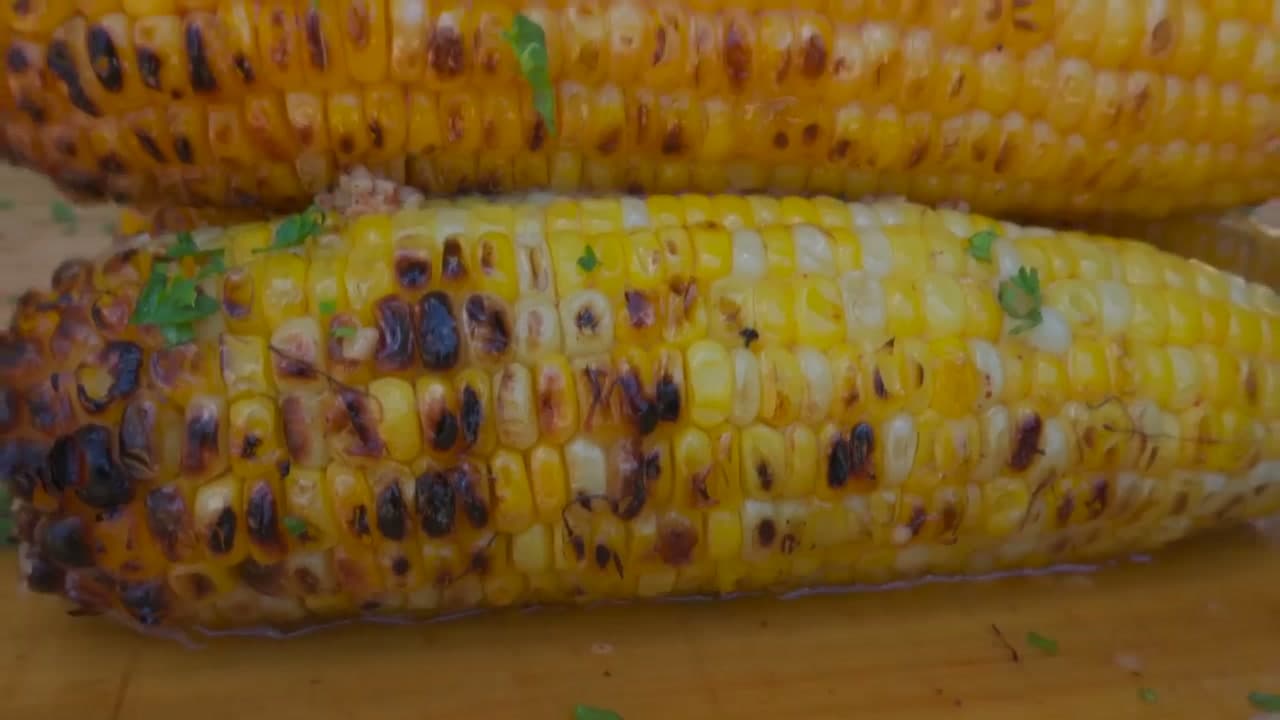
Once the kernels are soft, slide each ear directly over the hot coals. Rotate every minute or so until you have char marks on all sides. You want clear blackening on the high points of the kernels, not a fully burned ear. That char is what gives grilled corn its smoky-sweet edge over boiled or steamed. Watch

Tip

If a kernel pops and goes black, leave it. That dark color is flavor, not failure.

Products used in this step

7

Step 7: Check Doneness and Pull

2:50
Step 7: Step 7: Check Doneness and Pull

Total grill time runs 20 to 30 minutes depending on how hot your fire is and which side of the grill each ear has spent the most time on. The corn is done when the kernels are soft to a press and the outside shows clean char marks. Move any ears that finish early to the cool side to hold while the rest catch up. Watch

Tip

Use the back of a wooden spoon to press a kernel. If it gives easily and looks juicy, it is ready.

Products used in this step

8

Step 8: Brush With BBQ Butter and Serve

3:50
Step 8: Step 8: Brush With BBQ Butter and Serve

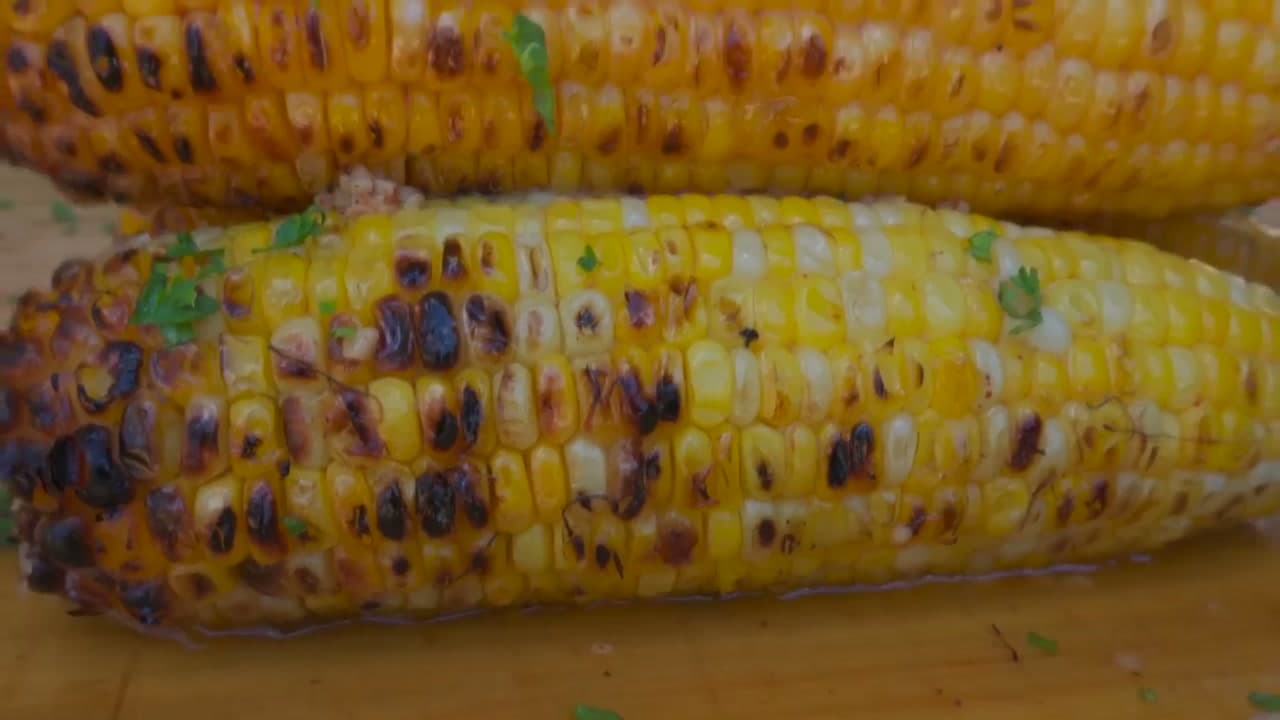
Move the hot ears to a cutting board and slather them with the garlic BBQ butter while they are still piping hot. The butter melts into the char and creates that built-in layer of flavor. Finish with a pinch of kosher salt and a crack of black pepper. Serve right away while the butter is still pooling. Watch

Tip

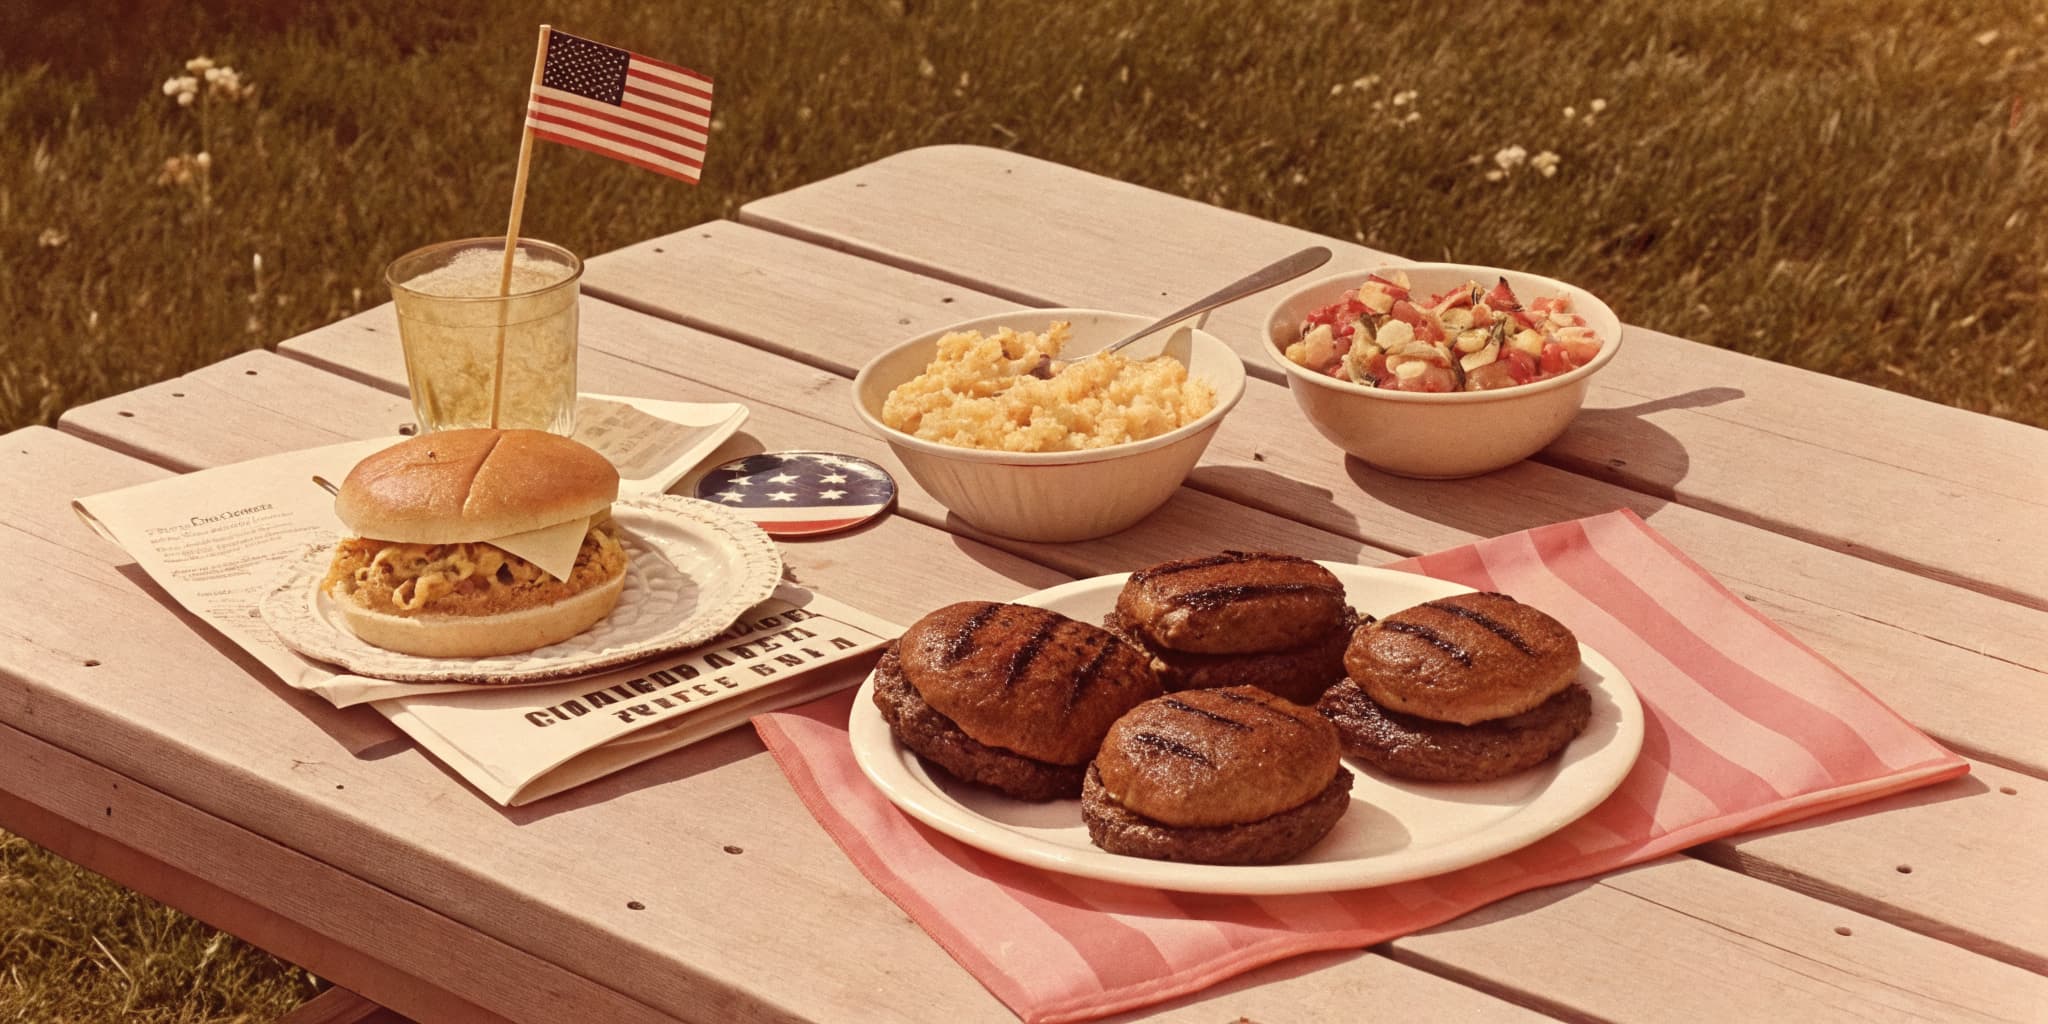
For a Memorial Day plate, set this next to grilled hot dogs and burgers. The corn ties the whole table together.

Products Used

❖ The Recipe

How to Grill Corn on the Cob

American
Serves
Serves 4 to 6
Prep
10 min
Cook
25 min
Total
35 min

Ingredients

7 items
  • 4 to 6 earsfresh corn on the cobhusk and silk removed
  • 1 stick (8 tbsp)unsalted buttersoftened or melted
  • 2 clovesgarlicminced
  • 1 tbspBBQ rubGQue BBQ rub or your favorite
  • 2 tbspneutral oil for grillingfor grates and ears
  • to tastekosher salt
  • to tasteblack pepper

Method

  1. 1
    Step 1: Husk the Corn. Start at the narrow end of the ear and peel the husk back to expose the kernels.
  2. 2
    Step 2: Set Up a Two-Zone Fire. Build your charcoal pile on one side of the grill and leave the other side empty.
  3. 3
    Step 3: Oil the Grates and the Corn. Fold a paper towel, dip it in oil, and wipe the hot grates down with your tongs.
  4. 4
    Step 4: Make the BBQ Butter. While the corn starts cooking , melt a stick of unsalted butter in a small saucepan.
  5. 5
    Step 5: Grill the Corn Over Medium Heat. Lay the ears across the cooler side of the grill, close the lid, and let them cook for about 7 minutes.
  6. 6
    Step 6: Move the Corn Over the Coals. Once the kernels are soft, slide each ear directly over the hot coals.
  7. 7
    Step 7: Check Doneness and Pull. Total grill time runs 20 to 30 minutes depending on how hot your fire is and which side of the grill each ear has spent the most time on.
  8. 8
    Step 8: Brush With BBQ Butter and Serve. Move the hot ears to a cutting board and slather them with the garlic BBQ butter while they are still piping hot.
☐ The Checklist

How to Grill Corn on the Cob

Tools
6
Materials
8
Steps
8
Video
4 min

Your Guide

GQue BBQ - Westminster

As an Amazon Associate we earn from qualifying purchases. Links on this page may be affiliate links - clicking them and buying doesn't change your price, but helps support ShowMeStepByStep.

Tags

Test your knowledge

Did the lesson stick? Find out in 2 minutes.

5 quick questions covering what you just read. No signup, no score saved — just a gut check.

Quick reference

Key takeaways from How to Grill Corn on the Cob

5 questions, answers, and one-line explanations. Tap to expand.

  1. 1.What's the trick to husking an ear without leaving stringy silk behind?

    Answer: Two clean pulls strips husk and silk together

    Pulling from each end in two motions strips the silk along with the husk; one slow pull leaves strings.

  2. 2.What does a 'two-zone fire' mean on the grill?

    Answer: Hot side for char, cool side to cook through without burning

    Coals on one side, empty on the other - lets you char without burning the kernels.

  3. 3.Why use unsalted butter (not salted) for the BBQ butter finish?

    Answer: The BBQ rub already has salt; salted butter on top makes it too salty

    BBQ rub brings the salt; adding salted butter on top finishes the corn blown out.

  4. 4.How long do you cook over the COOLER side first?

    Answer: About 7 minutes

    7 min on the cool side softens the kernels before they hit the char side.

  5. 5.How do you know the corn is done?

    Answer: When kernels are soft to a press and the outside has clean char marks

    Total time runs 20-30 min depending on heat; softness plus char is the signal, not the clock.

What's next

Related collections

Curated theme pages that include this tutorial.

Weekly Digest

Liked this cooking tutorial?

Pick the categories you want to hear about. Weekly digest of new step-by-step tutorials. No spam, easy unsubscribe.

Send me tutorials about

We only email about new tutorials. Easy unsubscribe anytime.