1
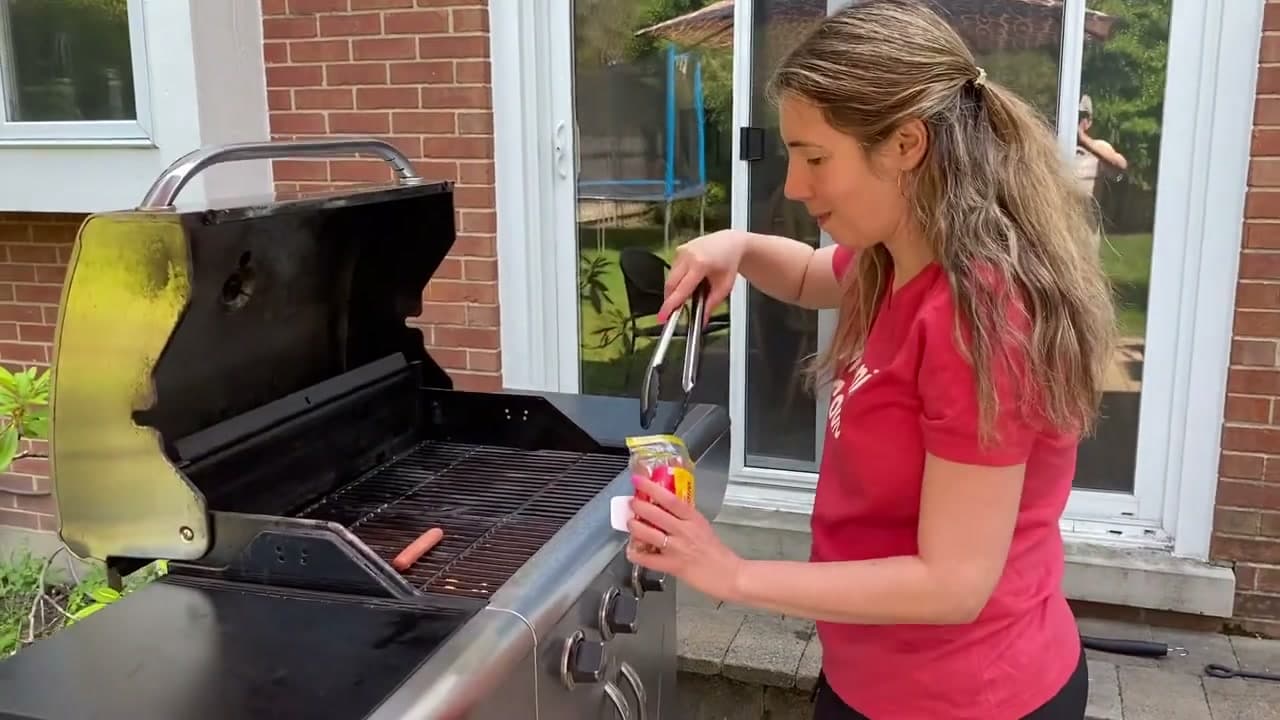
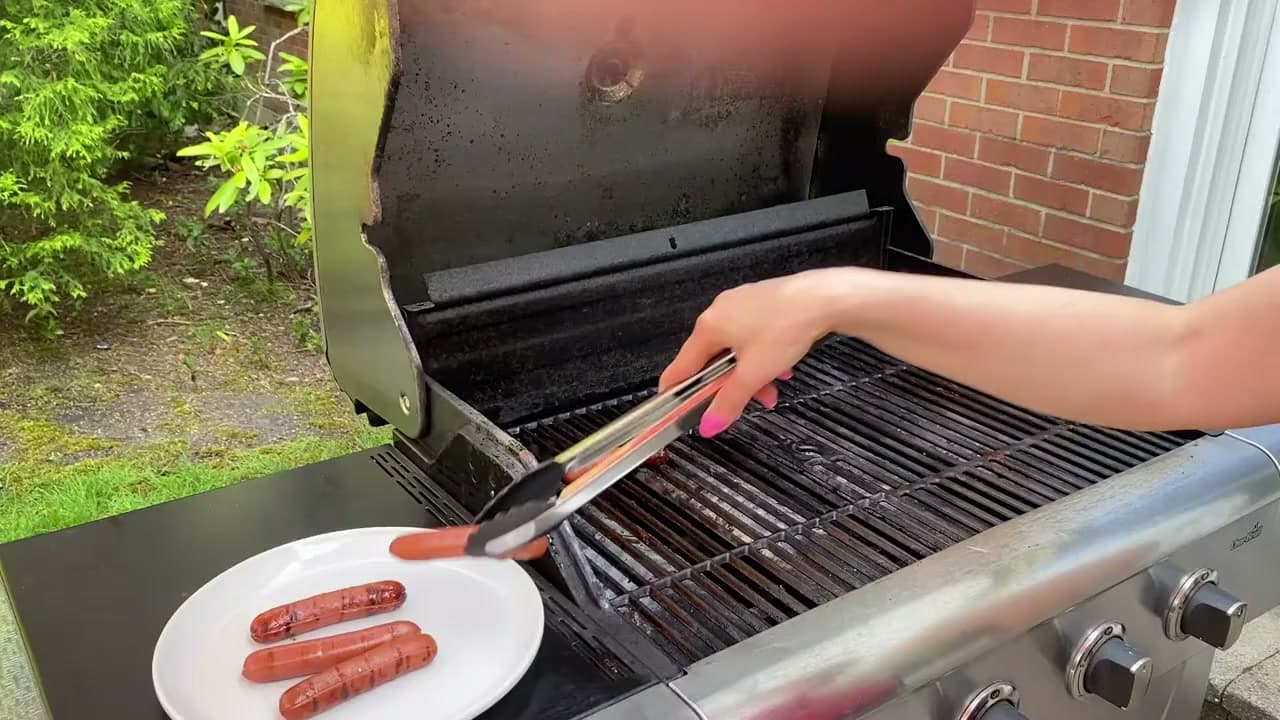
Step 1: Preheat the Grill to Medium Direct Heat
0:28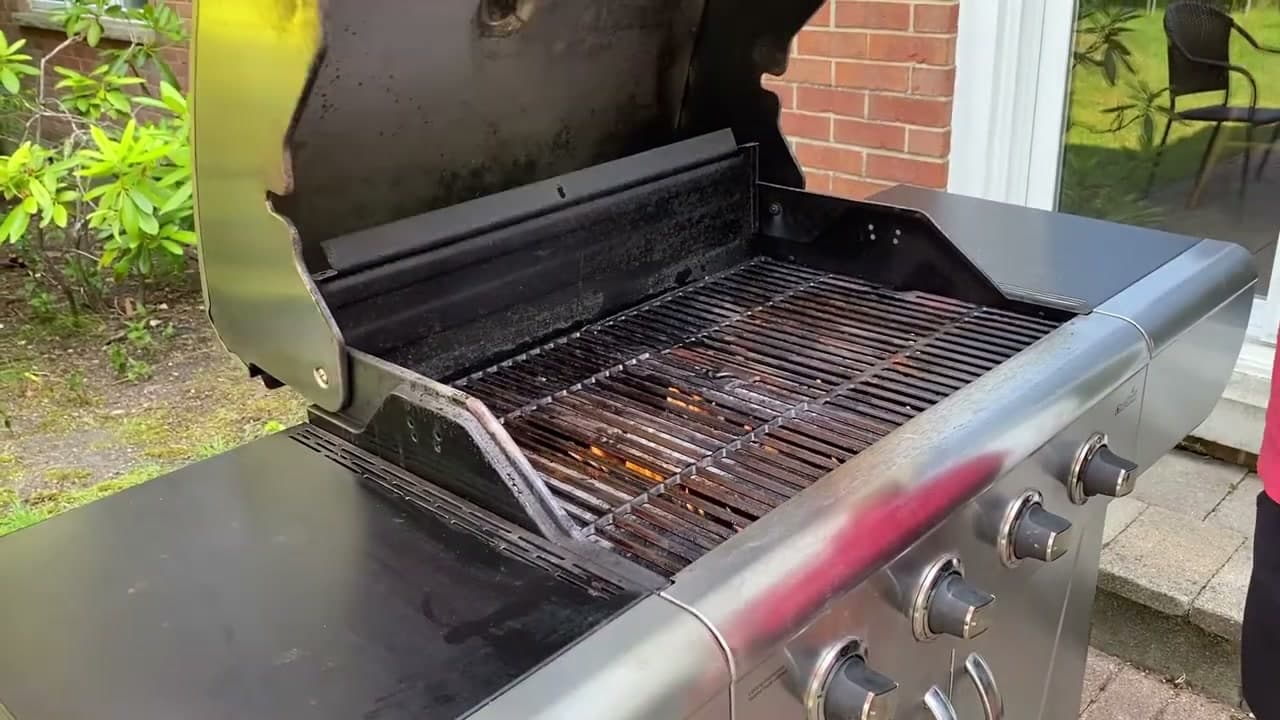
Open the lid and fire up the burners on high for about three minutes to burn off any residue, then back the heat down to medium. You want the grate temperature around 400 degrees, which is hot enough for grill marks but gentle enough that the skin doesn't blister and split before the inside is warm. If you have a thermometer in the lid, watch for it to settle in the 375 to 425 range. Brush the grates clean while they're hot. Cold grates and a high flame are the two things that cause hot dogs to burst.
Tip
If you're cooking on charcoal, build a two-zone fire with coals on one side. You'll cook the dogs over the hot side and toast the buns on the cool side without juggling.