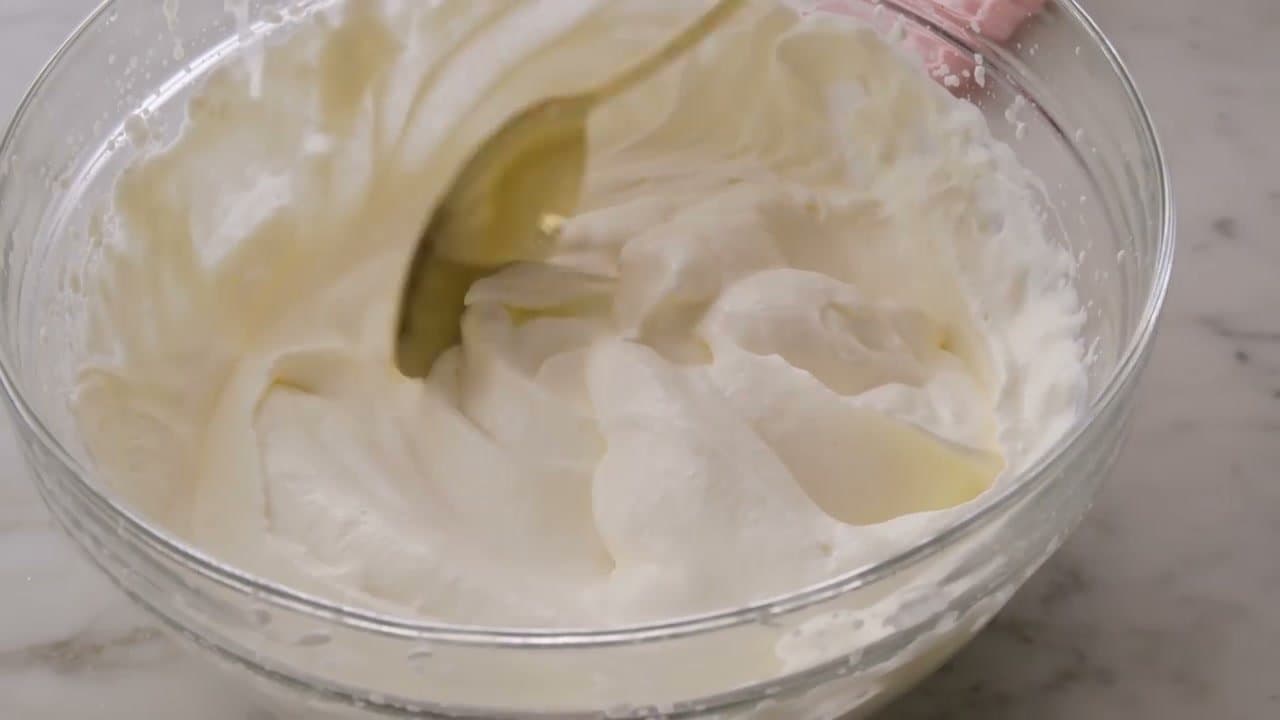
To make whipped cream from scratch, chill the bowl and beaters first, then whip 1 cup heavy cream with 2 tablespoons powdered sugar and 1/2 teaspoon vanilla on medium-high until soft or stiff peaks form. Stop the moment streaks hold their shape. Another 10 seconds turns it into butter.
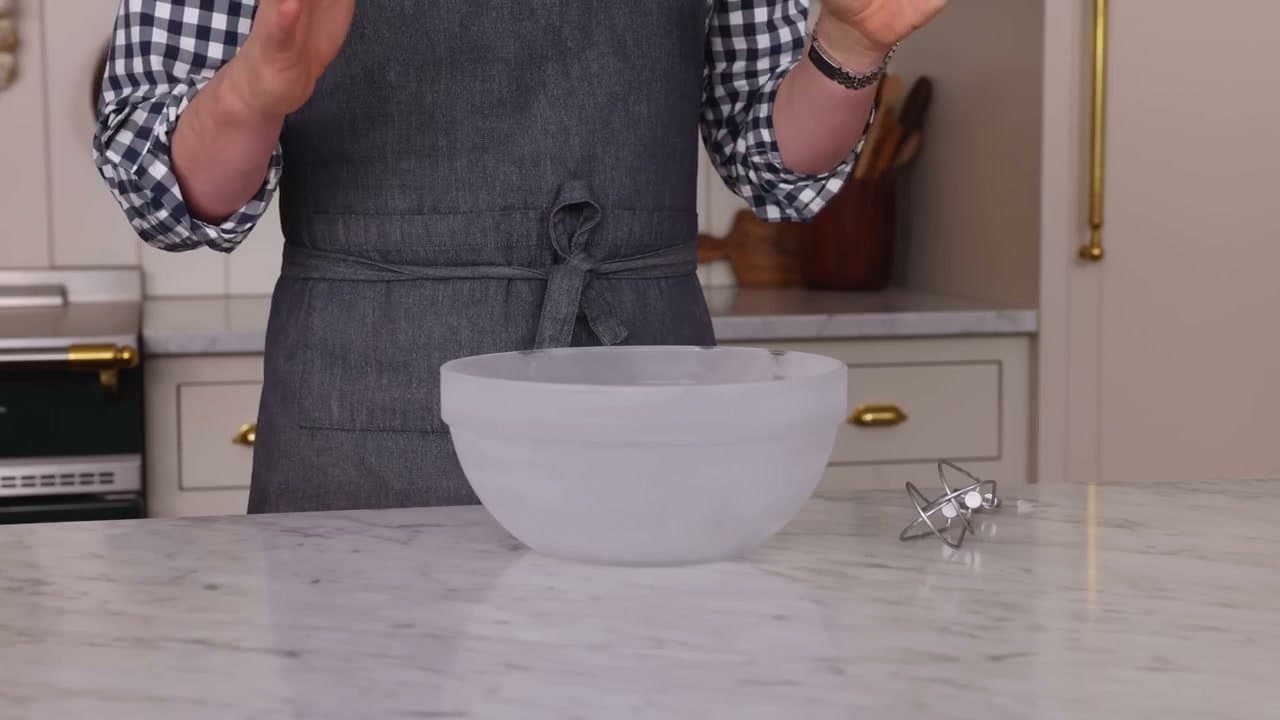
- Chill the bowl and beaters in the freezer for 15 minutes. Cold gear is the difference between fluffy and soupy.
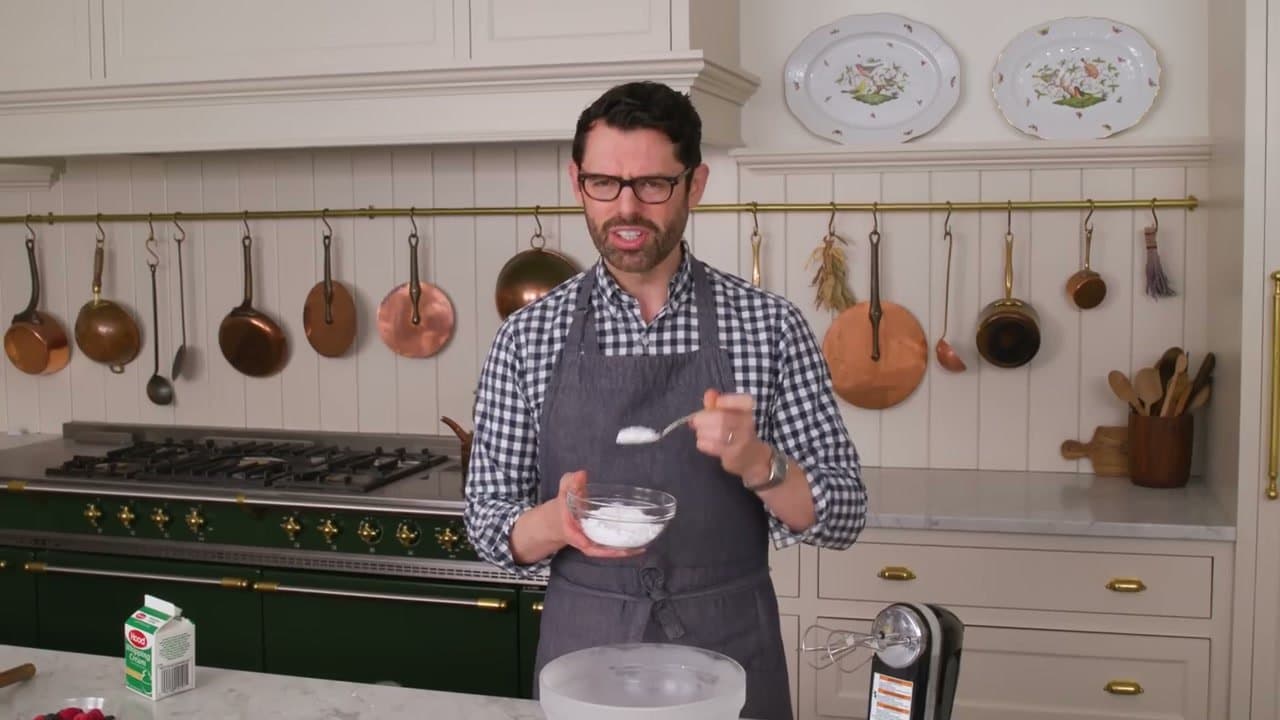
- Combine 1 cup heavy cream, 2 tablespoons powdered sugar, and 1/2 teaspoon vanilla in the cold bowl.
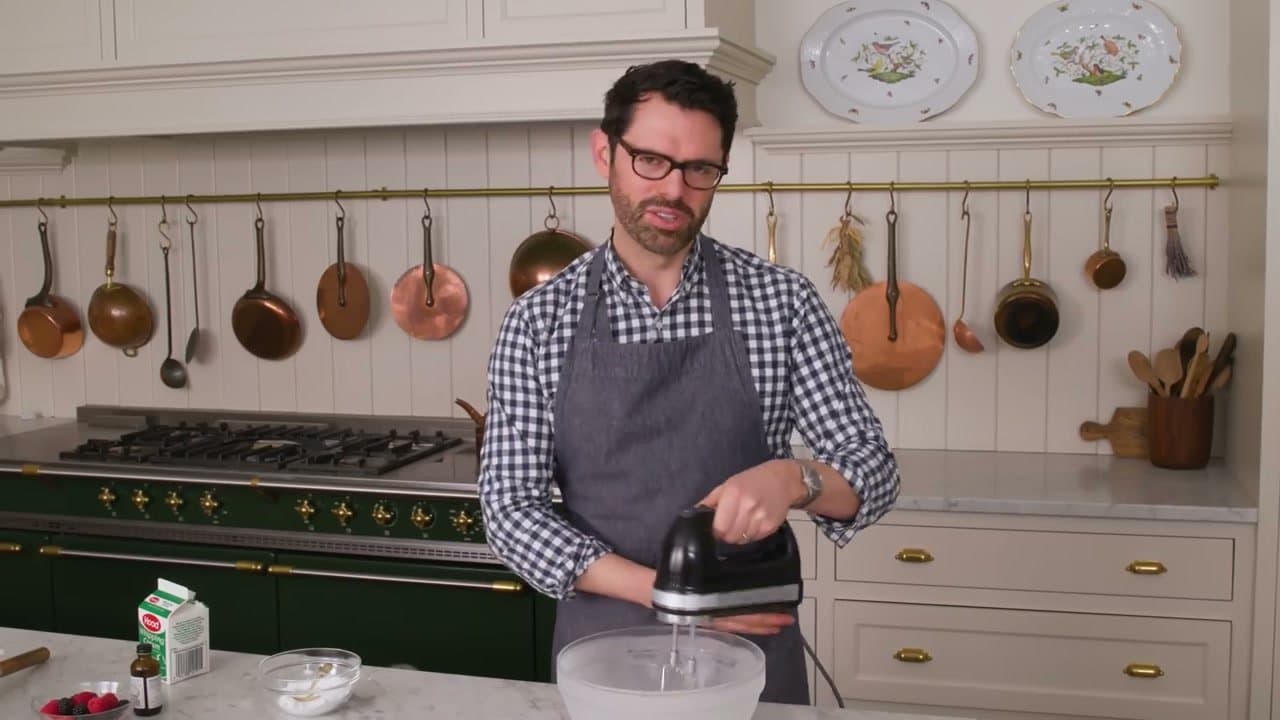
- Whip on low until small bubbles form, then ramp to medium-high.
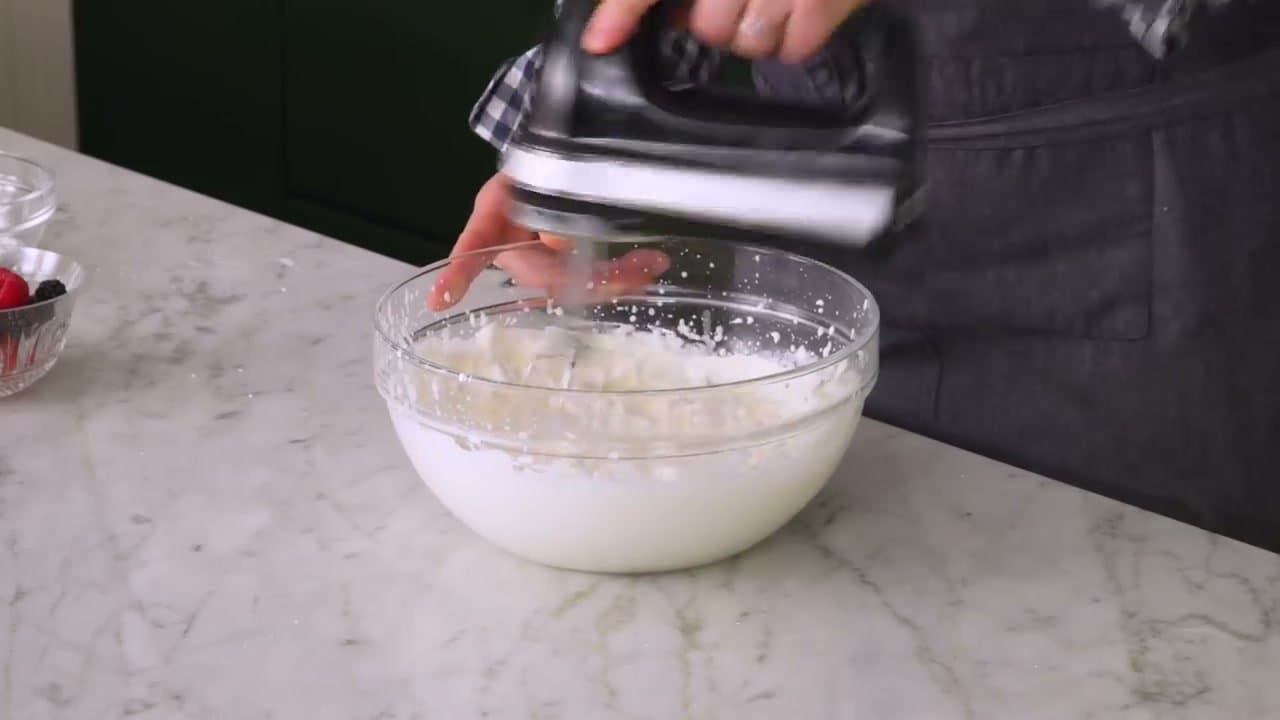
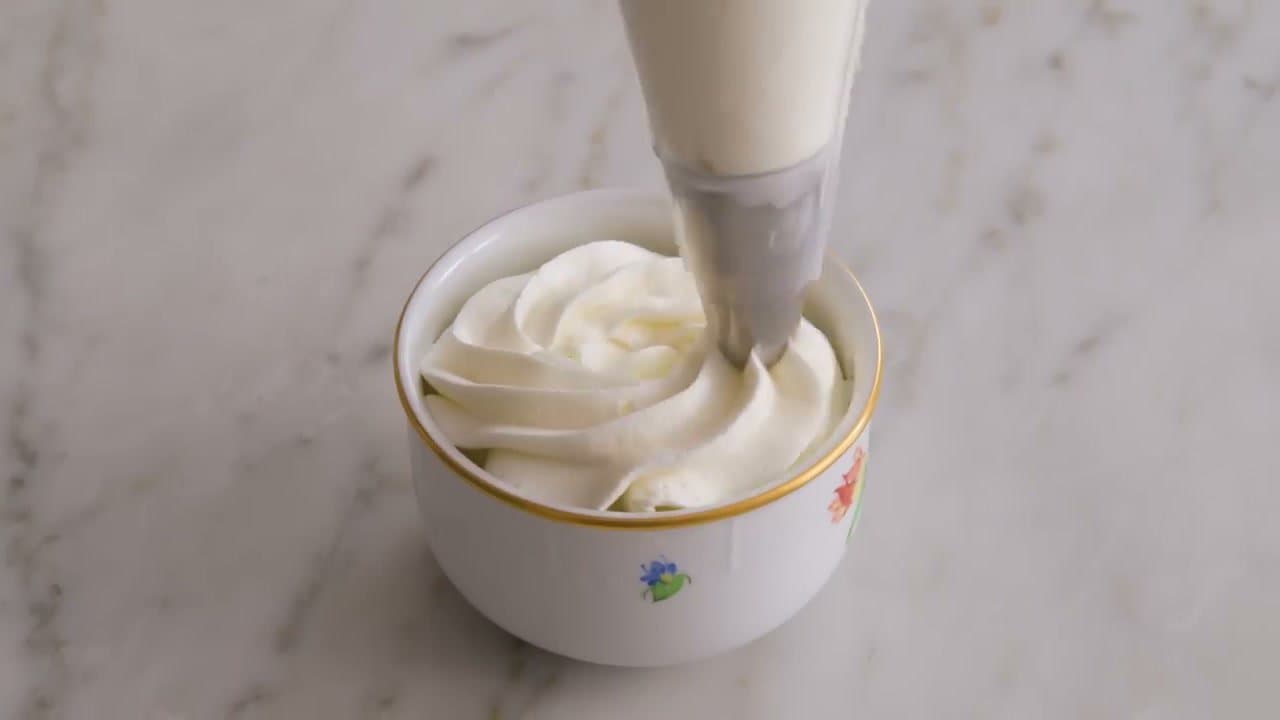
- Stop at soft peaks (the cream droops gently from the beater) for toppings, or stiff peaks (it holds straight up) for piping.
- Use right away for the lightest texture, or refrigerate up to 24 hours.
This walkthrough is based on a tutorial from John Kanell at Preppy Kitchen. Store-bought topping is fine, but the homemade version takes 5 minutes and makes any dessert taste like you tried.
When to use it
Soft peaks are the right finish for plated desserts: a dollop on French toast, a slice of banana bread, hot chocolate, or fresh berries. Stiff peaks are the right consistency when you need the cream to hold its shape: piped onto a cake, layered into a trifle, or folded into a no-cook chocolate mousse. Either way, whip a fresh batch within an hour or two of serving rather than the night before.
Common questions about homemade whipped cream
The questions home cooks run into most often: how to recover when it won't thicken, what to do if you whipped it too far, and how to keep a piped finish from collapsing.
Why is my whipped cream not whipping?
Two usual culprits. First, the cream isn't cold enough. Heavy cream needs to be below 40°F to whip, and a warm bowl pulls the temperature up fast. Pop the bowl and beaters back in the freezer for 10 minutes and start over. Second, you might be using a low-fat product. Anything labeled "whipping cream," "light cream," or "half and half" doesn't have enough fat to hold air. Look for heavy cream or heavy whipping cream at 35% milkfat or higher.
How do you fix overwhipped cream?
If the cream has gone grainy or split into clumps and watery liquid, you've overwhipped it. Fold in 2 to 4 tablespoons of fresh, unwhipped heavy cream by hand with a spatula. The added fat smooths the texture back out. If it's gone fully to butter (yellow solids, milky liquid), you can't recover the whipped texture, but the solids are real butter you can rinse and salt. Start a new batch for the dessert.
Can you make whipped cream without a mixer?
Yes. By hand, use a balloon whisk in a chilled metal bowl and figure on 4 to 6 minutes of fast whisking for soft peaks. The shortcut: pour the cream, sugar, and vanilla into a large mason jar (no more than half full), seal it, and shake hard for 3 to 5 minutes. The motion is the same as a mixer and the jar keeps the cream cold. A French press works too: pour in the chilled mixture and pump the plunger 30 to 40 times.
How do you stabilize whipped cream so it holds overnight?
Plain whipped cream weeps and deflates after 4 to 6 hours. To stabilize, dissolve 1 teaspoon of unflavored powdered gelatin in 2 tablespoons of cold water, microwave 10 seconds to liquify, cool to lukewarm, then drizzle into the cream once it hits soft peaks and finish whipping. Other stabilizers work too: 2 tablespoons of cornstarch sifted in with the powdered sugar, or 2 tablespoons of mascarpone or cream cheese folded in at the start. Stabilized whipped cream holds its shape on a cake for a full day.
Can you make whipped cream dairy-free?
Yes, with full-fat coconut cream. Refrigerate a can of full-fat coconut milk overnight, scoop only the solid white layer off the top, and whip it with the same powdered sugar and vanilla. Texture is closer to mascarpone than dairy whipped cream and the flavor carries a faint coconut note that pairs well with chocolate, banana, and tropical fruit. Aquafaba (the liquid from a can of chickpeas) also whips, but it needs cream of tartar and 8 to 10 minutes of whipping to hold.