How to Make Homemade Ice Cream

CookingEasy5:318 steps5-question quiz at endBrowse more →

By ShowMeStepByStepPublished Updated

Based on a video by Precious Kitchen.

You do not need an ice cream machine to make real, creamy vanilla ice cream at home. This method comes from Precious of Precious Kitchen, and it uses three things you can grab at any grocery store: heavy whipping cream, sweetened condensed milk, and vanilla extract.

The trick is whipping the cream to stiff peaks first. That traps air so the frozen ice cream stays soft and scoopable instead of turning into a solid block. Fold in the condensed milk and vanilla, pour it into a loaf pan, and let the freezer do the rest.

Total hands-on time is about 15 minutes. After that it needs a good long freeze, so start it the night before you want to eat it.

Step-by-Step Guide

1

Step 1: Gather Your 3 Ingredients

0:34
Step 1: Step 1: Gather Your 3 Ingredients

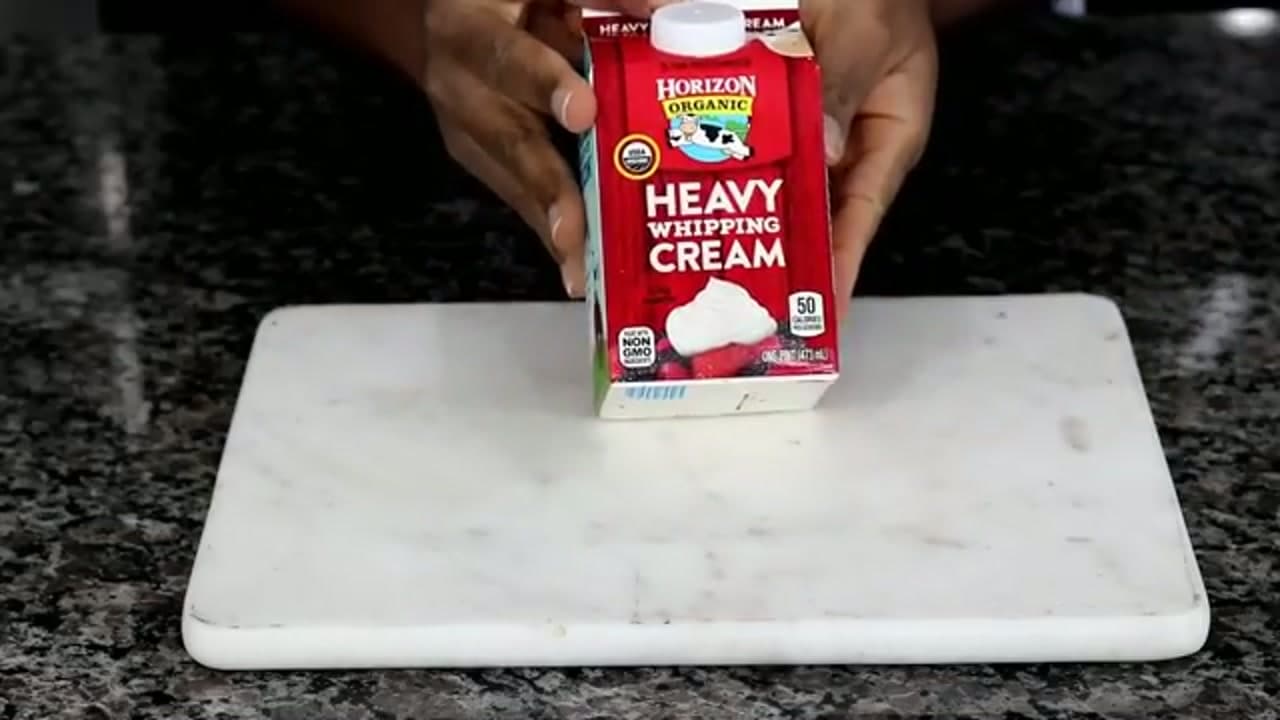
You only need three things for this. Heavy whipping cream (also sold as heavy cream), a can of sweetened condensed milk, and vanilla extract. Precious uses a full pint of heavy cream here. Grab the cream from the refrigerated section and keep it cold until you are ready to whip it. Cold cream whips faster and holds more air, which is exactly what you want for soft, scoopable ice cream.

Tip

Chill your mixing bowl and beaters in the freezer for 10 minutes first. Cold equipment whips the cream faster.

Products used in this step

2

Step 2: Pour the Cream Into a Bowl

0:42
Step 2: Step 2: Pour the Cream Into a Bowl

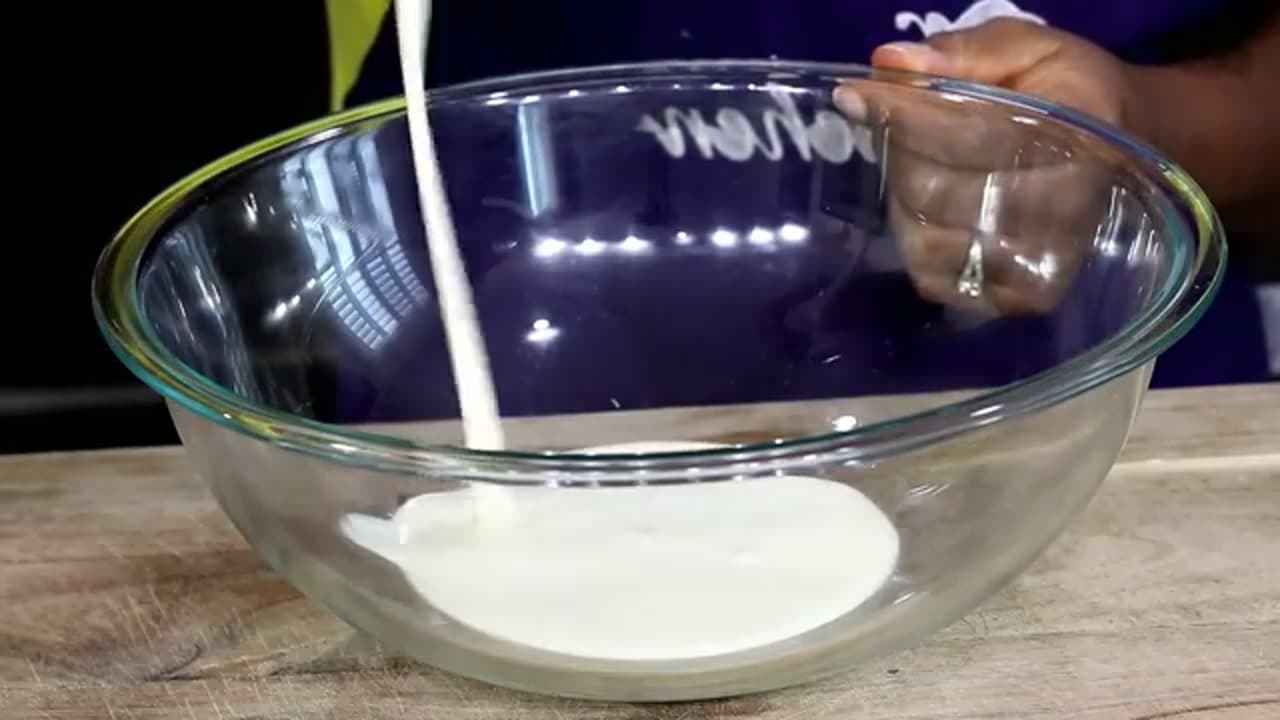
Pour 2 cups of heavy whipping cream into a large mixing bowl. Give yourself room, because the cream roughly doubles in volume once you whip it. A wide bowl makes it easier to get the beaters all the way around without splashing cream up the sides.

Products used in this step

3

Step 3: Whip to Stiff Peaks

1:10
Step 3: Step 3: Whip to Stiff Peaks

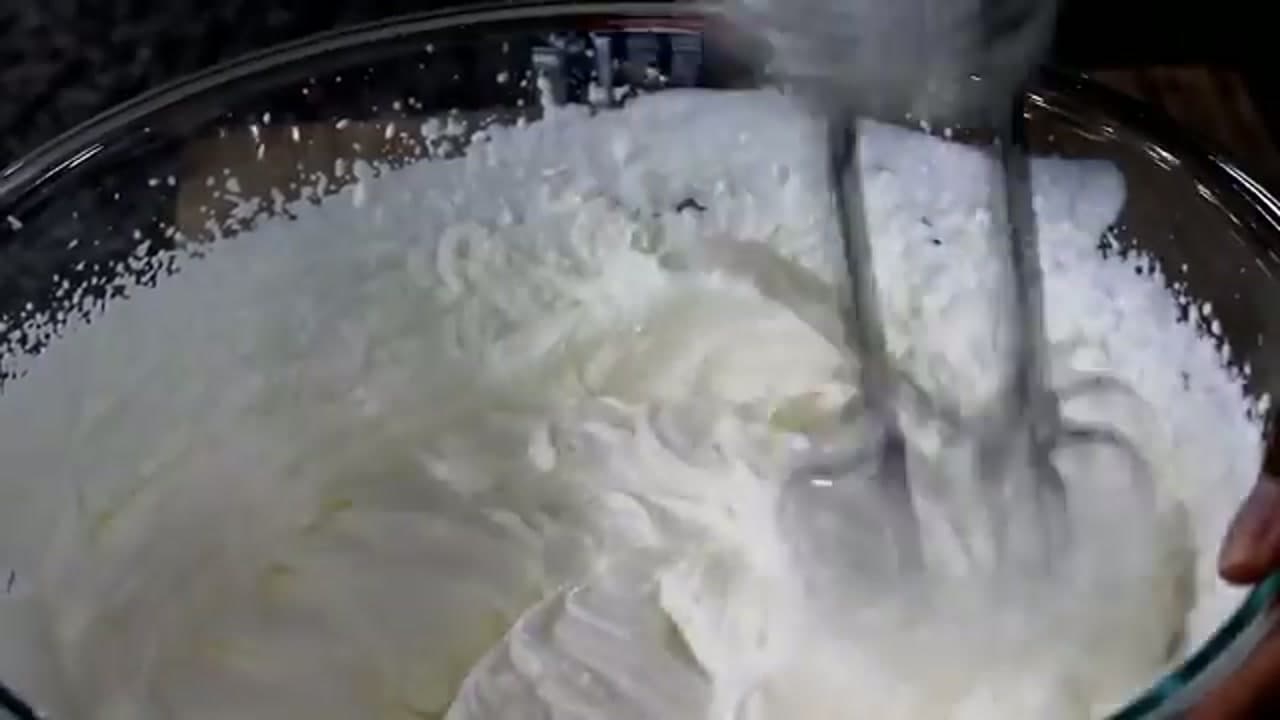
Beat the cream with an electric hand mixer until stiff peaks form. Start slow so you do not fling cream everywhere, then bump up the speed. You will know it is ready when the cream holds its shape and a peak stands straight up without folding over. Stop right there. If you keep beating past this point the cream breaks and starts turning into butter. Still tasty, but not what you want here.

Tip

Stiff peaks means the cream stands tall and does not slump when you lift the beaters out. Check often near the end.

Products used in this step

4

Step 4: Add the Condensed Milk

1:18
Step 4: Step 4: Add the Condensed Milk

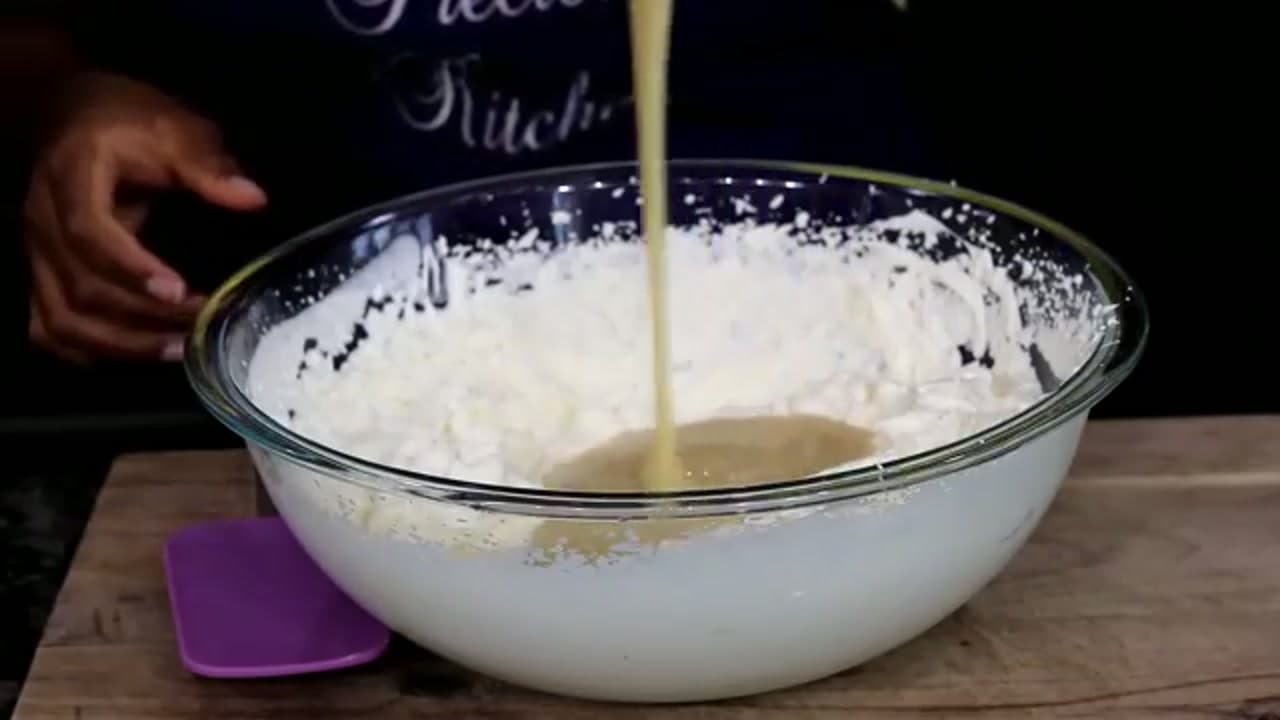
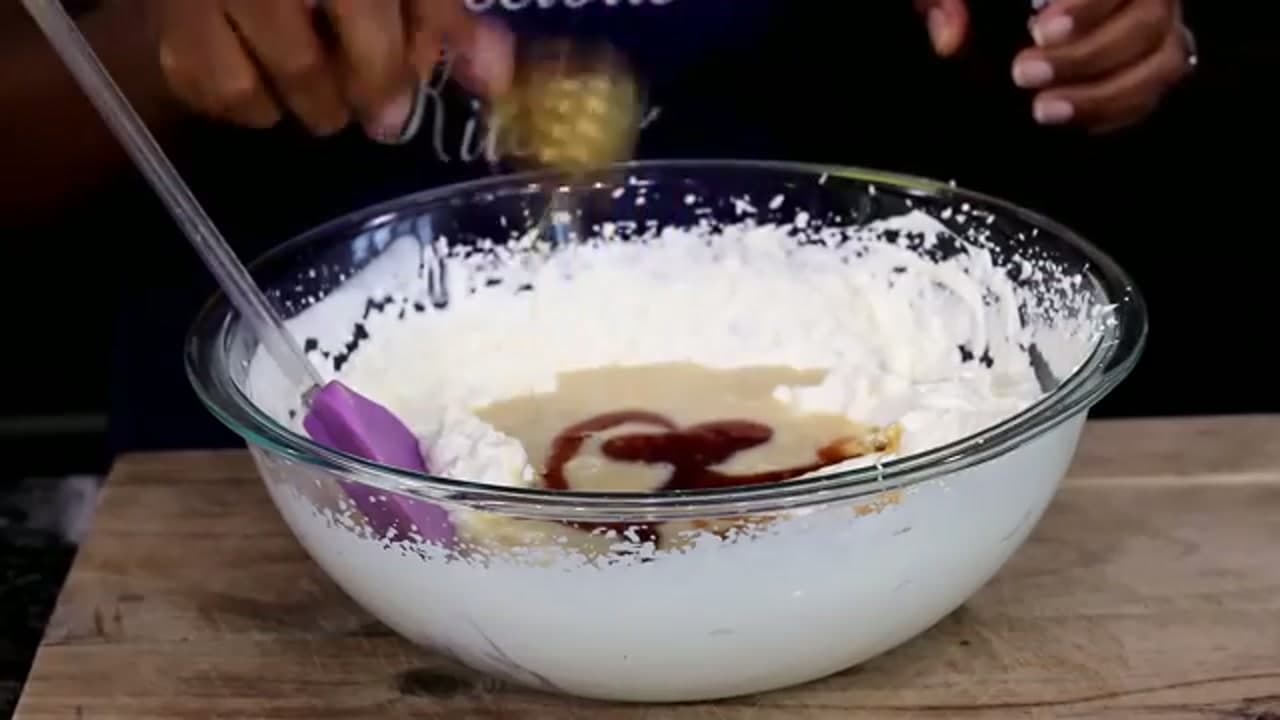
Pour the whole 14 ounce can of sweetened condensed milk into the whipped cream. This is what sweetens the ice cream and keeps it from freezing rock hard, so you do not need any sugar or an ice cream machine. Scrape the can well with a spatula. That last bit clinging to the sides adds up.

Products used in this step

5

Step 5: Add the Vanilla

1:30
Step 5: Step 5: Add the Vanilla

Add 2 tablespoons of vanilla extract. That is a little more than most recipes call for, and it is on purpose. This is vanilla ice cream, so you want the flavor to come through loud and clear. A good pure vanilla extract makes a real difference in the finished taste.

Products used in this step

6

Step 6: Mix Smooth and Pour Into a Loaf Pan

2:04
Step 6: Step 6: Mix Smooth and Pour Into a Loaf Pan

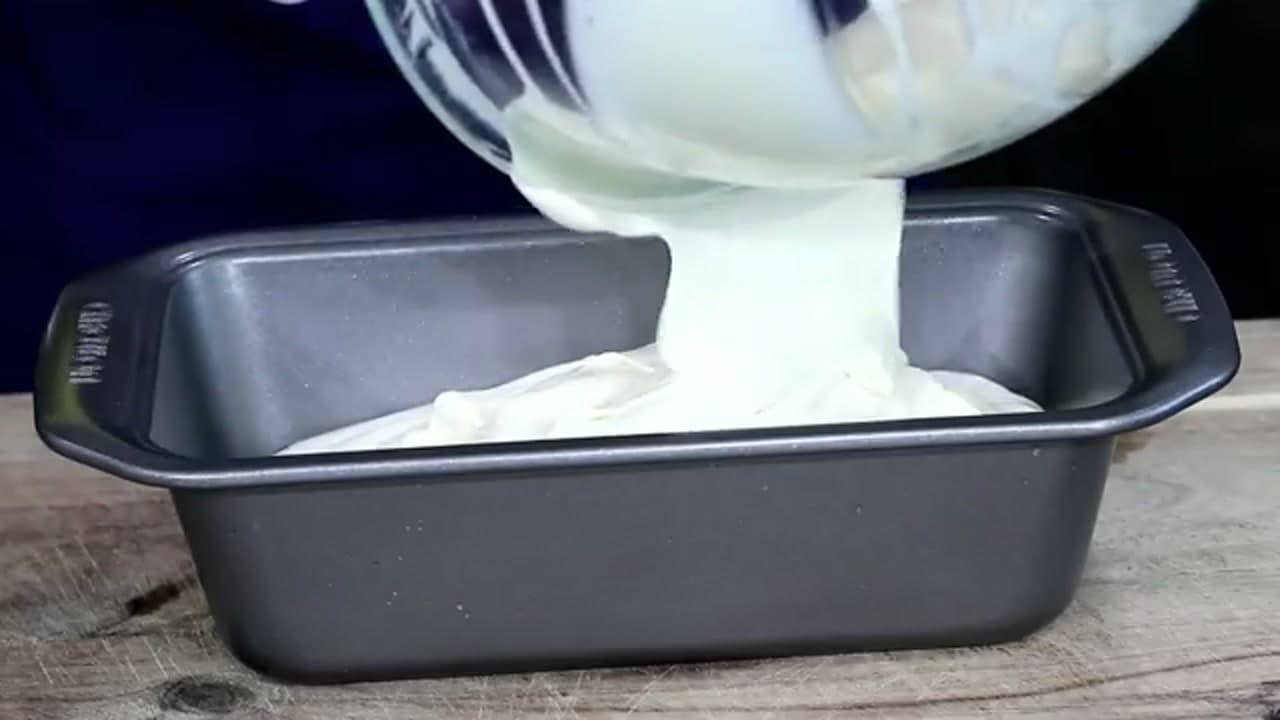
Beat everything together with the mixer just until smooth and combined. Precious tried folding it by hand with a spatula, but it left lumps, so back to the mixer it went. Once it is smooth, pour the mixture into a loaf pan. A loaf pan works great because the wide, flat surface gives you plenty of room to scoop later. Use a spatula to level the top.

Products used in this step

7

Step 7: Cover and Freeze

2:28
Step 7: Step 7: Cover and Freeze

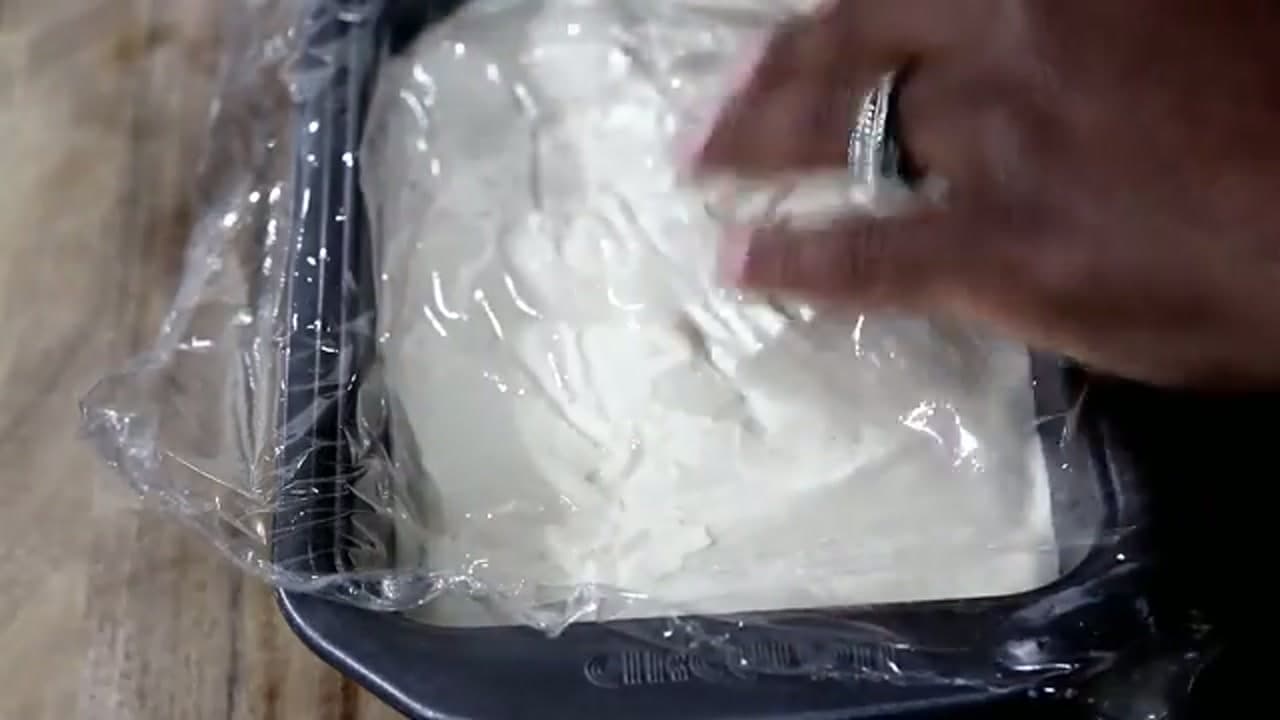
Lay a piece of plastic wrap right down onto the surface of the ice cream so it touches the mixture. That direct contact keeps ice crystals from forming on top. Slide the pan into the freezer and leave it for about 7 hours, or until completely frozen. Overnight is even better if you can wait that long.

Tip

Pressing the wrap flat against the ice cream, not just over the pan, is the key to a smooth, crystal-free top.

Products used in this step

8

Step 8: Scoop and Enjoy

3:15
Step 8: Step 8: Scoop and Enjoy

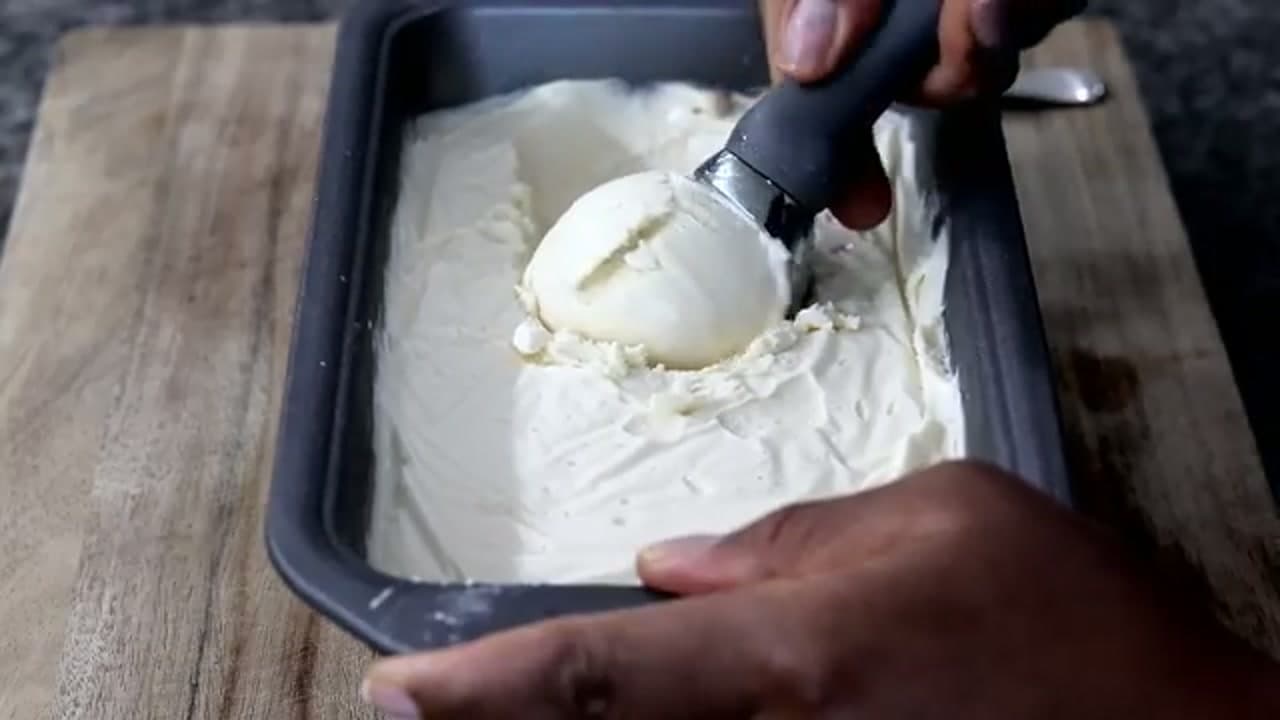
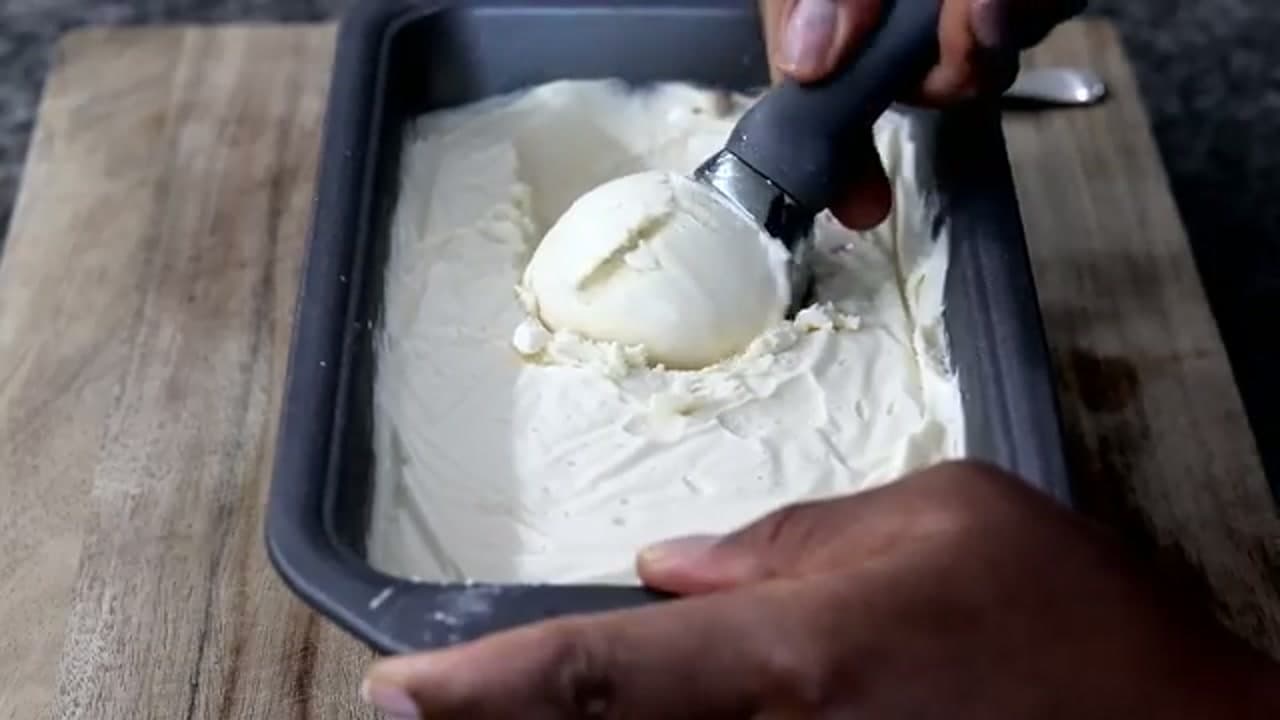
Once it is fully frozen, run your scoop across the top and lift out a clean round ball. It should be creamy and soft enough to scoop straight from the freezer. Serve it in a bowl or a cone. The vanilla flavor is right up front and it tastes like something you would buy, except you made it with three ingredients. Try not to eat the whole pan in one sitting.

Products used in this step

Products Used

❖ The Recipe

How to Make Homemade Ice Cream

American
Serves
Makes about 1.5 quarts
Prep
15 min
Cook
0 min
Total
15 min

Ingredients

3 items
  • 2 cupsheavy whipping creamcold, from the fridge section
  • 1 can (14 oz)sweetened condensed milk
  • 2 tablespoonsvanilla extract

Nutrition

estimated · per servingEstimated from the ingredient list, not measured. Actual values vary by brand, preparation, and serving size. Not a substitute for measured nutrition data.
Calories
365kcal
Protein
5g
Fat
26g
Carbs
28g
Sugar
27g
Sodium
80mg

Method

  1. 1
    Step 1: Gather Your 3 Ingredients. You only need three things for this.
  2. 2
    Step 2: Pour the Cream Into a Bowl. Pour 2 cups of heavy whipping cream into a large mixing bowl.
  3. 3
    Step 3: Whip to Stiff Peaks. Beat the cream with an electric hand mixer until stiff peaks form.
  4. 4
    Step 4: Add the Condensed Milk. Pour the whole 14 ounce can of sweetened condensed milk into the whipped cream.
  5. 5
    Step 5: Add the Vanilla. Add 2 tablespoons of vanilla extract.
  6. 6
    Step 6: Mix Smooth and Pour Into a Loaf Pan. Beat everything together with the mixer just until smooth and combined.
  7. 7
    Step 7: Cover and Freeze. Lay a piece of plastic wrap right down onto the surface of the ice cream so it touches the mixture.
  8. 8
    Step 8: Scoop and Enjoy. Once it is fully frozen, run your scoop across the top and lift out a clean round ball.

Your Guide

Precious Kitchen

As an Amazon Associate we earn from qualifying purchases. Links on this page may be affiliate links - clicking them and buying doesn't change your price, but helps support ShowMeStepByStep.

Tags

Test your knowledge

Did the lesson stick? Find out in 2 minutes.

5 quick questions covering what you just read. No signup, no score saved — just a gut check.

Quick reference

Key takeaways from How to Make Homemade Ice Cream

5 questions, answers, and one-line explanations. Tap to expand.

  1. 1.How many main ingredients does this no-churn ice cream need?

    Answer: Three

    Just heavy cream, sweetened condensed milk, and vanilla extract.

  2. 2.To what stage should you whip the heavy cream?

    Answer: Stiff peaks

    Whipping to stiff peaks traps the air that keeps the ice cream scoopable without churning.

  3. 3.Besides sweetening, what does the condensed milk do?

    Answer: Keeps it from freezing hard

    The condensed milk stops it freezing rock-hard, so no machine or extra sugar is needed.

  4. 4.Why press plastic wrap onto the surface before freezing?

    Answer: To block ice crystals

    Direct contact keeps ice crystals from forming on the top of the ice cream.

  5. 5.About how long does it need in the freezer before scooping?

    Answer: Around 7 hours

    It takes about 7 hours to freeze firm enough to scoop cleanly.

Did this work for you?

What's next

Related collections

Curated theme pages that include this tutorial.

Weekly Digest

Liked this cooking tutorial?

Pick the categories you want to hear about. Weekly digest of new step-by-step tutorials. No spam, easy unsubscribe.

Send me tutorials about

We only email about new tutorials. Easy unsubscribe anytime.