How to Make a Charcuterie Board

CookingEasy11:518 steps5-question quiz at endBrowse more →
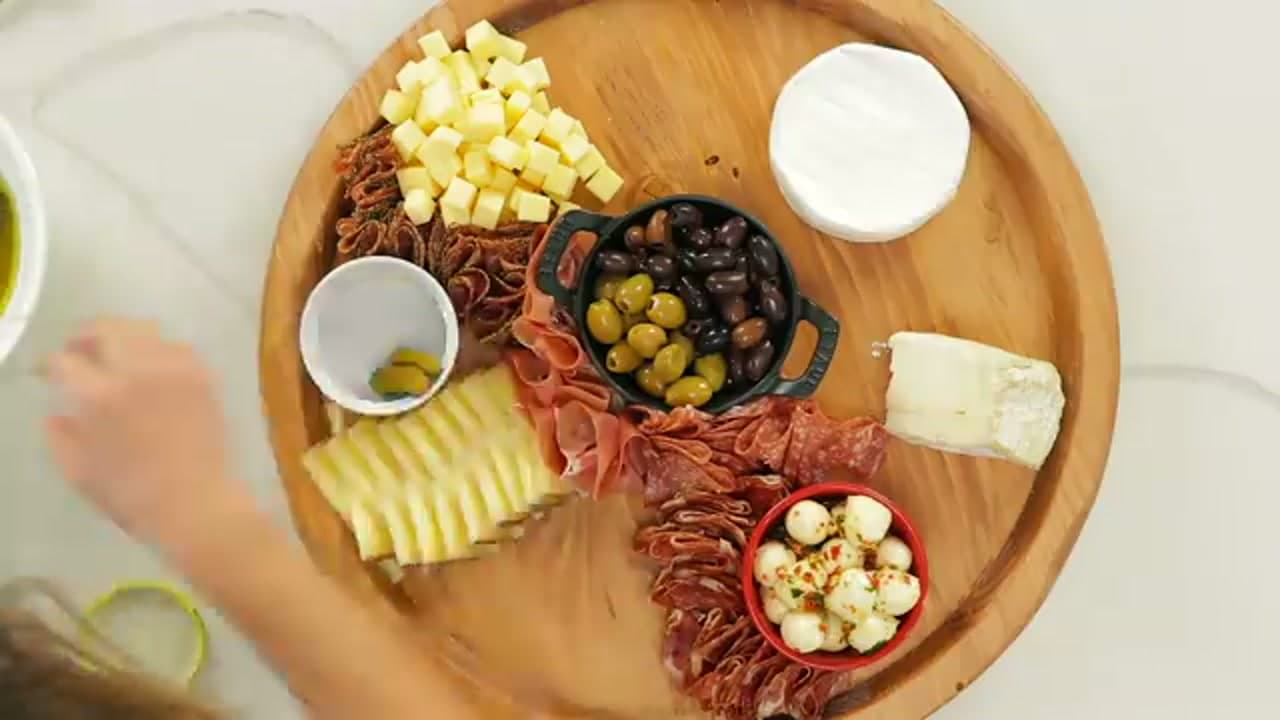
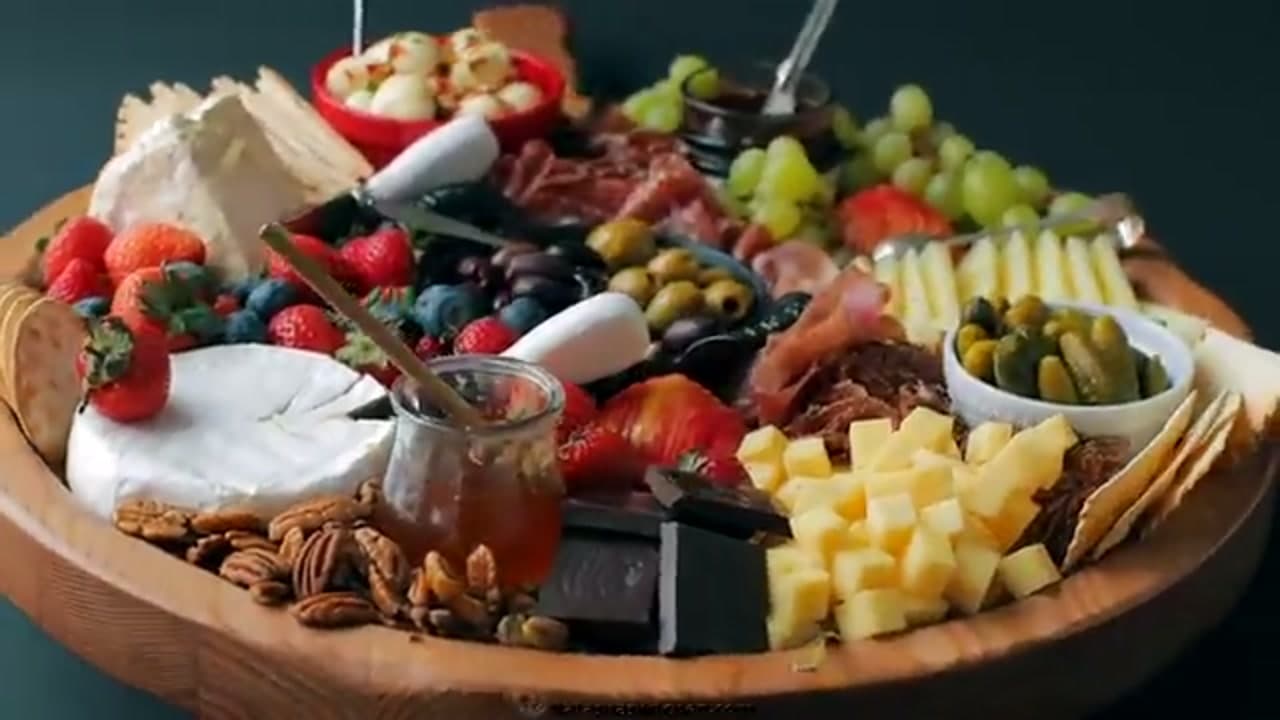
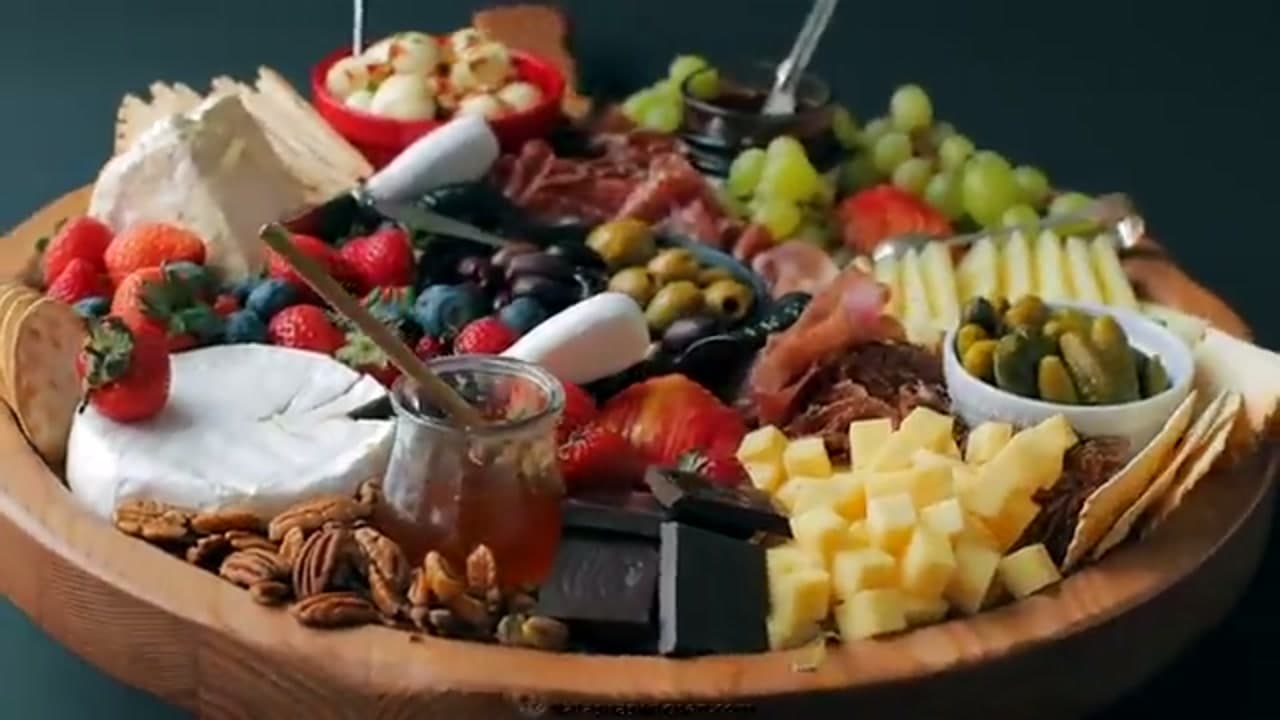
The finished result: How to Make a Charcuterie Board

By ShowMeStepByStepPublished Updated

Based on a video by Natashas Kitchen.

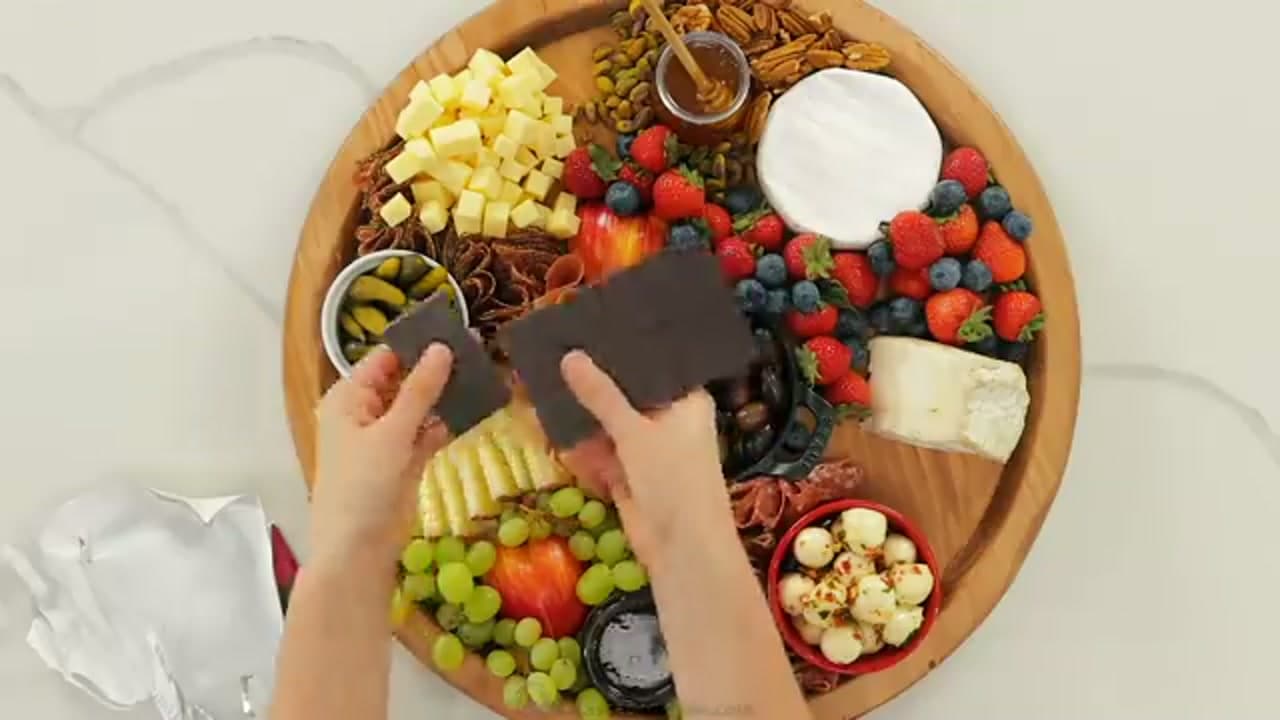
A good charcuterie board is easier to pull off than it looks. In this walkthrough from Natasha's Kitchen, Natasha lays out a mix of cheeses, folds and rolls cured meats, and fills every open space with fruit, olives, nuts, and honey.

You do not need special skills. Pick a few cheeses in different textures, buy a meat multipack, and grab whatever fruit is in season. By the end you will have a board that works for a party, a holiday spread, or a cozy night in.

Step-by-Step Guide

8 steps · about 12 minutes.Check off each step as you go and your progress saves automatically.

1

Step 1: Pick Your Cheeses

1:00
Step 1: Pick Your Cheeses - How to Make a Charcuterie Board

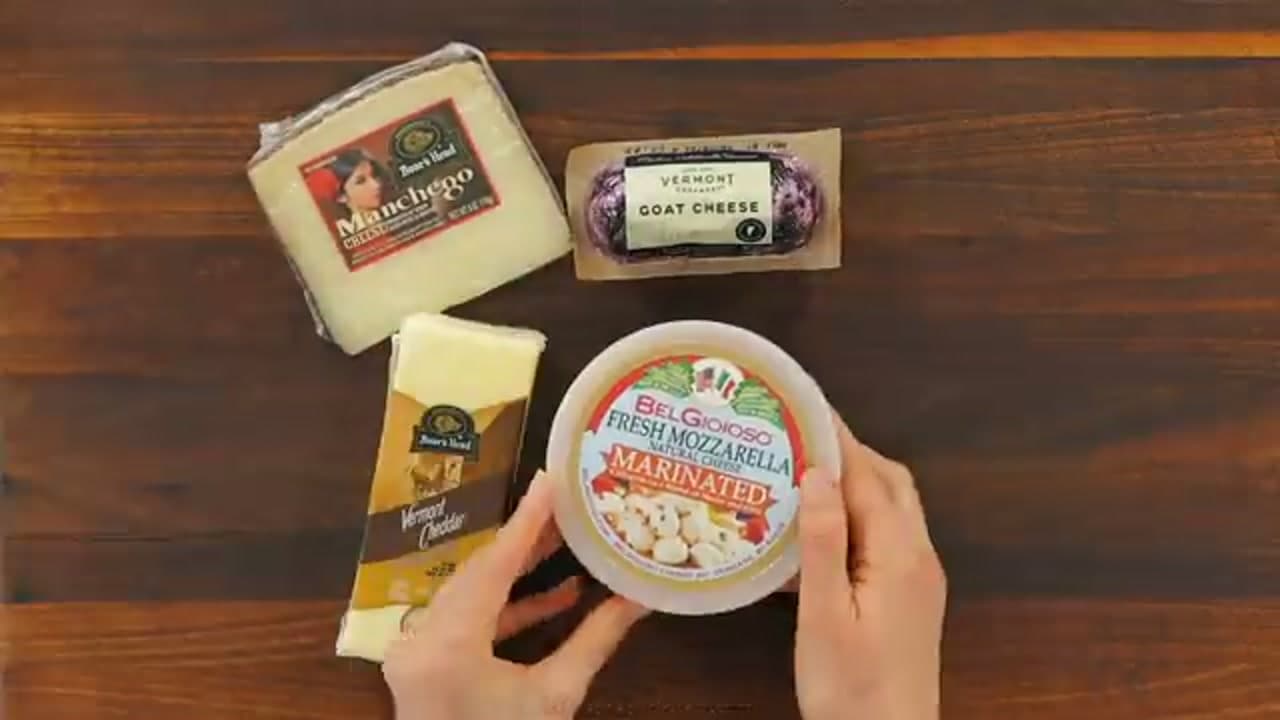
Start with variety. Grab a hard aged cheese like Manchego or Vermont cheddar, a soft brie, a spreadable triple cream, and a tub of marinated mozzarella balls. Different textures give people something to reach for no matter what they like. Lay the wrapped cheeses out first so you can plan where each one lands on the board.

Tip

Aim for three to five cheeses. Any more and the board gets crowded fast.

Products used in this step

2

Step 2: Cut and Place the Cheese

2:30
Step 2: Cut and Place the Cheese - How to Make a Charcuterie Board

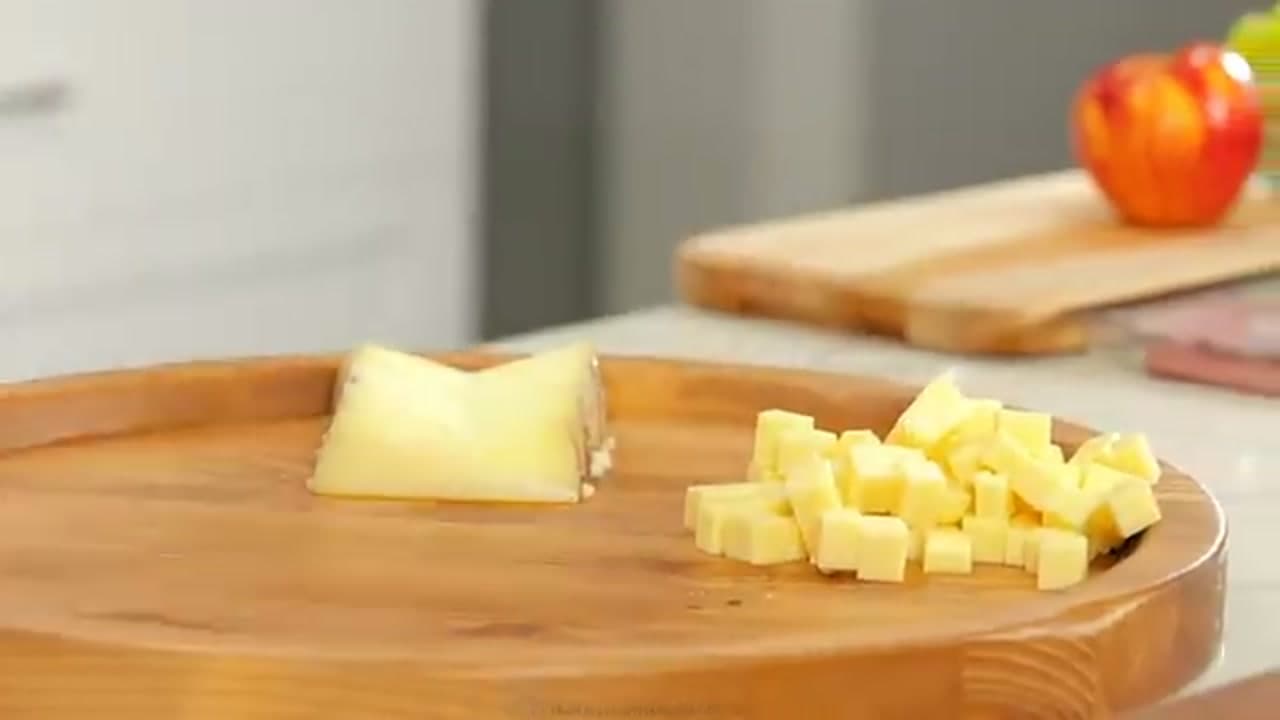
Cube the hard cheeses and leave the soft ones whole or in wedges so people can spread them. Set the cheeses down first, spaced out around the board. They are the anchors. Everything else fills in around them, so getting them spread out early keeps the whole thing looking balanced instead of lopsided.

3

Step 3: Fold and Roll the Meats

3:30
Step 3: Fold and Roll the Meats - How to Make a Charcuterie Board

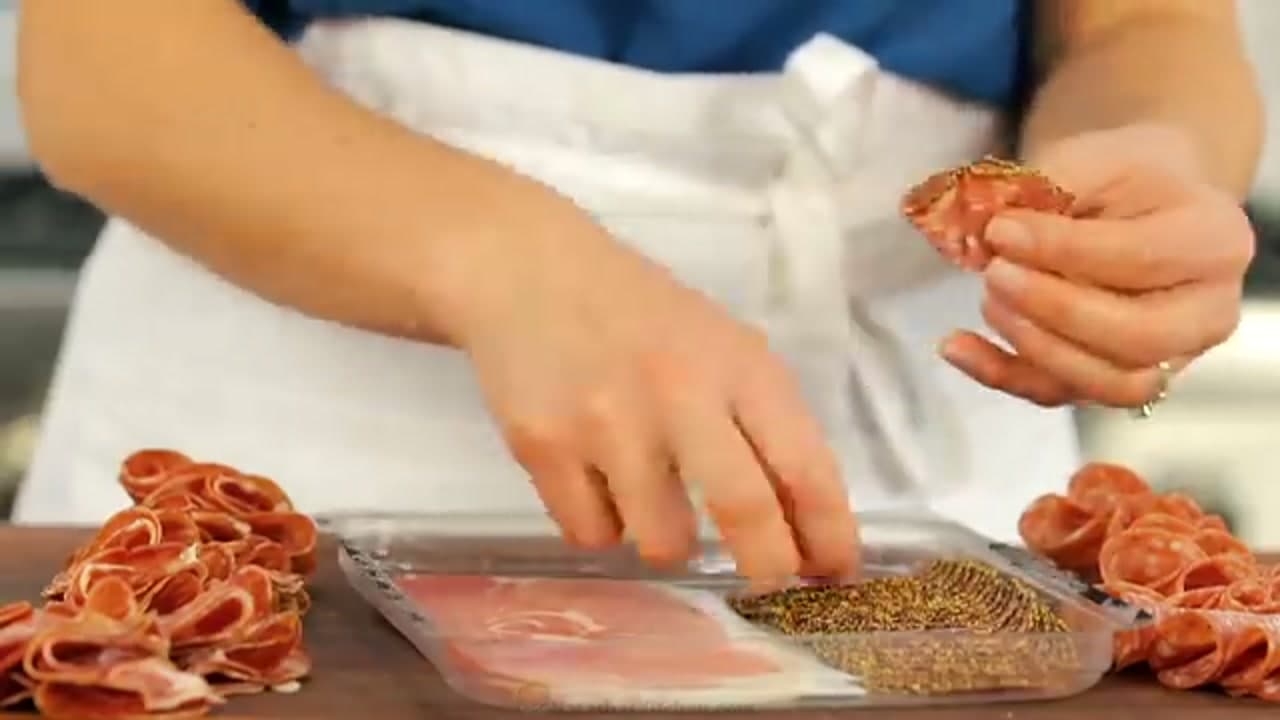
Cured meat looks best with some height. Roll salami slices into little roses and fold prosciutto into loose ribbons instead of laying them flat. Pile them in a few spots between the cheeses. A multipack of salami, prosciutto, and coppa gives you enough variety without buying four separate packages.

Tip

To make a salami rose, drape a slice over the rim of a small glass, layer more around it, then flip it out.

4

Step 4: Add Olives and Pickles

5:00
Step 4: Add Olives and Pickles - How to Make a Charcuterie Board

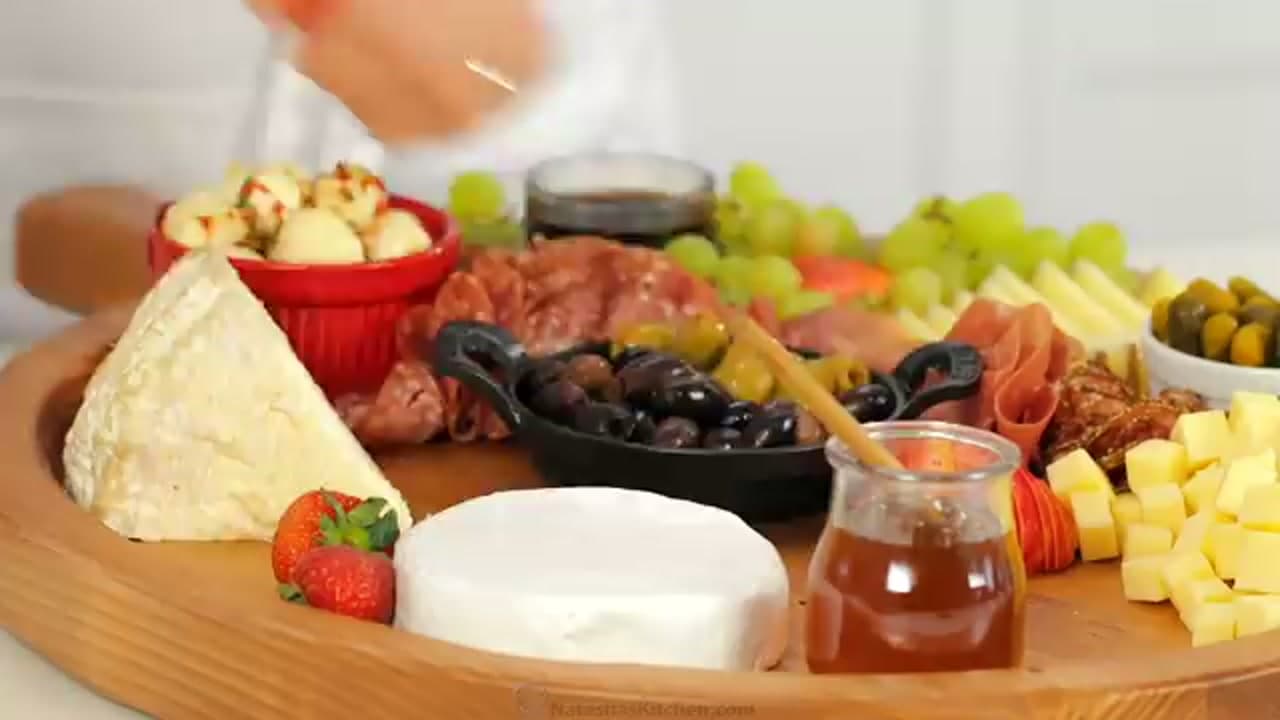
Wet items like olives and pickles need their own little bowls so they do not roll around or soak the crackers. Tuck a couple of ramekins right onto the board and fill them with pitted olives, cornichons, and marinated artichoke hearts. The bowls also add nice height and break up the flat layout.

Products used in this step

5

Step 5: Fill In With Fruit

6:30
Step 5: Fill In With Fruit - How to Make a Charcuterie Board

Now close up the gaps. Cluster strawberries, blueberries, and grapes into the open spaces and tuck in a few apple slices. Fruit brings color and a fresh bite that cuts through all the rich cheese and salt. Go with whatever is in season, since that is when it tastes best and costs the least.

Tip

Grapes pair well with mozzarella, apples with cheddar, and berries with brie.

6

Step 6: Toast the Baguette

7:00
Step 6: Toast the Baguette - How to Make a Charcuterie Board

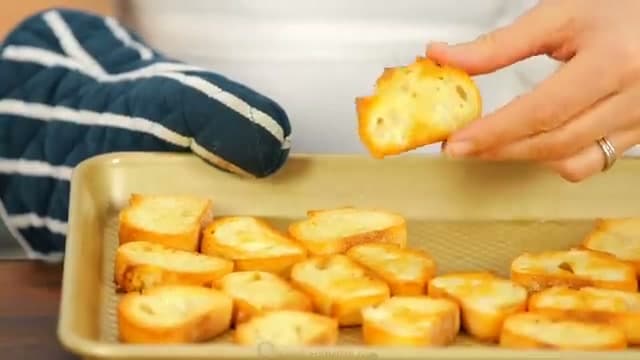
Fresh crackers are fine, but toasted baguette makes the board feel special. Slice a baguette thin, brush the pieces with a little oil, and bake until they turn golden and crisp. Let them cool a bit, then set them alongside the crackers so people have a warm, crunchy option to build on.

Products used in this step

7

Step 7: Add Nuts, Honey, and Chocolate

6:00
Step 7: Add Nuts, Honey, and Chocolate - How to Make a Charcuterie Board

The little extras pull it all together. Scatter pecans and pistachios into any bare corners, set a small jar of honey with a dipper next to the brie, and slot in a few squares of dark chocolate near the berries. Honey drizzled over brie is the move here. Sweet, salty, and creamy all at once.

Products used in this step

8

Step 8: Add Knives and Serve

9:45
Step 8: Add Knives and Serve - How to Make a Charcuterie Board

Lay a cheese knife or two on the board so guests can help themselves without a pile-up. Step back and check for any empty spots, then fill them with a few extra crackers or nuts. That is it. A full, colorful board loaded with cheese, meat, fruit, and sweet bites, ready for people to graze on all night.

Products used in this step

Keep going

How to Make Chocolate Chip Cookies

Products Used

❖ The Recipe

How to Make a Charcuterie Board

American
Serves
Serves 8-10
Prep
20 min
Cook
0 min
Total
20 min

Ingredients

19 items
  • 1 wedgeManchego or aged cheddar
  • 1 wheelbrie
  • 1 piecespreadable triple cream cheeseSt. Andre or De Bourgogne
  • 1 containermarinated fresh mozzarella balls
  • 6 ozsalami
  • 4 ozprosciutto
  • 4 ozcoppa or calabrese
  • 1 boxassorted crackers
  • 1 loafbaguettesliced and toasted
  • 1 small bunchgrapes
  • 1 cupstrawberries
  • 1/2 cupblueberries
  • 1applesliced
  • 1/2 cuppitted olives
  • 1/4 cupcornichons
  • 1/2 cuppecans
  • 1/2 cuppistachios
  • 1 small jarhoney
  • 1 bardark chocolate

Nutrition

estimated · per servingEstimated from the ingredient list, not measured. Actual values vary by brand, preparation, and serving size. Not a substitute for measured nutrition data.
Calories
620kcal
Protein
28g
Fat
44g
Carbs
40g
Fiber
3g
Sugar
18g
Sodium
1100mg

Method

  1. 1
    Step 1: Pick Your Cheeses. Start with variety.
  2. 2
    Step 2: Cut and Place the Cheese. Cube the hard cheeses and leave the soft ones whole or in wedges so people can spread them.
  3. 3
    Step 3: Fold and Roll the Meats. Cured meat looks best with some height.
  4. 4
    Step 4: Add Olives and Pickles. Wet items like olives and pickles need their own little bowls so they do not roll around or soak the crackers.
  5. 5
    Step 5: Fill In With Fruit. Now close up the gaps.
  6. 6
    Step 6: Toast the Baguette. Fresh crackers are fine, but toasted baguette makes the board feel special.
  7. 7
    Step 7: Add Nuts, Honey, and Chocolate. The little extras pull it all together.
  8. 8
    Step 8: Add Knives and Serve. Lay a cheese knife or two on the board so guests can help themselves without a pile-up.
☐ The Checklist

How to Make a Charcuterie Board

Tools
6
Materials
13
Steps
8
Video
12 min

Tools we recommend

Your Guide

Natashas Kitchen

As an Amazon Associate we earn from qualifying purchases. Links on this page may be affiliate links - clicking them and buying doesn't change your price, but helps support ShowMeStepByStep.

Tags

Sunday How-To

New cooking tutorials, every Sunday

One short email with the week's best step-by-step guides. Free, no spam, unsubscribe anytime.

Test your knowledge

Did the lesson stick? Start with this one.

5 questions covering what you just read. No signup, no score saved, and you can stop after this one.

Question 1 of 5

How should you choose cheeses for a charcuterie board?

Quick reference

Key takeaways from How to Make a Charcuterie Board

5 questions, answers, and one-line explanations. Tap to expand.

  1. 1.How should you choose cheeses for a charcuterie board?

    Answer: Pick a range of styles like hard, soft, and spreadable

    A spread of textures and styles gives guests variety and makes the board more interesting.

  2. 2.What should go on the board first when you start building it?

    Answer: The cheeses, spaced out as the anchors

    Setting the cheeses down first gives you anchor points to build everything else around.

  3. 3.Why roll and fold cured meats instead of laying them flat?

    Answer: It gives them height and makes them look fuller

    Folding salami into roses and ribboning prosciutto adds height so the board looks abundant.

  4. 4.Why put olives and pickles in their own small bowls?

    Answer: So their brine does not soak the crackers

    Ramekins keep wet, briny items from rolling around and soaking the crackers and bread.

  5. 5.What is the role of fruit like grapes and berries on the board?

    Answer: To fill gaps and add color and a fresh bite

    Clustered fruit closes up empty spaces and adds color plus a fresh contrast to the rich items.

Did this work for you?

What's next

Related collections

Curated theme pages that include this tutorial.

Weekly Digest

Liked this cooking tutorial?

Pick the categories you want to hear about. Weekly digest of new step-by-step tutorials. No spam, easy unsubscribe.

Send me tutorials about

We only email about new tutorials. Easy unsubscribe anytime.