How to Dehydrate Apples

CookingEasy8:117 stepsBrowse more →

By ShowMeStepByStepPublished

Based on a video by Carol - Thrifty Chic Housewife.

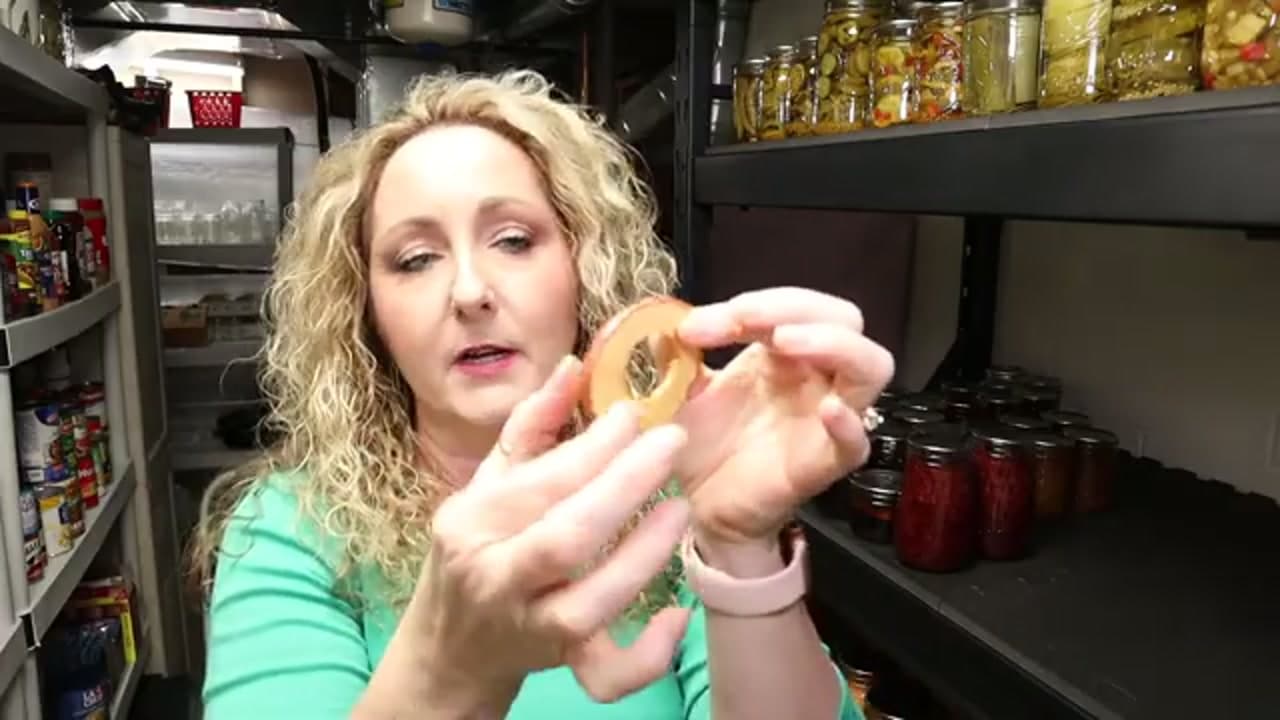
Apple chips are one of the easiest things you can make in a dehydrator, and they cost pennies compared to the bagged ones at the store. Carol from Thrifty Chic Housewife walks through the whole process start to finish, and it is beginner-friendly the whole way.

You will core and slice the apples into thin rings, give them a quick soak so they keep their color, then lay them out and let the dehydrator do the work. What comes out is a sweet, snackable chip you can keep in a jar for months.

Carol uses a sweet apple variety and dries everything at 135 degrees until the rings turn pliable. Follow along and you will have your own stash by tomorrow.

Step-by-Step Guide

1

Wash and Core the Apples

4:53
Step 1: Wash and Core the Apples

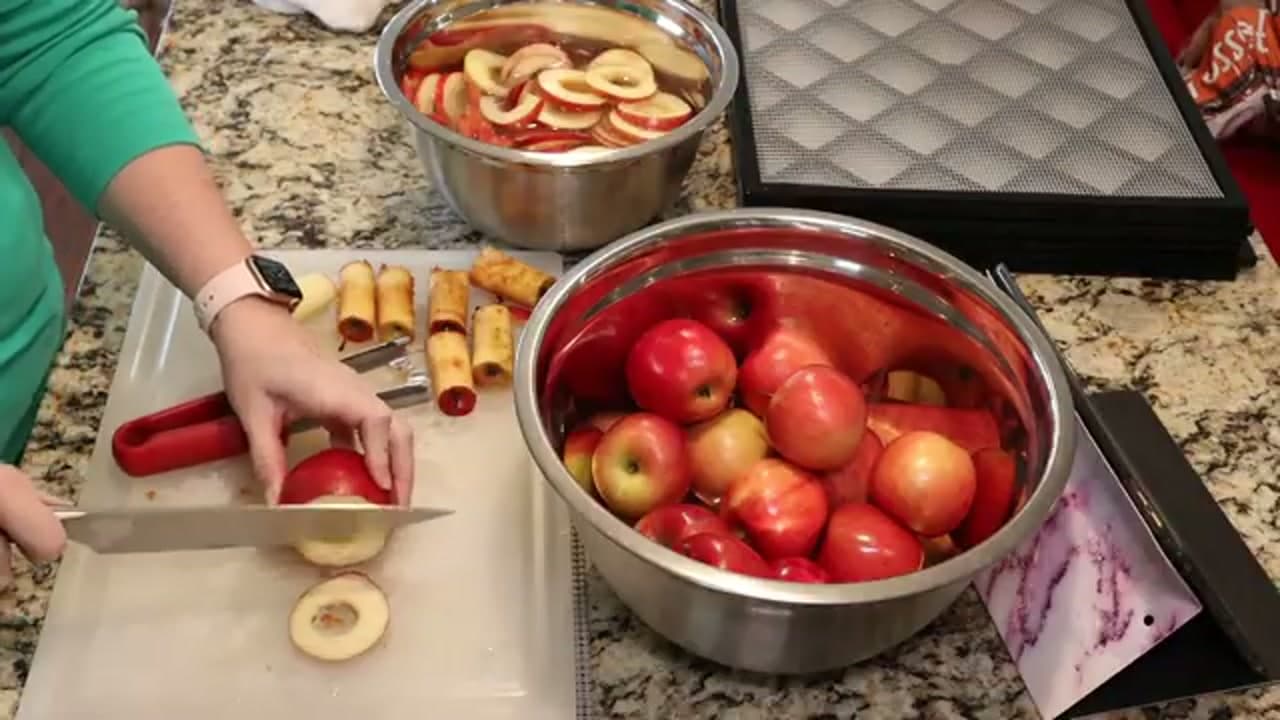
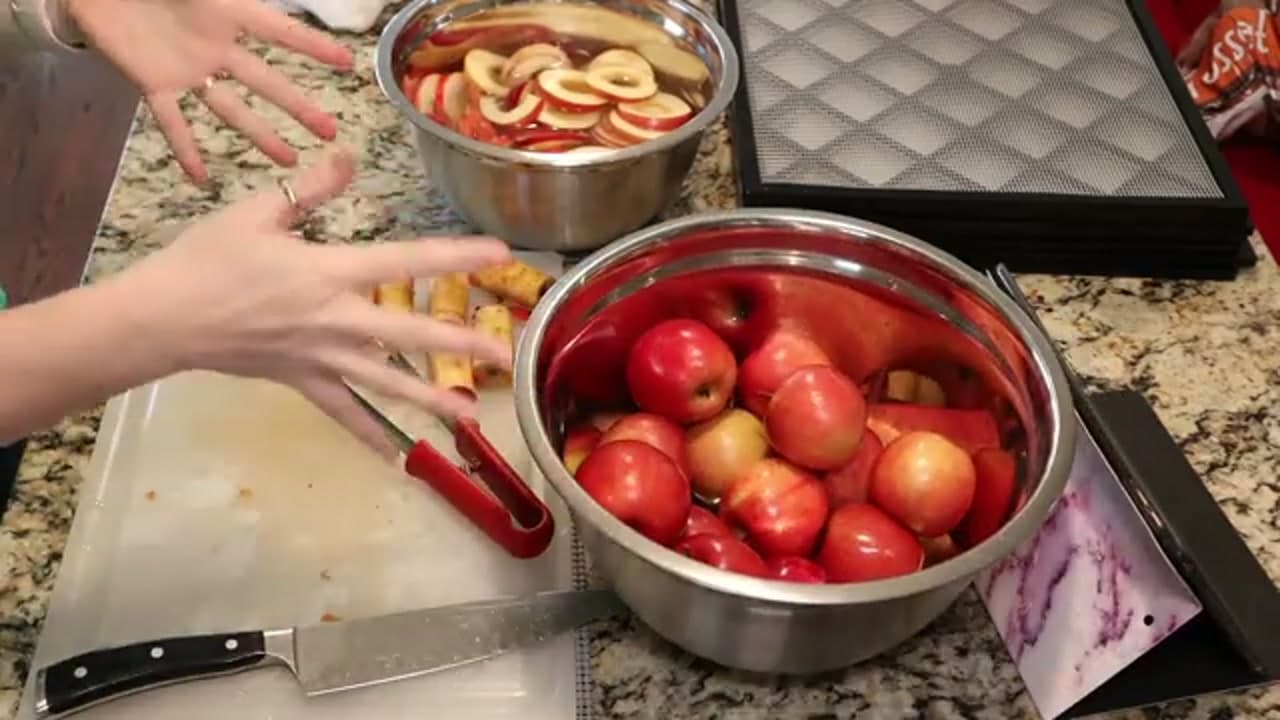
Start by rinsing your apples under cool water. Then run each one through an apple corer to pop the core straight out. Carol likes a sweet variety since the sugars concentrate as the apples dry, so the chips end up tasting almost like candy. Work through your whole batch before you move on to slicing. Doing all the coring at once keeps things moving.

Tip

A handheld corer is faster than trying to cut around the center with a knife, and it keeps your rings neat.

Products used in this step

2

Slice the Apples Into Thin Rings

5:20
Step 2: Slice the Apples Into Thin Rings

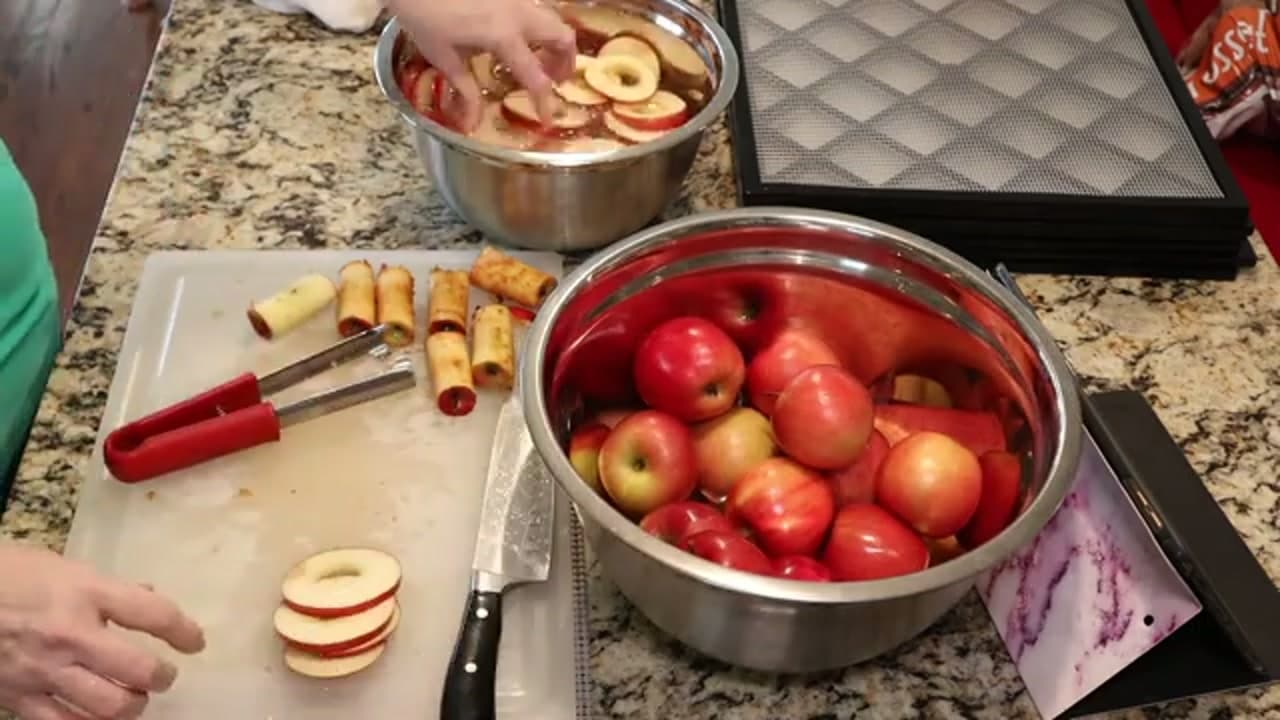
Lay a cored apple on its side and slice it into thin rings with a sharp knife. Thinner rings dry faster and get crispier, so aim for even slices about an eighth of an inch thick. If you want them all the same, a mandoline makes quick work of a big batch and keeps every ring uniform. Even thickness matters because it means everything finishes drying at the same time.

Tip

Keep the slices even. Thick rings stay chewy while thin ones next to them go crisp, and mixed thicknesses make it hard to tell when the tray is done.

Products used in this step

3

Soak the Rings in a Pretreatment Bath

5:25
Step 3: Soak the Rings in a Pretreatment Bath

Drop the sliced rings into a bowl of water with a splash of lemon juice as you go. This quick soak keeps the apples from turning brown and helps them hold their color through the long dry. Let them sit for a few minutes while you finish slicing the rest. If you like a spiced chip, this is also the moment to dust them with a little cinnamon.

Tip

Lemon juice works great, but any commercial fruit pretreatment or a pinch of citric acid does the same job.

Products used in this step

4

Arrange the Rings on the Trays

5:58
Step 4: Arrange the Rings on the Trays

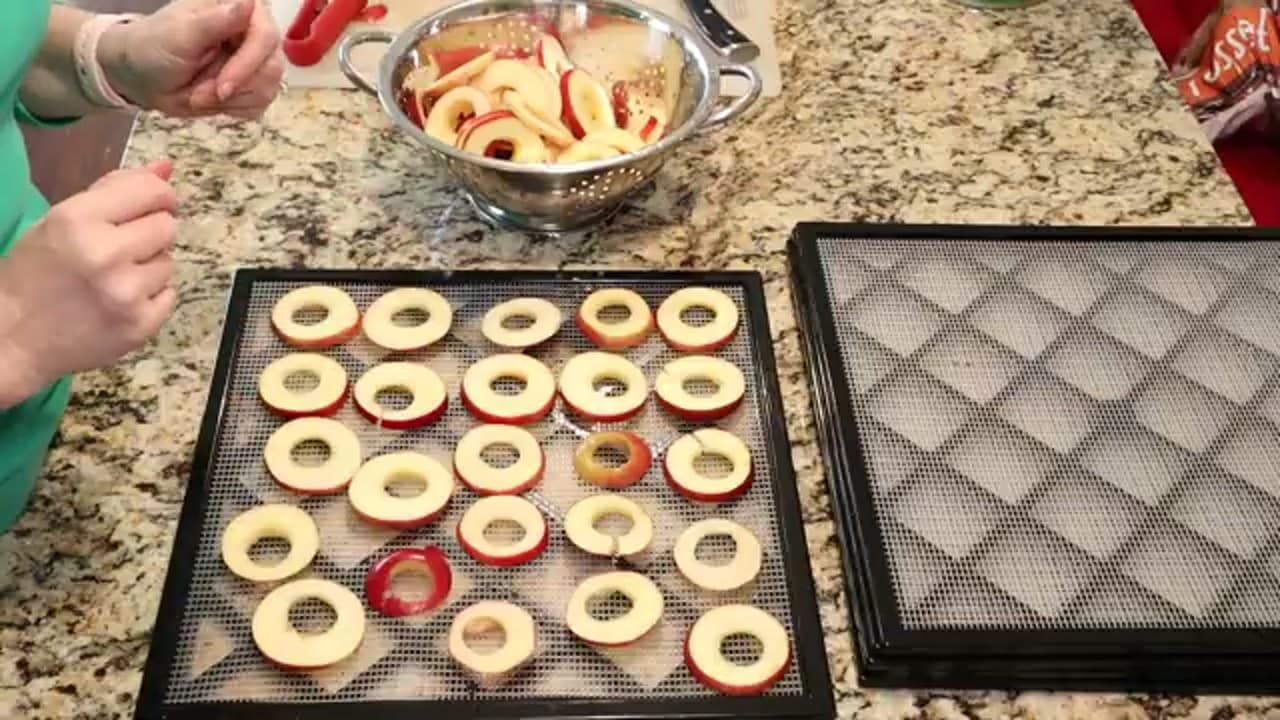
Drain the rings and lay them out in a single layer on your dehydrator trays. Leave a little gap between each ring so warm air can move all the way around them. Crowding the trays slows everything down and can leave you with damp spots. Fill as many trays as you have rings, then get ready to load them up.

Tip

Do not let the rings overlap. Where two pieces touch, the apple stays soft and takes much longer to dry.

Products used in this step

5

Set the Dehydrator and Let It Run

6:17
Step 5: Set the Dehydrator and Let It Run

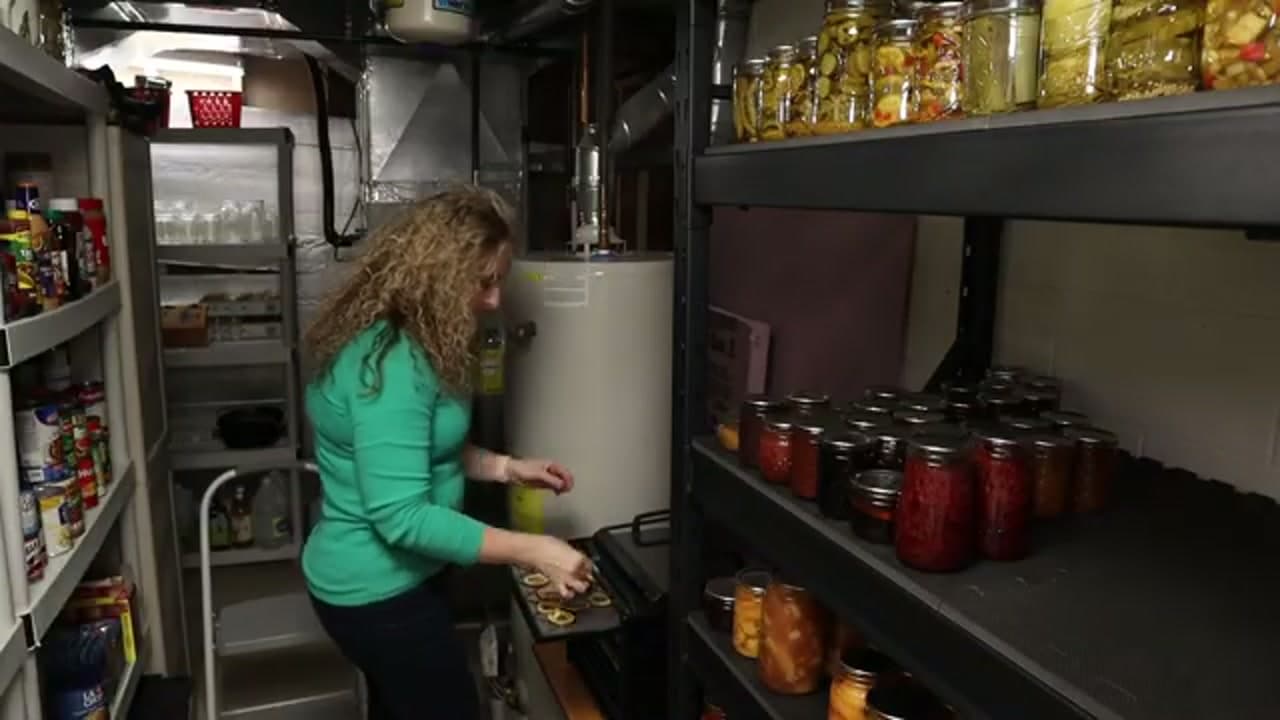
Slide the loaded trays into the dehydrator and set the temperature to 135 degrees. Now the machine does the work. Depending on how thick you cut the rings and how much moisture they hold, it usually takes several hours. Carol runs hers until the apples turn pliable, so check on them as they go rather than watching a strict clock.

Tip

Trays near the heat source can dry faster. Rotate them once partway through if some rings are finishing ahead of the rest.

Products used in this step

6

Check for Doneness

6:27
Step 6: Check for Doneness

Pull a ring off a tray and feel it. A finished chip should be dry and a little leathery or crisp, with no cool, wet center. Bend one in half. If it feels damp or squishy inside, the batch needs more time. Let a test piece cool for a minute first, since warm rings feel softer than they really are.

Tip

Doneness is a feel, not a time. Chewy-dry stores well for months, and fully crisp lasts even longer.

7

Store the Apple Chips

7:38
Step 7: Store the Apple Chips

Let the chips cool completely, then pack them into a clean, airtight jar. Sealed this way they keep their flavor for up to six months. If you want them to last for years, vacuum seal the jars instead. Label each jar with the date so you know what you are reaching for later. Then grab a handful, because they rarely last as long as they could.

Tip

Make sure the chips are fully cool before you seal them. Trapped warmth turns into condensation, and moisture is what spoils a batch.

Products used in this step

Products Used

❖ The Recipe

How to Dehydrate Apples

American
Serves
Makes several jars of apple chips
Prep
15 min
Cook
8 hr
Total
8 hr 15 min

Ingredients

4 items
  • 6 to 8 applesapplesa sweet variety works best
  • 2 tbsplemon juicefor the pretreatment bath, mixed into water to prevent browning
  • 2 cupswaterfor the pretreatment bath
  • to tasteground cinnamonoptional, dust on the rings before drying

Method

  1. 1
    Wash and Core the Apples. Start by rinsing your apples under cool water.
  2. 2
    Slice the Apples Into Thin Rings. Lay a cored apple on its side and slice it into thin rings with a sharp knife.
  3. 3
    Soak the Rings in a Pretreatment Bath. Drop the sliced rings into a bowl of water with a splash of lemon juice as you go.
  4. 4
    Arrange the Rings on the Trays. Drain the rings and lay them out in a single layer on your dehydrator trays.
  5. 5
    Set the Dehydrator and Let It Run. Slide the loaded trays into the dehydrator and set the temperature to 135 degrees.
  6. 6
    Check for Doneness. Pull a ring off a tray and feel it.
  7. 7
    Store the Apple Chips. Let the chips cool completely, then pack them into a clean, airtight jar.
☐ The Checklist

How to Dehydrate Apples

Tools
6
Materials
3
Steps
7
Video
8 min

Your Guide

Carol - Thrifty Chic Housewife

As an Amazon Associate we earn from qualifying purchases. Links on this page may be affiliate links - clicking them and buying doesn't change your price, but helps support ShowMeStepByStep.

Tags

Sunday How-To

New cooking tutorials, every Sunday

One short email with the week's best step-by-step guides. Free, no spam, unsubscribe anytime.

Did this work for you?

What's next

Related collections

Curated theme pages that include this tutorial.

Weekly Digest

Liked this cooking tutorial?

Pick the categories you want to hear about. Weekly digest of new step-by-step tutorials. No spam, easy unsubscribe.

Send me tutorials about

We only email about new tutorials. Easy unsubscribe anytime.