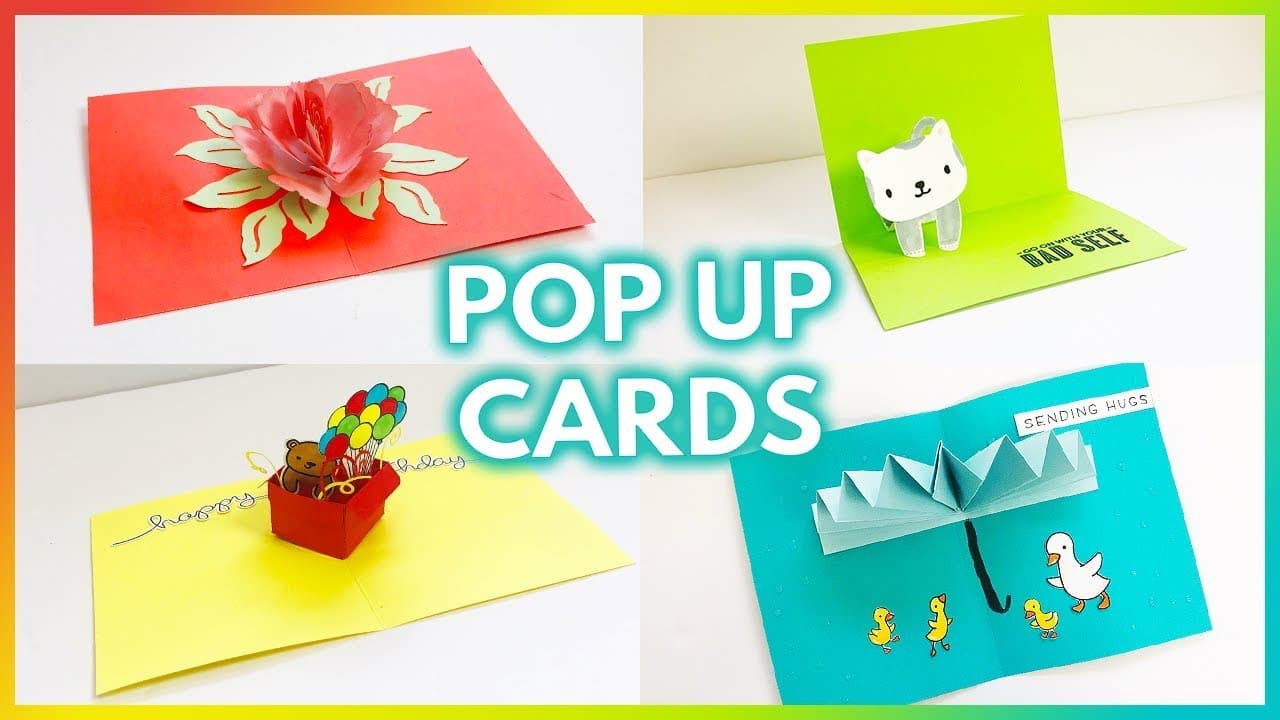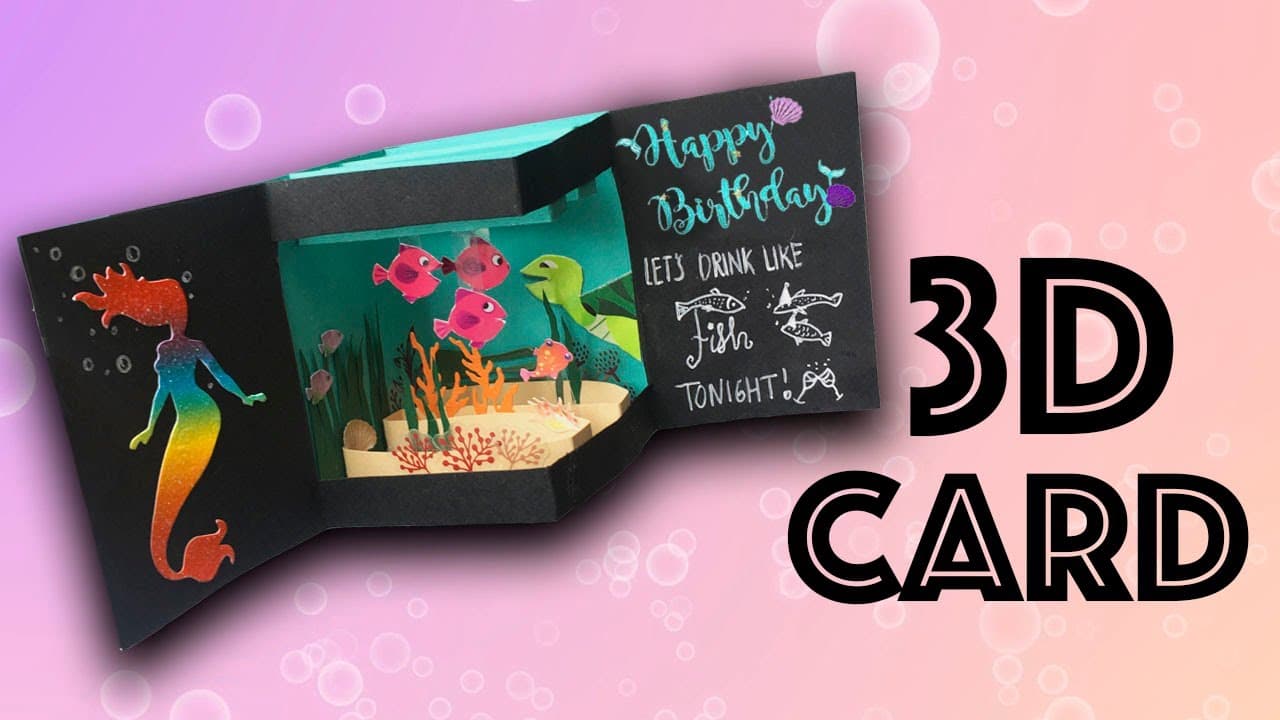
How to Make a Graduation Pop-Up Card (Easy Fun Fold)

Card MakingMedium10:428 stepsBrowse more →
Also in:Crafts

By ShowMeStepByStepPublished Updated

Based on a video by Stamptastic Designs.

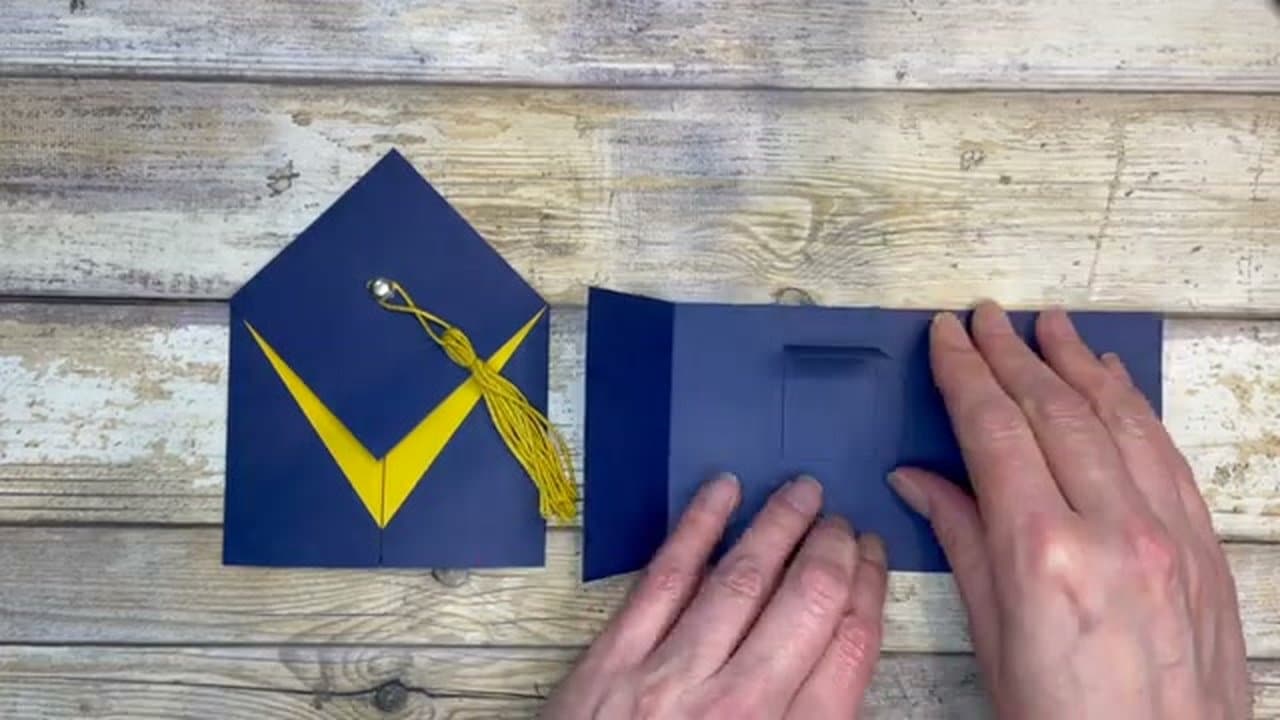
This is a gatefold card with a small pop-up section on the inside that holds the graduation cap. The cap rests over the closed gatefold and acts as the closure, which is the trick that makes the card look more involved than it is.

Two sizes are covered with the same construction: a 4.25 by 5.5 inch card that fits a standard envelope, and a larger 5.5 by 7.5 inch version. Pick whichever envelope you have on hand. The score lines and pop-up dimensions are identical.

Credit to Lynn Dunne at StampTastic Designs for the source video.

Step-by-Step Guide

1

Step 1: Score the Gatefold Base

2:50
Step 1: Step 1: Score the Gatefold Base

Start with a 3.5 by 8.5 inch piece of navy card stock for the regular-size card, or 5.5 by 8.5 inches for the larger version. Score in at 2-1/8 inches on each side.

The two score lines create matching gatefold flaps that meet in the middle when the card is closed. Both card sizes use the same 2-1/8 inch score on each side - only the height of the card stock changes.

Tip

If you don't have a scoring board, run a bone folder along a metal ruler at the marks. Press firmly so the fold sits flat without cracking.
2

Step 2: Cut and Score the Pop-Up Flap

3:15
Step 2: Step 2: Cut and Score the Pop-Up Flap

From the same navy card stock, cut a 2.5 by 1.25 inch strip. Score it at the 1 inch mark to split it into a 1-inch flap and a 1.5-inch flap.

The 1.5 inch section sits inside the card. The 1 inch flap drapes over the top of the closed gatefold and carries the graduation cap. That overhanging flap is what makes the cap appear to float on top of the closed card.

Products used in this step

3

Step 3: Adhere the Pop-Up Flap to the Inside

3:40
Step 3: Step 3: Adhere the Pop-Up Flap to the Inside

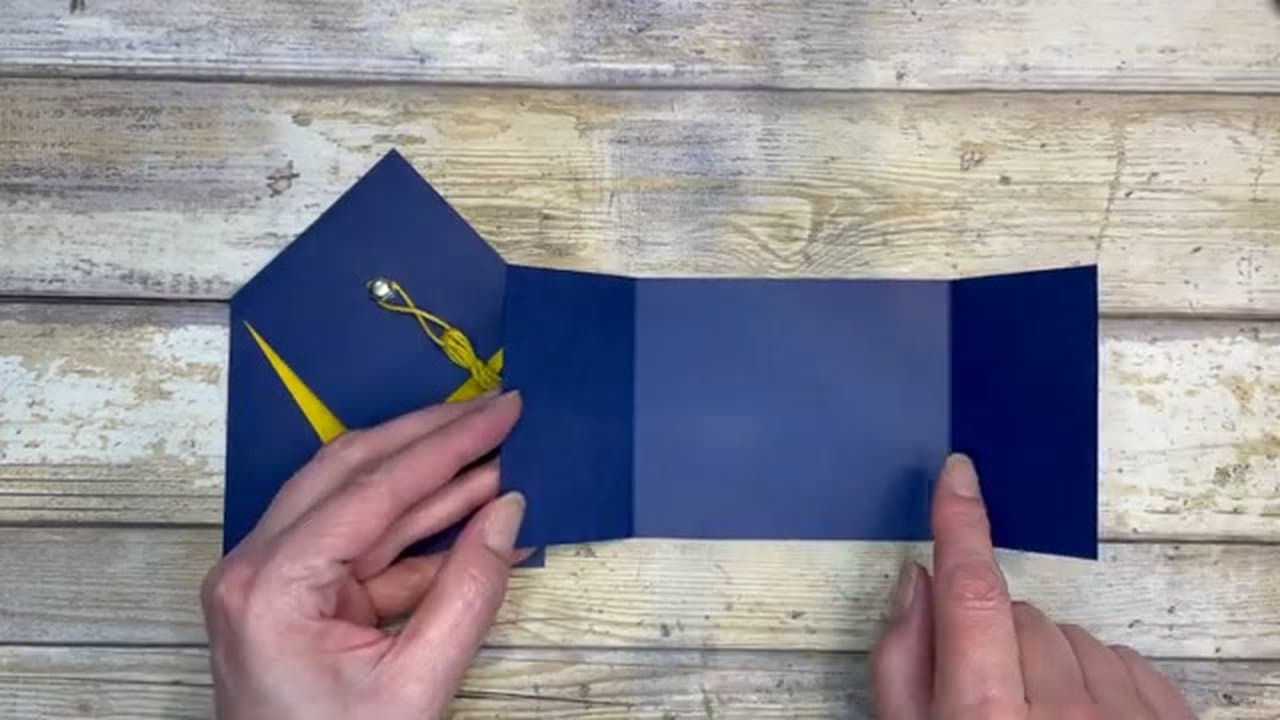
Glue the larger 1.5 inch section onto the inside center of the gatefold. Position it so the score line sits just above the top edge of the card. The 1 inch flap should hang over the top of the gatefold when the card is closed.

Without this flap the gatefold won't stay closed by itself. Once the flap is in place, the closed card holds its shape on the table - no clip or sticker needed.

Products used in this step

4

Step 4: Close the Gatefold and Add the Front Panel

4:30
Step 4: Step 4: Close the Gatefold and Add the Front Panel

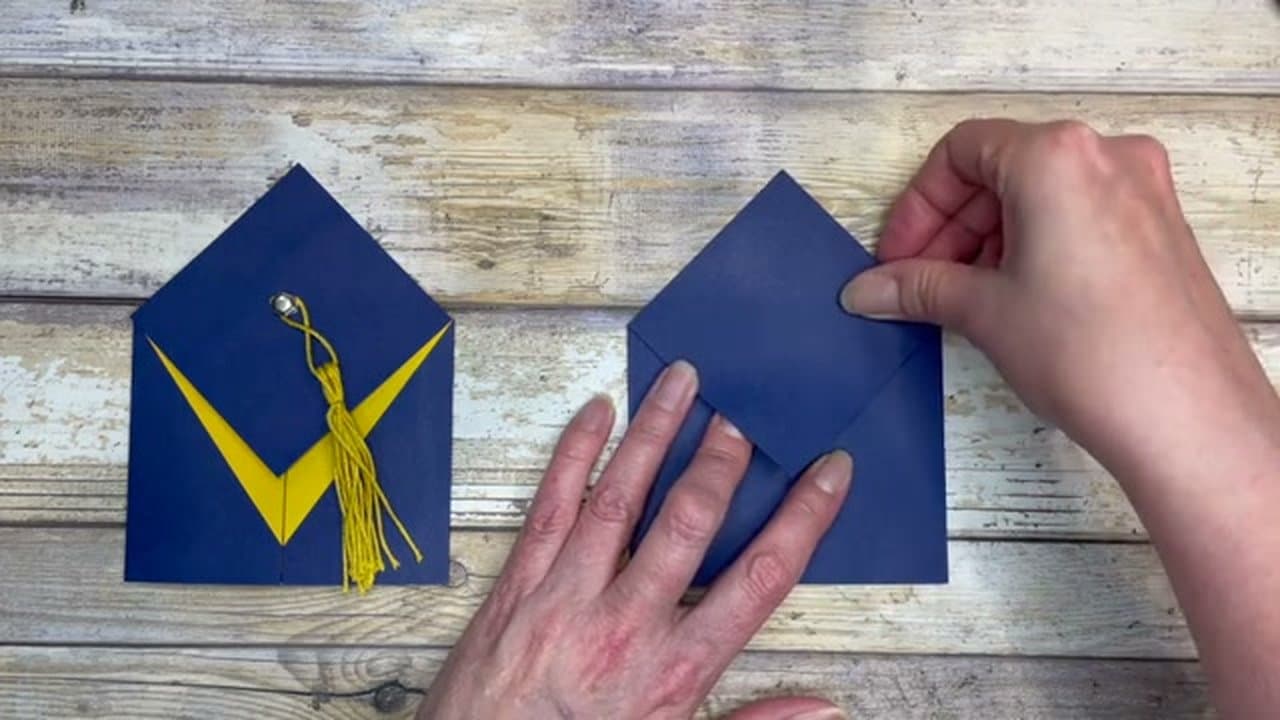
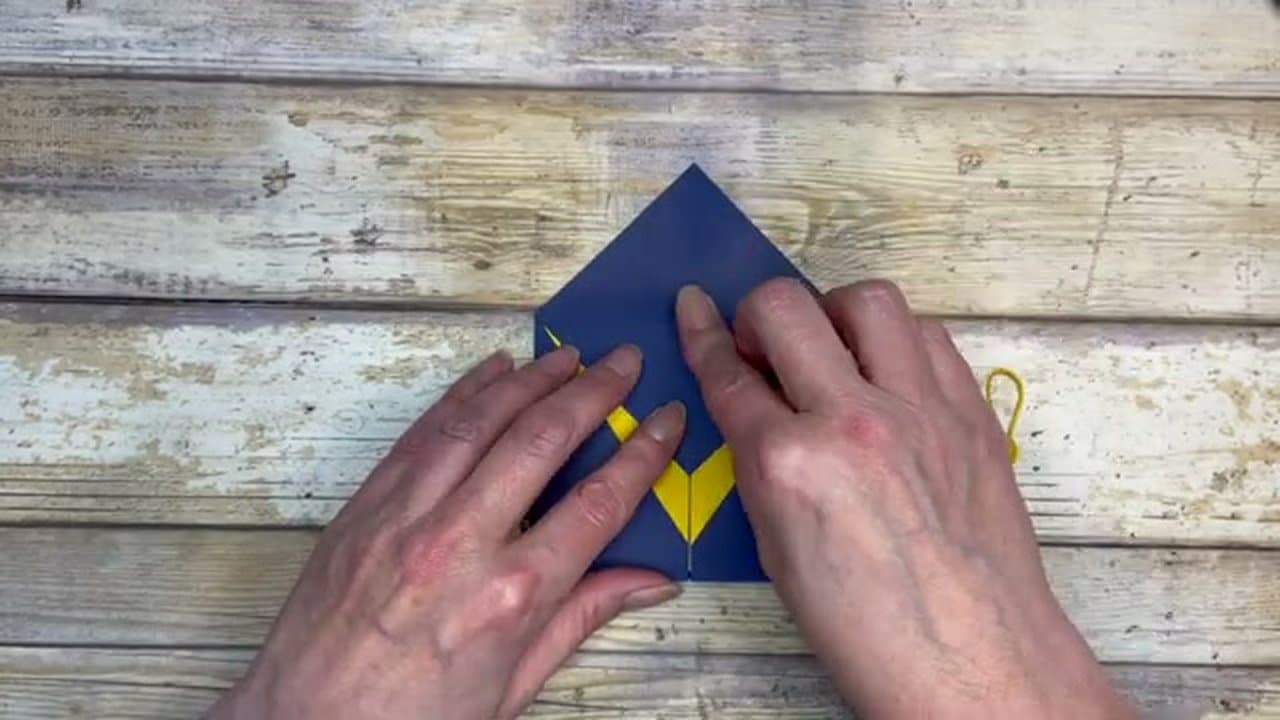
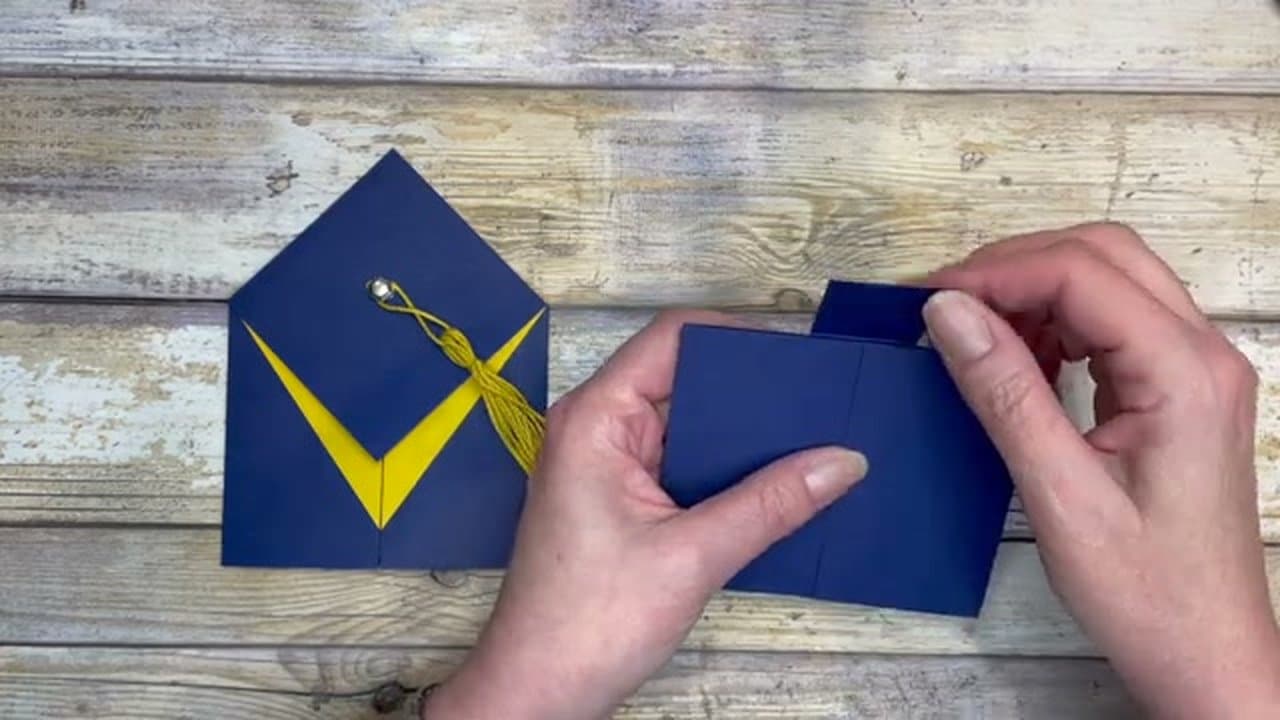
Close the gatefold so both flaps meet in the middle and fold the small 1 inch flap down over the top. Add glue to the small flap.

Cut a 3 by 3 inch square of navy card stock. Line up the points with the top of the card and press the square onto the glued flap. This square stretches across both gatefold flaps and locks the card closed - which is why the graduation cap appears to be sitting on the front of a regular folded card.

Products used in this step

5

Step 5: Stamp and Add the Inside Panel

5:05
Step 5: Step 5: Stamp and Add the Inside Panel

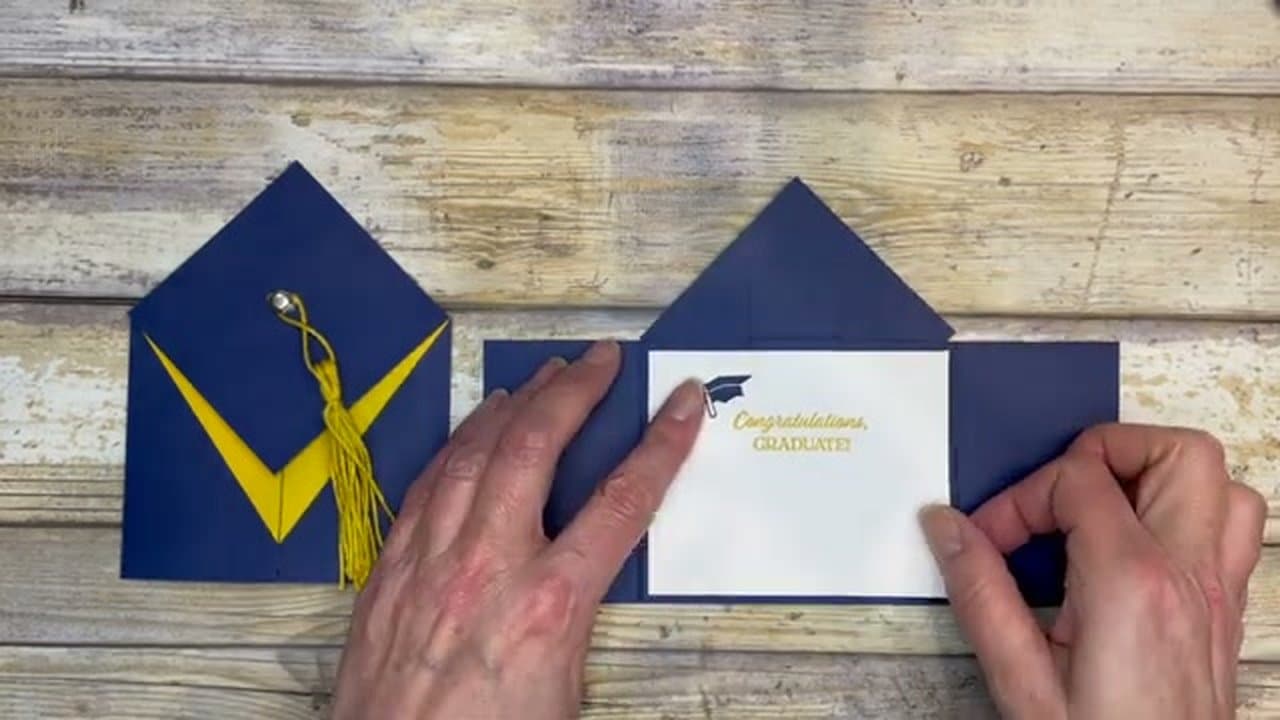
Cut a 3.25 by 4 inch piece of white card stock. Stamp a graduation greeting on it - something simple like "Congratulations, Graduate!" along with a small graduation cap or banner image.

Open the card and glue the panel in the center, covering the pop-up flap. The recipient sees this panel when they open the card. It's the only place inside that has stamped color, so don't overload it.

6

Step 6: Cut and Adhere the V-Shape Triangles

5:55
Step 6: Step 6: Cut and Adhere the V-Shape Triangles

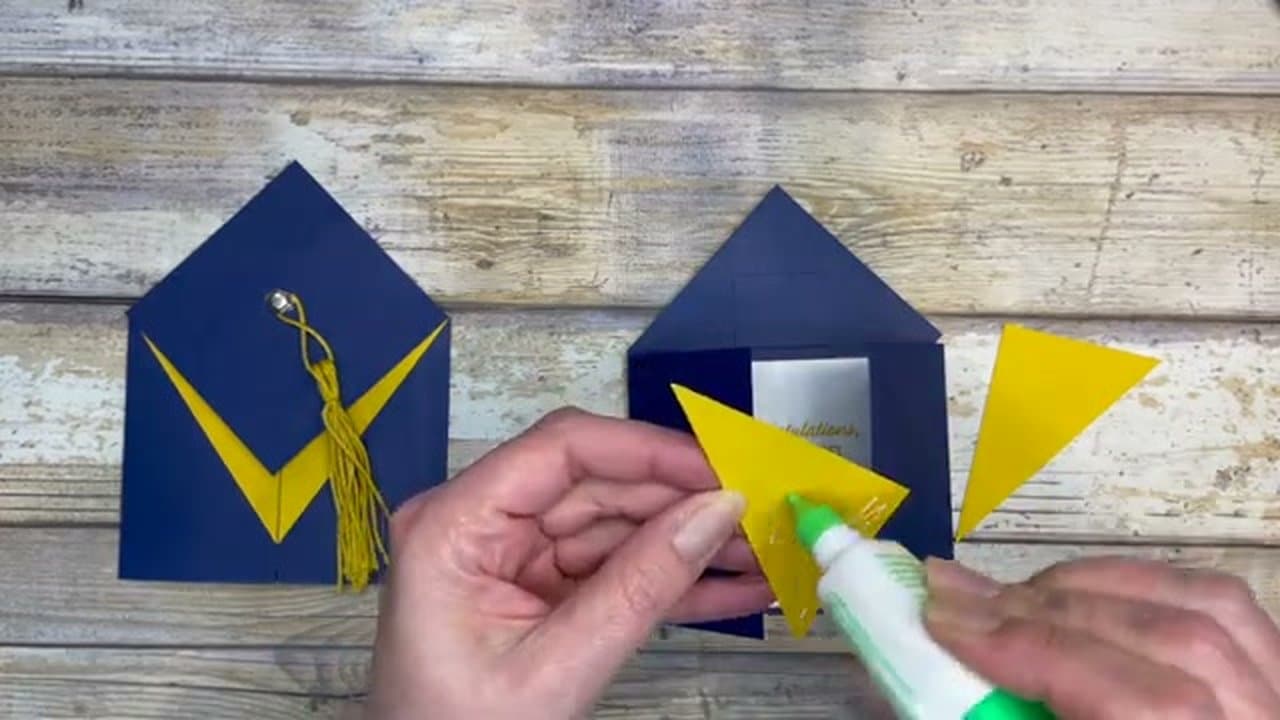
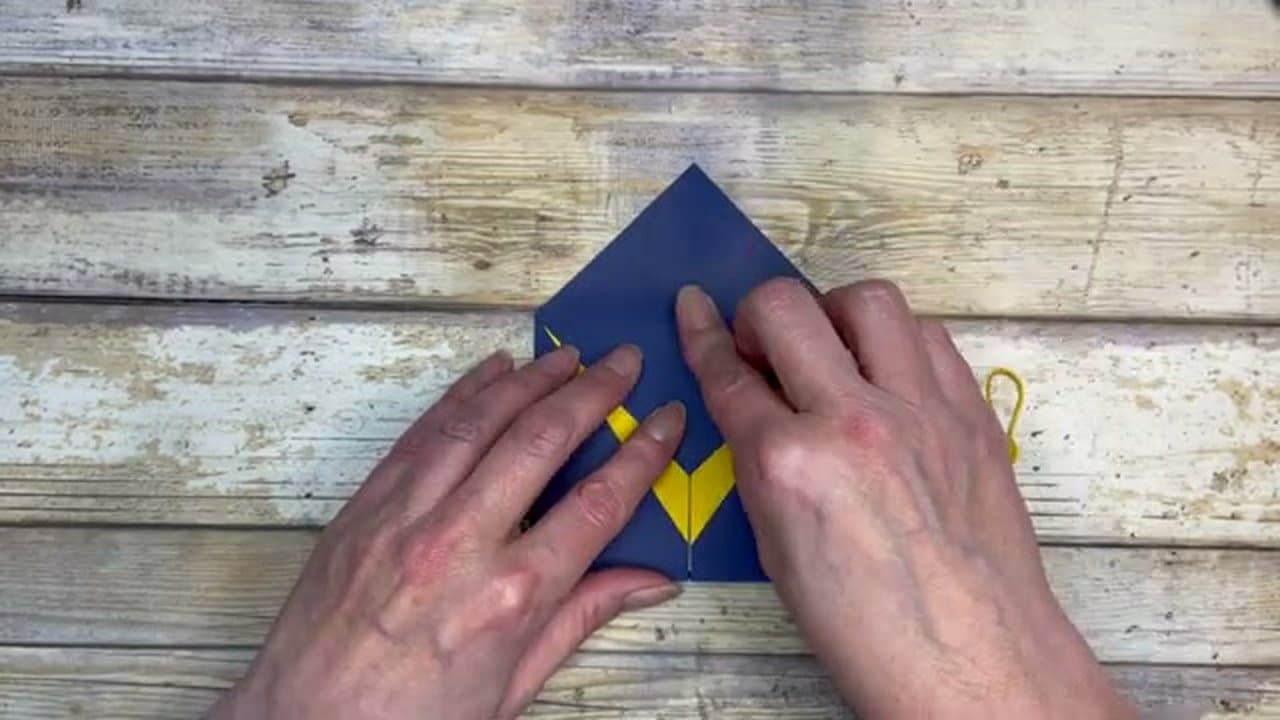
Cut a 2-1/8 by 3 inch rectangle of yellow or crushed curry card stock and slice it once on the diagonal. You'll have two matching triangles.

Glue one triangle to each side of the front, lined up against the top edge and the outer side of the card. The two diagonals meet in a V shape at the bottom-center of the gatefold seam, which is what gives the front the graduation-cap silhouette.

7

Step 7: Make the Twine Tassel

7:15
Step 7: Step 7: Make the Twine Tassel

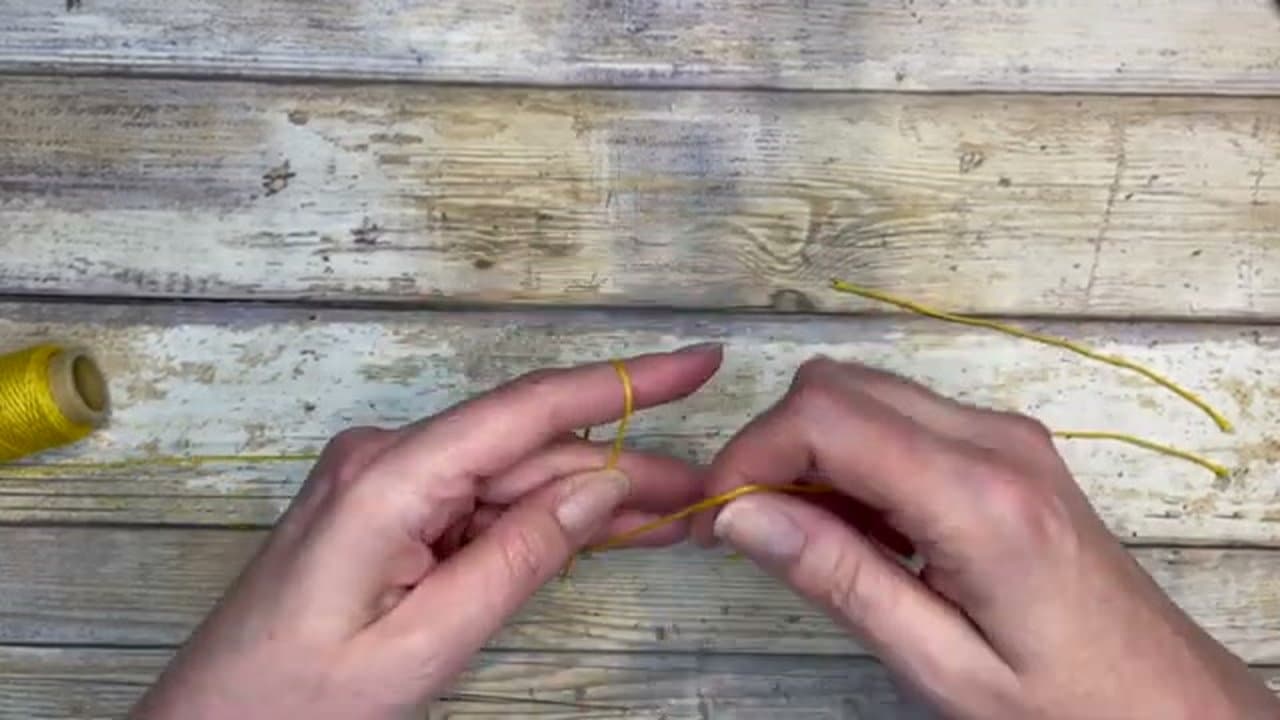
Wrap baker's twine around two fingers six times to create a small bundle. Cut the end. Take a separate piece of twine about six inches long and slip it through the top of the bundle - this is the cord you'll use to hang the tassel.

Take a second short piece, slide it under the bundle just below the cord, and tie it in a tight double knot. That double knot binds all the wraps together and forms the head of the tassel. Cut the bottom loops open with scissors and trim the strands to your preferred length.

Tip

Any twine color works, but for a graduation card pick a color that matches the school. Yellow reads as gold, navy plus yellow gives a classic mortarboard look, and red plus white works for school spirit themes.

Products used in this step

8

Step 8: Attach the Tassel to a Graduation Cap Embellishment

9:50
Step 8: Step 8: Attach the Tassel to a Graduation Cap Embellishment

Tie a small knot in the top end of the tassel cord and tuck the knot inside the cord loop so it disappears. Stick a mini dimensional foam square to the back of a graduation cap embellishment, peel the backing, and press the cap onto the center of the front panel where the V triangles meet.

Drape the tassel cord across the front of the card so the tassel hangs naturally to one side. A tiny twist in the cord helps it sit flat. The card is done.

Products Used

☐ The Checklist

How to Make a Graduation Pop-Up Card (Easy Fun Fold)

Tools
7
Materials
6
Steps
8
Video
11 min

Your Guide

Stamptastic Designs

As an Amazon Associate we earn from qualifying purchases. Links on this page may be affiliate links - clicking them and buying doesn't change your price, but helps support ShowMeStepByStep.

Tags

What's next

Weekly Digest

Liked this card making tutorial?

Pick the categories you want to hear about. Weekly digest of new step-by-step tutorials. No spam, easy unsubscribe.

Send me tutorials about

We only email about new tutorials. Easy unsubscribe anytime.