1
Gather Your Materials
0:20
By ShowMeStepByStepPublished Updated
Based on a video by AllFreeSewing Studio.
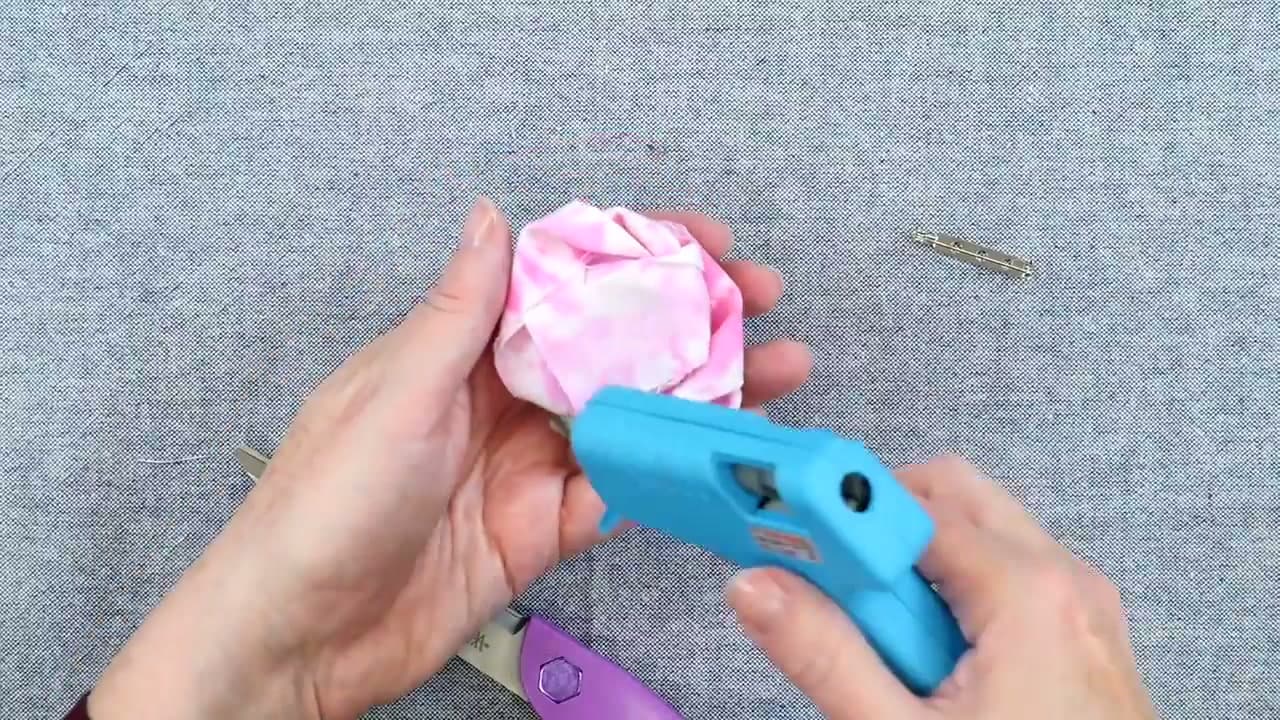
Marybeth Temple from AllFreeSewing walks through her favorite fast craft: a rolled fabric rose you can glue together at the kitchen table. You don't pull out a needle, you don't thread anything, and you don't touch a sewing machine. All you need is a 2-inch wide strip of fabric, a hot glue gun, and scissors.
The technique is forgiving. You fold the strip in half lengthwise, pinch a tiny triangle for the center, and twist the long tail around it over and over in the same direction. A drop of hot glue every three to four inches locks each twist in place. Tighter twists stay near the center, looser twists fan out for the outer petals, and you can let the raw edges flop back like real petals.
Finish by trimming the tail, folding it across the back, and pressing a pin back or alligator clip into a bead of glue. The hot glue oozes up through the holes and locks the hardware in. The whole thing takes about ten minutes once you get the rhythm, and the result pins onto a coat lapel, a hat, a hair clip, a gift, or a wreath. Cotton works, satin works, silk works - anything you have on hand.
No-sew projects skip the needle entirely. If the needle work itself is the unfamiliar part, how to sew by hand covers threading, the tailor's knot, the backstitch and how to tie off so it holds.
7 steps · about 8 minutes.Check off each step as you go and your progress saves automatically.

Take your 2-inch strip and fold it in half the long way, so you have a folded edge on one side and the two raw edges on the other. Press it with your fingers as you go. Leaving the edges raw gives the finished flower a rustic look. If raw edges bug you, run pinking shears down the open side instead.
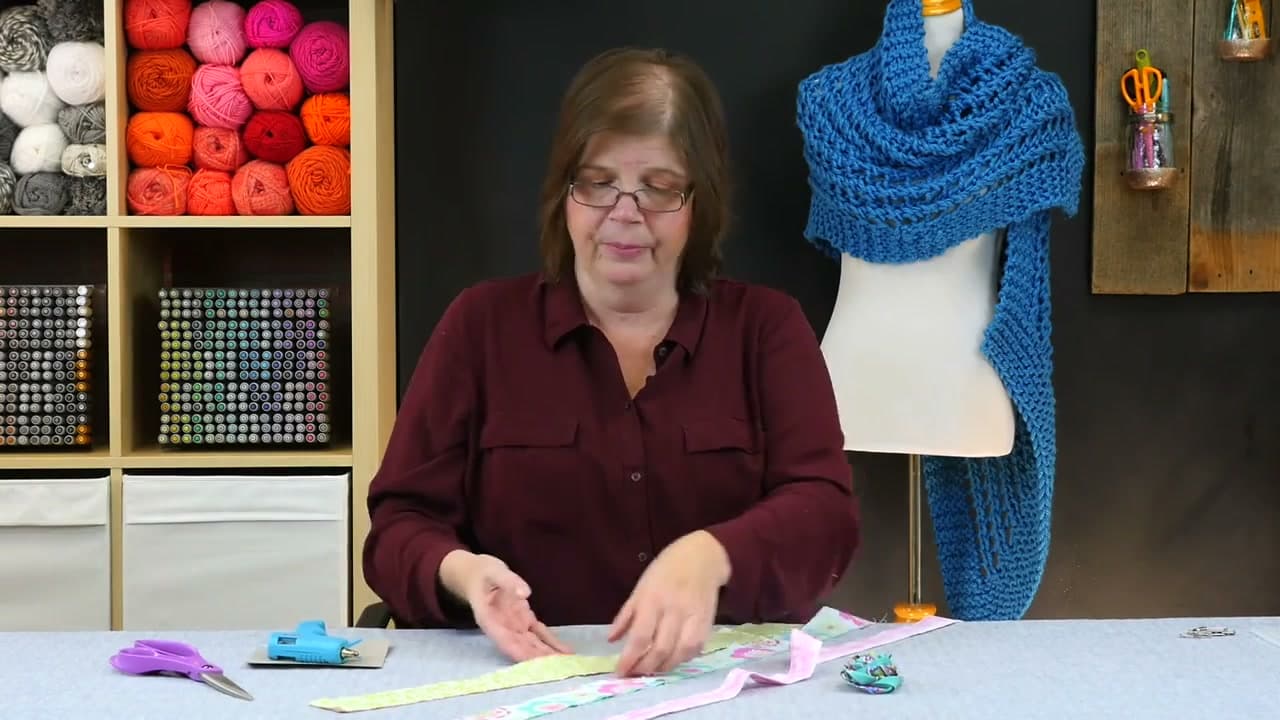
Pinch one end of the folded strip into a small triangle shape. This little triangle becomes the obvious center of your rose. Don't overthink it or reach for a ruler. Hold the triangle tight between your thumb and finger so it doesn't unravel while you start working on the petals.

Now twist the long tail of fabric in the same direction over and over, wrapping it around your triangle center. Don't twist on a perfect schedule. Nature isn't symmetrical, so let some twists land closer together and others farther apart. Keep one hand on the center bud the whole time so nothing slips.
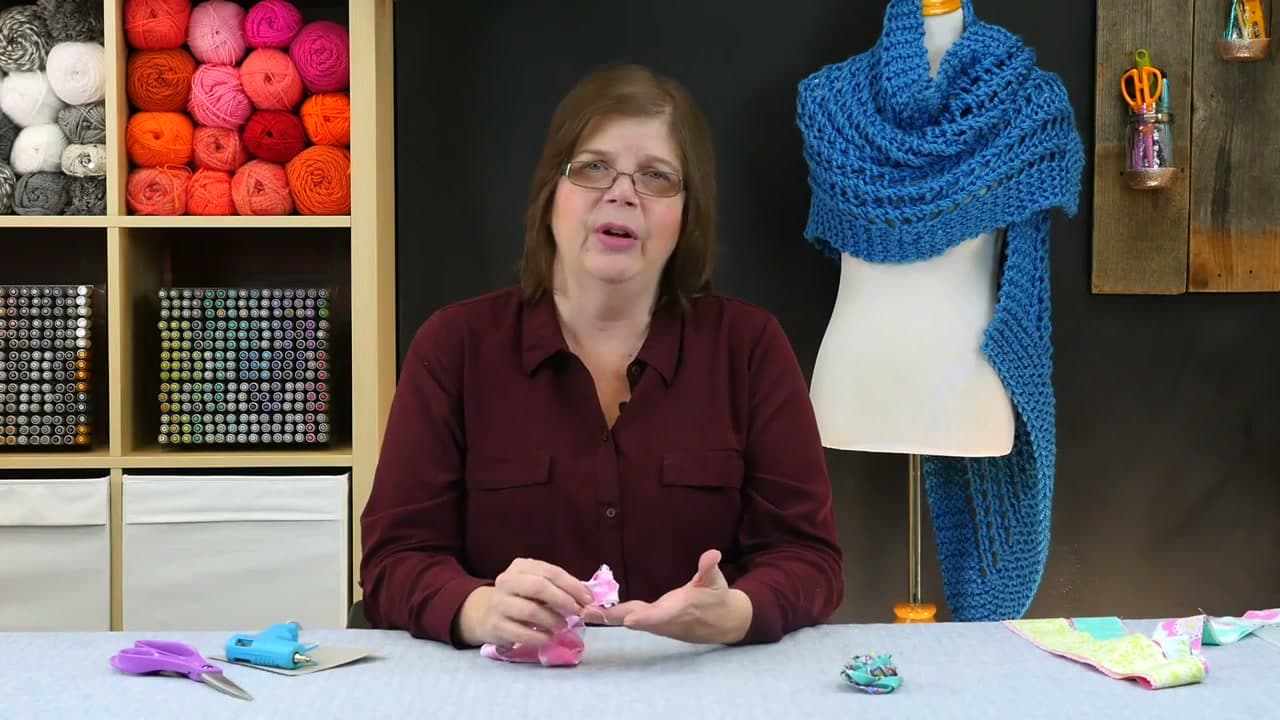
Every three to four inches of twisting, lay down a small drop of hot glue at the base where the new twist meets the bud. Press and hold for a second, then let it cool before you move on. Watch your fingertips. If you tug too soon, the petal pulls loose and the glue strings everywhere.
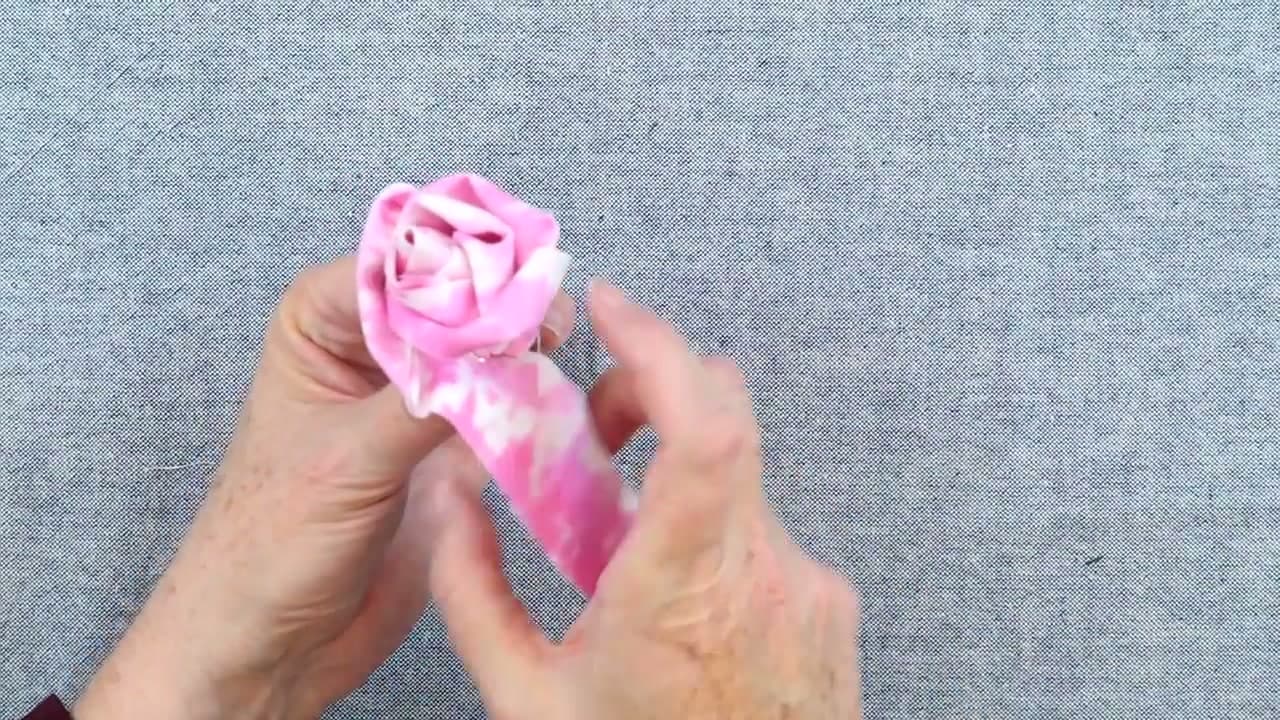
As you spiral outward, space your twists farther apart so the outer petals look longer and looser, the way a real rose opens up. Let some of them flop back naturally instead of standing straight up. Stagger the twists so they don't stack on top of each other in a tight column.

When you like how the flower looks, trim the tail leaving about an inch and a half. Fold that tail across the back and glue it down flat so it covers the raw underside. Lay one thick bead of glue across the back and press a pin back, alligator clip, or hairpin into it. The glue oozes up through the holes and locks it in.

Keep going
How to Sew a Buttonhole That Fits Your Button Exactly
How to Make a No Sew Fabric Flower (Rolled Rose Technique)
E6000
E6000 Craft Adhesive, Clear (3.7 oz)
The industrial-strength craft glue that bonds glass, wood, ceramic, metal, fabric, and concrete. The one adhesive most craft projects reach for.
OLFA
OLFA 18" x 24" Self-Healing Cutting Mat
The pro-standard cutting surface. Gridlines for square cuts, self-healing so blades never leave grooves, and big enough for paper, fabric, and leather.
As an Amazon Associate we earn from qualifying purchases. Links on this page may be affiliate links - clicking them and buying doesn't change your price, but helps support ShowMeStepByStep.
Sunday How-To
One short email with the week's best step-by-step guides. Free, no spam, unsubscribe anytime.
Test your knowledge
5 questions covering what you just read. No signup, no score saved, and you can stop after this one.
Question 1 of 5
What three things do you need for this flower?
Quick reference
5 questions, answers, and one-line explanations. Tap to expand.
1.What three things do you need for this flower?
Answer: Fabric strip, hot glue gun, scissors
Just three: a 2-inch fabric strip, a hot glue gun, and scissors.
2.How wide should the fabric strip be?
Answer: 2 inches
2-inch wide strip is the standard; pre-cut quilting strips save time.
3.Before twisting, what do you do with the strip?
Answer: Fold it in half lengthwise so you have one folded edge and the raw edges together
Folded lengthwise gives one folded edge and one raw side - the raw side is what gives the rose its rustic look.
4.How often should you apply hot glue while twisting?
Answer: Every 3-4 inches of twisting
A drop every 3-4 inches keeps the spiral together without making it stiff.
5.For the outer petals to look natural, how should they twist?
Answer: Spaced farther apart so the outer petals look longer and looser, the way a real rose opens
Real roses open outward - wider spacing on the outside mimics that.
Did this work for you?
Curated theme pages that include this tutorial.
Hand-picked next reads based on the one you just finished.
Pick the categories you want to hear about. Weekly digest of new step-by-step tutorials. No spam, easy unsubscribe.
Send me tutorials about