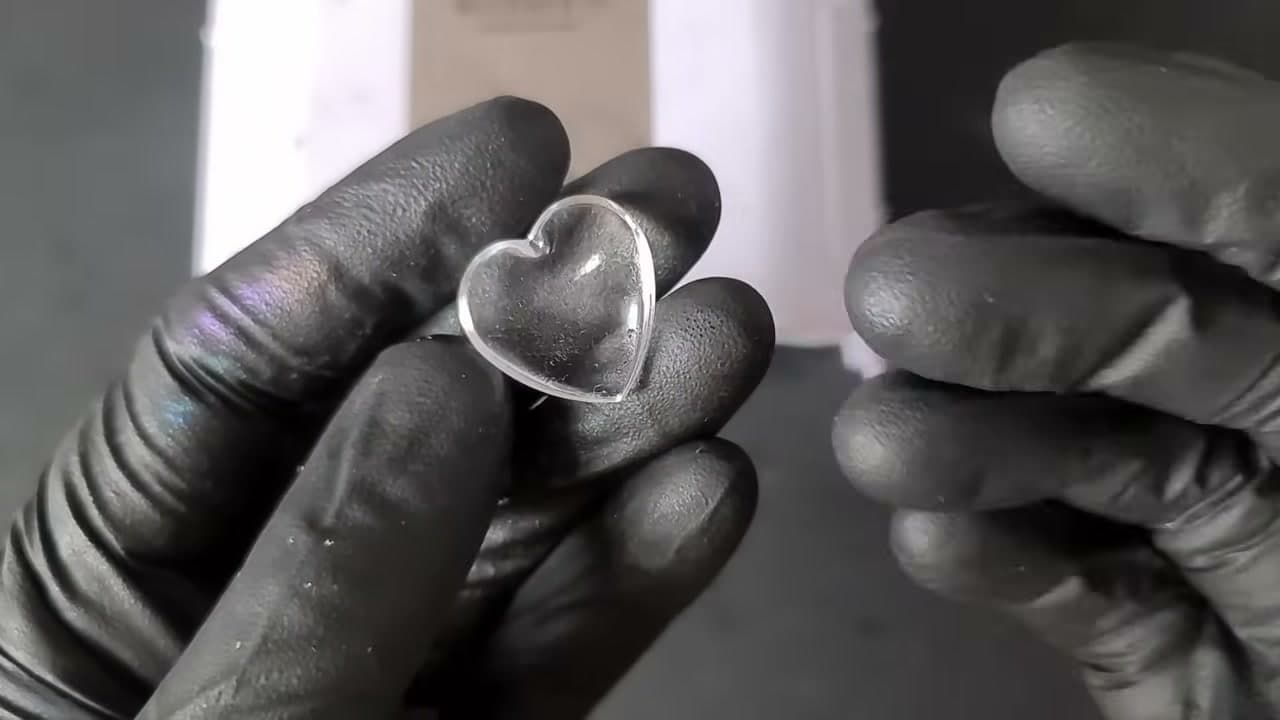
How to Fix Sticky UV Resin

Resin ArtEasy16:1910 steps5-question quiz at endBrowse more →
The finished result: How to Fix Sticky UV Resin
Also in:Crafts

By ShowMeStepByStepPublished Updated

Based on a video by Daniel Cooper.

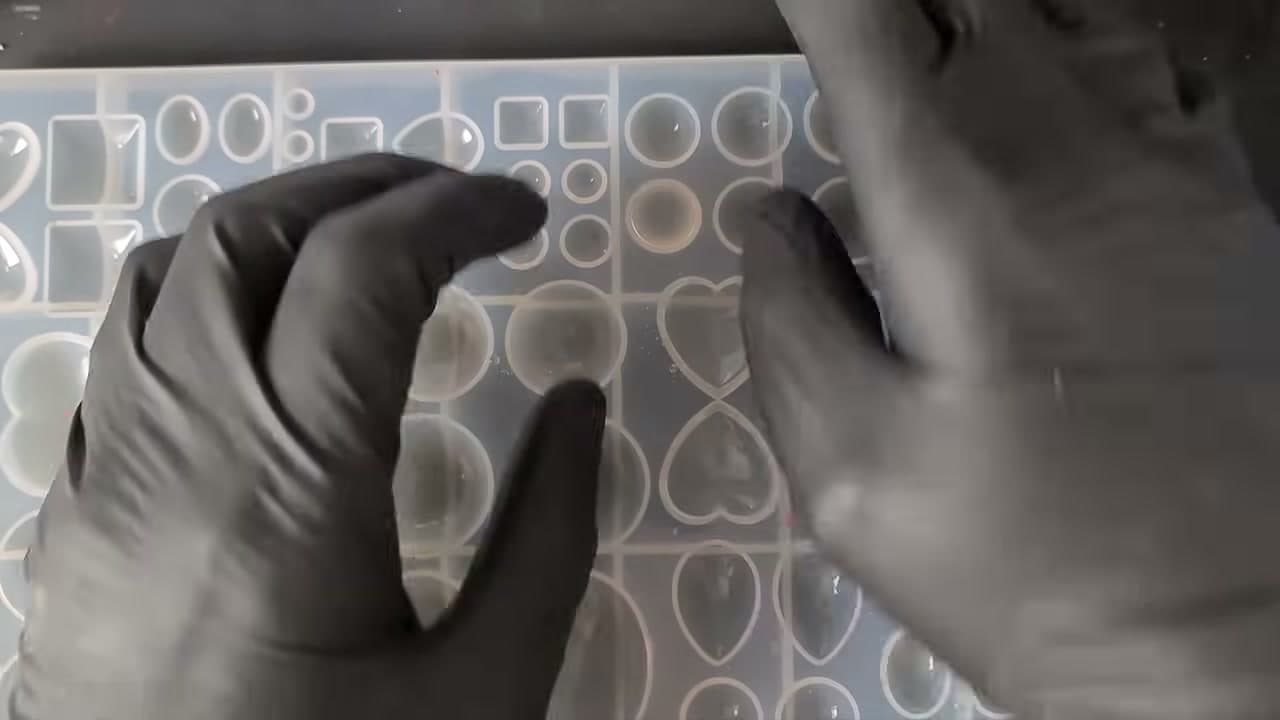
You pull a piece out of the mould and it is tacky. Not soft, not liquid, just permanently sticky on the outside, and every fingerprint stays on it. Plenty of people give up on UV resin entirely at this point and go back to two-part epoxy.

Daniel Cooper works through the real causes in this one, and only one of them is the resin's fault. Undercuring, too much dye, contamination in the mould and oxygen inhibition all produce the same tacky surface, so knowing which one you have is most of the battle. Oxygen inhibition is the big one, and it is not a defect at all - it is chemistry. Air sitting against the top of the resin stops that thin surface layer bonding, no matter how good your lamp is.

The rescue is almost silly: drop the sticky piece into a shot glass of water and cure it under the lamp with the water on top of it. The water displaces the air, the light passes straight through, and the surface finally hardens. If you are earlier in the process than that, the UV resin basics and working with resin moulds cover the setup, and colouring resin gets into the dye problem in more depth.

Step-by-Step Guide

10 steps · about 16 minutes.Check off each step as you go and your progress saves automatically.

1

Step 1: Read the Bottle Before You Blame the Resin

1:10
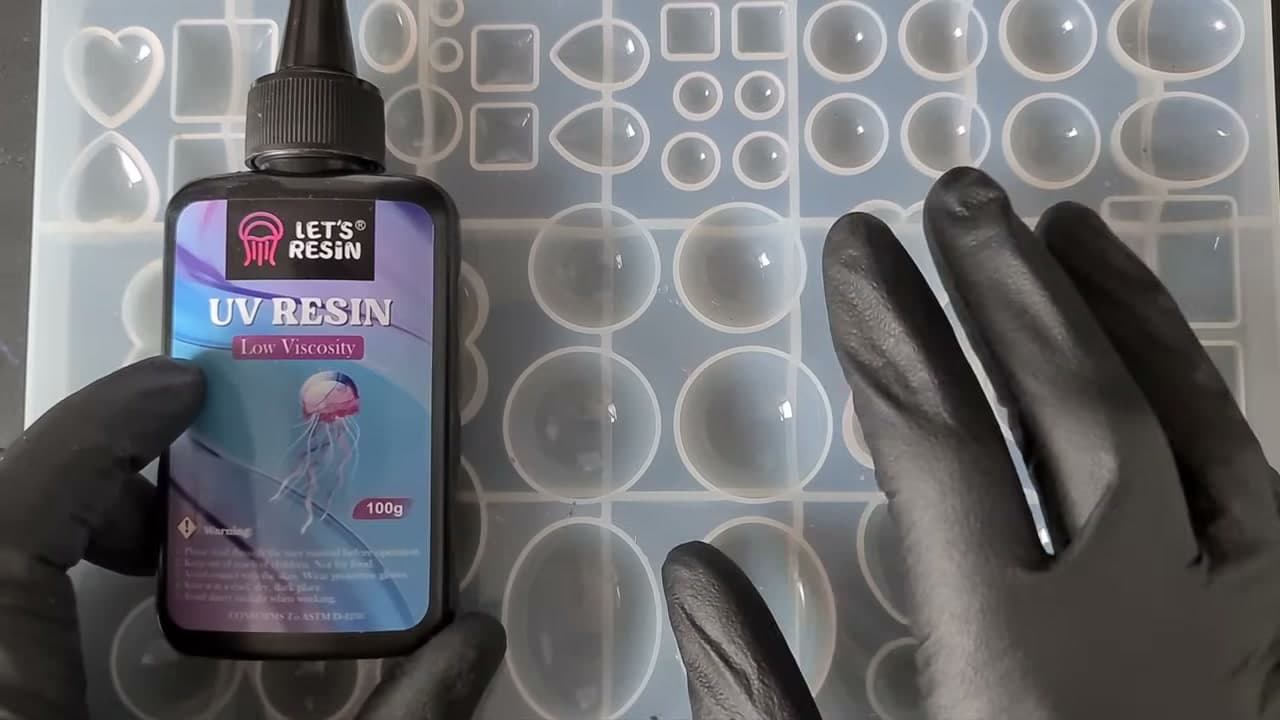
Step 1: Read the Bottle Before You Blame the Resin - How to Fix Sticky UV Resin

Every UV resin lists two numbers that matter: how long a cure takes, and what wattage lamp it expects. Those numbers are not interchangeable between brands, and a resin written for a 36 watt lamp will never cure properly under a keychain torch.

Low viscosity resins tend to cure faster and deeper than thick ones. If you have switched brands and suddenly everything is sticky, the instructions are the first place to look.

Tip

Cure times on the bottle assume a thin layer. Anything deeper than about a centimetre wants curing in stages, not one long blast. Watch this step
2

Step 2: Understand What the Lamp Is Actually Doing

1:40
Step 2: Understand What the Lamp Is Actually Doing - How to Fix Sticky UV Resin

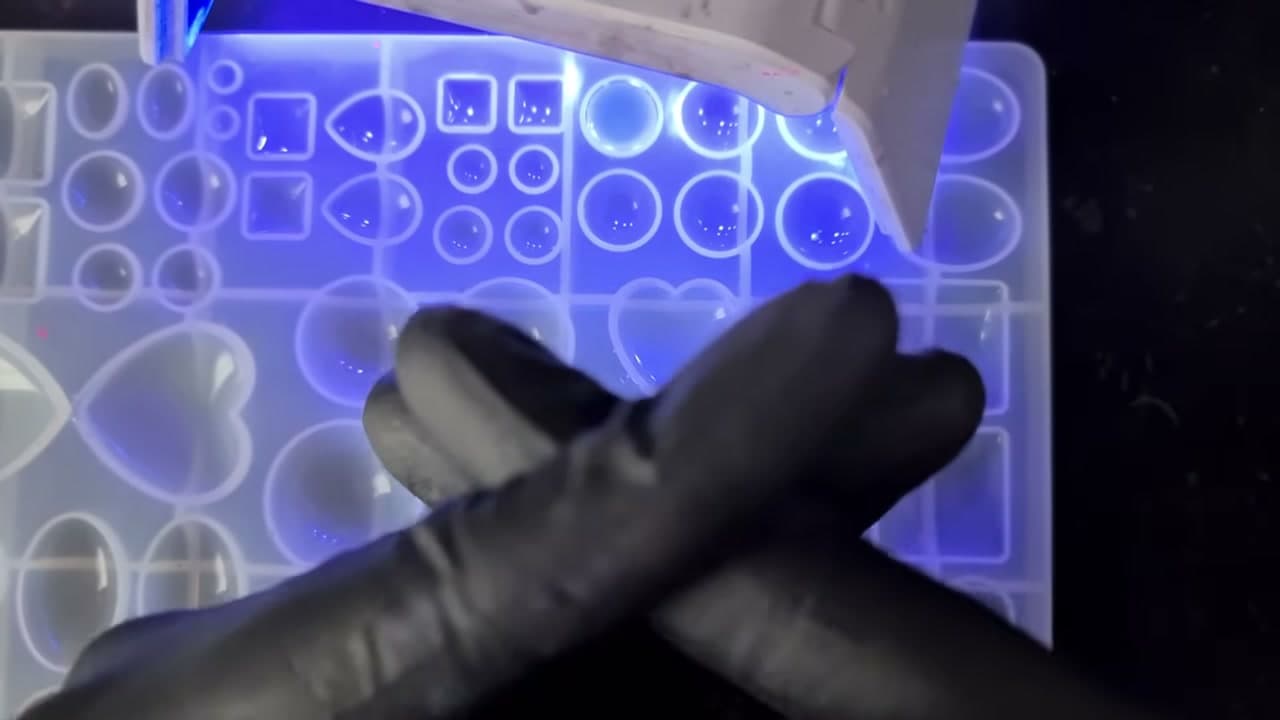
UV resin does not set by heating up the way two-part epoxy does. Light strips certain chemicals out of the mix and excites the rest into bonding with each other, building a solid three dimensional network. It is fast, and it only happens where the light reaches.

That last part explains most failures. Anything that blocks or scatters the light - depth, pigment, an opaque mould wall, a shadow - leaves resin in there that never got the message.

Tip

A lamp with LEDs on the sides as well as the top makes a real difference on anything taller than a flat cabochon. Watch this step

3

Step 3: Check Whether It Is Just Undercured

1:52
Step 3: Check Whether It Is Just Undercured - How to Fix Sticky UV Resin

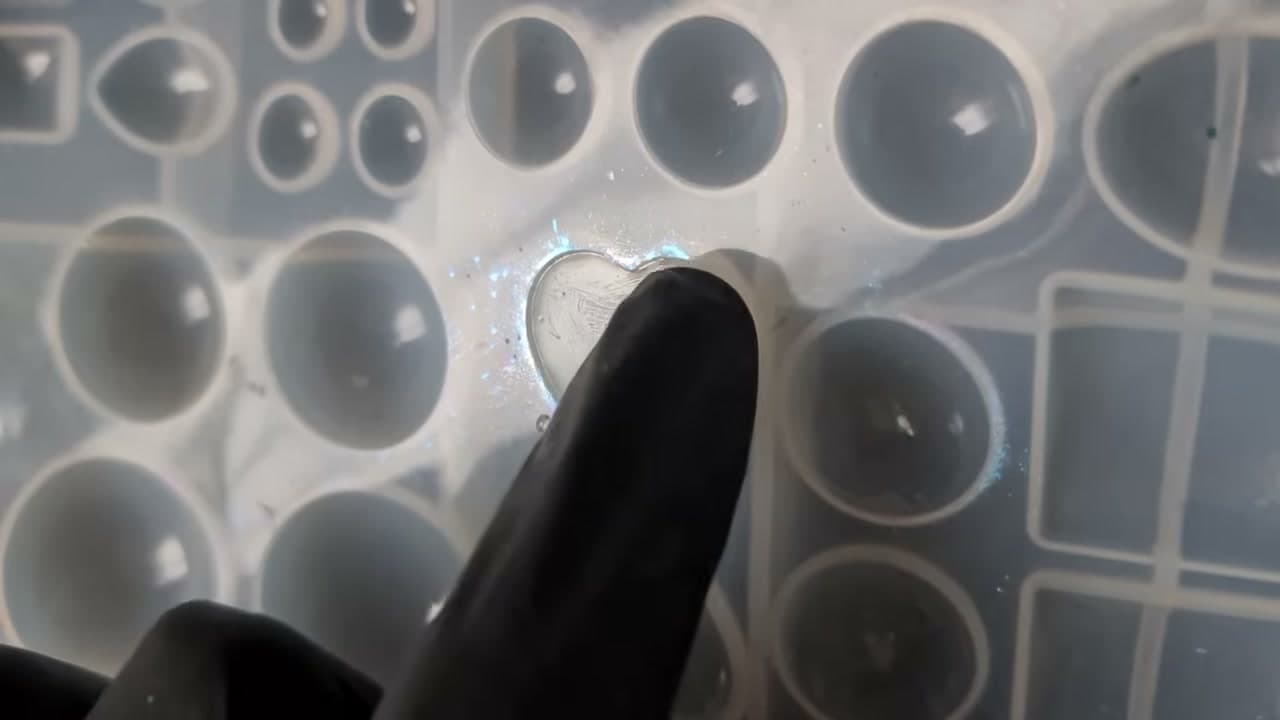
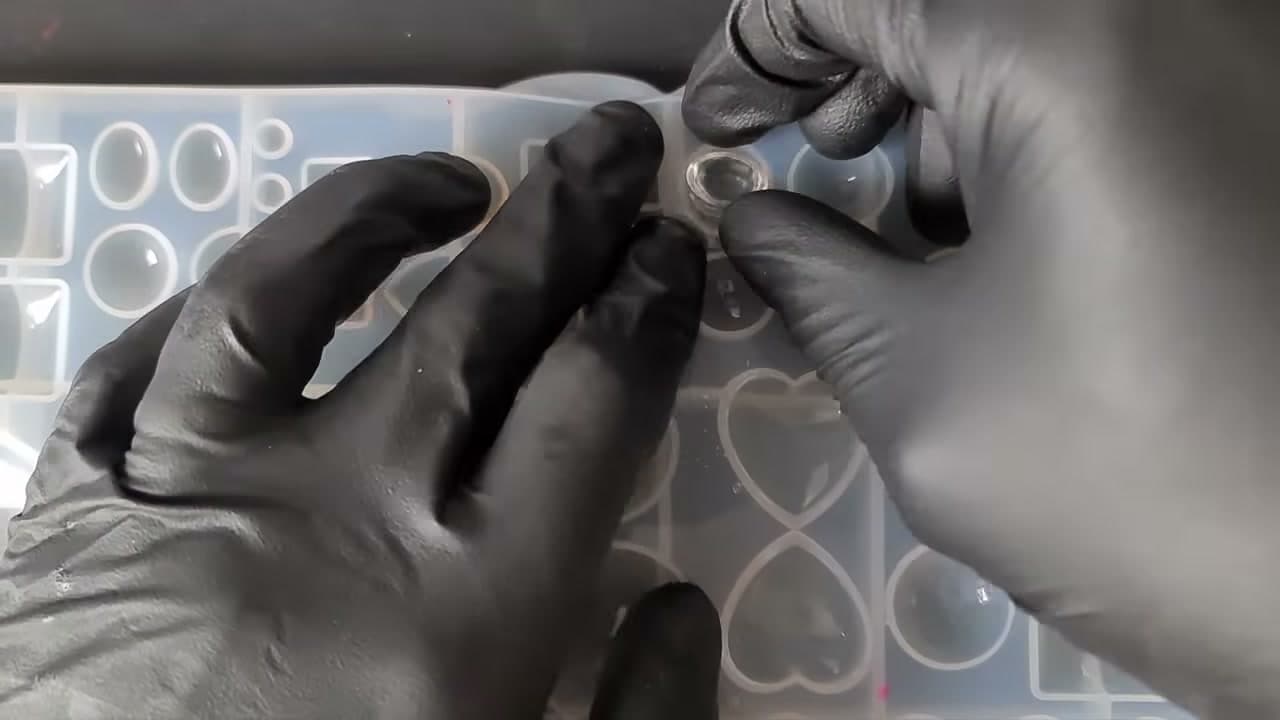
Press a gloved finger into the piece. If it flexes like firm jelly and drags at your glove, it is undercured, plain and simple. Not enough light, not enough time, or a lamp too weak for the job.

This is the easiest failure to diagnose because the whole piece is soft, not just the surface. A piece that is hard underneath with only a tacky skin on top is a different problem, and that one shows up further down.

Tip

Use a fresh glove finger for each test. Testing twice with the same spot spreads resin from the first piece onto the second and muddles the result. Watch this step

4

Step 4: Re-Cure It for the Full Time and Test Again

3:06
Step 4: Re-Cure It for the Full Time and Test Again - How to Fix Sticky UV Resin

Put the same piece back under a proper 36 watt lamp and give it the time the bottle asks for. Two minutes was enough here for a small piece that had come out tacky after a rushed cure, and the residue was gone.

Test with a clean finger afterward. No drag, no fingerprint, no shine left behind on the glove means it is done. There is no harm in extra time under the lamp, so when in doubt, leave it longer.

Tip

Sunlight cures UV resin too, but slowly, and anything that lands on a tacky surface outdoors is stuck there permanently. Watch this step

Products used in this step

5

Step 5: Look at How Much Dye Went In

3:52
Step 5: Look at How Much Dye Went In - How to Fix Sticky UV Resin

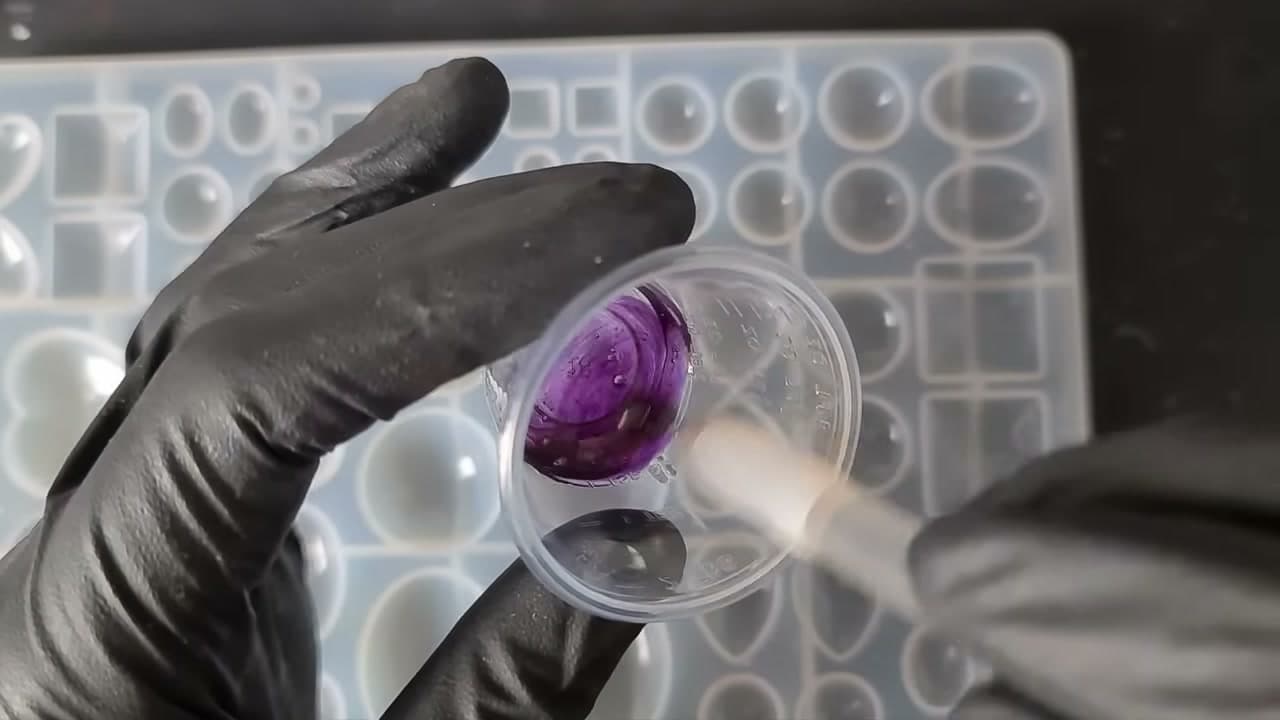
Too much colour is the second big culprit. Heavy liquid dye builds barriers through the resin that stop the molecules reaching each other, and it drops the viscosity so far that the mix behaves differently anyway.

Watch what happens with a deliberately overloaded batch: after three minutes under the lamp the surface still has real flex in it, more like a hard gel than a cured piece. The light simply cannot get through the pigment to the middle.

Tip

Use dyes formulated for UV resin, and treat a drop as a lot. Alcohol inks and craft paint both interfere with the cure. Watch this step

6

Step 6: Flip the Mould and Cure From Underneath

4:44
Step 6: Flip the Mould and Cure From Underneath - How to Fix Sticky UV Resin

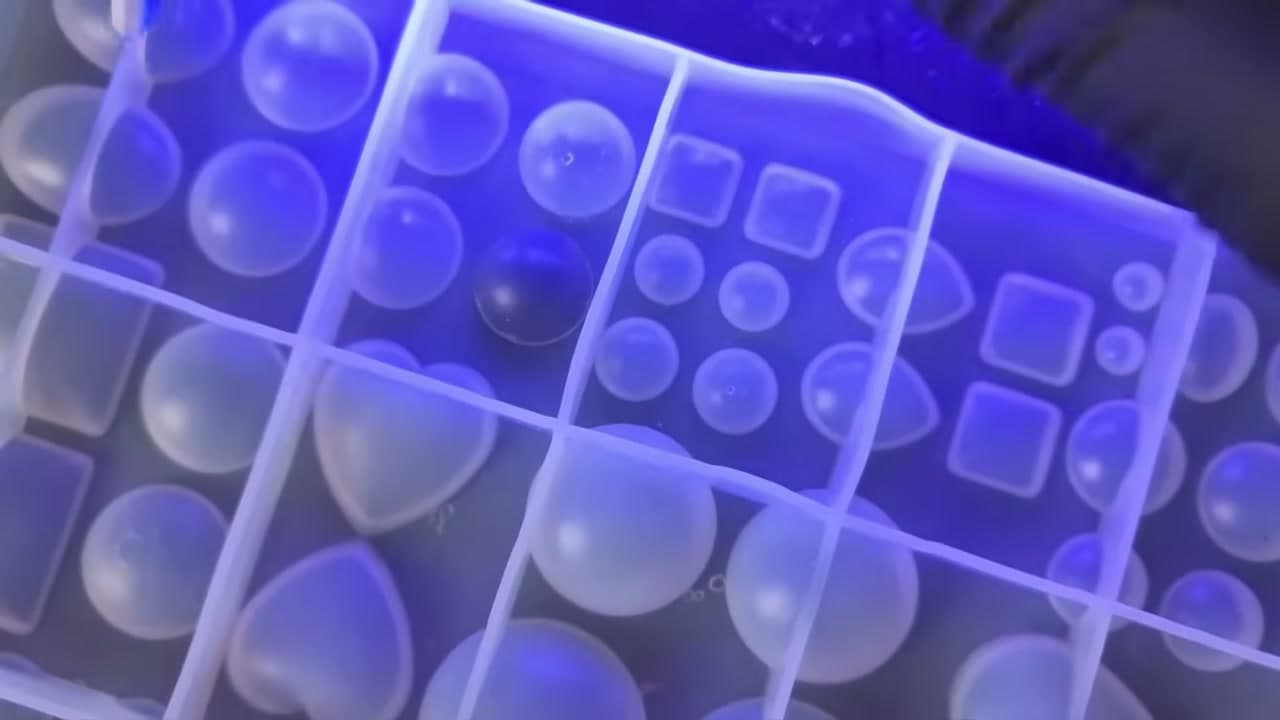
When a coloured piece is gooey in the middle, turn the mould over and put the lamp on the back of it. Silicone passes enough light through to reach the resin the top surface was shading.

Give it another couple of minutes from below. It does not always save a badly overdyed piece, but it rescues plenty of borderline ones, and it costs nothing to try before you throw it out.

Tip

Flip the whole mould rather than turning the piece out first. A half-cured piece deforms the moment you touch it. Watch this step

7

Step 7: Recognise Oxygen Inhibition, the Real Culprit

8:40
Step 7: Recognise Oxygen Inhibition, the Real Culprit - How to Fix Sticky UV Resin

Tilt the mould and look at the surface of a piece that seems cured. If a thin wet film slides around on top of something that is solid underneath, that is oxygen inhibition, and it is the reason most people think their resin is faulty.

Oxygen in the air around your bench keeps that top layer of molecules from bonding. Everything below the surface cures fine. It affects nail technicians, 3D printing resins and dental work for exactly the same reason, so you are in good company. It is also useful sometimes, because that uncured skin is what lets a second layer bond to the first.

Tip

A desk fan blowing across your work makes this dramatically worse. Ventilate the room, not the piece. Watch this step

8

Step 8: Put a Clear Cup Over the Mould

11:08
Step 8: Put a Clear Cup Over the Mould - How to Fix Sticky UV Resin

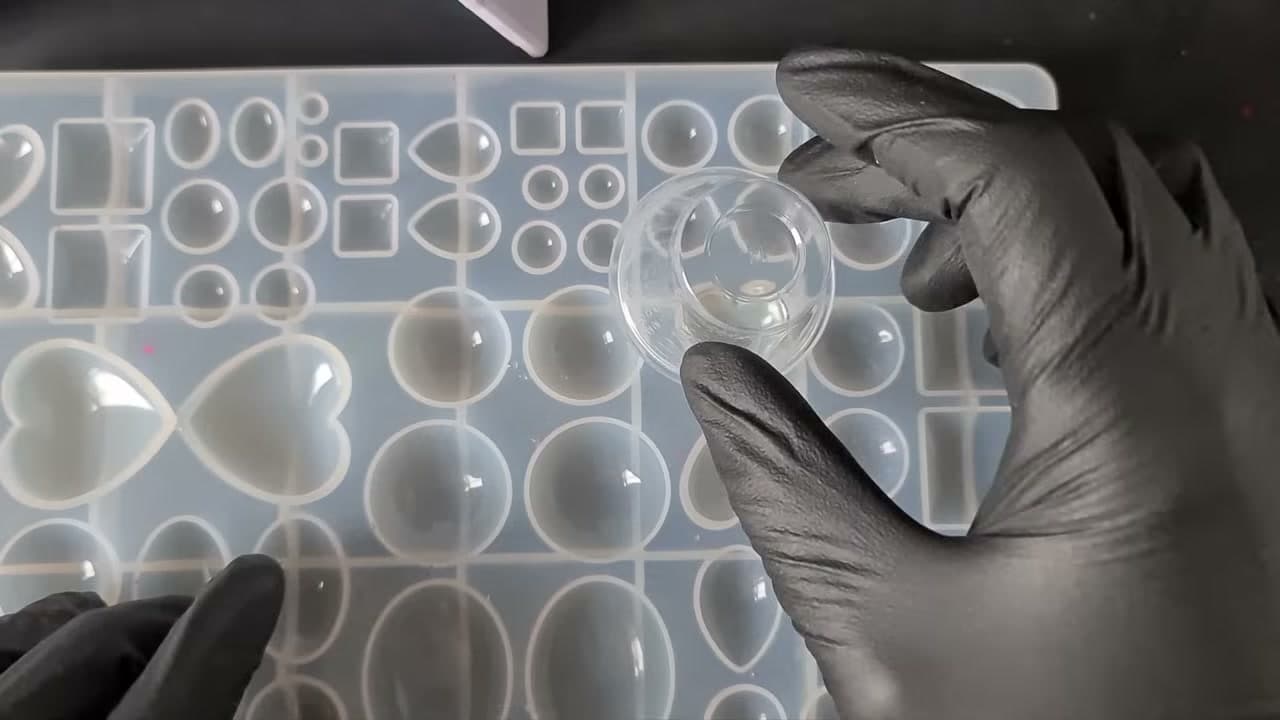
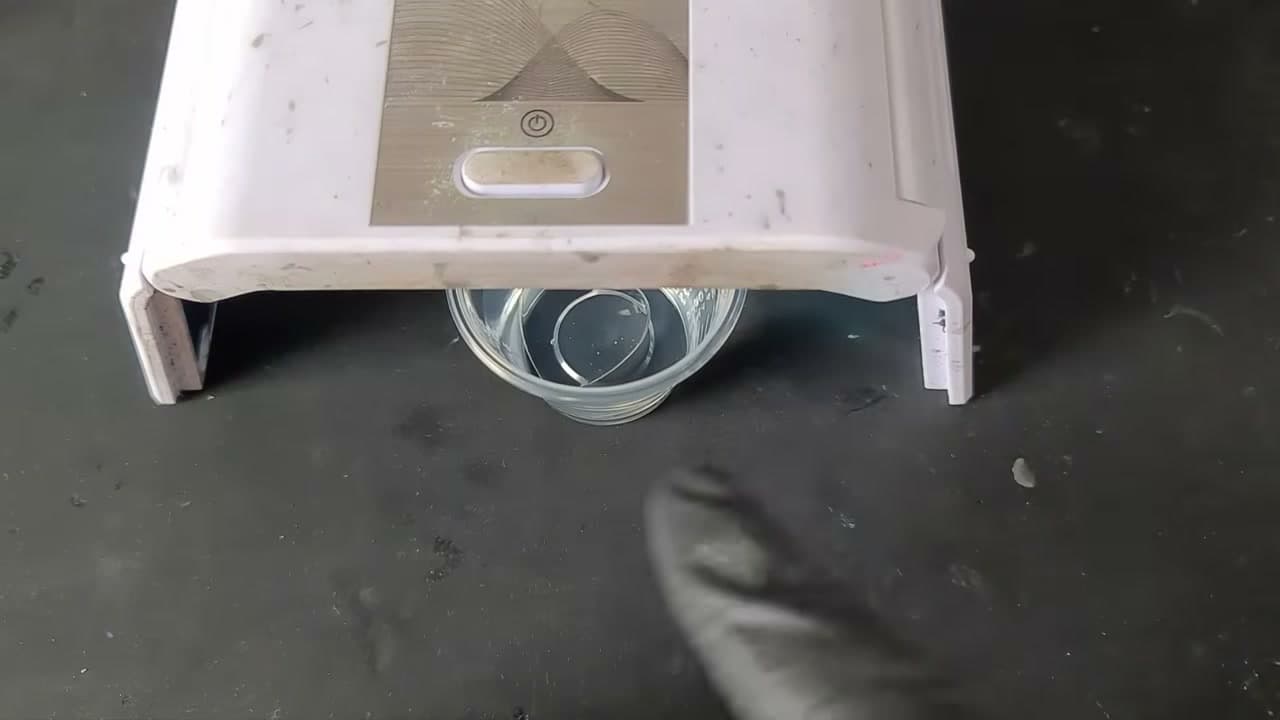
The simplest fix is to stop air moving across the surface. Sit a clear plastic mixing cup upside down over the filled cavity, then cure through it. One minute under the lamp and the surface comes out dry.

It works even with a fan running, which is the useful part. You get to keep the room ventilated, which matters with resin fumes, while the air immediately around the piece stays still.

Tip

Nail technicians do the same thing with a sheet of clear plastic film laid over the surface. On resin that leaves sharper edges, so a cup is better. Watch this step

9

Step 9: Cure the Sticky Piece Under Water

13:42
Step 9: Cure the Sticky Piece Under Water - How to Fix Sticky UV Resin

This is the rescue for a piece that is already tacky and out of the mould. Drop it into a shot glass of water and put the lamp over the top. Water blocks the oxygen completely and UV passes through it happily, even bouncing around inside the glass.

Rubbing alcohol gets suggested a lot for this and it is a gamble. It can lift the surface, leave a cloudy film, or pick up lint and lock it in. The water cure has no downside worth mentioning.

Tip

Use a glass, not plastic. Cloudy plastic scatters the light and slows the whole thing down. Watch this step

10

Step 10: A Minute a Side and It Comes Out Clear

14:38
Step 10: A Minute a Side and It Comes Out Clear - How to Fix Sticky UV Resin

Give it about a minute, turn the piece over, and give it another. Clear pieces are fairly forgiving, but anything with colour or inclusions in it definitely wants both sides done, because the light will not get all the way through in one go.

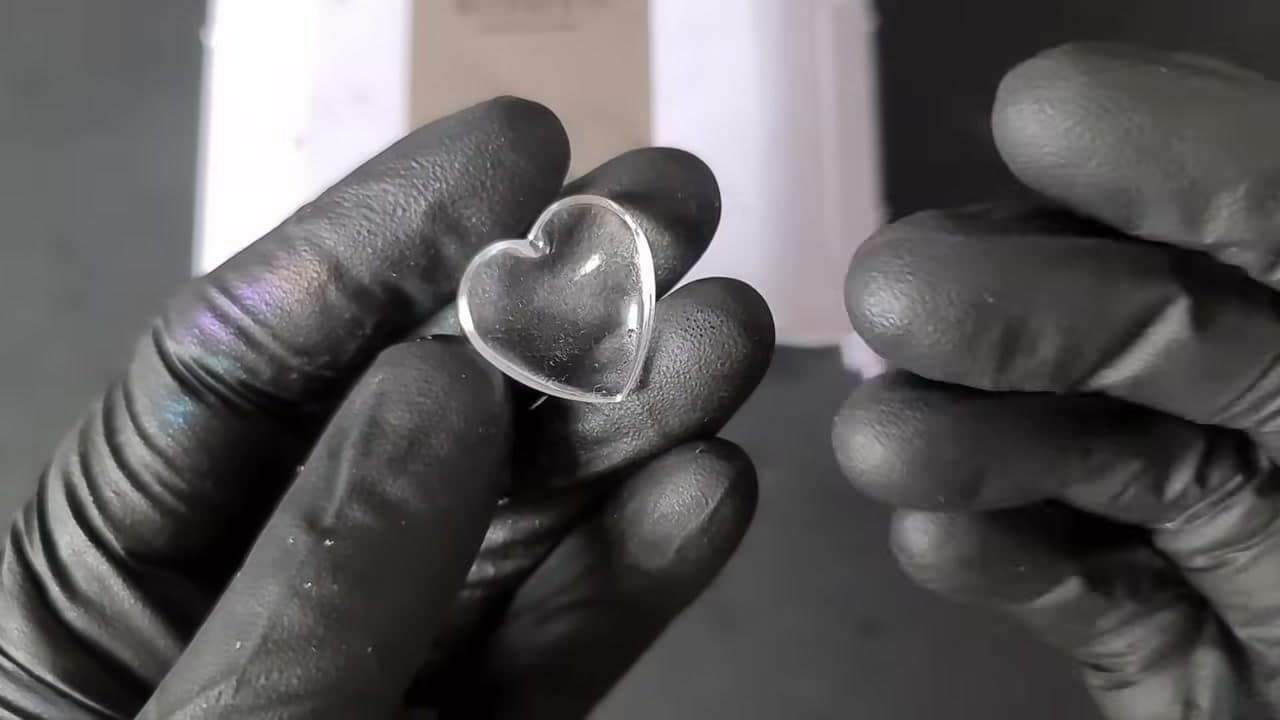
Out of the water it is hard, glossy and completely dry to the touch. Worth doing this on any piece you were about to bin, and worth doing to salvaged offcuts too - undercured resin in landfill is a genuinely bad outcome, and broken pieces can always be buried in a dark layer of epoxy later.

Tip

Dry it on a lint-free cloth rather than paper towel. Freshly cured resin picks up fibres from anything fluffy. Watch this step

Keep going

How to Make Resin Bookmarks (3 Easy Techniques)

Products Used

☐ The Checklist

How to Fix Sticky UV Resin

Tools
5
Materials
3
Steps
10
Video
16 min

Tools we recommend

Your Guide

Daniel Cooper

As an Amazon Associate we earn from qualifying purchases. Links on this page may be affiliate links - clicking them and buying doesn't change your price, but helps support ShowMeStepByStep.

Tags

Sunday How-To

New resin art tutorials, every Sunday

One short email with the week's best step-by-step guides. Free, no spam, unsubscribe anytime.

Test your knowledge

Did the lesson stick? Find out in 2 minutes.

5 quick questions covering what you just read. No signup, no score saved — just a gut check.

Quick reference

Key takeaways from How to Fix Sticky UV Resin

5 questions, answers, and one-line explanations. Tap to expand.

  1. 1.What is the first thing to check when UV resin stays tacky?

    Answer: The instructions on the bottle

    Cure times vary by brand, and most sticky resin is simply undercured for that product.

  2. 2.What is the most common real cause of a tacky surface?

    Answer: Oxygen inhibition at the top layer

    Air touching the surface stops it curing, so the top stays sticky while the inside sets hard.

  3. 3.What does putting a clear cup over the mould achieve?

    Answer: It keeps air off the curing surface

    With no oxygen reaching the top, the surface cures as hard as the inside.

  4. 4.The fix for an already sticky piece is to cure it how?

    Answer: Submerged in water

    Water keeps oxygen off the surface, and a minute a side is usually enough.

  5. 5.Too much dye went in. Why does that leave the piece sticky?

    Answer: Pigment blocks the UV light

    Heavy pigment stops light getting through, so flipping the mould and curing from underneath helps.

Did this work for you?

What's next

Weekly Digest

Liked this resin art tutorial?

Pick the categories you want to hear about. Weekly digest of new step-by-step tutorials. No spam, easy unsubscribe.

Send me tutorials about

We only email about new tutorials. Easy unsubscribe anytime.