How to Add Color to Resin

Resin ArtEasy14:389 stepsBrowse more →
Also in:Crafts

By ShowMeStepByStepPublished Updated

Based on a video by Seriously Creative.

Resin is endlessly versatile, but once you add color to it, things really come alive. This tutorial from the Seriously Creative YouTube channel covers the three main approaches: resin pigment ink, alcohol ink, and mica powder. Each one behaves differently in the resin, gives a different look when cured, and suits different project types. Acrylic paint also gets a fair shot, with an honest look at where it falls short.

By the end, you'll know exactly which colorant to reach for depending on whether you want vivid solids, shimmery effects, or bold swirled pours.

Step-by-Step Guide

1

Step 1: Know Your Colorants

0:35
Step 1: Step 1: Know Your Colorants

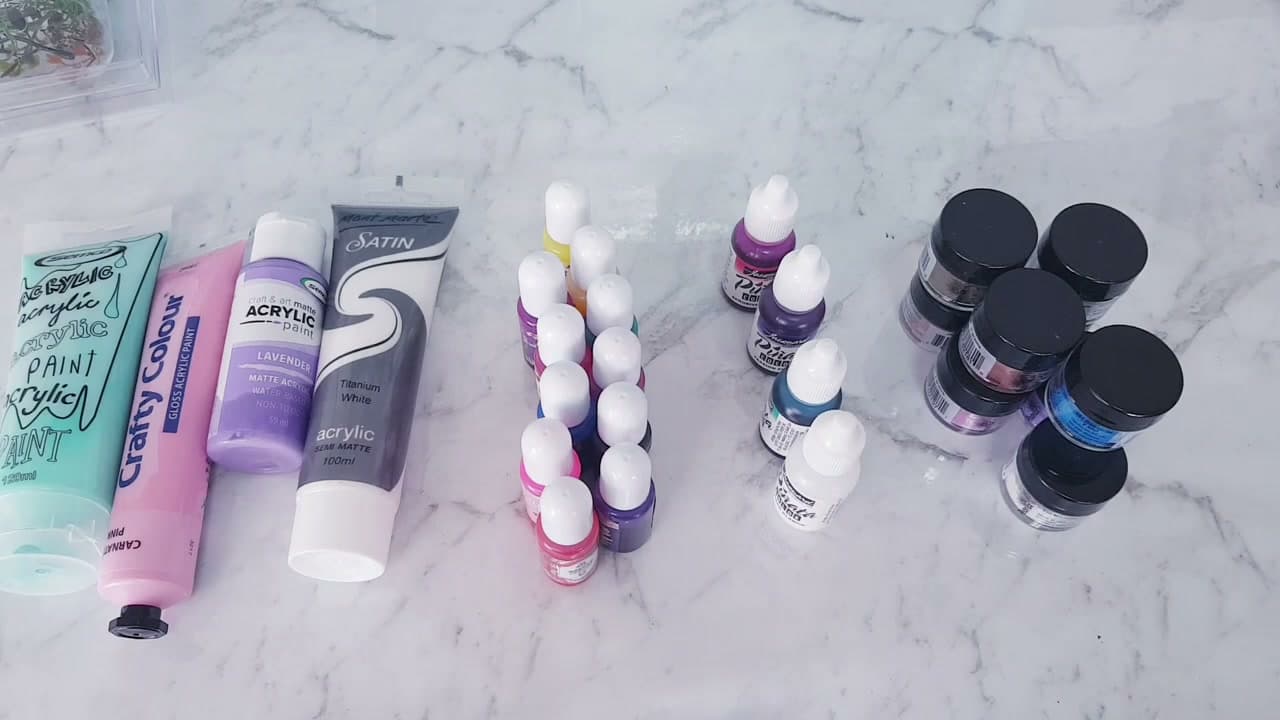
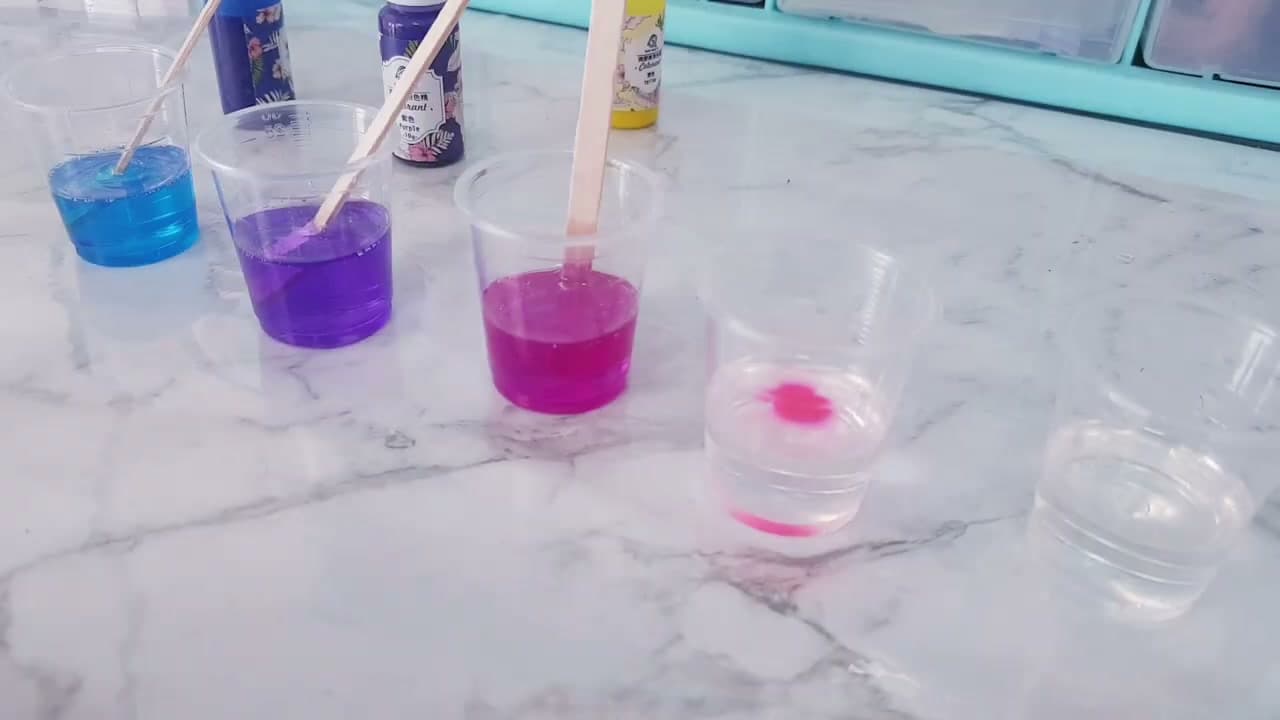
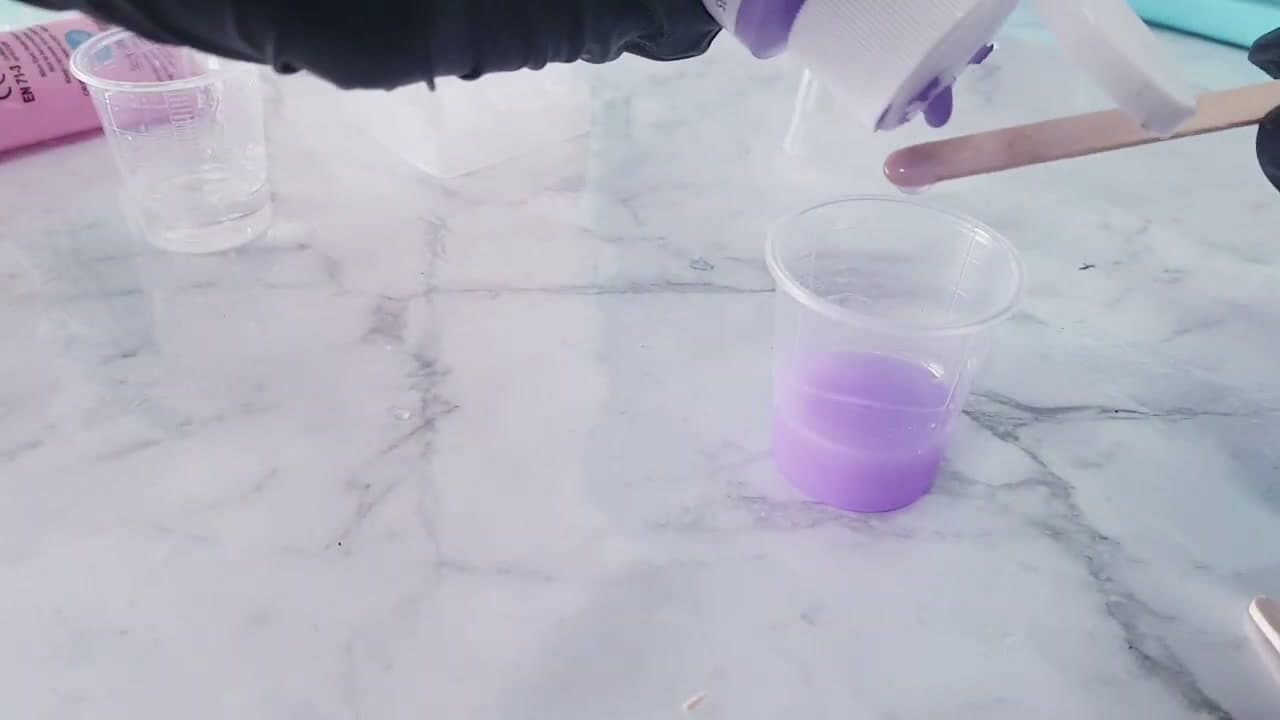
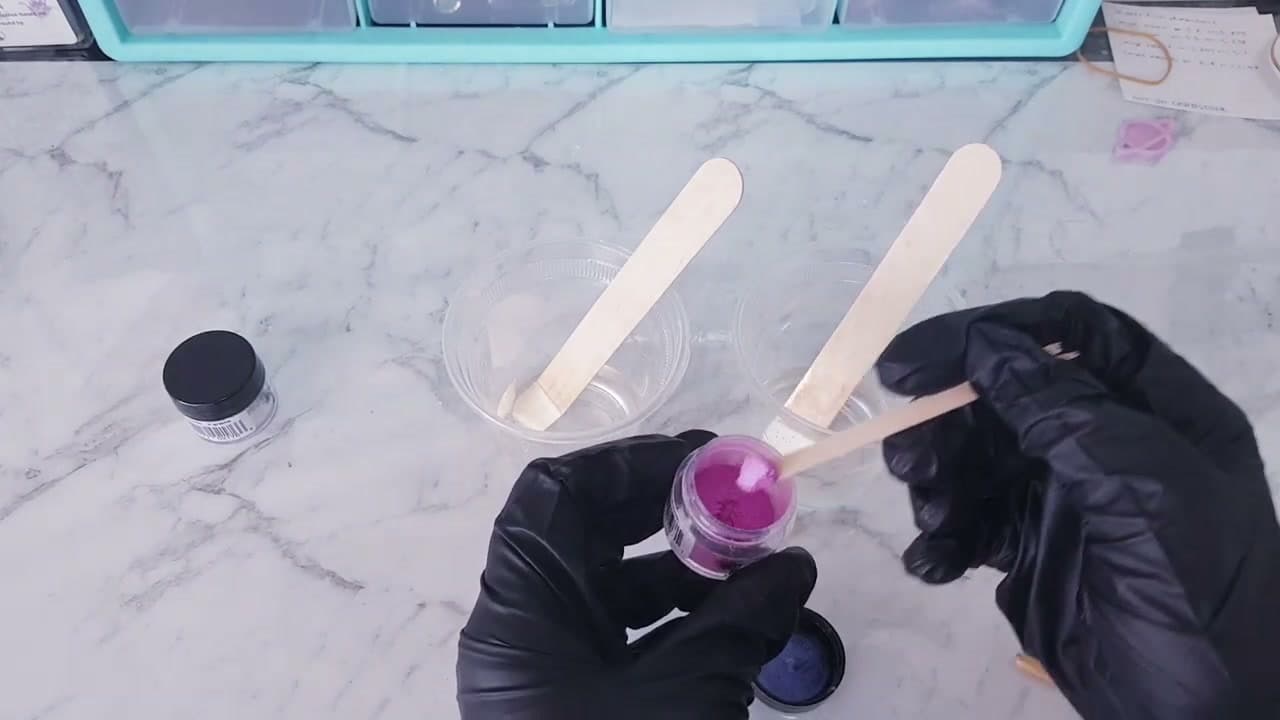
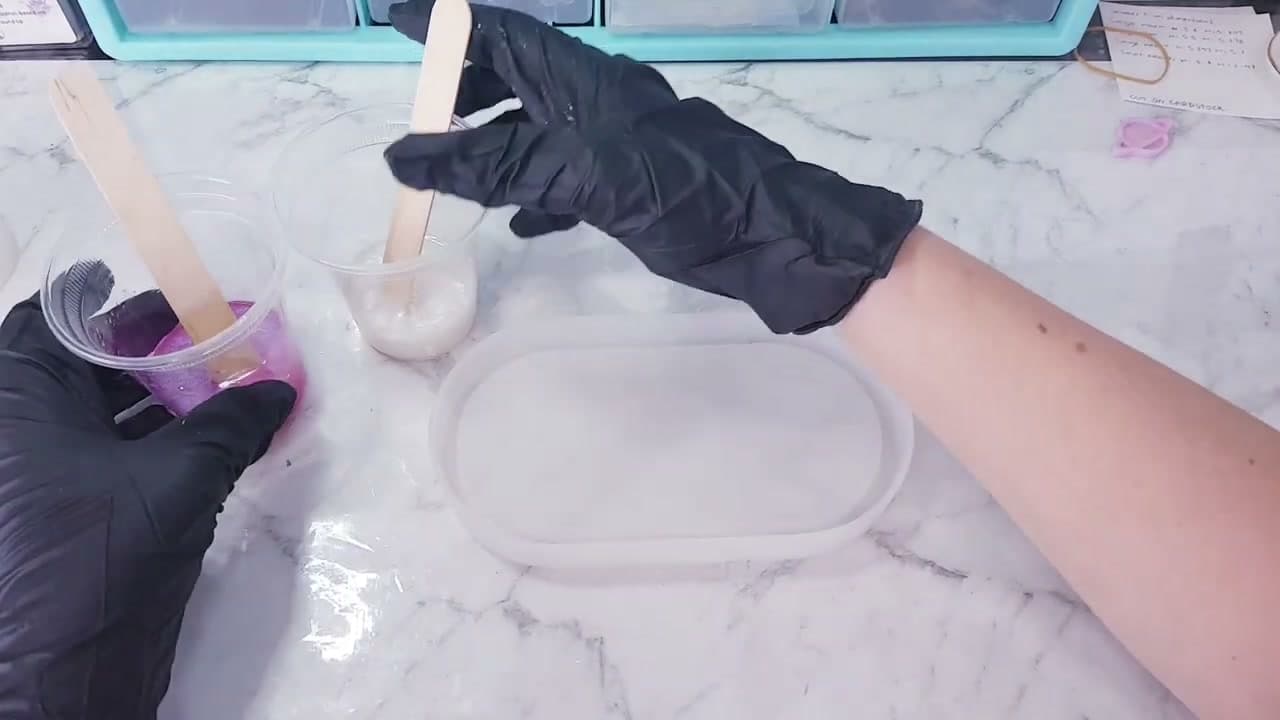
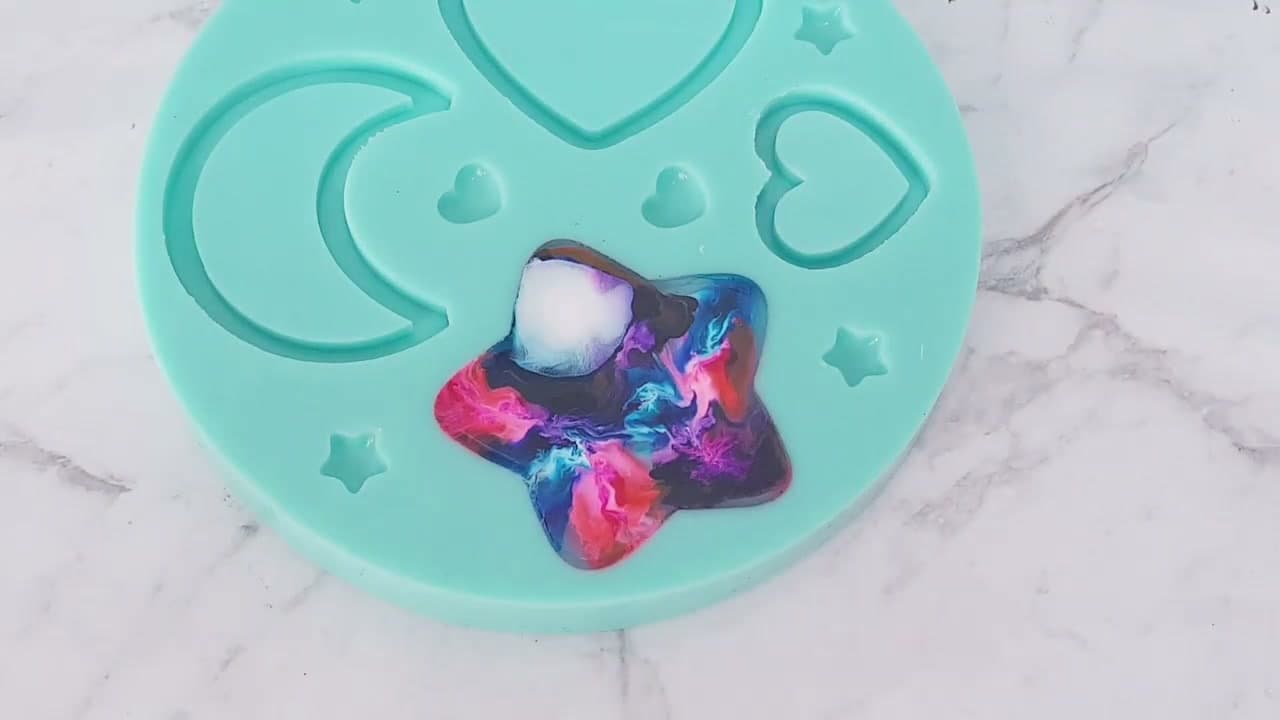
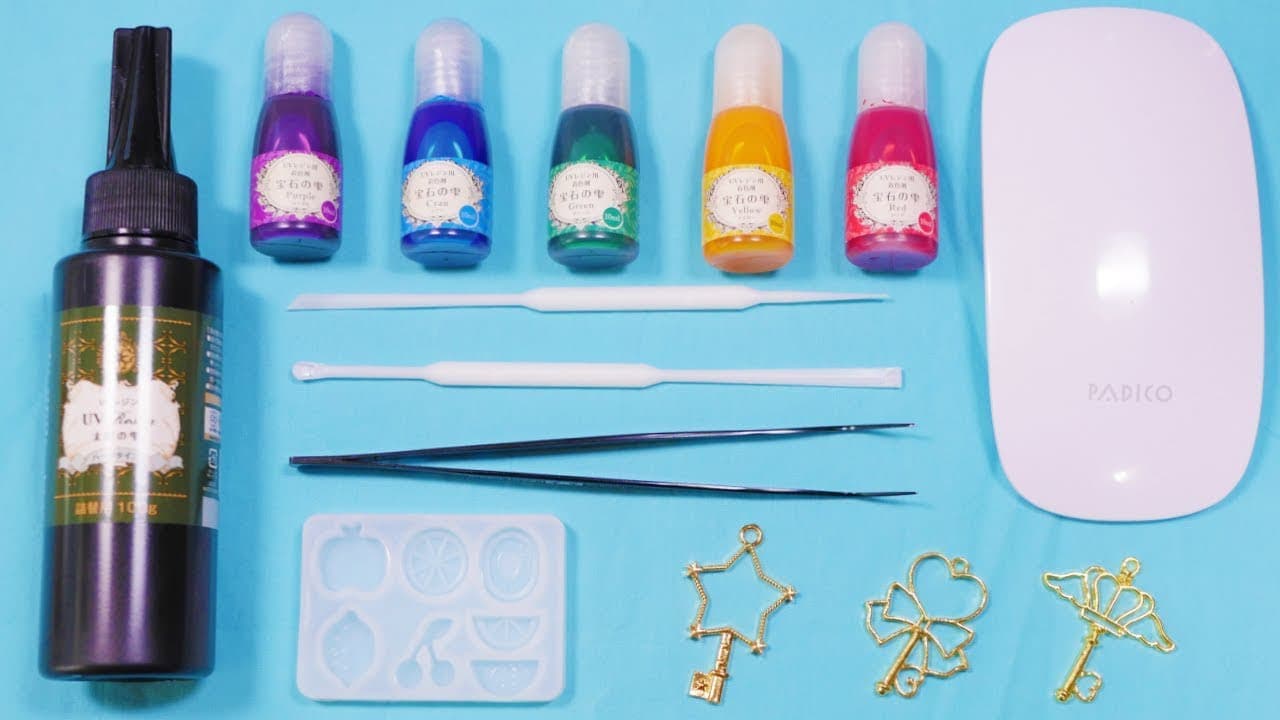
Before mixing anything, take stock of what you have. The main options are resin pigment ink (an acrylic-base liquid that comes in vivid colors), alcohol ink (a thinner dye-based ink), and mica powder (a shimmery metallic powder). Acrylic paint works too but has some quirks. India inks and pigment powders are also out there worth exploring once you have the basics down.

Tip

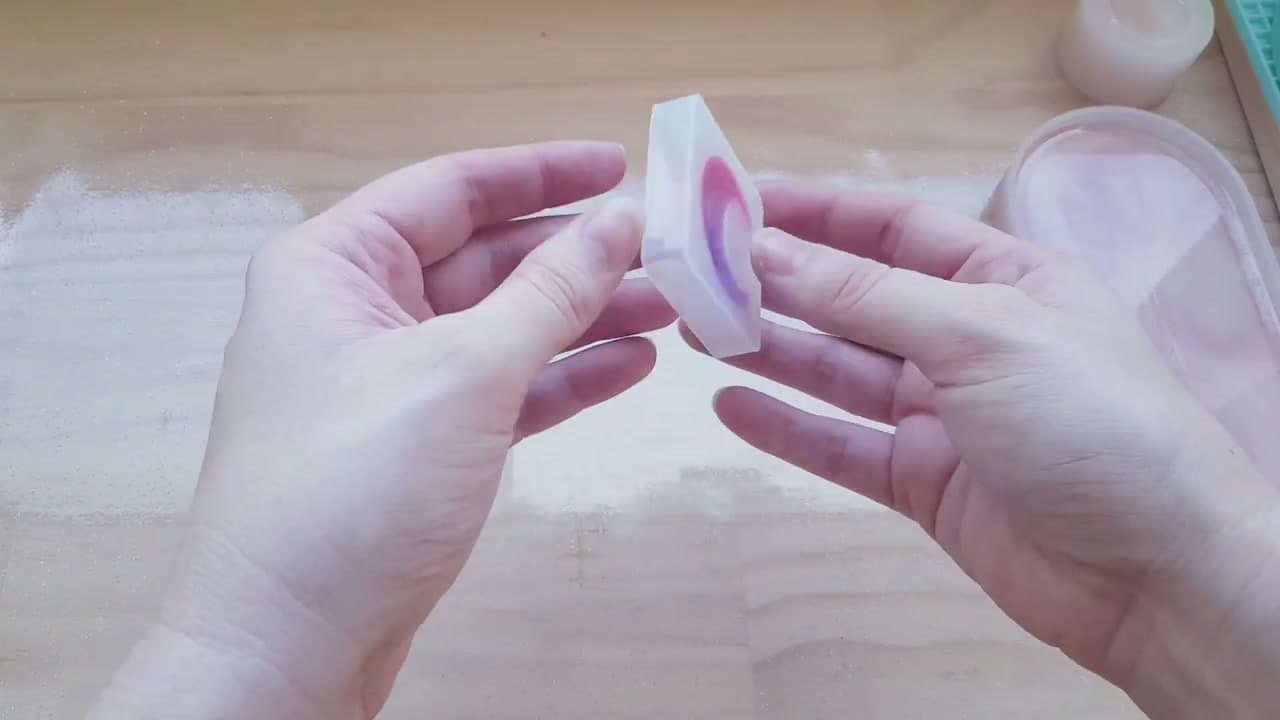
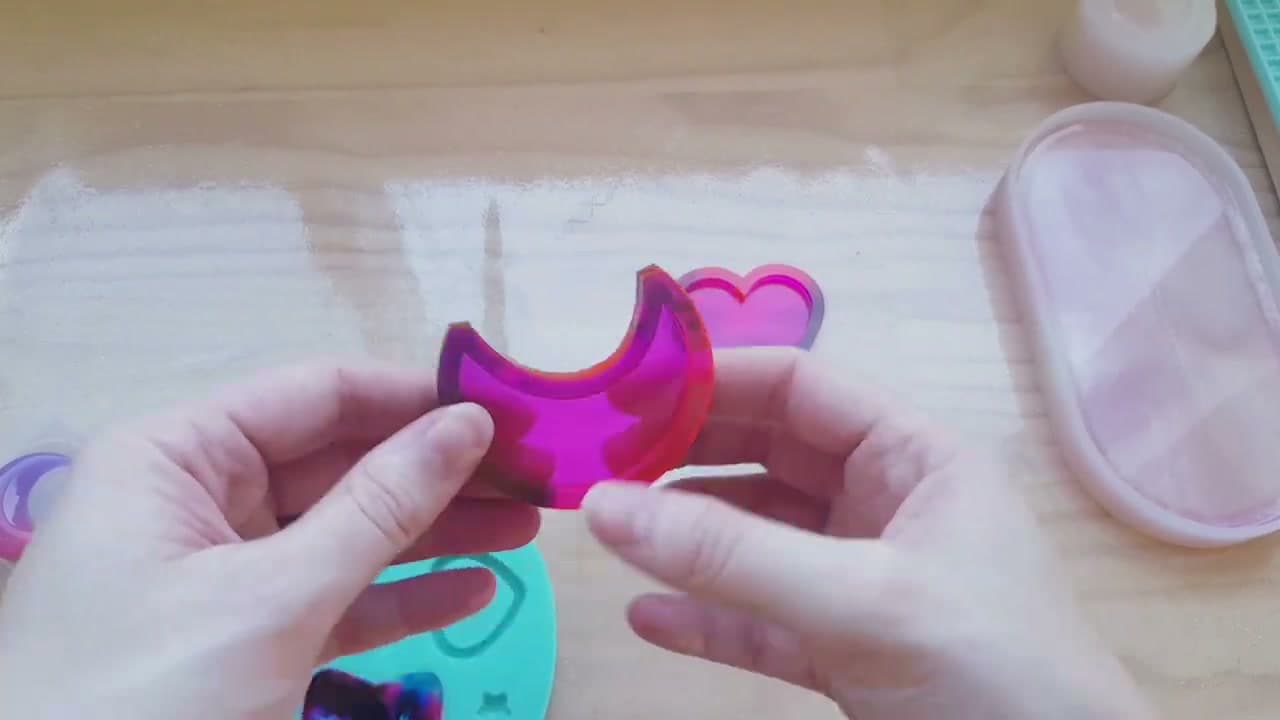
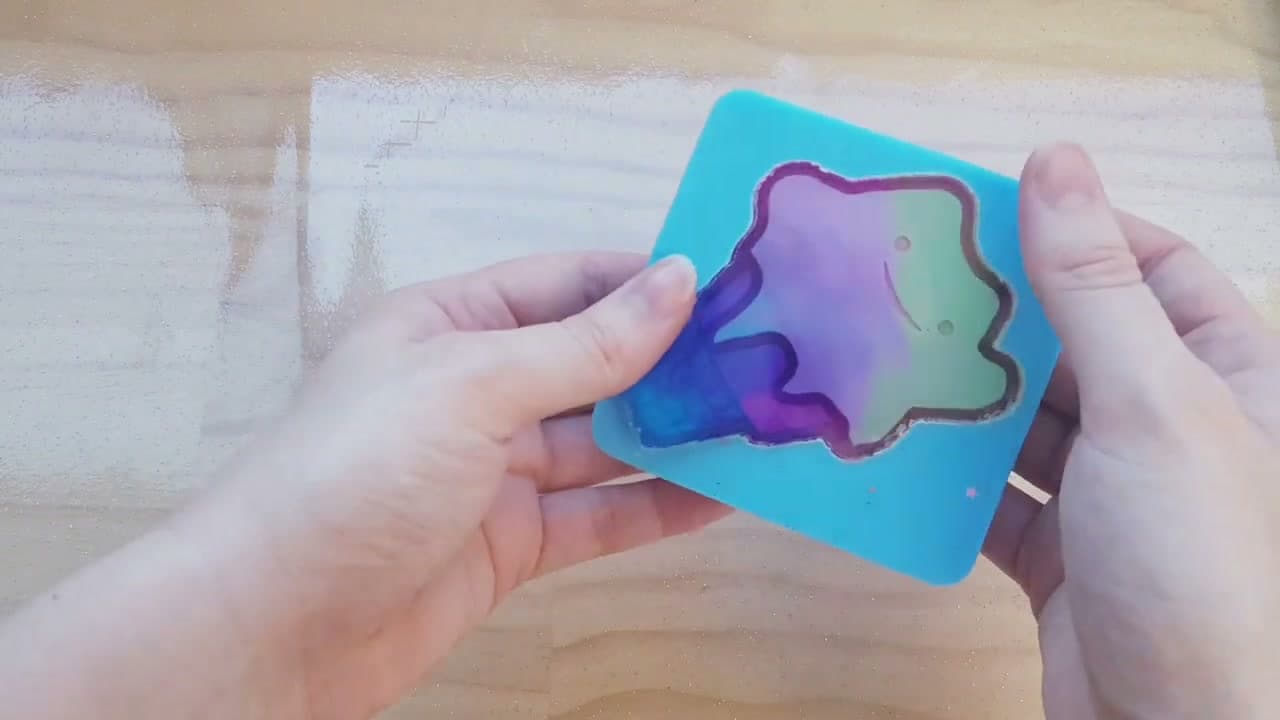
Each colorant behaves differently - pigment ink gives strong solid color, mica adds shimmer, alcohol ink creates translucent washes and marbled effects.

2

Step 2: Mix Resin Pigment Ink

2:35
Step 2: Step 2: Mix Resin Pigment Ink

Split your mixed resin into small cups, one per color. Add pigment ink a tiny drop at a time - seriously, start with less than you think you need. You can always add more, but once the color is too dark or too concentrated, you're starting over with fresh resin. Stir each cup thoroughly until the color is even and streak-free. These pigment inks give really vivid, saturated results.

Tip

The cups in this demo show blue, purple, magenta, pink, and yellow - each stirred to a uniform color before pouring.

3

Step 3: Try Acrylic Paint

3:50
Step 3: Step 3: Try Acrylic Paint

Acrylic paint is probably already in your craft stash, so it's a natural first thing to try. The downside: it doesn't fully blend into resin the way liquid pigments do. You tend to get a slightly powdery, uneven texture in the cured piece - small blobs where the paint didn't integrate. Use it in tiny amounts and stir well. It's fine for practice or for pieces where a slightly matte, uneven look is acceptable.

Tip

Don't use too much acrylic paint - excess paint can prevent the resin from curing properly, leaving it tacky.

4

Step 4: Add Mica Powder

5:00
Step 4: Step 4: Add Mica Powder

Mica powder (like Pearl EX) mixes into resin beautifully and gives a metallic shimmer that pigment inks can't replicate. Scoop a small amount into your resin cup and stir it in. You can add quite a bit without affecting the cure - the color builds up as you add more. For an extra-intense effect on detailed molds, dust the dry powder into the mold with a soft brush before pouring.

Tip

Brushing mica directly into a mold before pouring highlights fine details in the mold design and gives a beautiful surface shimmer.

5

Step 5: Do a Dirty Pour

6:05
Step 5: Step 5: Do a Dirty Pour

A dirty pour is when you combine two different colored portions of resin in the same cup and pour them together into the mold without fully mixing them. With mica powder resin this looks especially good because the shimmer catches light differently in each swirl. Tilt the cup gently as you pour to let the colors fold into each other. The result is layered, marbled, and hard to replicate twice.

Tip

Pour from a low height and move the cup slowly to control where each color flows.

6

Step 6: Use Alcohol Ink

7:20
Step 6: Step 6: Use Alcohol Ink

Alcohol ink works differently from the others. Drip it into a cup of clear resin without stirring to create a swirled petri-dish effect - the ink floats and spreads, making gorgeous abstract patterns when poured. If you stir it in, the color becomes more uniform but noticeably lighter than the ink looks in the bottle. Alcohol inks are translucent, so your poured pieces will have a jewel-like quality rather than an opaque look.

Tip

Alcohol inks also tend to shift color over time when exposed to UV light, so keep finished pieces away from direct sunlight.

7

Step 7: Let Everything Cure

9:10
Step 7: Step 7: Let Everything Cure

Once you've poured all your molds, set them on a flat, level surface and leave them alone. Most epoxy resins need 24-48 hours to fully cure, and touching them early can leave fingerprints or disturb the surface. Cover them loosely with a box or container to keep dust out - small particles land easily on wet resin and get locked in permanently.

Tip

Warm rooms speed up curing slightly. Temperature around 70-75F is ideal for most epoxy resins.

8

Step 8: Demold and Compare Results

10:20
Step 8: Step 8: Demold and Compare Results

Gently flex silicone molds to release pieces - they should pop out cleanly if the resin has fully cured. Lay them all out and compare. The acrylic paint pieces show a softer, slightly uneven texture. The alcohol ink pieces look translucent and jewel-like but may appear lighter than expected. The mica pieces catch the light with a metallic shimmer. If any pieces feel slightly tacky on the back, leave them an extra day.

Tip

If alcohol ink pieces have faded or shifted color, that's normal - the ink is not UV-stable in resin. Pigment ink holds color much better long-term.

9

Step 9: Show Off Your Pigment Ink Results

13:10
Step 9: Step 9: Show Off Your Pigment Ink Results

Resin pigment ink is the standout performer for vivid, true-to-color results. The cured gummy bears and trinkets come out glossy, saturated, and jelly-like. To get softer pastel shades, mix a small amount of white pigment ink into your color before pouring - it tones down the intensity and gives a milky, pastel finish. These pieces hold their color well over time, which makes pigment ink a great default choice for most resin projects.

Tip

Add a thin coat of clear resin as a topcoat to give pieces extra depth and a glass-like shine.

Products Used

☐ The Checklist

How to Add Color to Resin

Tools
6
Materials
6
Steps
9
Video
15 min

Your Guide

Seriously Creative

As an Amazon Associate we earn from qualifying purchases. Links on this page may be affiliate links - clicking them and buying doesn't change your price, but helps support ShowMeStepByStep.

Tags

What's next

Weekly Digest

Liked this resin art tutorial?

Pick the categories you want to hear about. Weekly digest of new step-by-step tutorials. No spam, easy unsubscribe.

Send me tutorials about

We only email about new tutorials. Easy unsubscribe anytime.