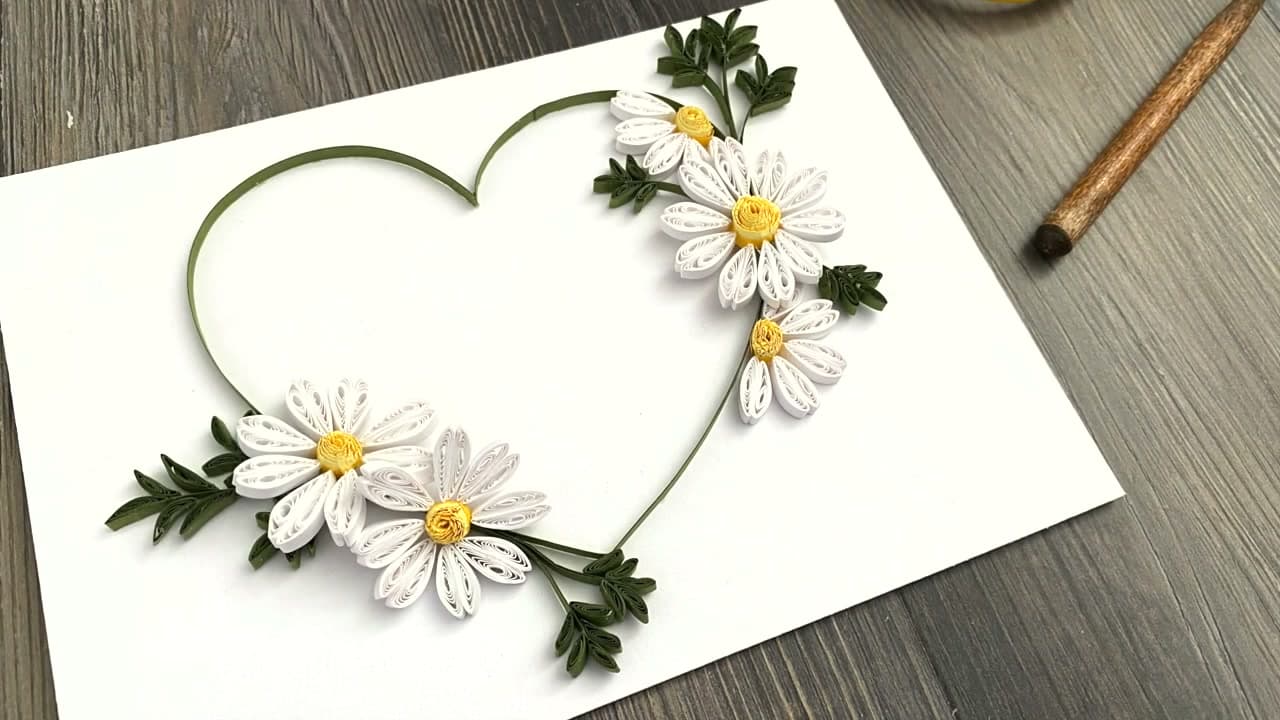
How to Paper Quill a Daisy

Also in:Crafts

By ShowMeStepByStepPublished

Based on a video by The Papery Craftery.

Daisies are the easiest flower to quill, which makes them the perfect first project once you have the basic shapes down. You only need three skills: a tight coil, a fringed roll, and a pinched teardrop. The white and yellow color combo is forgiving and the petals do not have to be perfect.

Meredith from The Papery Craftery walks through every step, including a clever sandwich technique that gives the yellow center a soft two-tone look. She also shows how to glue the petals so they sit naturally around the dome. Finish by adding a few green leaves and you have a daisy you can use on a card, frame, or build into a bouquet.

If you are still learning the basic shapes, start with our paper quilling for beginners guide first, then come back here for your first flower.

Step-by-Step Guide

1

Gather Your Quilling Supplies

0:40
Step 1: Gather Your Quilling Supplies

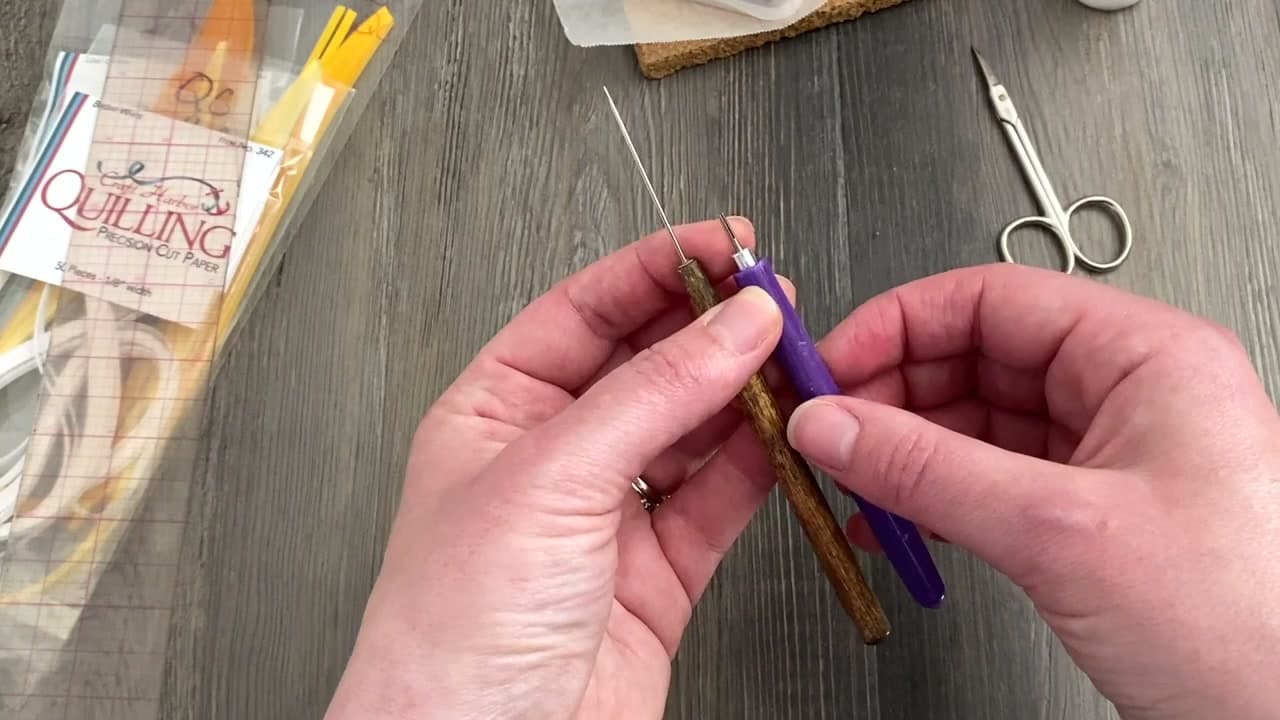
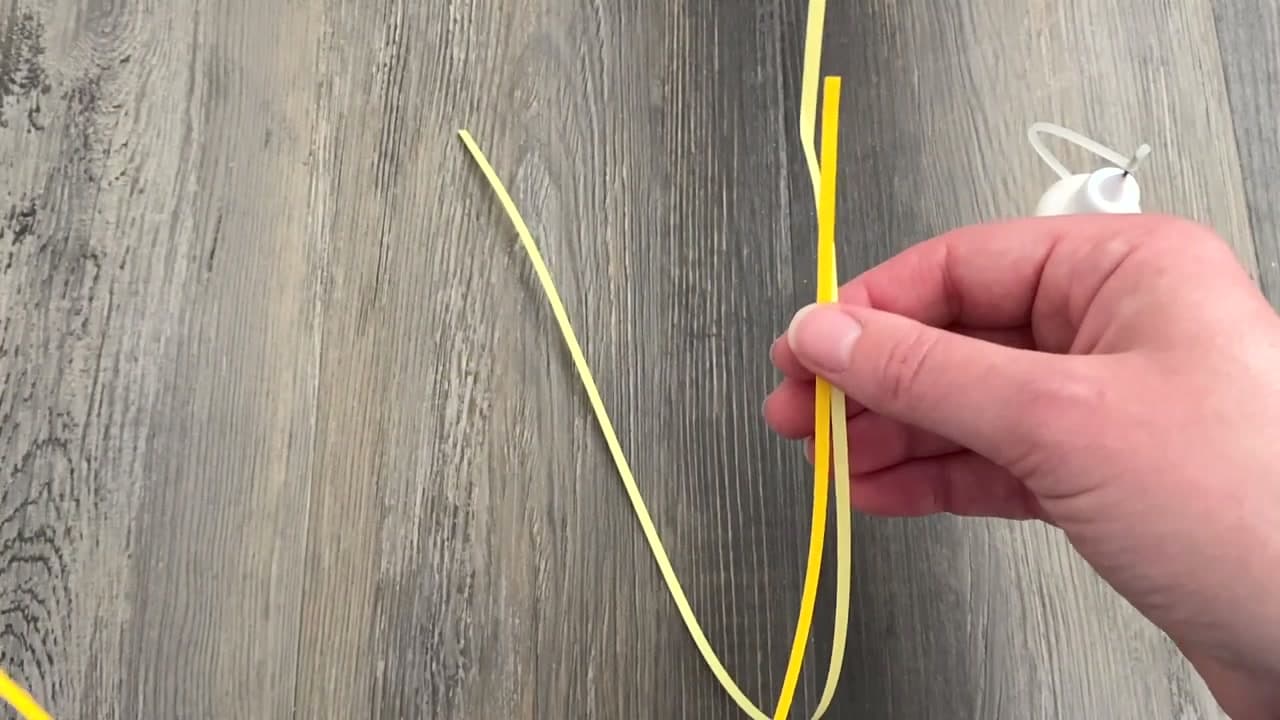
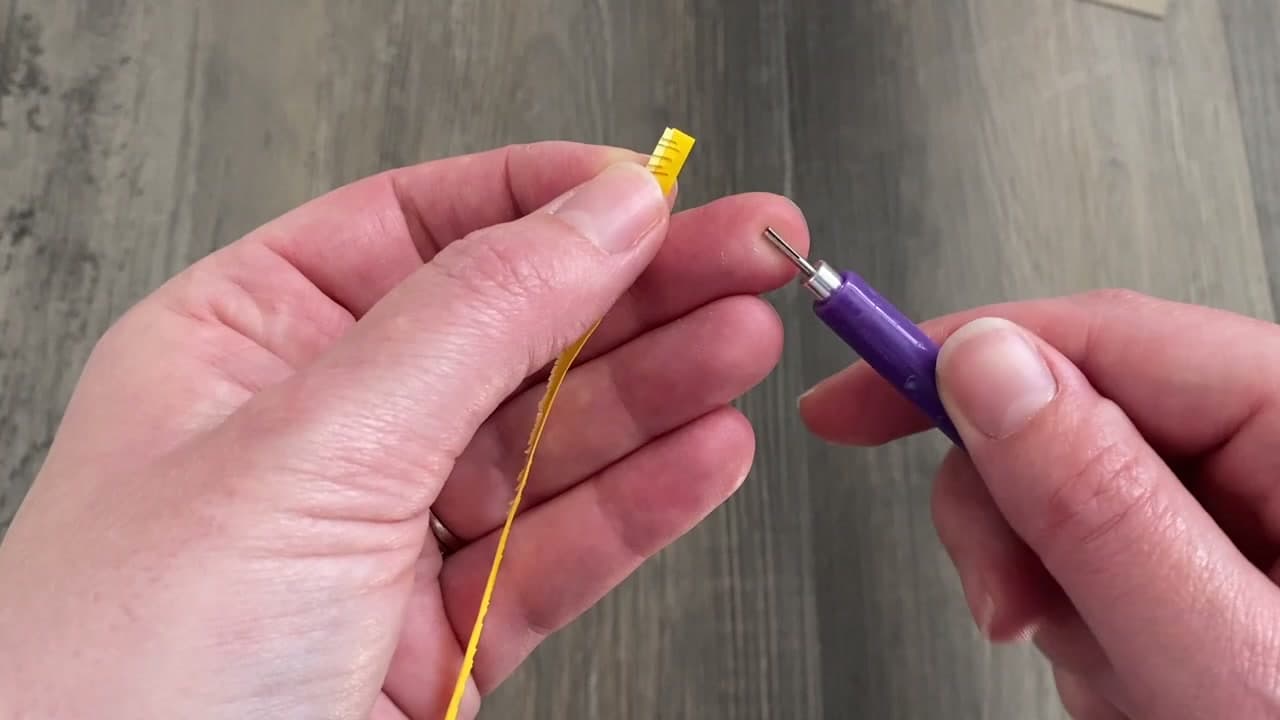
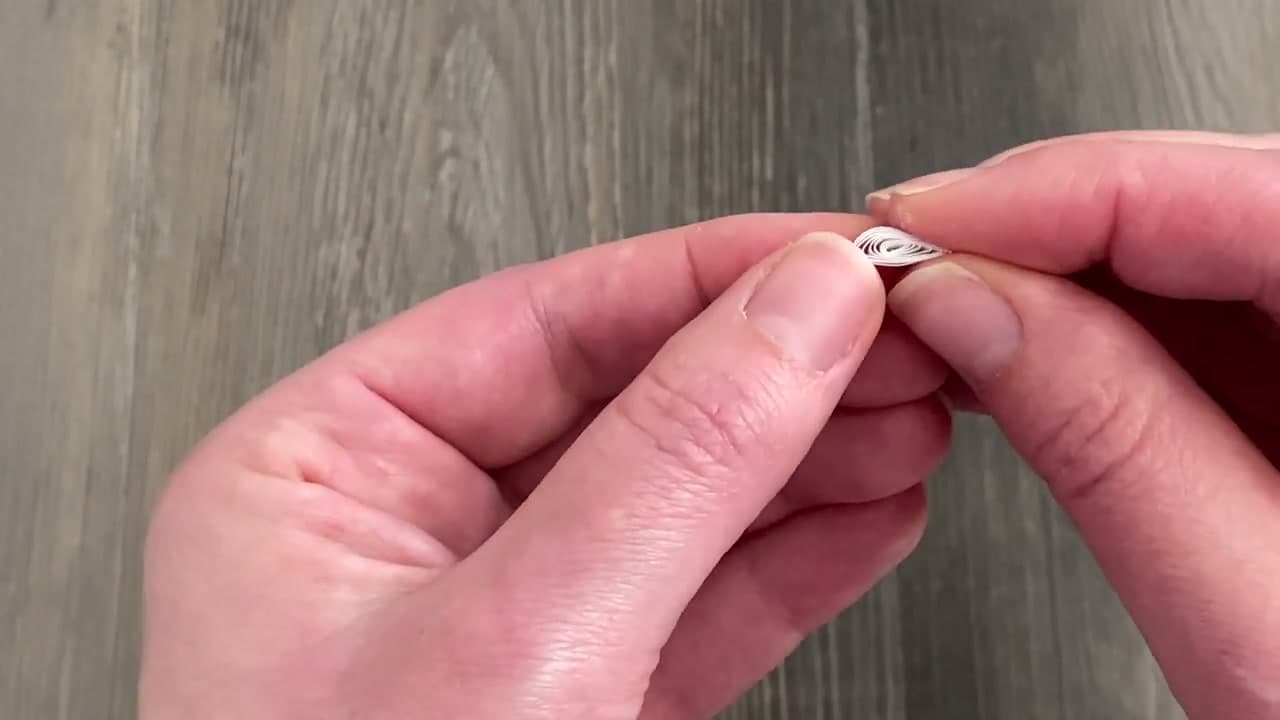
You need three colors of 1/8-inch quilling paper strips: bright white for the petals, pale and deep yellow for the center, and leaf green for the leaves. Grab a slotted quilling tool and a needle tool. The slotted tool is easier for the fringed center, and the needle tool gives the petals a tighter starting coil.

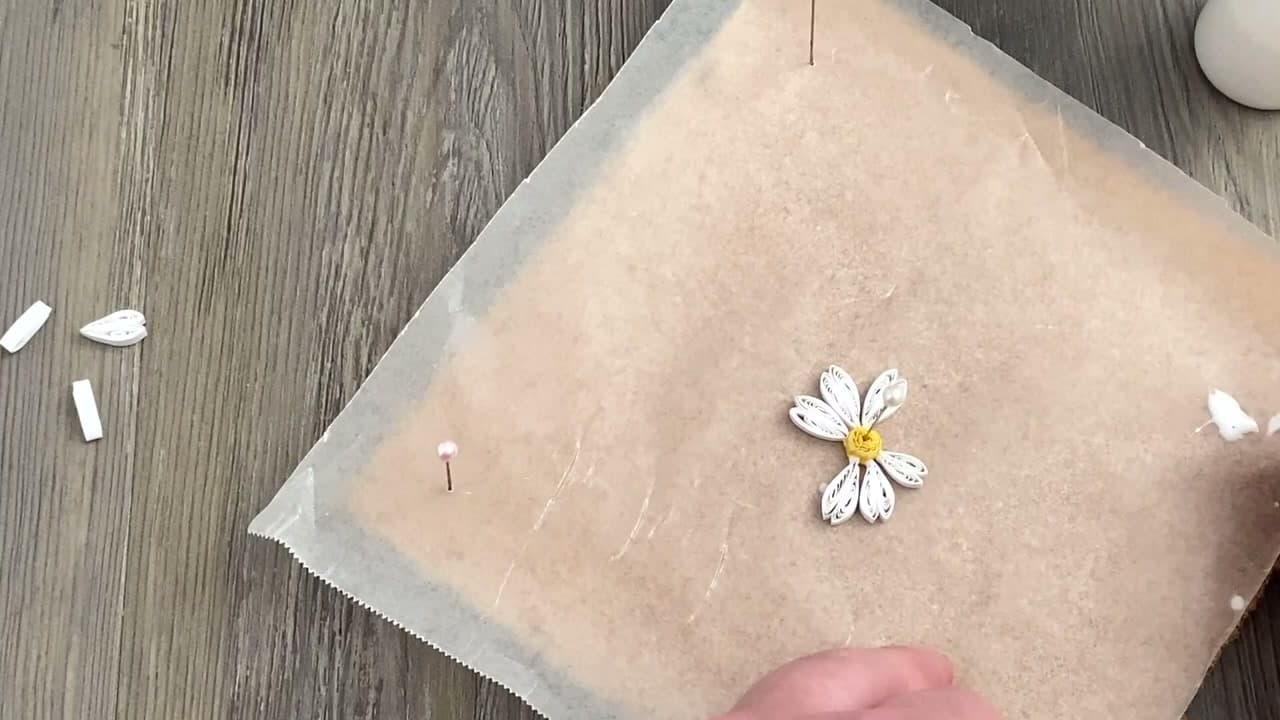
You also want small precision scissors, white craft glue (a needle-nose bottle saves your fingers), a ruler, and a cork work board topped with wax paper plus a few straight pins. The wax paper lets you peel the finished flower off cleanly once the glue dries.

Tip

If you do not own a needle tool, you can do every step with the slotted tool. The petal coils just open up a little bigger.

2

Build a Sandwiched Yellow Strip for the Center

1:30
Step 2: Build a Sandwiched Yellow Strip for the Center

The center gets a soft two-tone look from a strip with deep yellow on the outside and pale yellow peeking up the middle. Run a thin line of glue along the edge of a deep-yellow strip, then press a pale-yellow strip on top with the pale yellow sticking up just slightly above the deep edge. Fold back, glue again, line it up, and keep going in roughly one-inch sections so the strip stays straight.

Now flip and glue a second deep-yellow strip on the other side so the pale yellow ends up sandwiched in the middle with a little fringe of pale peeking out the top.

Tip

One full 18-inch sandwiched strip makes three or four daisy centers. You can also work in shorter 4 to 6 inch chunks if you are nervous about going crooked.

3

Fringe a 4 to 6 Inch Section

5:50
Step 3: Fringe a 4 to 6 Inch Section

Tear off a 4 to 6 inch section of the sandwiched strip. With small precision scissors, make tiny snips all the way down the pale-yellow edge. Each snip should cut through the pale yellow and just barely into the deep yellow. Do not cut all the way through the strip.

Those snips become the soft pollen-like fringe at the center of the daisy. Take your time. A fringe tool exists if you want to speed this up later, but scissors are fine for a few flowers.

Tip

Keep your snips close together. The denser the fringe, the more lush the daisy center looks.

4

Roll and Dome the Fringed Center

6:55
Step 4: Roll and Dome the Fringed Center

Slip the unfringed end of the strip into the slotted tool and roll it from end to end into a tight coil. The fringe might tear in spots. If it does, glue the break back together and keep rolling. The fringe will hide any patches.

Glue the tail down, slide the coil off the tool, then use the tool handle to gently push the underside up. That domes the fringe so it stands proud like the center of a real daisy.

Tip

Roll slowly and keep tension consistent so the coil stays tight. A loose roll falls apart when you start adding petals.

Products used in this step

5

Make the White Petals (8 to 10 per Daisy)

10:40
Step 5: Make the White Petals (8 to 10 per Daisy)

Each petal is two pinched teardrop shapes glued back to back. Roll a 6-inch white strip into a coil on the needle tool, slide it off, and let it relax in your fingers just enough to open up. Glue the tail down to lock the shape.

Pinch one side hard to a sharp point. Then give the other side a quick pinch off-center to create a flat bottom with a rounded top. Make a second one the same way and run a thin line of glue down the flat sides so they stick together into one round petal. You need 8 to 10 finished petals depending on how big your center turned out.

Tip

Leave the very top of the petal slightly open where the two halves meet. That little indent gives the daisy its classic shape.

6

Glue the Petals Around the Center

11:35
Step 6: Glue the Petals Around the Center

Lay your wax-paper-topped work board flat. Set the fringed yellow center in the middle. Dip the flat back of each petal into a small puddle of glue (or use tweezers if you prefer) and press it gently against the side of the dome. Work your way around the circle, spacing the petals evenly.

If a petal drifts out of place while the glue is still wet, just nudge it back. Small gaps between petals are fine. They actually make the finished daisy look more natural.

Tip

Place petals opposite each other (top, then bottom, then sides) so the spacing stays even instead of bunching up on one side.

7

Add Green Leaves and Finish the Design

17:00
Step 7: Add Green Leaves and Finish the Design

For the leaves, fold a 6-inch green strip in half, run a line of glue down one half, and press it flat. That double-thick strip dries stiff and works great as both stems and leaves. Cut short 2 to 3 inch pieces, roll each one into a coil, let it open up just a hair, then glue the tail. Pinch one end to a sharp point and bend the leaf gently over your finger so it curves.

Make an odd number of leaves in different sizes (three or five looks best) and glue them along a green stem on the wax paper. Once everything dries, peel the daisy off the wax paper and use it to top a greeting card, glue it to a frame, or cluster several into a quilled bouquet.

Tip

Want a fuller bouquet? Make three daisies in different sizes (vary the length of the center sandwich strip) so they cluster naturally instead of all matching.

Products Used

☐ The Checklist

How to Paper Quill a Daisy

Tools
8
Materials
6
Steps
7
Video
19 min

Your Guide

The Papery Craftery

As an Amazon Associate we earn from qualifying purchases. Links on this page may be affiliate links - clicking them and buying doesn't change your price, but helps support ShowMeStepByStep.

Tags

What's next

Related collections

Curated theme pages that include this tutorial.

Weekly Digest

Liked this paper crafts tutorial?

Pick the categories you want to hear about. Weekly digest of new step-by-step tutorials. No spam, easy unsubscribe.

Send me tutorials about

We only email about new tutorials. Easy unsubscribe anytime.