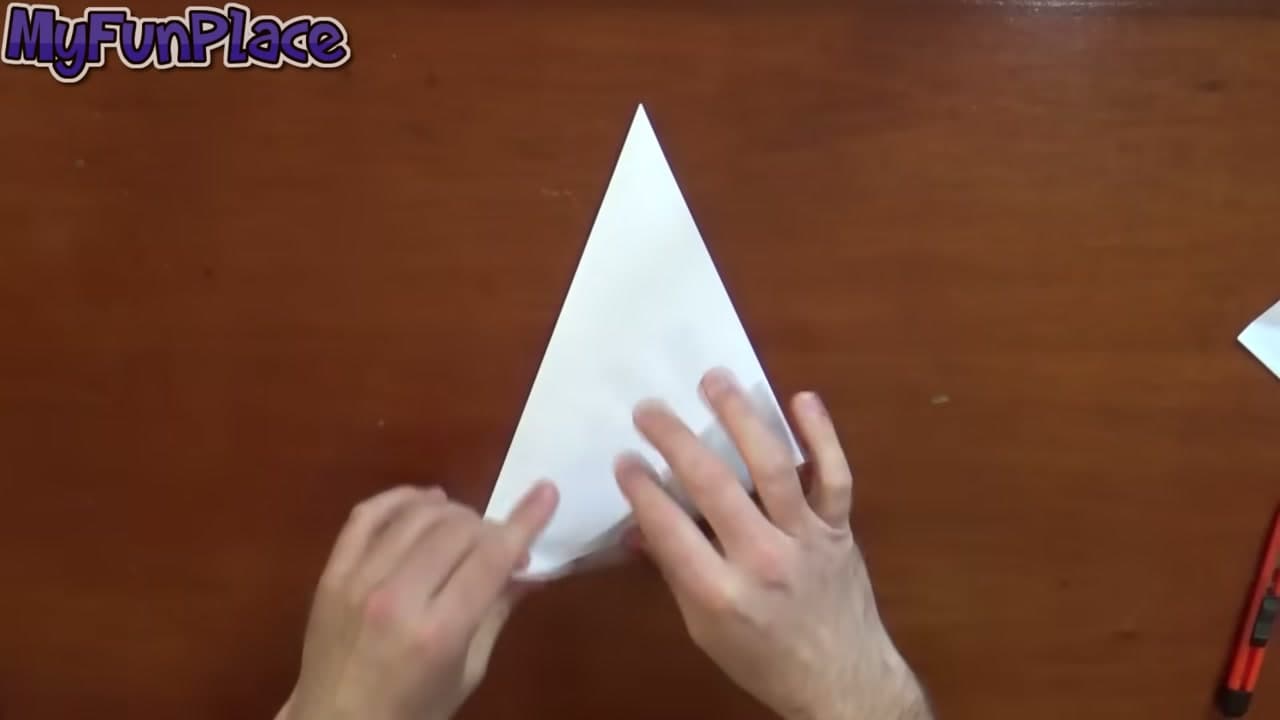
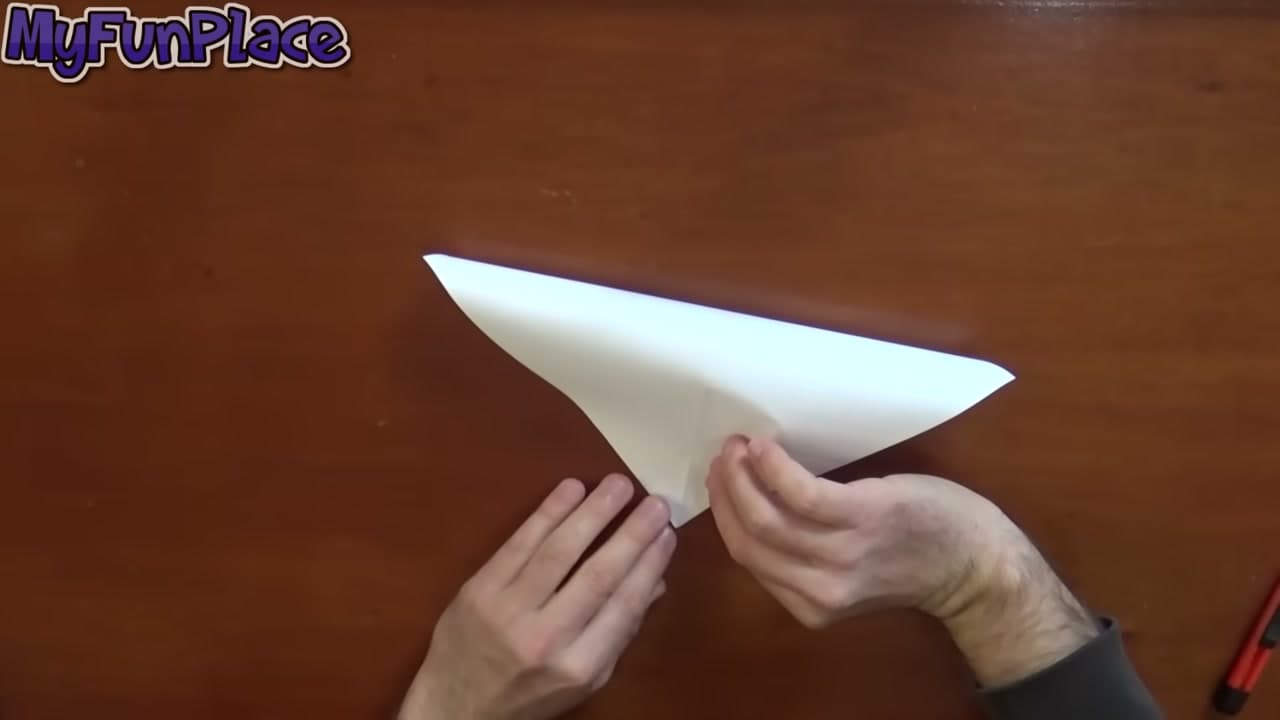
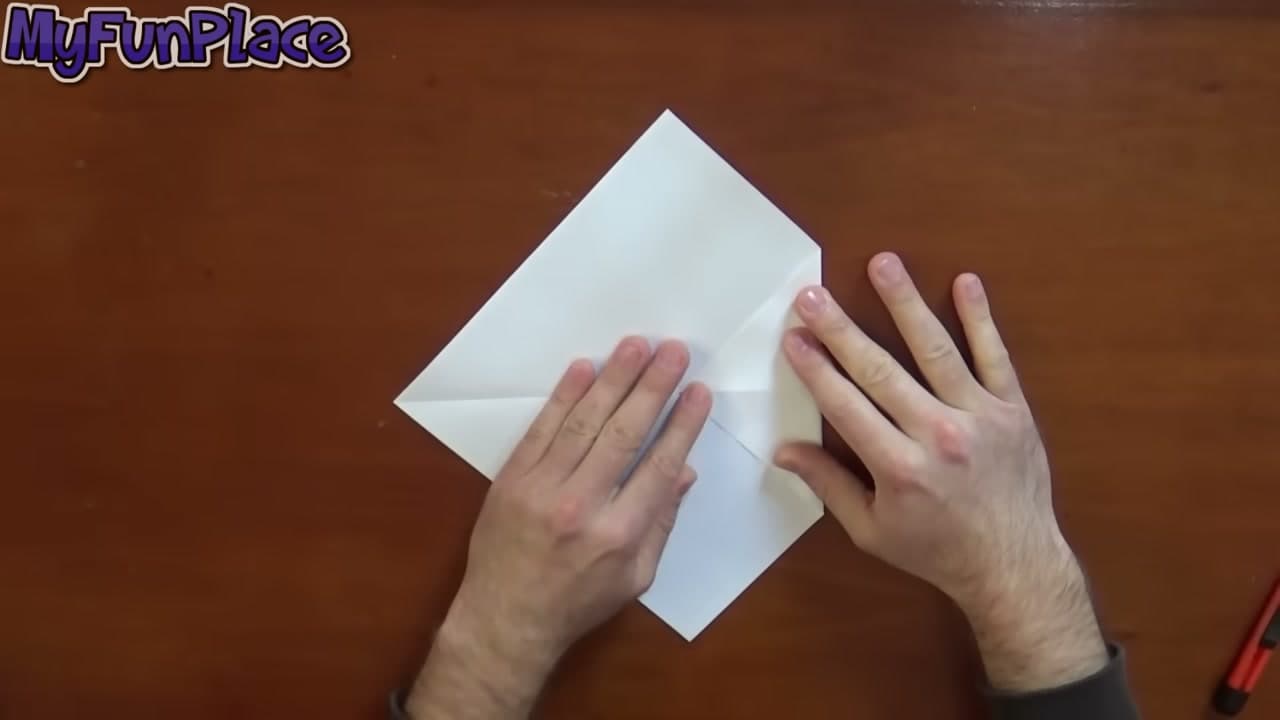
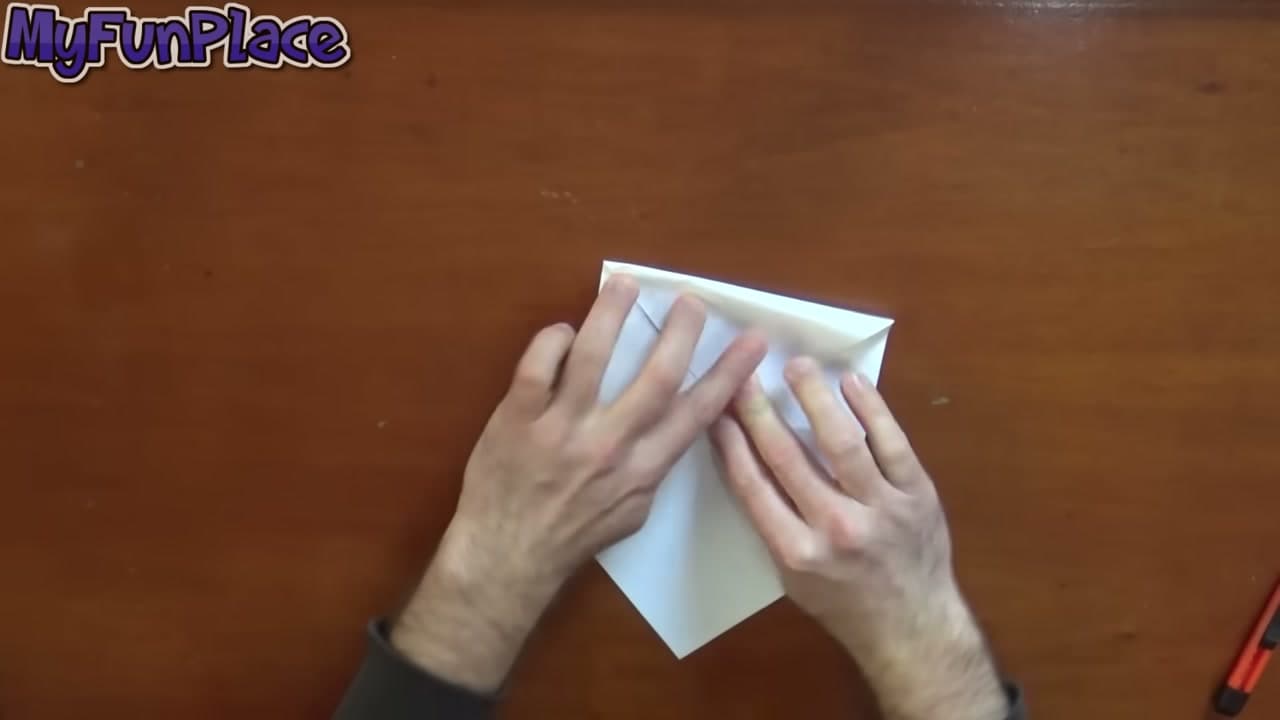
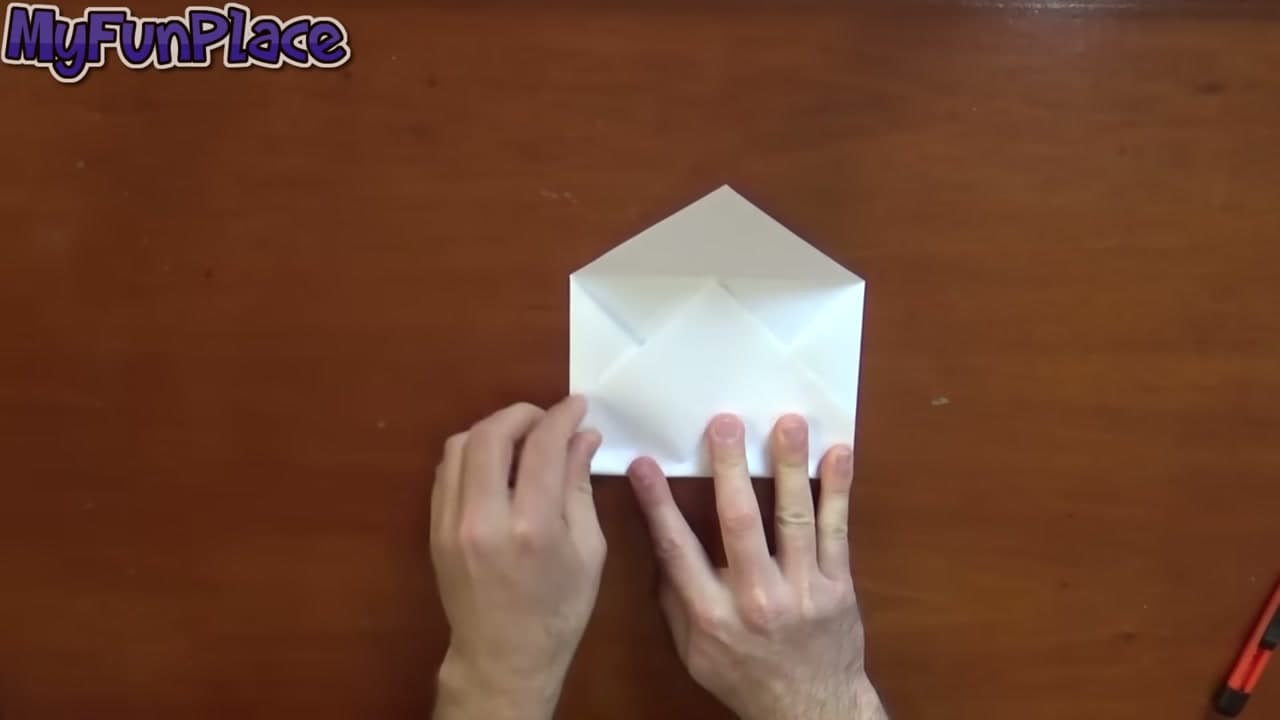
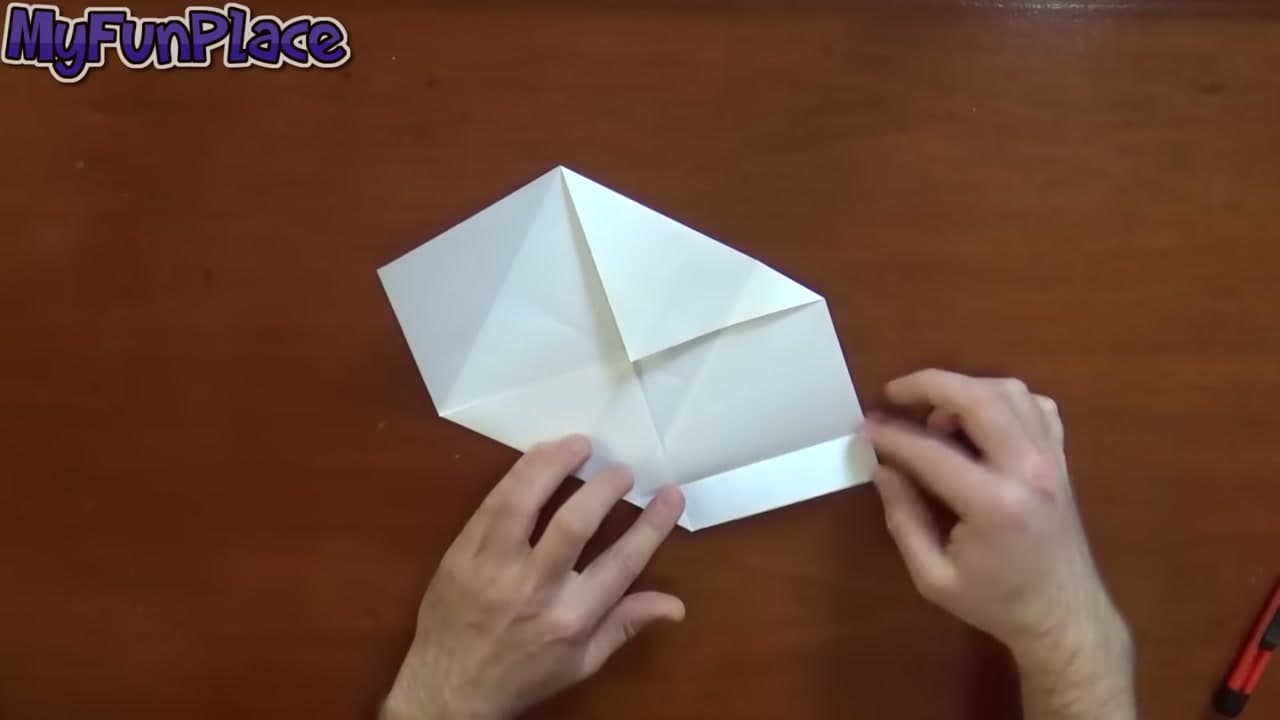
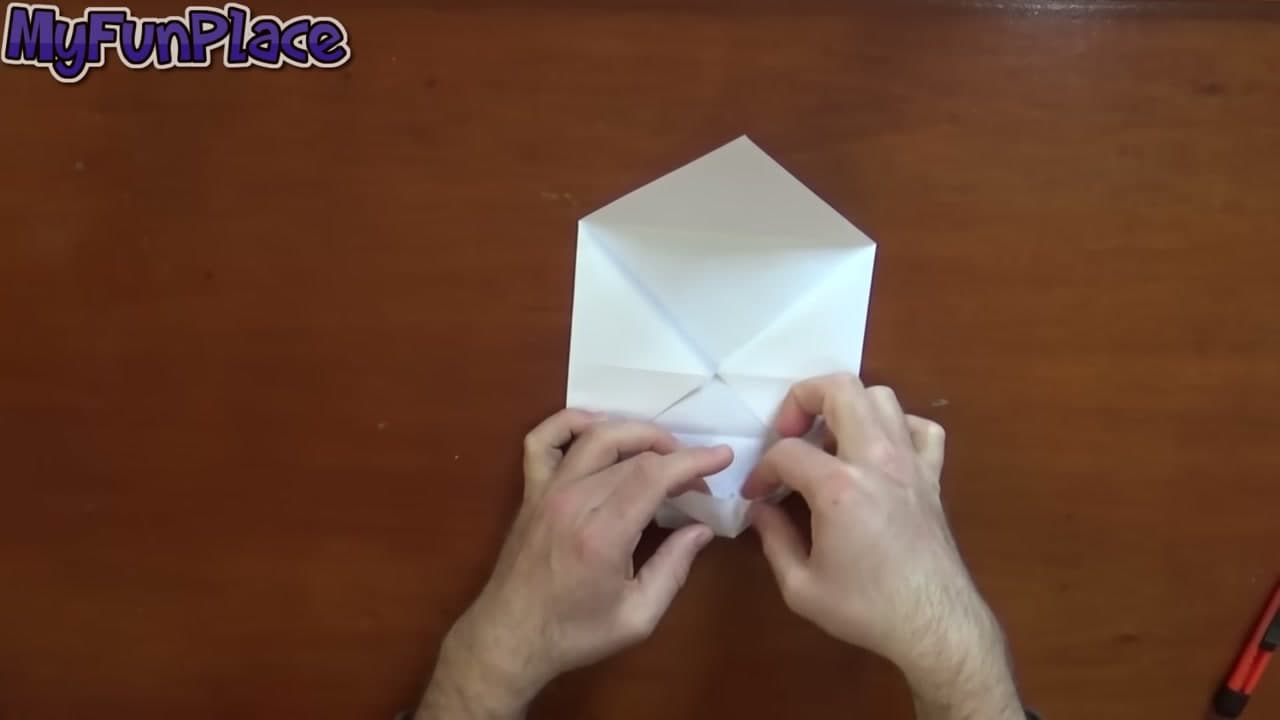
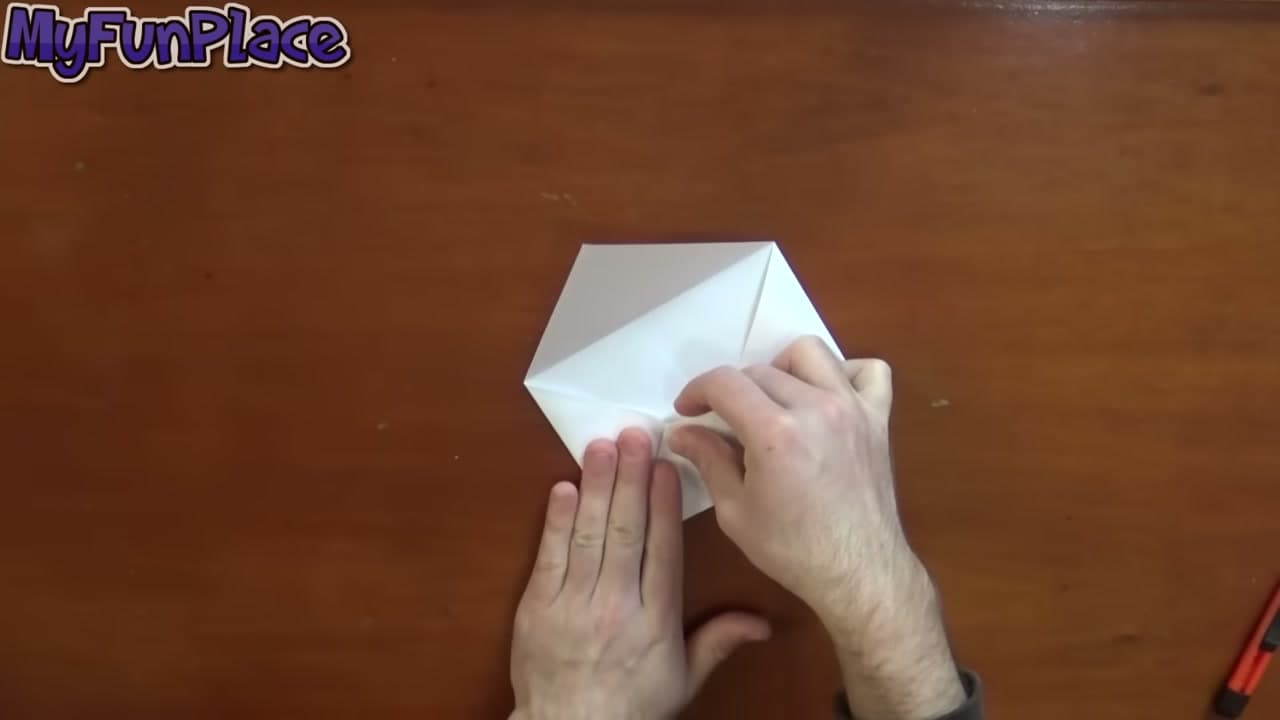
Folding an envelope out of one sheet takes about four minutes and no adhesive at all. The flap slides into a pocket the earlier folds build, and the paper holds itself shut. It works on printer paper, scrapbook paper, a page torn out of an old road atlas.
The sequence below follows My Fun Place on YouTube. Most of it is corner-to-center work you could do half asleep. Two moves decide whether it comes out flat: the light center pinch near the start, and the tuck three-quarters of the way through, where the corners go under the middle panel instead of on top of it. Miss that second one and the front bulges for good.
What Size Sheet Gives What Envelope
The fold starts as a square, and the square can only be as wide as your sheet's short edge. A US letter sheet gives an 8.5 inch square. A4 gives 210 mm, a hair smaller. A bigger envelope means a bigger sheet, not a cleverer fold. The finished thing lands at roughly 55 percent of the square's width and 40 percent of its height:
- Letter or A4 printer paper - about 4.75 by 3.5 inches. Note card size.
- 12 by 12 scrapbook sheet - about 6.75 by 5 inches. Use this if a greeting card goes inside.
- 6 by 6 paper pad sheet - about 3.4 by 2.5 inches. Gift tag size, and a match for handmade gift tags.
Weight matters as much as size. Plain 20 lb printer paper creases sharp, so use it for the first attempt. Cardstock over about 80 lb fights you at the tuck, because by then you are pushing three layers through a gap meant for two. Scrapbook paper in the 65 to 80 lb range is the sweet spot, and it takes a crease the way any origami fold wants.
The No-Glue Lock, and When to Reach for Glue Anyway
The lock is not friction. The corners of the bottom flap slide into pockets made by the side seams, and the spring in the paper holds them there. Crease hard with a bone folder or the back of a spoon and the lock stays tight. Crease with a fingertip and it drifts open inside a bag.
Closing it and sealing it are different jobs. Handed across a table, the tuck is plenty. Carried in a backpack or posted, it needs help:
- A glue stick along the inside edge of the flap. Cheap and permanent.
- Double-sided tape. Cleaner line, no warping.
- A sticker across the flap or a wax seal. Holds it shut and looks deliberate.
Skip liquid glue. It soaks into the fibers, they swell, and the envelope dries with a ripple across the front.
Can You Actually Mail One?
Yes, if you size it right. USPS wants a mailpiece that is rectangular, at least 3.5 inches high and at least 5 inches long. An envelope folded from a letter sheet comes out around 4.75 by 3.5, which clears the height and misses the length by a quarter inch. Hence the 12 inch scrapbook sheet.
Address the front, not the back. The back has folded edges stacked underneath and a pen skips across the ridges.
Lining It With Patterned Paper
A lined envelope is the one people turn over in their hands. The easy way: fold the envelope first, then glue one rectangle of patterned paper to the inside face of the flap. The color shows the second somebody opens it, and nothing extra has to survive eight folds. For a fully lined one, lay a thin second sheet a quarter inch smaller on the square before the first fold and treat the two as one. Any heavier than tissue or vellum and the stack will not tuck at step 7.
The Square Card Envelope
This fold gives a wide rectangle, so a square card will not go into it. Use the four-corner version instead: lay the card face down on a paper square turned as a diamond, fold the left and right points in over it, the bottom point up, then the top point down as the flap. Size the square at about one and a half times the card's width. Tuck an origami heart inside, or pair it with a matching folded paper bag.