How to Do an Acrylic Pour Painting

PaintingEasy10:0710 steps5-question quiz at endBrowse more →
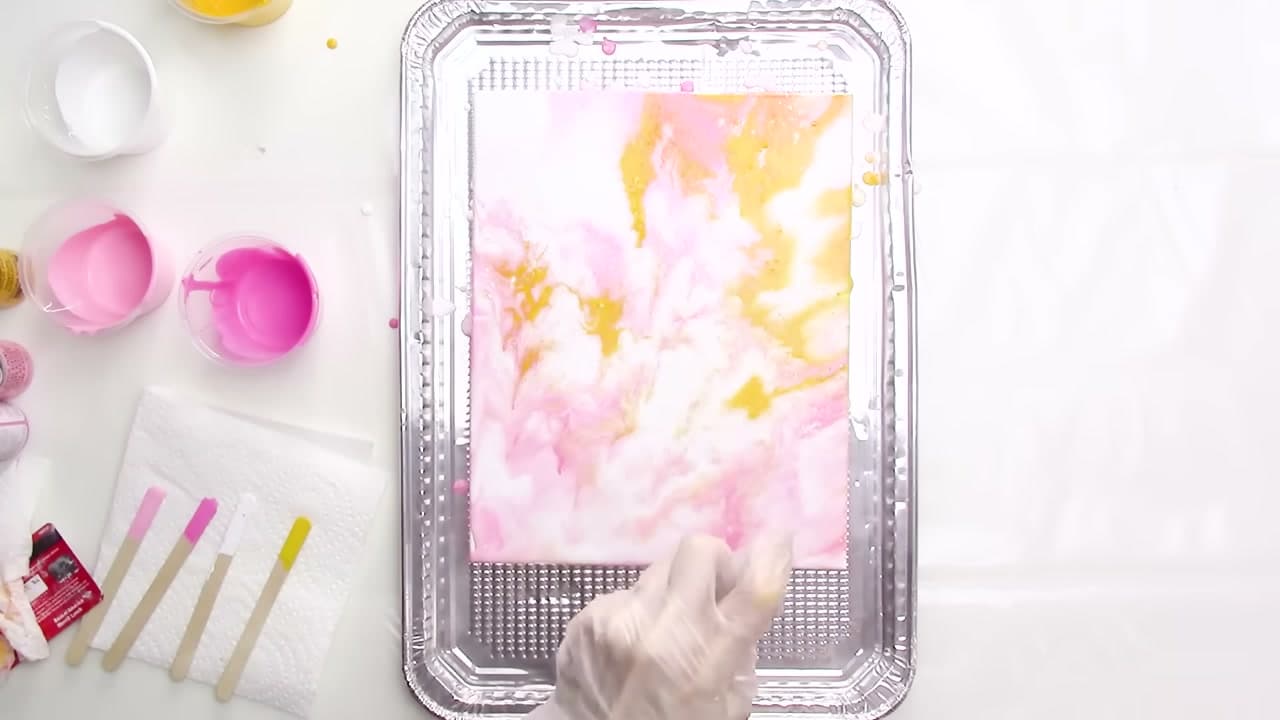
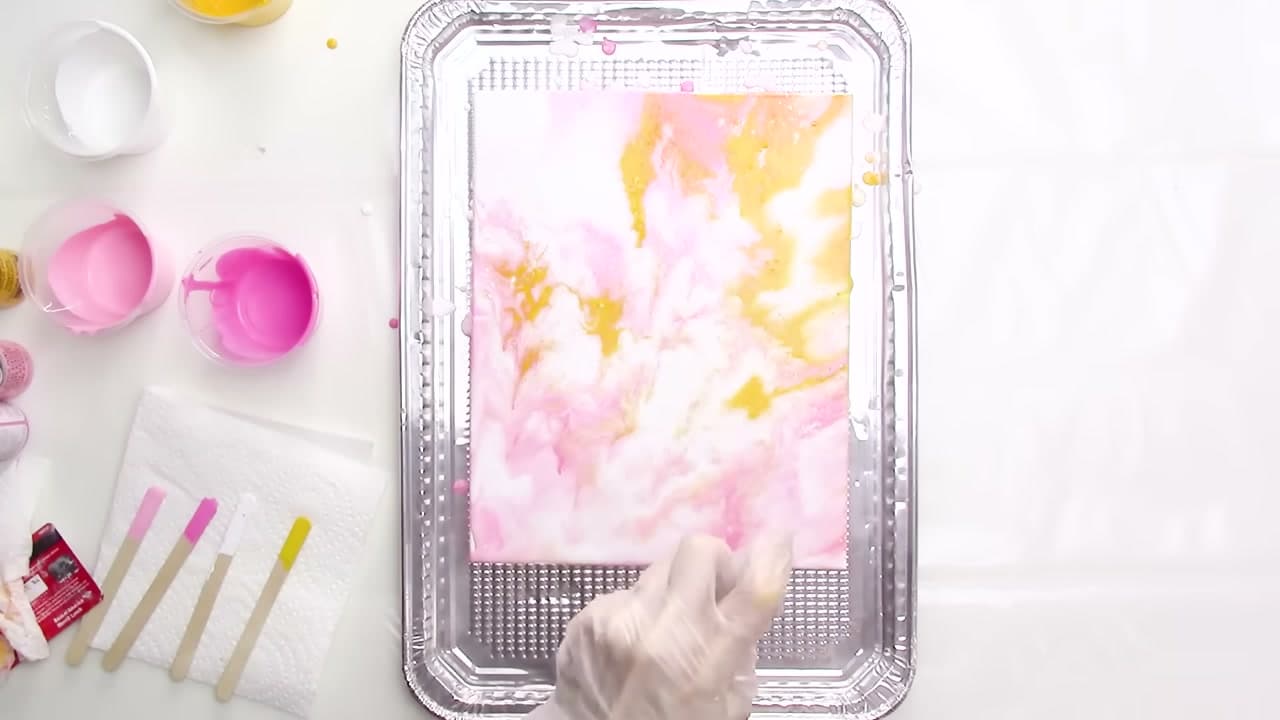
The finished result: How to Do an Acrylic Pour Painting
Also in:Crafts

By ShowMeStepByStepPublished Updated

Based on a video by Kristen // k.becca.

Acrylic pouring looks like it needs a shelf of specialist supplies. It does not. Kristen from KBecca mixes her own pouring medium from white glue and water, and uses ordinary craft paint from whatever brand is on sale.

The one number worth remembering is the consistency: buttermilk. Thinner and the colours vanish into each other, thicker and they will not move when you tilt the panel. Everything else about a pour is deliberately out of your control, which is most of the fun.

Step-by-Step Guide

10 steps · about 10 minutes.Check off each step as you go and your progress saves automatically.

1

Step 1: Cover Everything

0:55
Step 1: Cover Everything - How to Do an Acrylic Pour Painting

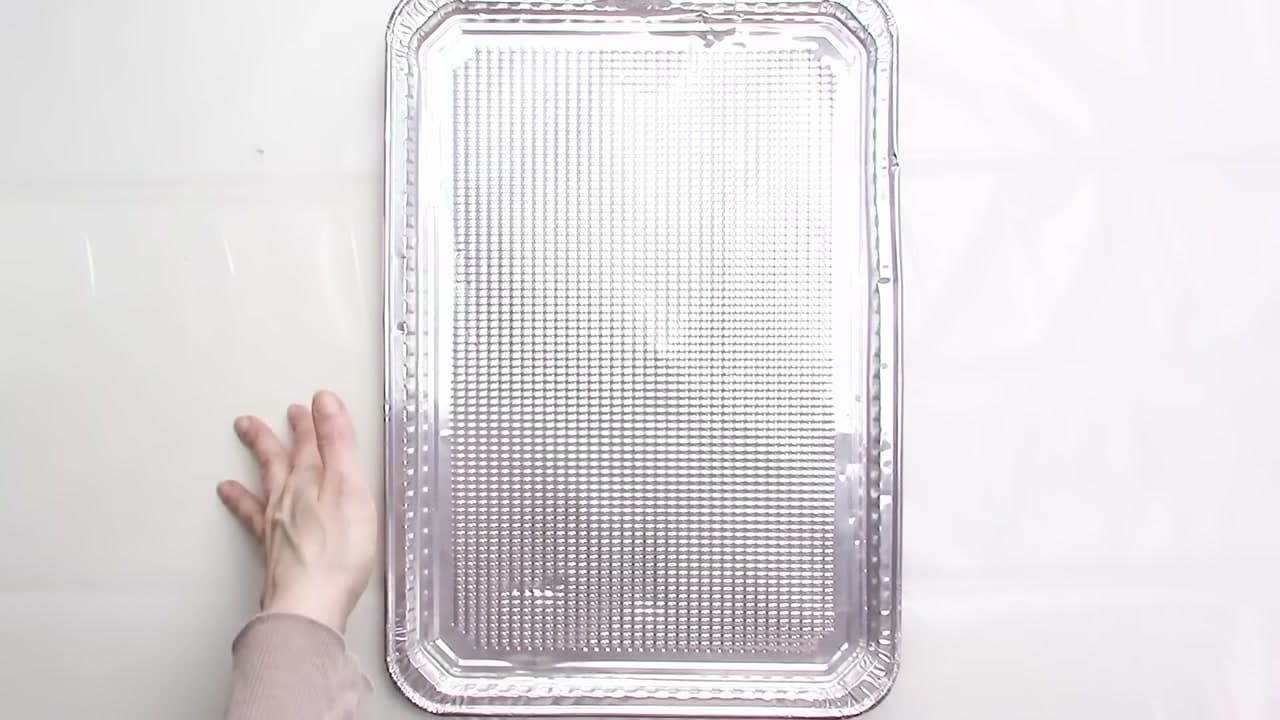
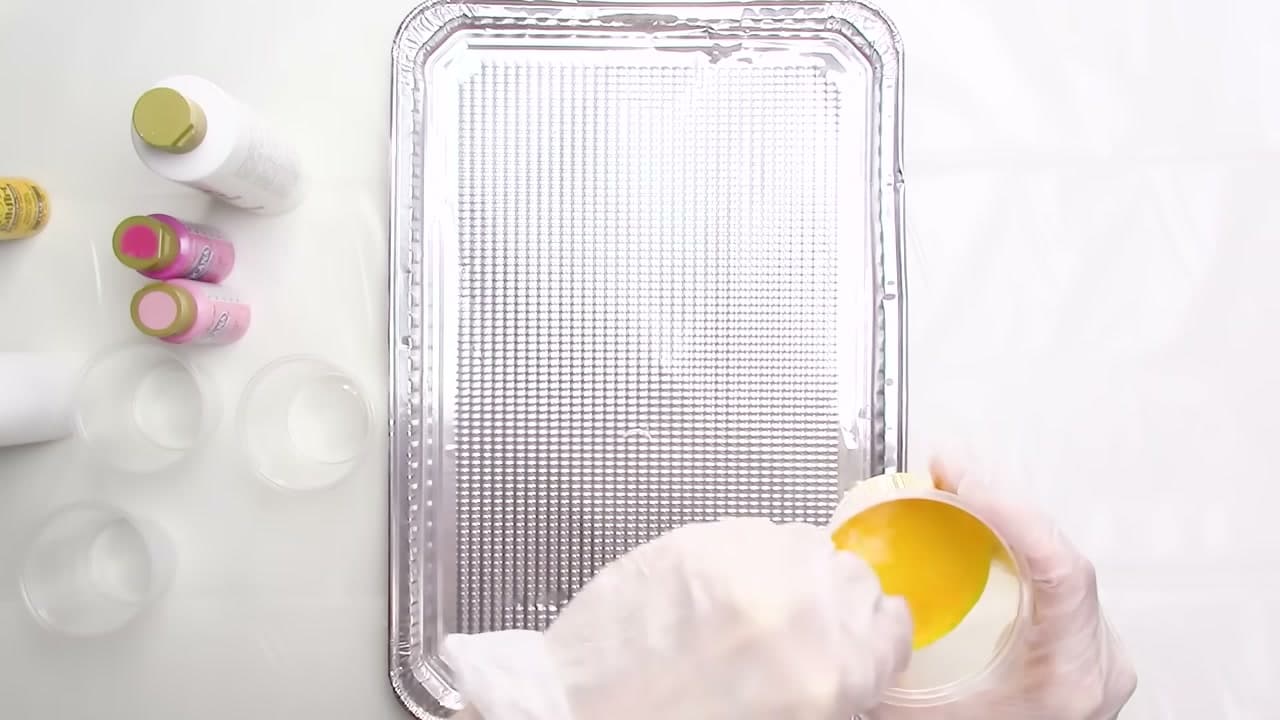
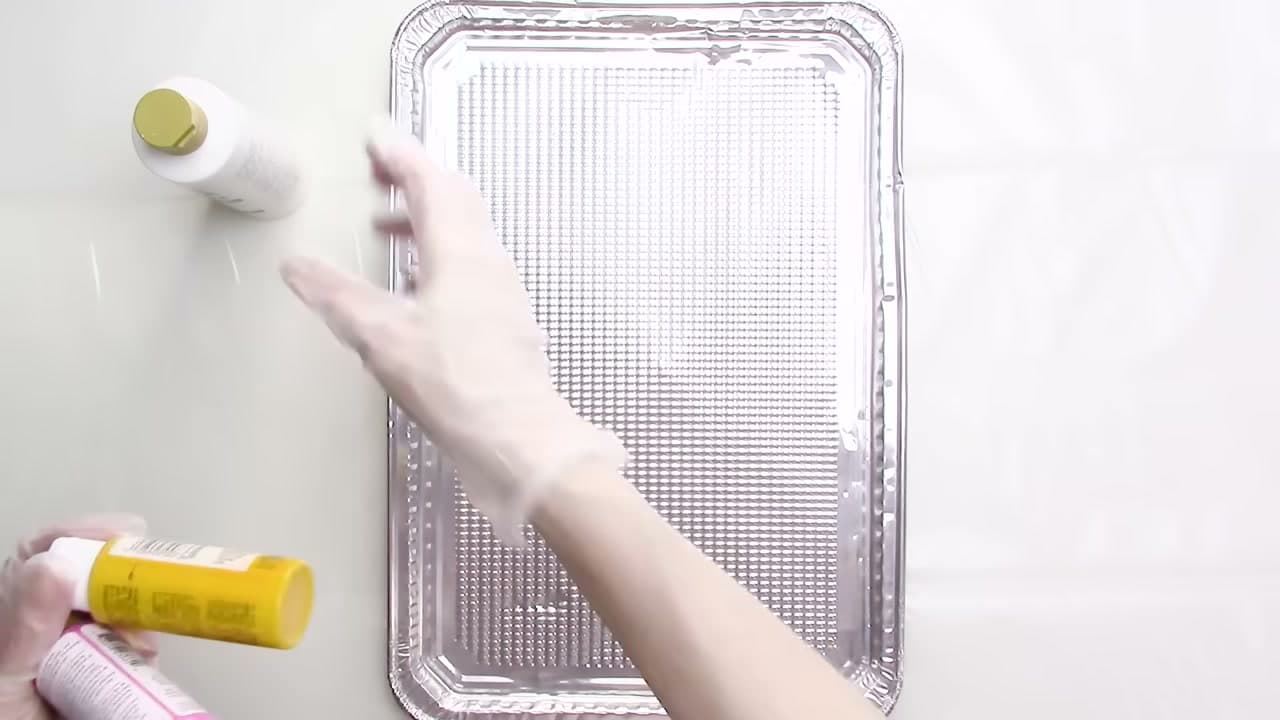
Acrylic pouring is messy by design, so protect the surface first with a bin bag, drop cloth or old newspaper.

Sit a shallow tray underneath the work as well. It catches the run-off and makes packing away far quicker.

Tip

Trays come in packs of two cheaply. Worth it if you do not have a dedicated space for this.
2

Step 2: Pick Your Paint

2:20
Step 2: Pick Your Paint - How to Do an Acrylic Pour Painting

Ordinary craft acrylic is all you need. Folk Art, Americana, Apple Barrel and Craft Smart all pour well.

There is no meaningful difference in the results, so buy on price and pick colours you actually like together.

Products used in this step

3

Step 3: Make the Pouring Medium

3:20
Step 3: Make the Pouring Medium - How to Do an Acrylic Pour Painting

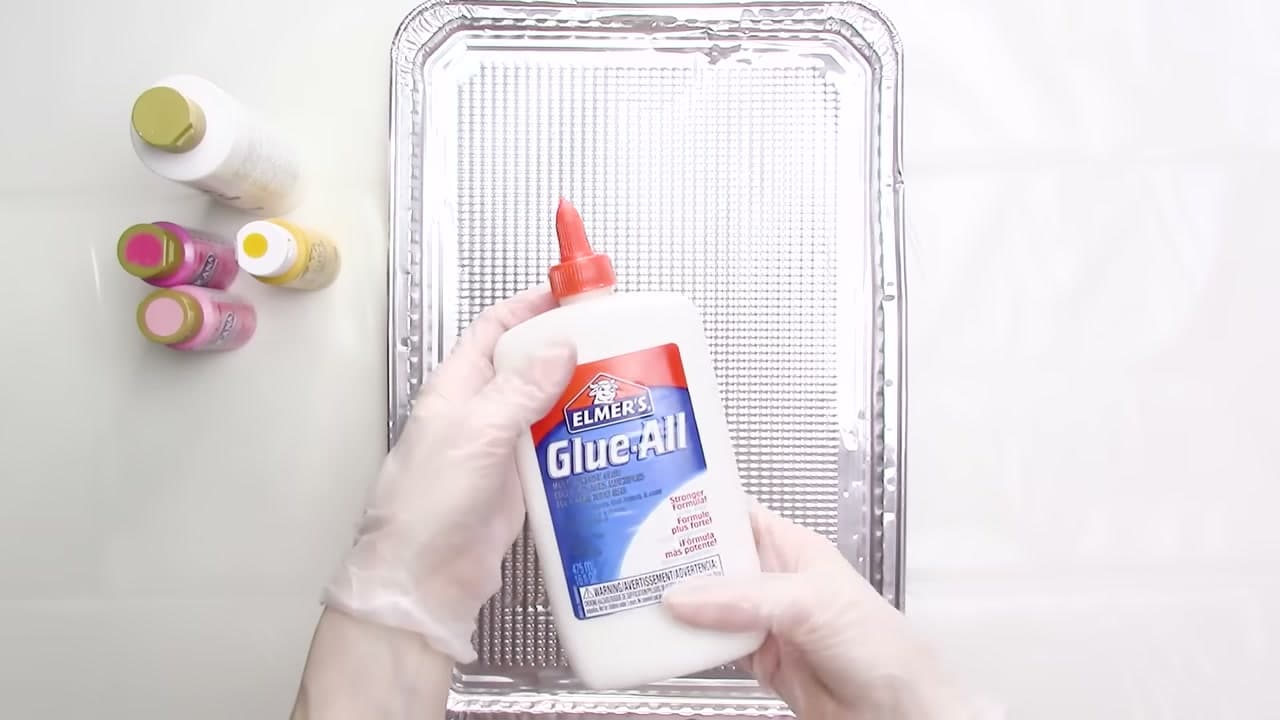
Rather than buying a dedicated pouring medium, mix your own from white school glue and water.

It behaves the same for a fraction of the cost, which matters because a pour uses a surprising amount of it.

Tip

Distilled water is the purist choice, but tap water works fine unless you want the piece to last decades.

Products used in this step

4

Step 4: Mix It Four to Eight

4:05
Step 4: Mix It Four to Eight - How to Do an Acrylic Pour Painting

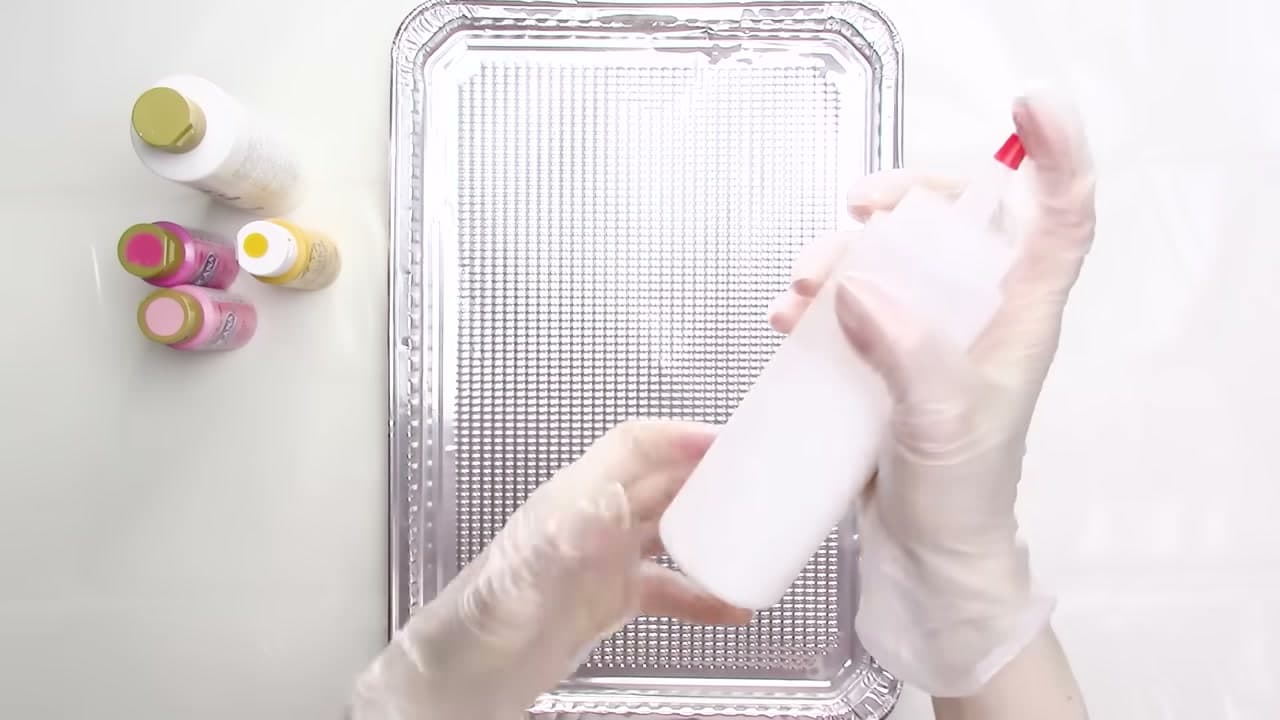
Fill your bottle to the 4 ounce mark with glue, then top it up to the 8 ounce mark with water.

Cap it and shake until there are no streaks. Make more than you think you need - every colour draws on it.

Products used in this step

6

Step 6: Mix to Buttermilk

5:35
Step 6: Mix to Buttermilk - How to Do an Acrylic Pour Painting

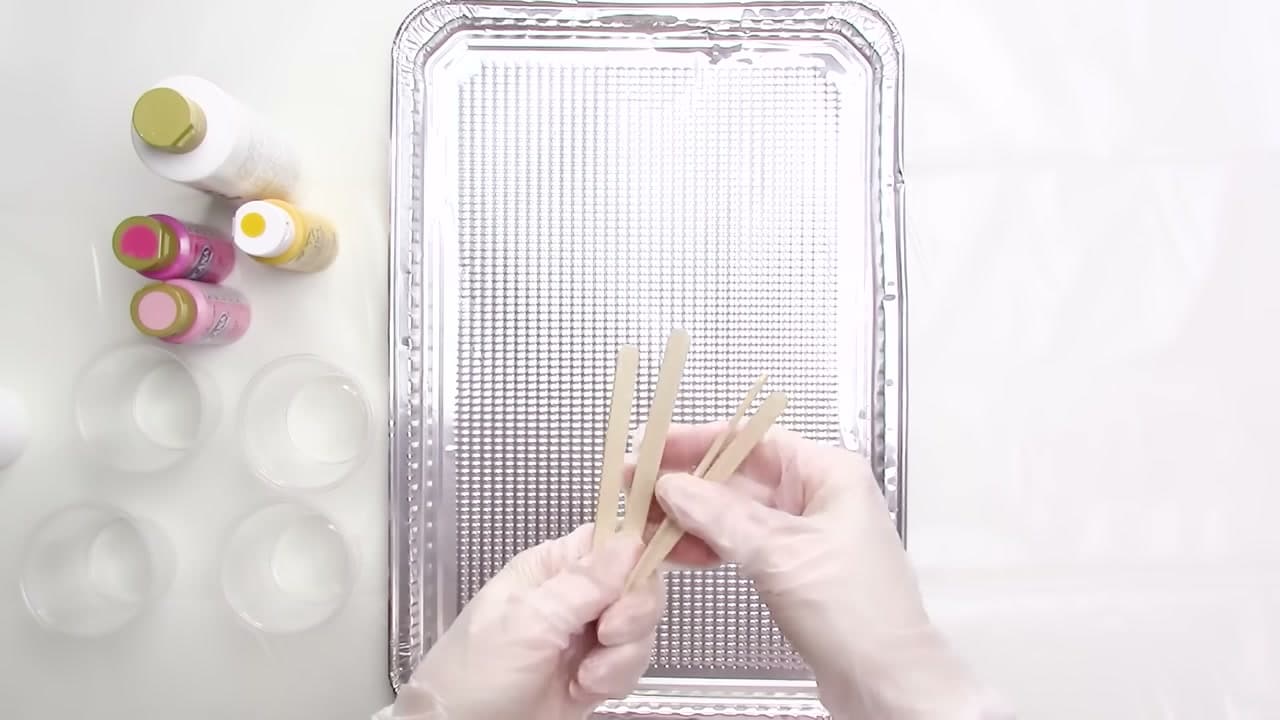
Keep adding medium until the paint runs like buttermilk off the stick.

It usually lands close to a one-to-one ratio of paint to medium, but go by how it flows rather than the measurement.

Tip

This is the step that decides whether the pour works. Too thick and nothing moves when you tilt.

7

Step 7: Raise the Panel

6:58
Step 7: Raise the Panel - How to Do an Acrylic Pour Painting

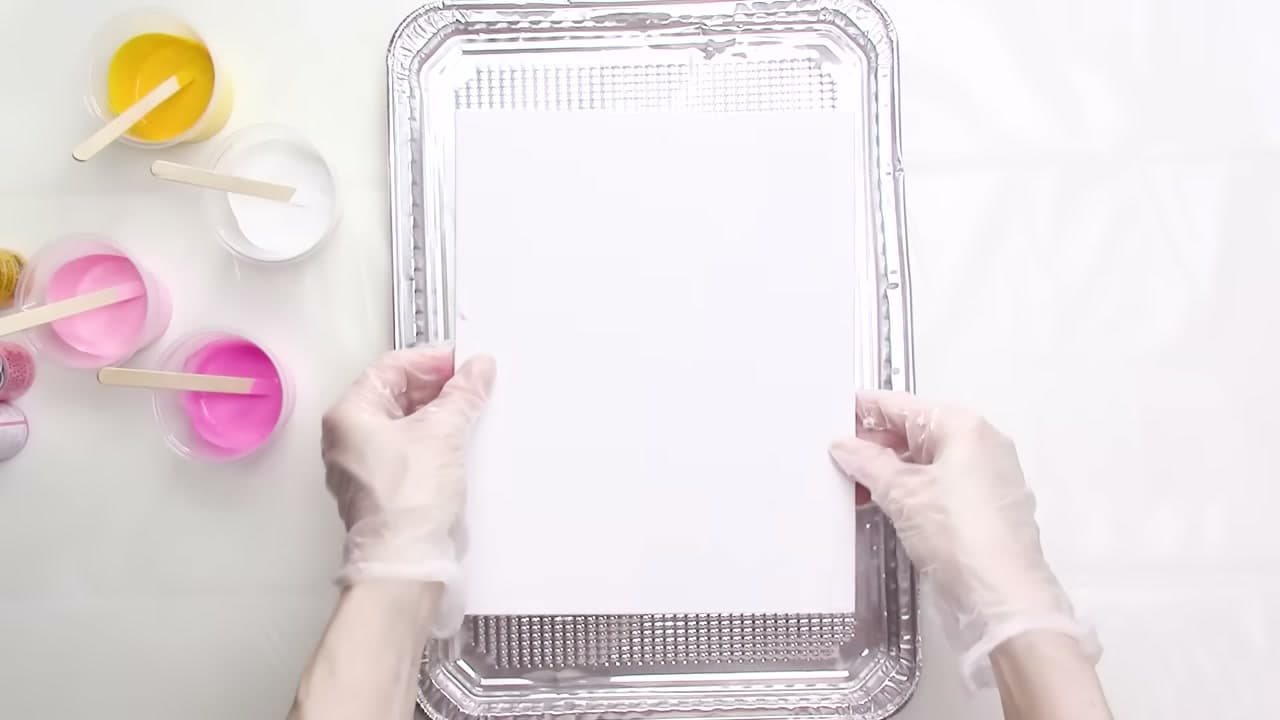
Set your canvas panel on four shot glasses, one at each corner, inside the tray.

Lifting it clear lets the paint run off all four edges instead of pooling underneath and gluing the panel down.

Products used in this step

8

Step 8: Pour

7:20
Step 8: Pour - How to Do an Acrylic Pour Painting

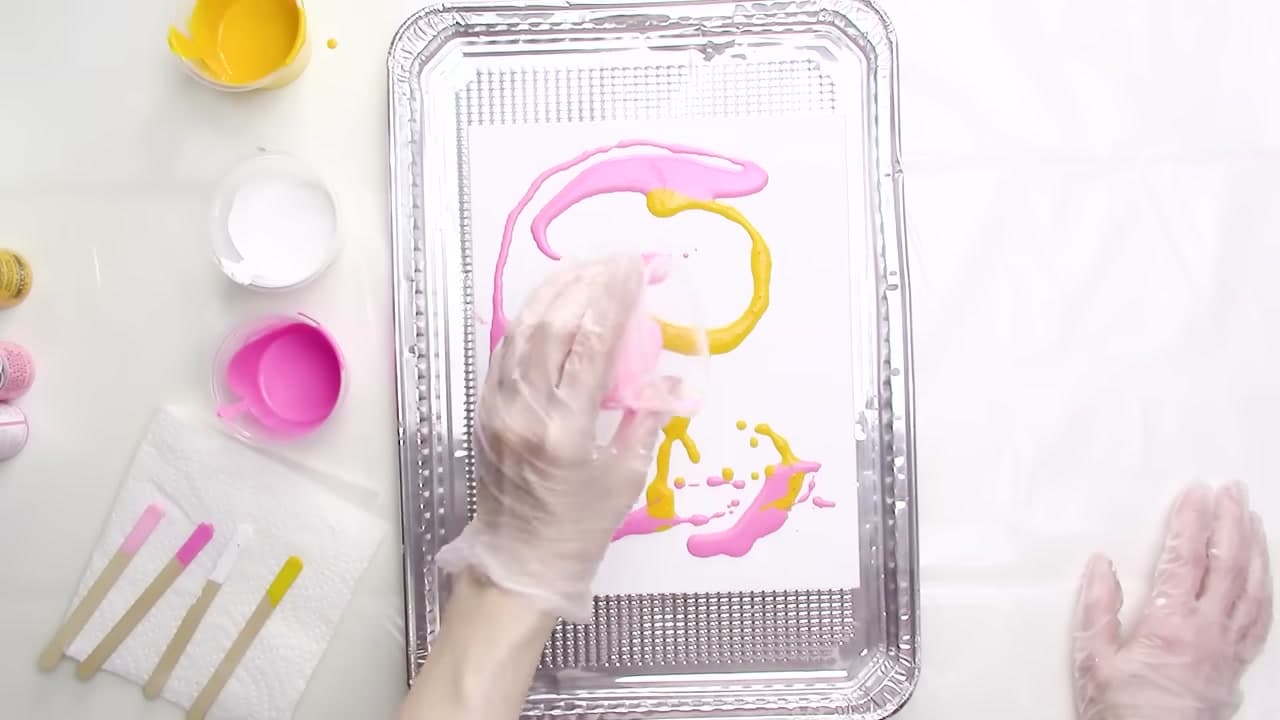
Pour the colours straight onto the panel. There are as many pouring patterns as there are painters - stripes, puddles, a dirty pour from one cup.

For a first attempt just lay the colours on beside each other and see what happens.

Products used in this step

9

Step 9: Tilt to Guide It

7:50
Step 9: Tilt to Guide It - How to Do an Acrylic Pour Painting

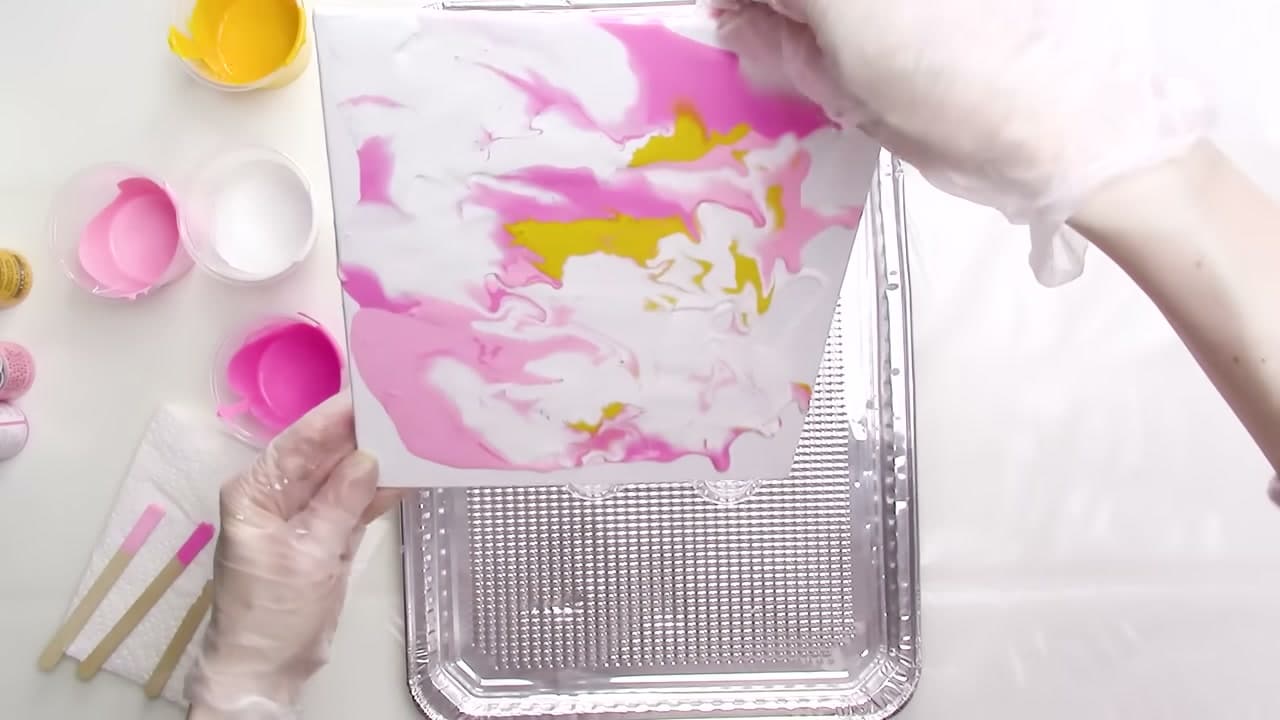
Lift the panel and tip it so the paint starts travelling. Work it toward each corner in turn until the whole surface is covered.

You never fully control a pour. You steer it, and the paint does the rest.

Tip

Paint runs off the edges quickly once you start tilting, so keep the tray underneath and do not chase every gap.

10

Step 10: Spritz for Cells

9:12
Step 10: Spritz for Cells - How to Do an Acrylic Pour Painting

Spray isopropyl alcohol over any bubbles you can see. It pops them and leaves extra texture where it hits the wet paint.

If you would rather not have that effect, spray the alcohol into the air above the piece instead and let it settle.

Products used in this step

Keep going

How to Paint a Lighthouse in Acrylics

Products Used

☐ The Checklist

How to Do an Acrylic Pour Painting

Tools
5
Materials
5
Steps
10
Video
10 min

Tools we recommend

Your Guide

Kristen // k.becca

As an Amazon Associate we earn from qualifying purchases. Links on this page may be affiliate links - clicking them and buying doesn't change your price, but helps support ShowMeStepByStep.

Tags

Sunday How-To

New painting tutorials, every Sunday

One short email with the week's best step-by-step guides. Free, no spam, unsubscribe anytime.

Test your knowledge

Did the lesson stick? Find out in 2 minutes.

5 quick questions covering what you just read. No signup, no score saved — just a gut check.

Quick reference

Key takeaways from How to Do an Acrylic Pour Painting

5 questions, answers, and one-line explanations. Tap to expand.

  1. 1.What can you use instead of a bought pouring medium?

    Answer: White school glue and water

    It behaves the same as the bought stuff at a fraction of the cost.

  2. 2.What is the glue-to-water ratio for the homemade medium?

    Answer: Four parts glue to four parts water

    Fill the bottle to 4 ounces with glue, then top up to the 8 ounce mark.

  3. 3.How should the thinned paint flow off the stick?

    Answer: Like buttermilk

    Go by how it flows rather than by the measured ratio.

  4. 4.Why raise the panel on shot glasses?

    Answer: So paint runs off all four edges

    Paint pooling underneath glues the panel down to the tray.

  5. 5.What does spraying isopropyl alcohol on a wet pour do?

    Answer: Pops bubbles and leaves texture

    Spray it into the air above instead if you would rather skip the cell effect.

Did this work for you?

What's next

Weekly Digest

Liked this painting tutorial?

Pick the categories you want to hear about. Weekly digest of new step-by-step tutorials. No spam, easy unsubscribe.

Send me tutorials about

We only email about new tutorials. Easy unsubscribe anytime.