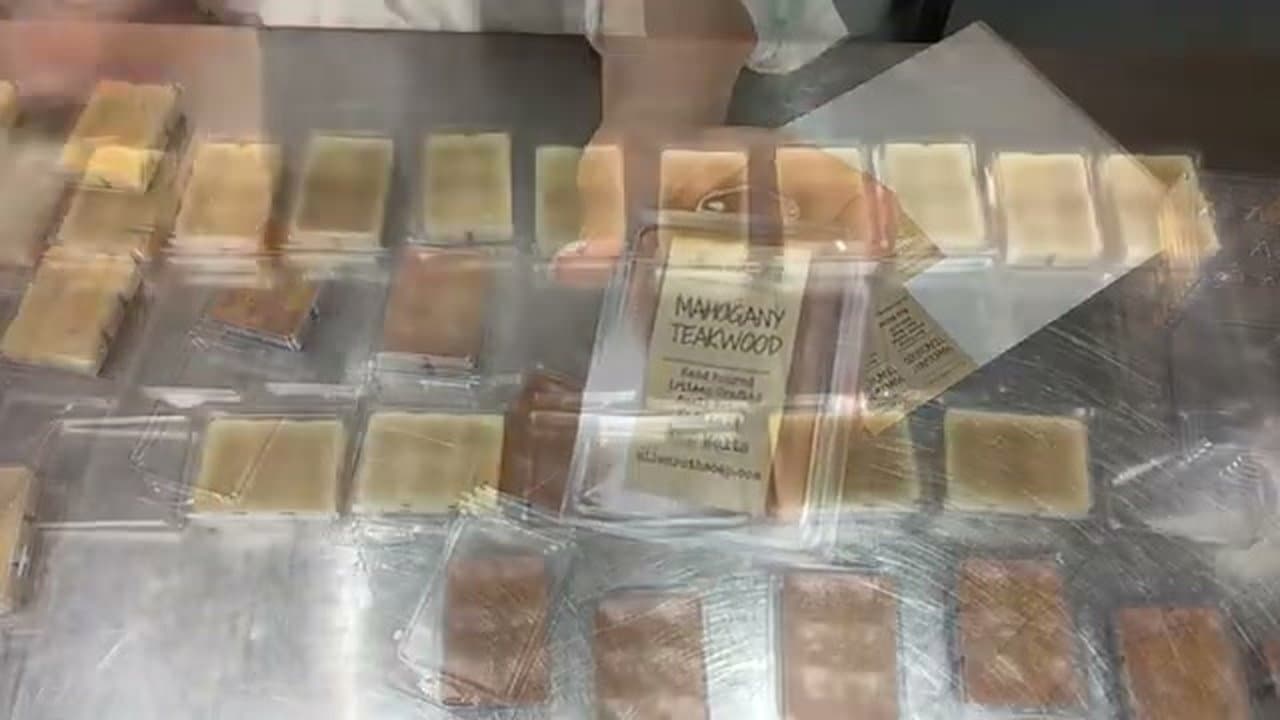
How to Make Wax Melts (Strong Scent Throw)

The finished result: How to Make Wax Melts (Strong Scent Throw)
Also in:Crafts

By ShowMeStepByStepPublished Updated

Based on a video by Ellen Ruth Soap.

Wax melts are simpler than candles - no wick, no live flame, no wick testing. Pour, decorate, snap shut, done. The only two things you can mess up are temperature and timing, which is what this tutorial fixes.

Ellen from Ellen Ruth Soap uses Pillar of Bliss combo wax, wax dye chips for color, and candle fragrance oil. She pours into clamshell molds because they snap apart cleanly and take a label well. Plan on about 30 minutes of work once the wax is melted and two hours of cooling before the lids close.

Which wax to use

Melt wax and container wax are not the same product. Container soy is soft and made to stick to the side of a jar. Melt wax is harder, with a higher melt point, so a cube holds its shape and pops out of the clamshell clean. Your options:

  • Soy melt wax: clean look, can frost a little.
  • Paraffin-soy blends like Pillar of Bliss: hold a heavy fragrance load and release scent strongly.
  • Paraffin melt wax: strong throw, glossy finish.

Leftover soy candle wax works in a pinch, but the cubes come out soft and sticky.

Fragrance load and why 180F

Most makers use 6-8% fragrance by weight. Never go past the wax maker's stated maximum, because extra oil seeps out and leaves the melts oily. Fragrance goes in at around 180F because the wax is fluid enough to take the oil evenly, but not so hot that lighter scent notes evaporate off. Stir for a full minute.

Flash point is the temperature at which a fragrance oil's vapor can catch a spark. It is printed on the safety sheet. Keep melting wax under the wax maker's max temperature, and never heat it over direct flame. A wax fire gets smothered with a lid and the heat turned off. Never use water.

Toppings that are safe to melt

Toppings sit on the surface and end up in the warmer dish. Keep them small and light. Wax-based decorations and a pinch of cosmetic mica are the safest. Sugar sprinkles look cute but can darken or smell scorched in a hot dish. Skip dried flowers, herbs, paper and plastic glitter, which can scorch or leave grit behind.

Using a warmer safely

  • Use a warmer made for wax melts. Don't add water to the dish.
  • Turn it off when you leave the room or go to bed.
  • Don't move it while the wax is liquid. Let it cool before you pop the old wax out.
  • Keep it out of reach of kids and pets. Birds are sensitive to scented air.

Labeling and gifting

A good label has the scent name, the net weight, and a short warning: for use in a wax warmer only, never leave unattended, keep away from children and pets. Let melts sit a day or two before gifting so the scent settles.

Troubleshooting

  • White frost on top: common with soy. Cosmetic only. Pouring a little cooler helps.
  • Sunk centers: the wax shrinks as it cools. Top off with a little reheated wax.
  • Weak scent: fragrance added too hot, stirred too briefly, load too low, or the lid closed while warm.
  • Oily beads on the surface: too much fragrance for that wax. Cut back next batch.

The same melter and thermometer work for soap making supplies too, and a set of melts in a box next to bath bombs makes an easy gift.
What you'll need

Step-by-Step Guide

6 steps · about 8 minutes.Check off each step as you go and your progress saves automatically.

1

Lay Out Your Clamshell Molds and Supplies

2:38
Step 1: Lay Out Your Clamshell Molds and Supplies - How to Make Wax Melts (Strong Scent Throw)

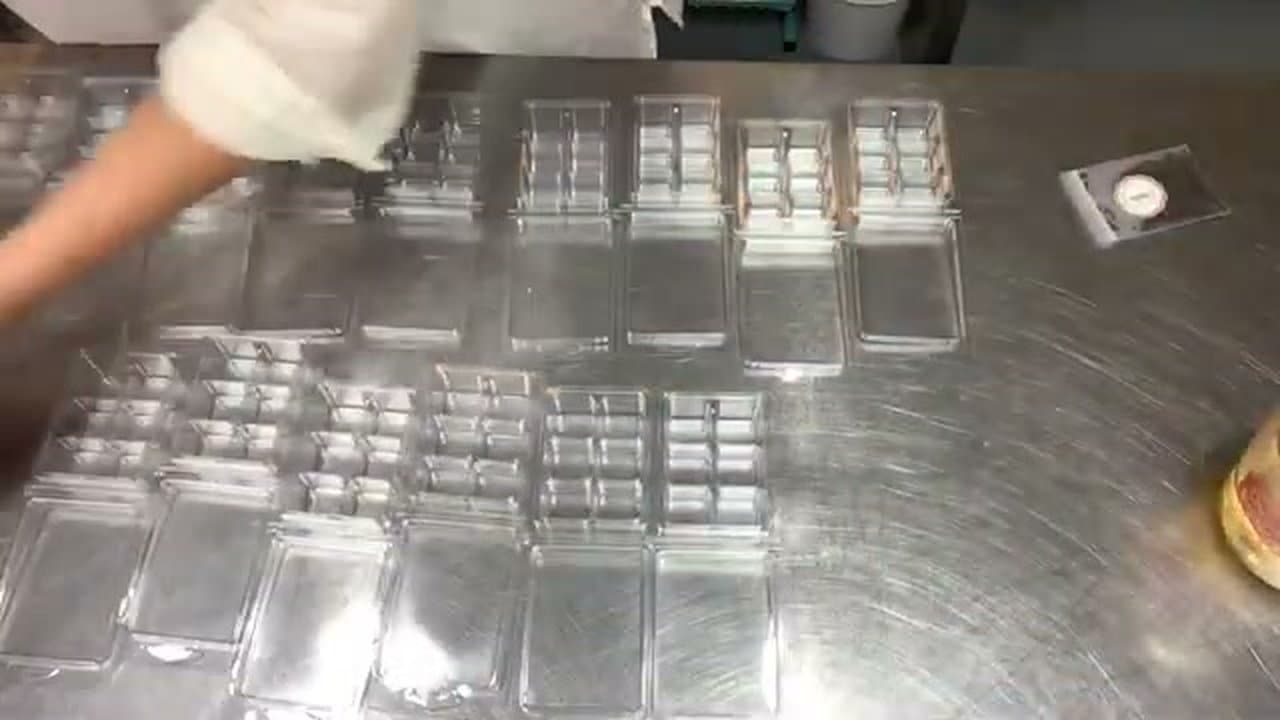
Set out the empty clamshell molds in rows on a clean, level work surface. Steel benches or a kitchen counter both work. Have your fragrance oil bottle, dye chips, candle thermometer, sprinkles or pearls, and labels within reach.

Clamshells are the easy choice for first-time melt makers. They snap apart into individual cubes for the user and they accept printed labels cleanly without curling.

Tip

If you're going to sell the melts, weigh the empty clamshells first so you know your tare weight. That makes labeling the net weight quick later.

2

Melt the Wax and Add Color

2:55
Step 2: Melt the Wax and Add Color - How to Make Wax Melts (Strong Scent Throw)

Heat the wax in a melter or double-boiler to 190°F. Once it's fully liquid, drop in wax dye chips and stir until the color dissolves completely. Combo wax like Pillar of Bliss takes color quickly - a few chips usually does it.

Don't shortcut with food coloring or crayons - they don't dissolve right and they can clog wax warmers when the melt fires up. Use chips or liquid dye specifically made for candles.

Tip

Pillar of Bliss wax tolerates a heavy fragrance load - up to 12% by weight. That's why Ellen specifically recommends it for strong-scent melts.

3

Test the Color on White Paper

3:00
Step 3: Test the Color on White Paper - How to Make Wax Melts (Strong Scent Throw)

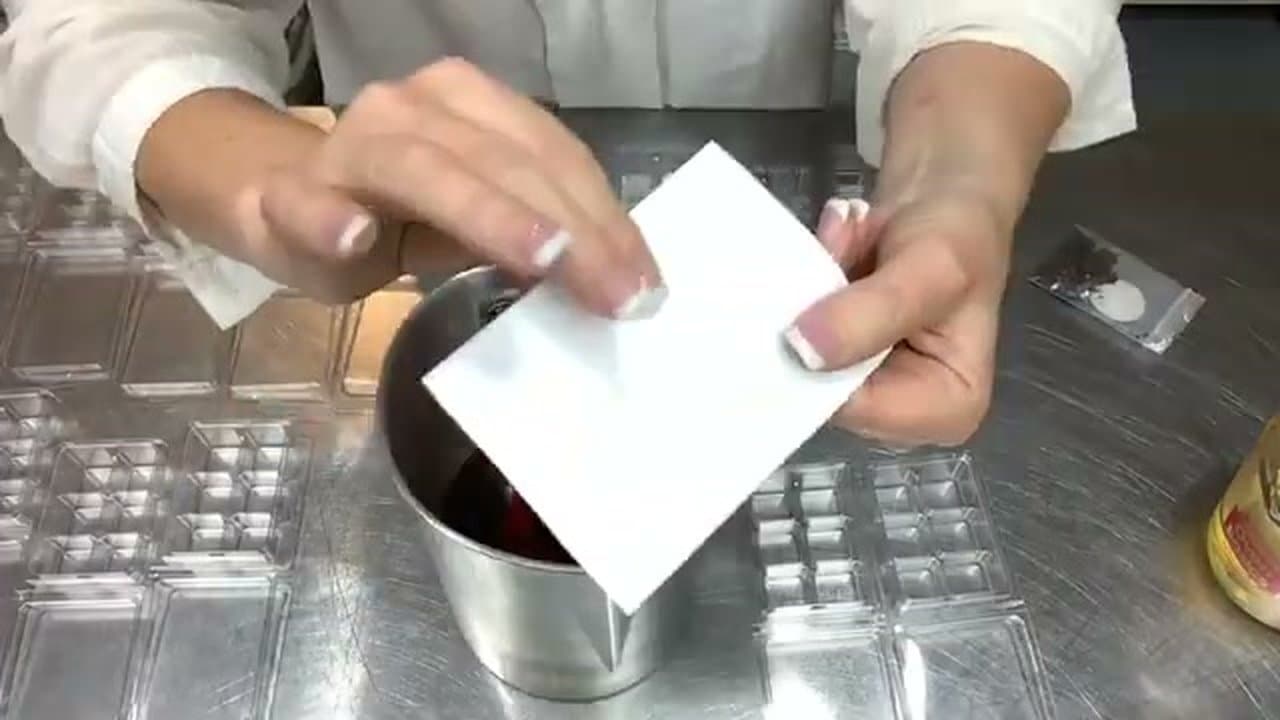
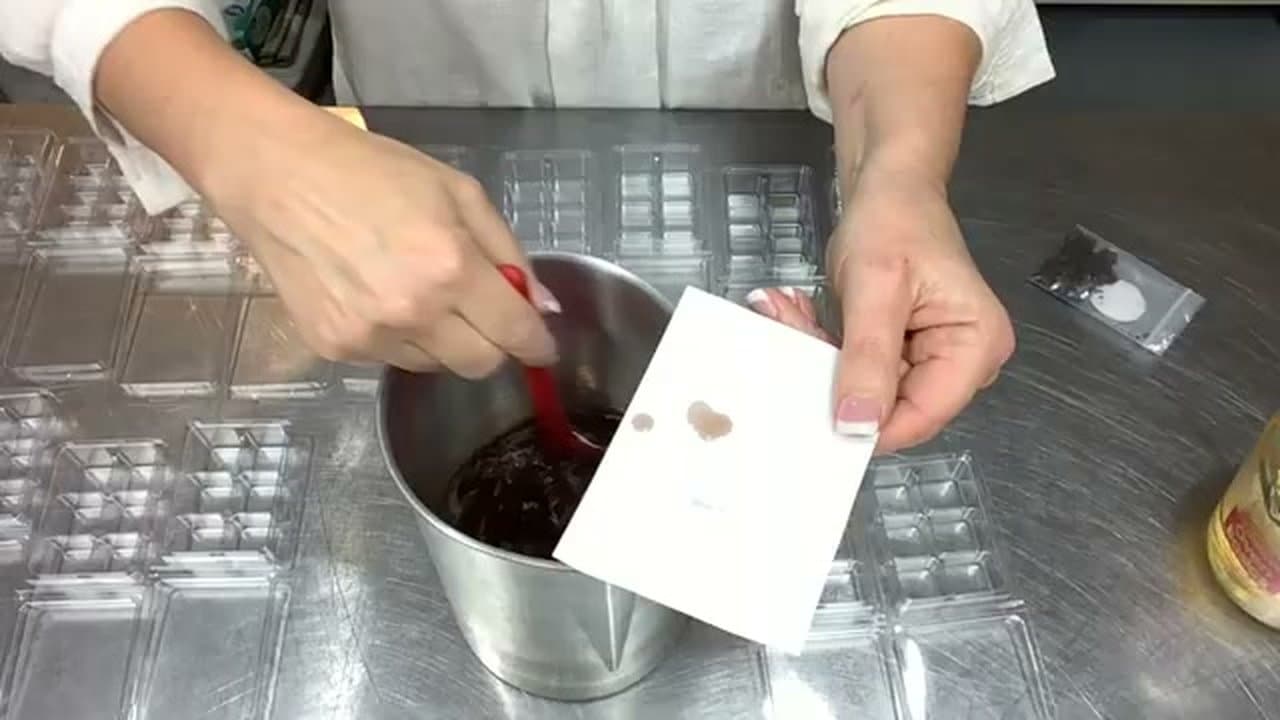
Drop a small amount of melted colored wax onto a piece of white paper and wait 20 seconds for it to set. The cooled spot is the actual color your finished melts will be - hot wax always looks darker than its cooled state.

Too light? Add more dye chips. Too dark? Stir in a little uncolored wax. Adjust now while the wax is still melted - once it's poured, the color is locked.

Tip

Take notes on how many chips of which color got you the shade you wanted. Repeat batches go faster when you know the ratio.

4

Cool to 180°F, Add Fragrance, and Pour

3:42
Step 4: Cool to 180°F, Add Fragrance, and Pour - How to Make Wax Melts (Strong Scent Throw)

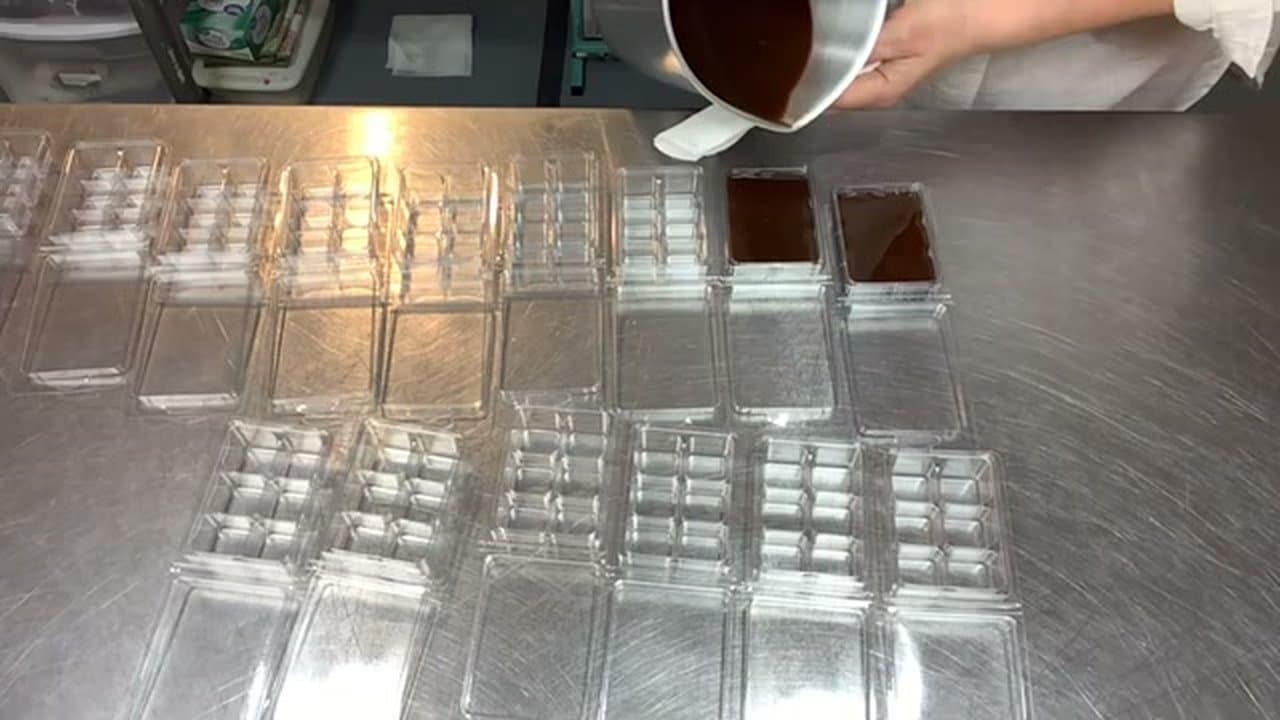
Let the wax drop to about 180°F before adding fragrance oil. Hotter than that and the fragrance flashes off into the air instead of bonding with the wax - that's the most common reason DIY melts smell weak.

Pour your fragrance oil in and stir for one full minute to fully bond the molecules with the wax. Then pour the wax level into each clamshell cube, just slightly overflowing the dividers.

Tip

Standard fragrance load for wax melts is 6-8% by weight. So for a 10 oz batch, that's roughly 0.7 oz of fragrance oil. Combo wax like Pillar of Bliss can handle up to 12% if you want it really strong.

5

Add Sprinkles or Pearls Once a Skin Forms

4:55
Step 5: Add Sprinkles or Pearls Once a Skin Forms - How to Make Wax Melts (Strong Scent Throw)

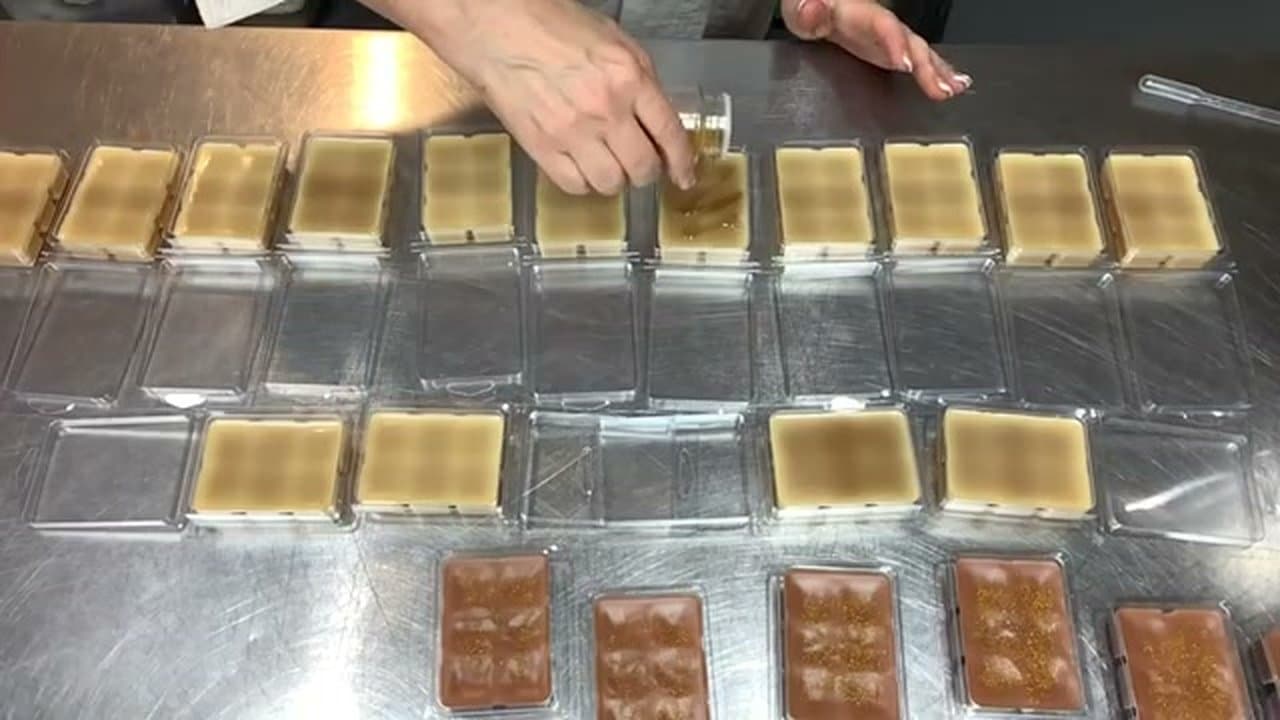
Wait about five minutes after pouring for a thin skin to form on the surface. Then sprinkle on sugar sprinkles, decorative pearls, biodegradable glitter, or whatever decoration you want.

Adding decorations too early sinks them into the wax. Too late and they bounce off the hardened surface. The skin window is roughly 4 to 8 minutes after pouring.

Tip

Sprinkles only sit on top - they don't change how the melt performs in a warmer. Coordinate the color of the decoration with the scent for a more polished look.

6

Cool Fully, Snap the Tops Shut, and Label

4:43
Step 6: Cool Fully, Snap the Tops Shut, and Label - How to Make Wax Melts (Strong Scent Throw)

Let the wax cool completely - usually two hours - before snapping the clamshell tops shut. Trapping any condensation inside the closed clamshell weakens the scent throw.

Once shut, peel off your printed labels and apply them to the front. Smooth out air bubbles with your finger as you press. The melts are now ready to gift, sell, or pop into a wax warmer.

Tip

Online Labels has a free Maestro Label Designer that prints to standard 2x3 inch label sheets - the same size most clamshell wax melt sellers use.

Keep going

How to Make Rolled Beeswax Candles

9 steps · about 8 minutes

Products Used

The Checklist

How to Make Wax Melts (Strong Scent Throw)

Tools
4
Materials
6
Steps
6
Video
8 min

Tools we recommend

Your Guide

Ellen Ruth Soap

As an Amazon Associate we earn from qualifying purchases. Links on this page may be affiliate links - clicking them and buying doesn't change your price, but helps support ShowMeStepByStep.

Tags

Sunday How-To

New other crafts tutorials, every Sunday

One short email with the week's best step-by-step guides. Free, no spam, unsubscribe anytime.

Test your knowledge

Did the lesson stick? Start with this one.

5 questions covering what you just read. No signup, no score saved, and you can stop after this one.

Question 1 of 5

Recommended wax temp before adding fragrance?

Quick reference

Key takeaways from How to Make Wax Melts (Strong Scent Throw)

5 questions, answers, and one-line explanations. Tap to expand.

  1. 1.Recommended wax temp before adding fragrance?

    Answer: 180°F

    About 180°F. Hotter and the fragrance flashes off into the air instead of bonding - the most common reason DIY melts smell weak.

  2. 2.Standard fragrance load by weight?

    Answer: 6-8 percent

    6-8% is standard. Combo waxes like Pillar of Bliss can handle up to 12% if you want a very strong scent throw.

  3. 3.How do you check final color before pouring?

    Answer: Drop on white paper

    Drop melted wax on white paper, wait 20 sec for it to set. Cooled wax is the real color - hot wax always looks darker.

  4. 4.When should you add sprinkles or pearls?

    Answer: After 4-8 min skin forms

    4-8 minute window after pouring. Too early and they sink. Too late and they bounce off the hard surface.

  5. 5.Why wait 2 hours before snapping clamshell tops shut?

    Answer: Avoids trapped condensation

    Closing while still warm traps condensation inside, which weakens scent throw. Cool fully first, then snap, then label.

Did this work for you?

What's next

Weekly Digest

Liked this other crafts tutorial?

Pick the categories you want to hear about. Weekly digest of new step-by-step tutorials. No spam, easy unsubscribe.

Send me tutorials about

We only email about new tutorials. Easy unsubscribe anytime.