How to Make Soap from Scratch

The finished result: How to Make Soap from Scratch
Also in:Crafts

By ShowMeStepByStepPublished Updated

Based on a video by TheCraftyGemini.

Cold-process soap is the real chemistry: oils, lye (sodium hydroxide) and water react in a process called saponification, and what comes out is soap. Melt-and-pour craft-kit soap is a ready-made base you melt and customize. Cold process is the from-scratch version.

Vanessa at TheCraftyGemini keeps it to two oils (canola and olive) so you can learn the process without juggling five ingredients. The technique is the same with two oils or twelve. Plan on about an hour of active work, 24 hours in the mold, and 4-6 weeks of curing.

Lye safety in plain terms

Lye is caustic. It burns skin and eyes, and the steam that comes off when it first hits water irritates your lungs.

  • Goggles (not glasses), chemical-resistant gloves, long sleeves.
  • Ventilation: open window or fan, and turn your face away while the lye dissolves.
  • Always pour lye into water, never water onto lye. Use cold or room-temperature distilled water.
  • Stainless steel, heat-safe glass or #5 PP plastic only. Lye eats aluminum.
  • Kids and pets out of the room. Label the lye water if you step away.

If lye splashes on skin, rinse with lots of cool running water for at least 15 minutes. Vinegar is not a burn treatment. Lye in the eye means rinsing right away and calling poison control or getting medical help.

Run every recipe through a lye calculator

Each oil needs a different amount of lye. Before you weigh anything, enter your oils by weight into a free lye calculator such as SoapCalc. It gives you the lye and water amounts with a small superfat (usually 5%) so a little oil stays unreacted and the bar is gentle. Weigh in grams. Never swap an oil without re-running the numbers.

What trace looks like

Trace is the point where oils and lye water stop separating. At light trace the batter is like thin custard and a drizzle leaves a faint line that sinks back in fast. Medium trace is thicker, like pudding, and the line sits on top for a few seconds. Light trace is easiest to pour and the right time to stir in fragrance or color by hand.

Why the 4-6 week cure matters

Saponification is mostly done within a couple of days. Curing is about water leaving the bar. A cured bar is harder, milder and lasts much longer in the shower. Bars heavy in liquid oils like this canola and olive recipe stay soft longer, so give them the full six weeks.

Cold process vs melt-and-pour

Cold processMelt-and-pour
Handles lyeYesNo
Control over oilsFullNone
Ready to use4-6 weeksSame day
Good for kidsNoWith an adult

Troubleshooting

  • White powder on top (soda ash): harmless and cosmetic. Plane it off or steam it. Covering the mold helps next time.
  • Batter seized in the pot: some fragrances speed trace. Add scent at light trace, stir by hand, and pick oils labeled as behaving well in cold process.
  • Soft bars after a week: normal for liquid-oil recipes. Keep curing.
  • Oily pools or liquid pockets: the batter separated, often from false trace or big temperature gaps. Those bars can be lye-heavy. Don't use them.

Once your bars are curing, the same shelf of supplies covers easier projects: bath bombs, lip balm and a soy candle. A concrete soap dish keeps a finished bar dry.
Step-by-Step Guide

6 steps · about 8 minutes.Check off each step as you go and your progress saves automatically.

1

Suit up with safety gear

1:40
Step 1: Suit up with safety gear - How to Make Soap from Scratch

Working with lye is the most dangerous part of soap making. Sodium hydroxide is caustic and the fumes released when it first hits water are toxic for about 30 seconds. Splashes can burn skin badly.

Put on chemical-resistant rubber gloves (the long ones that cover your forearms), safety goggles (not just glasses), and a respirator mask or a regular dust mask plus an open window. Work in a well-ventilated area with no kids or pets around. None of this is optional.

Tip

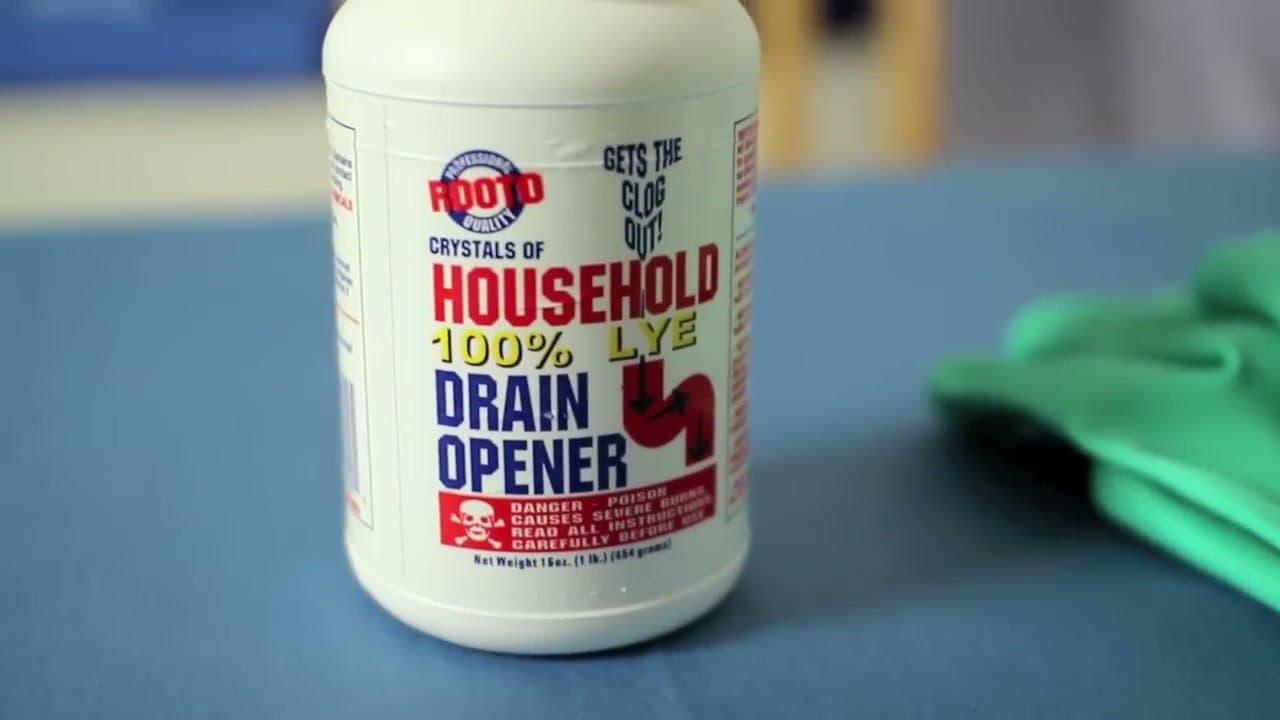
Buy lye specifically labeled for soap making - 100% sodium hydroxide. Don't use generic drain cleaner that contains lye; it's mixed with other chemicals that contaminate your soap.

2

Measure your oils, lye, and water

2:40
Step 2: Measure your oils, lye, and water - How to Make Soap from Scratch

Use a digital scale - never volume measurements (cups, teaspoons) - because soap making is a chemical reaction that needs precise ratios. A few grams off and the bar either won't saponify or will leave excess lye that burns skin.

For this beginner batch, Vanessa uses canola oil and the cheapest light olive oil she could find. You'll also need water and 100% sodium hydroxide lye. Run all your ingredient amounts through a free online soap calculator (SoapCalc, Bramble Berry Lye Calculator) to confirm the ratios before mixing.

Tip

Use containers and tools that you set aside ONLY for soap making - label them. Lye reacts with aluminum and some plastics, and you don't want soap-batter residue ending up in food prep.

3

Carefully mix lye into water

3:40
Step 3: Carefully mix lye into water - How to Make Soap from Scratch

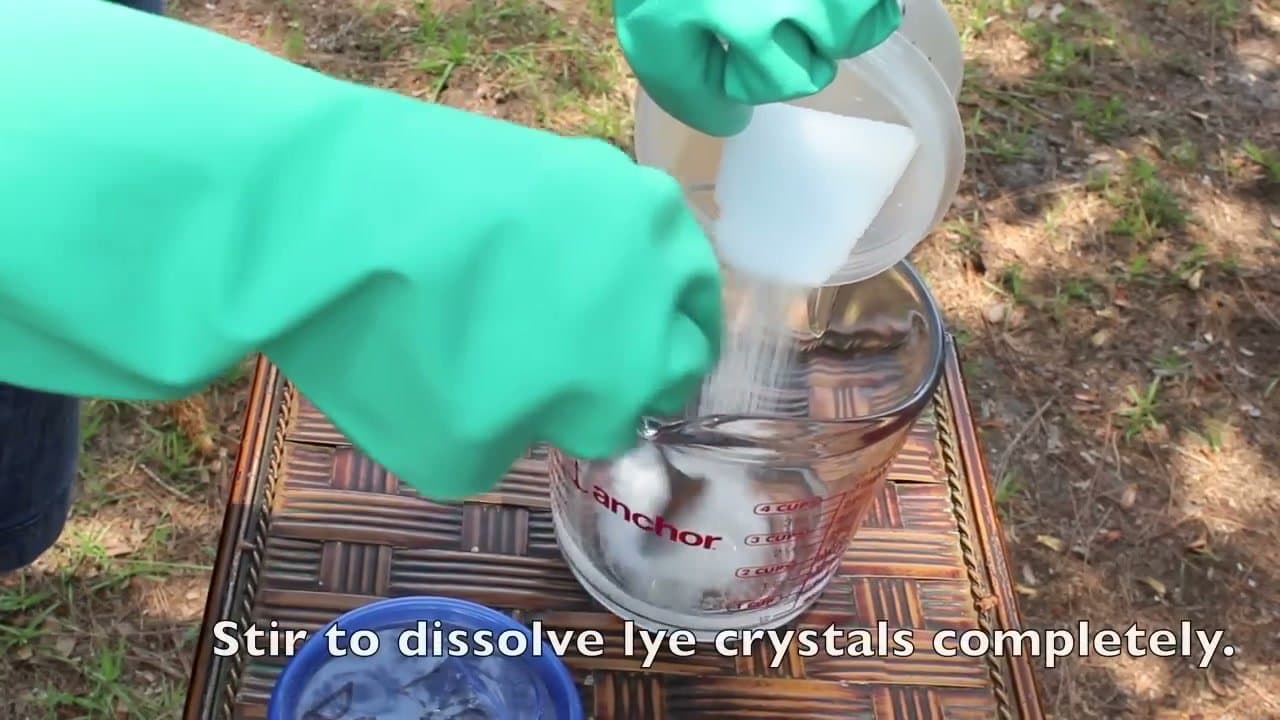
Pour the measured water into a heat-proof glass measuring cup or pitcher first. Then SLOWLY pour the lye crystals into the water (always lye into water, never the other way around - reverse order causes a violent reaction).

Stir gently with a stainless steel spoon to dissolve the crystals. The mixture will heat up to nearly 200°F instantly and release toxic fumes for about 30 seconds. This is exactly why the safety gear matters. Set the lye water aside in a safe place to cool down.

Tip

Work next to your sink so you can rinse a splash immediately. If lye touches skin, flush with cool running water for 15 minutes - don't try to neutralize with vinegar; the heat from neutralization makes the burn worse.

4

Wait for both temperatures to match

4:50
Step 4: Wait for both temperatures to match - How to Make Soap from Scratch

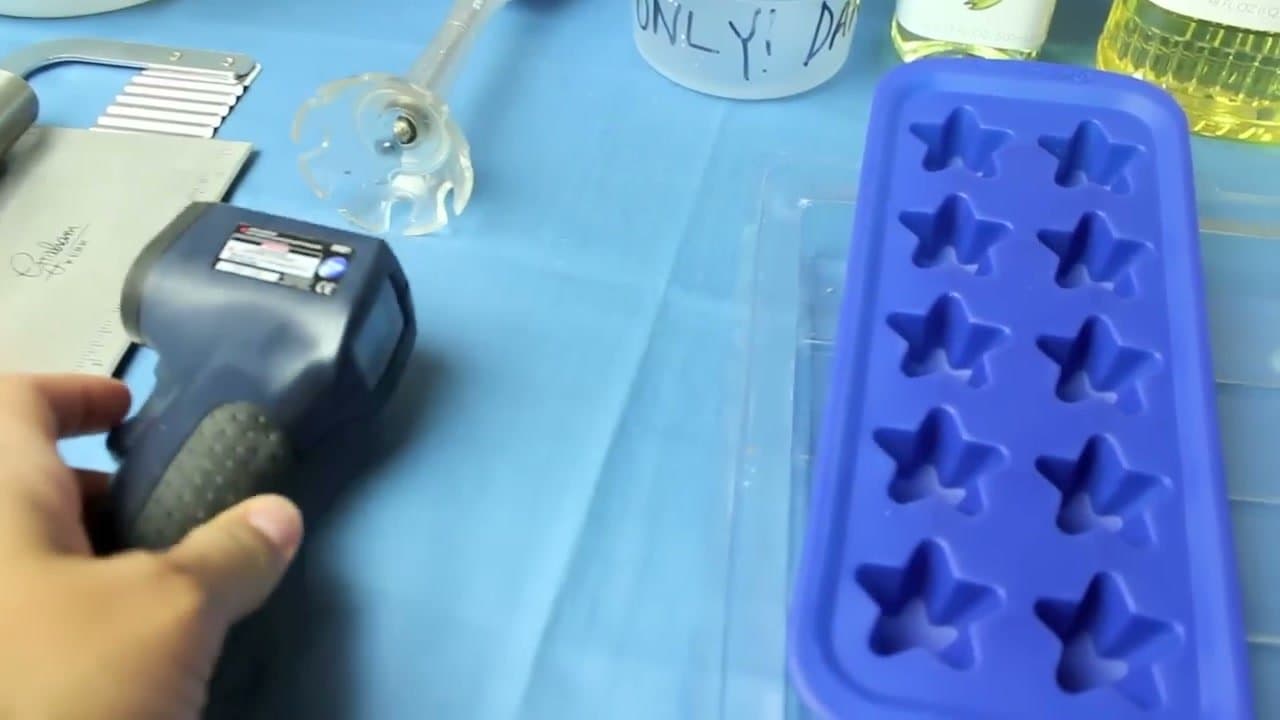
Use a thermometer (gun-style or a candy thermometer) to check the lye water and the oils separately. The lye water cools down from its 200°F peak while the oils warm up slightly to room temperature.

You want both to land around 130-140°F before combining them. This usually takes 15-30 minutes of waiting. Don't combine when temperatures are far apart - the reaction won't be even and the soap can fail.

Tip

Speed it up by setting the lye container in a sink of cool water (no ice; that thermal-shocks the glass). Don't speed up the oils - just let them warm naturally.

5

Combine and stick-blend to 'trace'

5:20
Step 5: Combine and stick-blend to 'trace' - How to Make Soap from Scratch

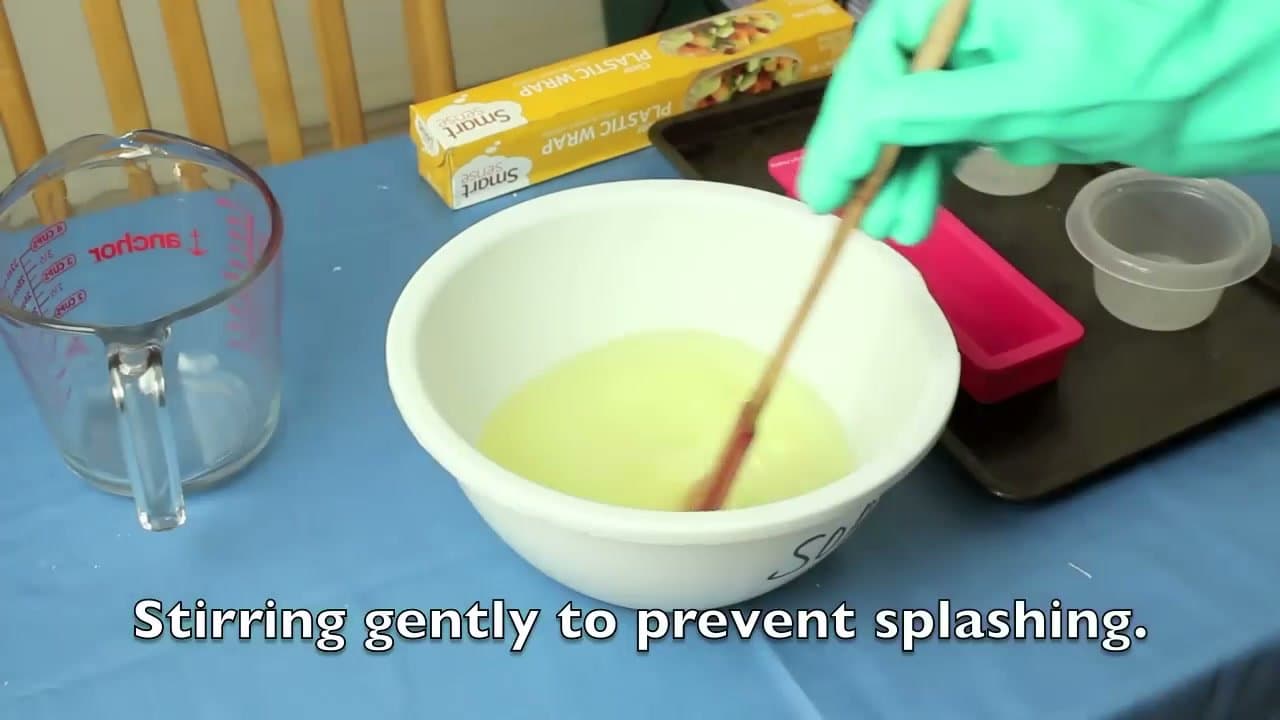
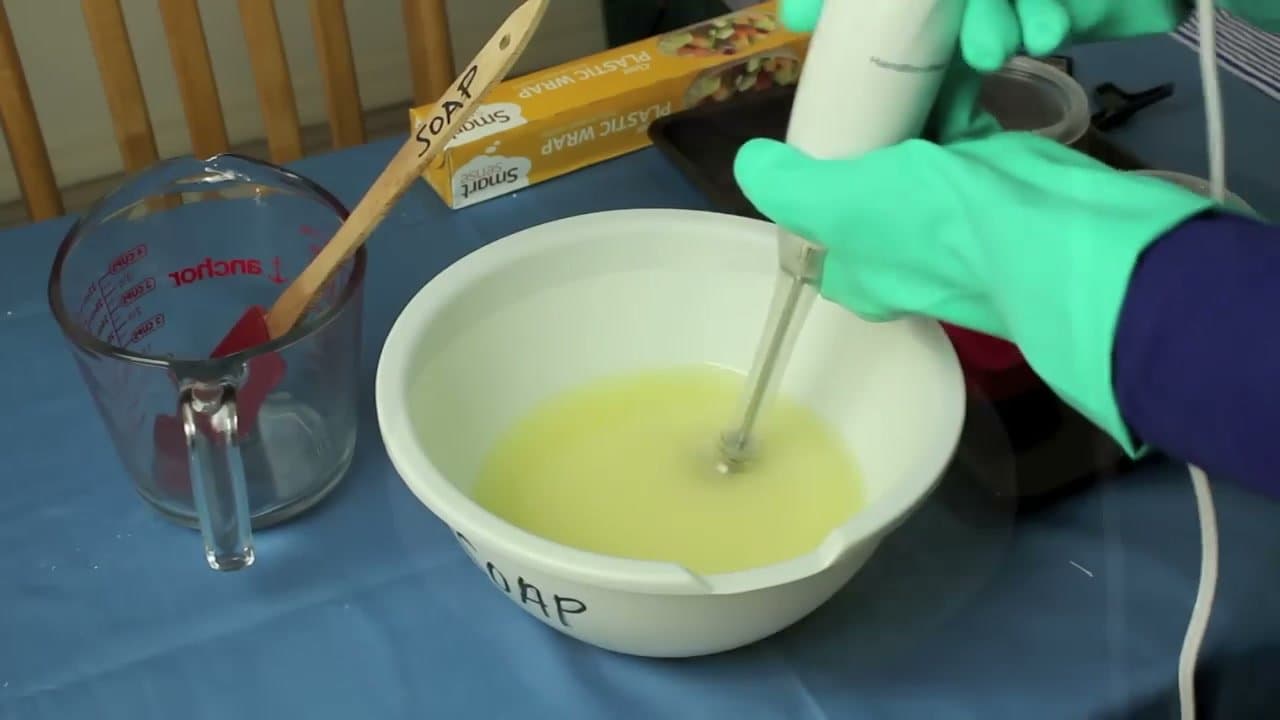
Slowly pour the lye water into the bowl of oils while stirring gently. Switch to a stick blender and pulse-blend in short bursts (5-10 seconds at a time) so you don't introduce air bubbles. Stir manually between bursts.

The mixture starts oily and separated. As you blend, it goes opaque, then thickens into a smooth, custard-like batter. You're looking for 'trace' - drizzle a spoonful across the surface and watch the trail. If it sits on top for a moment before sinking back in, you're at trace and ready to pour. If it disappears immediately, blend more.

Tip

This is the stage to add fragrance, color, or exfoliants like ground oats. Stir them in by hand once trace is reached - blending after additions can cause the batter to seize and harden in seconds.

6

Pour into molds, rest 24 hours, then cure 4-6 weeks

6:40
Step 6: Pour into molds, rest 24 hours, then cure 4-6 weeks - How to Make Soap from Scratch

Pour the traced batter into silicone or plastic soap molds (or recycled milk cartons cut in half). Tap the molds gently on the counter to release any air bubbles. Cover with a towel and leave undisturbed for 24 hours.

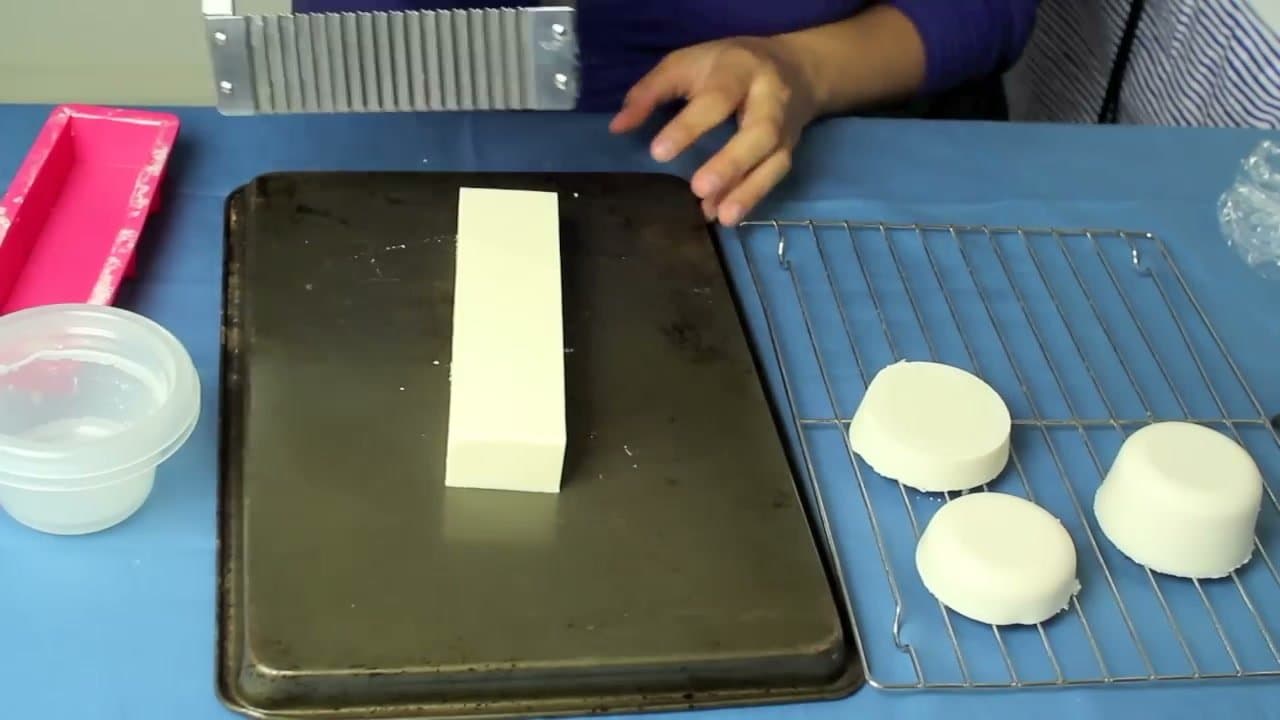
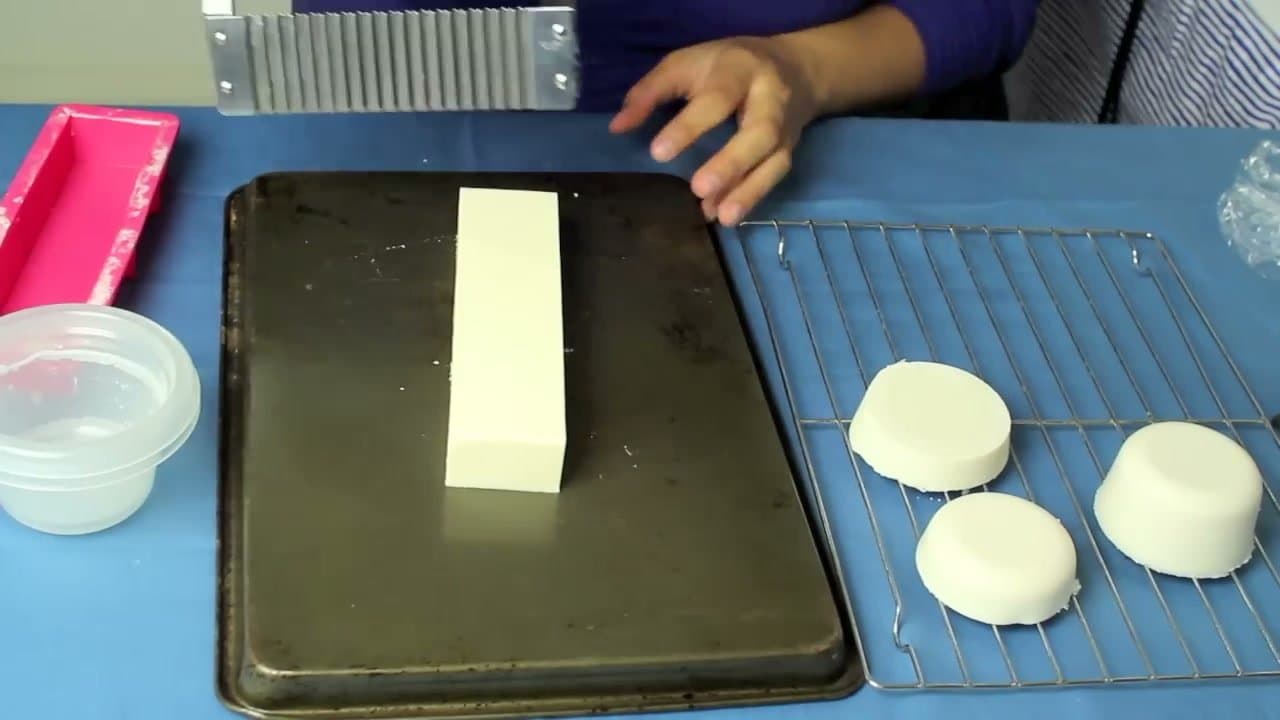
The next day, pop the bars out of the molds (they'll come out easily from silicone). Cut into bar-sized portions with a soap cutter or sharp non-serrated knife. Set the bars on a cooling rack with space around each one for airflow.

Now cure for 4-6 weeks. During curing, water evaporates out of the bars and the saponification reaction continues to completion. Soap used too early is soft, soggy, and can still have unreacted lye that burns skin. Patience pays off - a fully cured bar lasts twice as long in the shower.

Tip

Label each bar with the date it was made and the recipe. Six weeks is hard to track without a label, and 'is this cured yet?' becomes a guess otherwise.

Keep going

How to Make Potpourri at Home in 7 Easy Steps

Products Used

Tools we recommend

Your Guide

TheCraftyGemini

As an Amazon Associate we earn from qualifying purchases. Links on this page may be affiliate links - clicking them and buying doesn't change your price, but helps support ShowMeStepByStep.

Tags

Sunday How-To

New other crafts tutorials, every Sunday

One short email with the week's best step-by-step guides. Free, no spam, unsubscribe anytime.

Test your knowledge

Did the lesson stick? Start with this one.

5 questions covering what you just read. No signup, no score saved, and you can stop after this one.

Question 1 of 5

What's the most dangerous material in cold-process soap making?

Quick reference

Key takeaways from How to Make Soap from Scratch

5 questions, answers, and one-line explanations. Tap to expand.

  1. 1.What's the most dangerous material in cold-process soap making?

    Answer: Lye, which is caustic and releases fumes

    Lye is caustic and gives off toxic fumes when it hits water, so safety gear is never optional.

  2. 2.Why measure soap ingredients by weight on a scale instead of by cups?

    Answer: It is a chemical reaction that needs precise ratios

    Soap is a chemical reaction, and a few grams off leaves excess lye or a bar that won't saponify.

  3. 3.When combining lye and water, what's the rule that prevents a violent reaction?

    Answer: Always pour lye into water, never the reverse

    Lye into water is the rule; pouring water onto lye can erupt violently.

  4. 4.What does reaching 'trace' tell you?

    Answer: A drizzle sits on top before sinking, so it's ready to pour

    At trace a drizzled trail rests briefly on the surface, the sign the batter is ready to pour.

  5. 5.After pouring into molds and resting a day, how long do the bars need to cure?

    Answer: Four to six weeks while water evaporates

    Cold-process bars cure four to six weeks as water evaporates and the soap finishes hardening.

Did this work for you?

What's next

Weekly Digest

Liked this other crafts tutorial?

Pick the categories you want to hear about. Weekly digest of new step-by-step tutorials. No spam, easy unsubscribe.

Send me tutorials about

We only email about new tutorials. Easy unsubscribe anytime.