How to Clean Stainless Steel Appliances (Streak-Free Finish)

Also in:Adulting

By ShowMeStepByStepPublished

Based on a video by Clean That Up.

Stainless steel fridges and ovens are smudge magnets. Fingerprints show up the second the kids walk past, and most off-the-shelf stainless cleaners leave a sticky film that grabs even more dirt the next day.

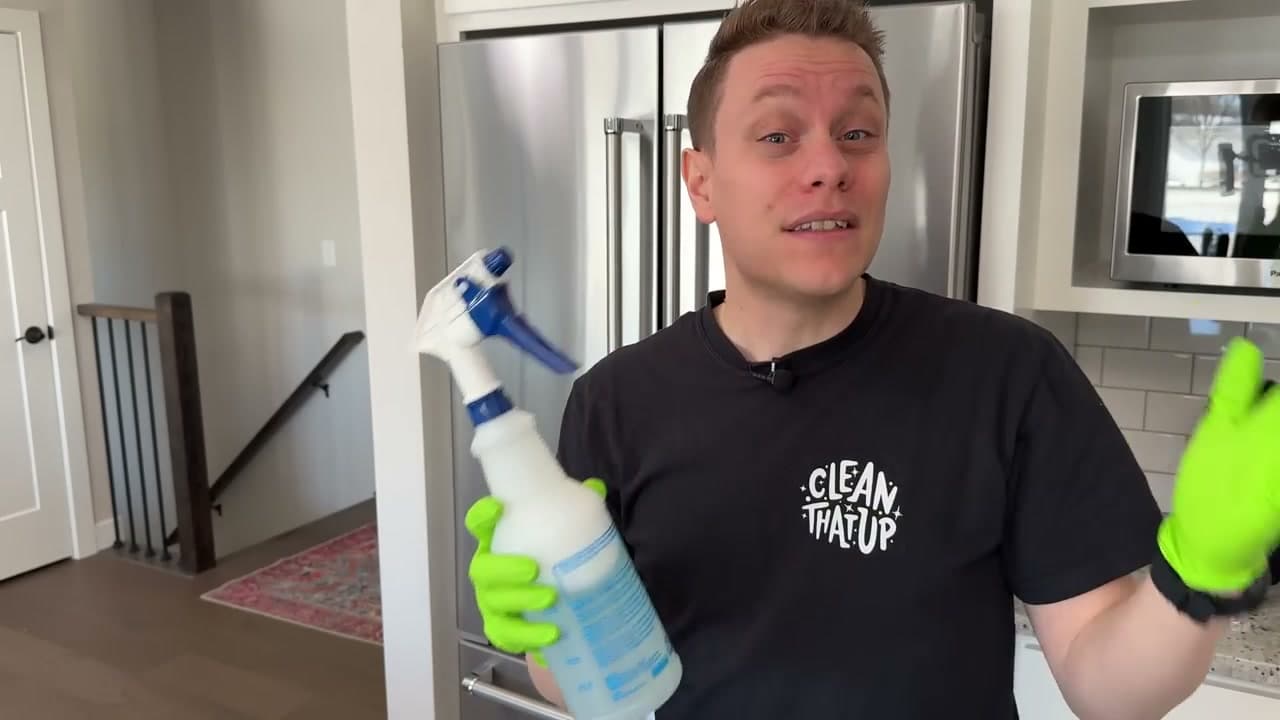
Brandon from Clean That Up walks through the method that actually works, and the only supplies you need are already under your sink: a spray bottle, water, a few drops of dish soap, and two clean microfiber towels. One damp, one dry. That's the whole trick.

You'll go from smudged to mirror-finish in about five minutes. Along the way you'll learn the one thing you have to figure out before you start wiping (the grain direction), the buffing step most people skip, and the popular Pinterest hacks - olive oil, baby oil, Orange Glow - that you should never put on stainless steel.

For the rare hard-water spot or surface rust, there's a separate fix at the end using white vinegar or Bar Keepers Friend Soft Cleanser.

Step-by-Step Guide

1

Step 1: Find the grain direction

0:18
Step 1: Step 1: Find the grain direction

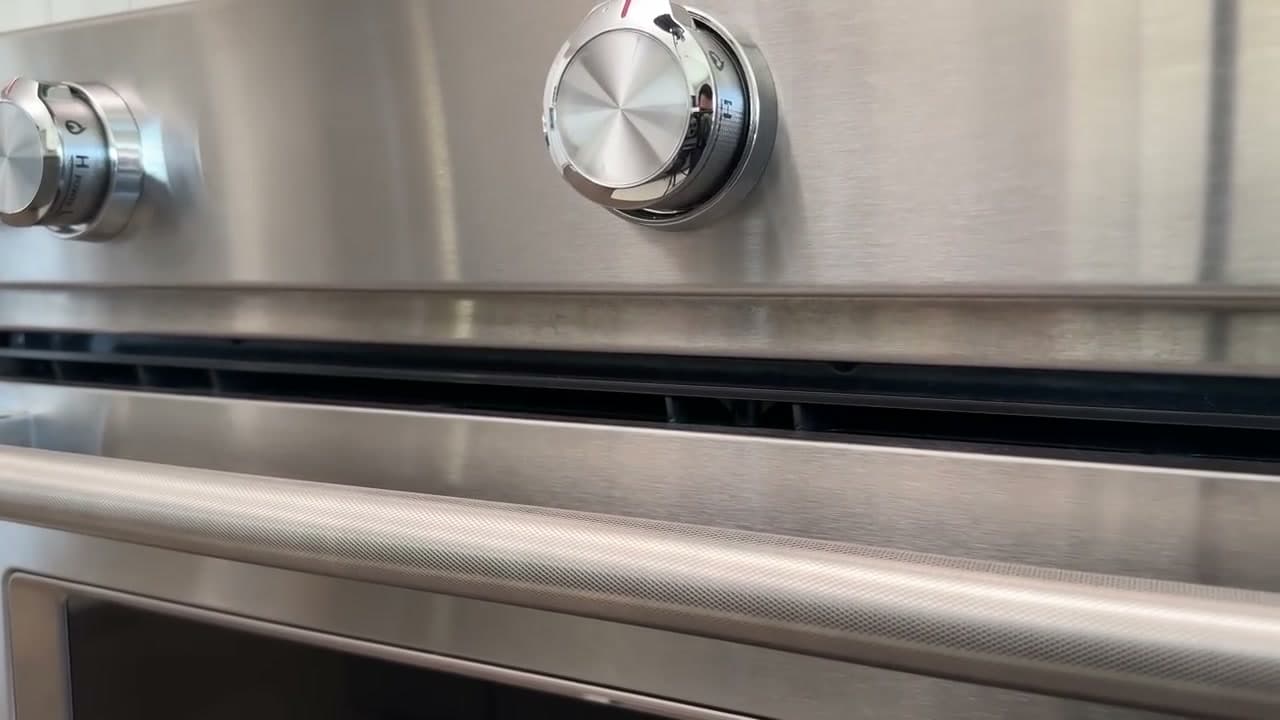
Stainless steel has a grain, just like wood. On some appliances it runs horizontally, on others it runs vertically. Get up close and look for the faint parallel lines in the brushed finish. You want to clean with the grain, not across it.

If you wipe against the grain you'll push grime sideways into the brush lines, leave streaks, and sometimes create tiny scratches that catch the light forever. Two seconds of looking saves an hour of frustration later.

Tip

Most modern French-door fridges and dishwashers go horizontally. Wall ovens and range hoods often go vertically. Always confirm on the actual surface you're about to clean.

2

Step 2: Mix water and dish soap in a spray bottle

0:45
Step 2: Step 2: Mix water and dish soap in a spray bottle

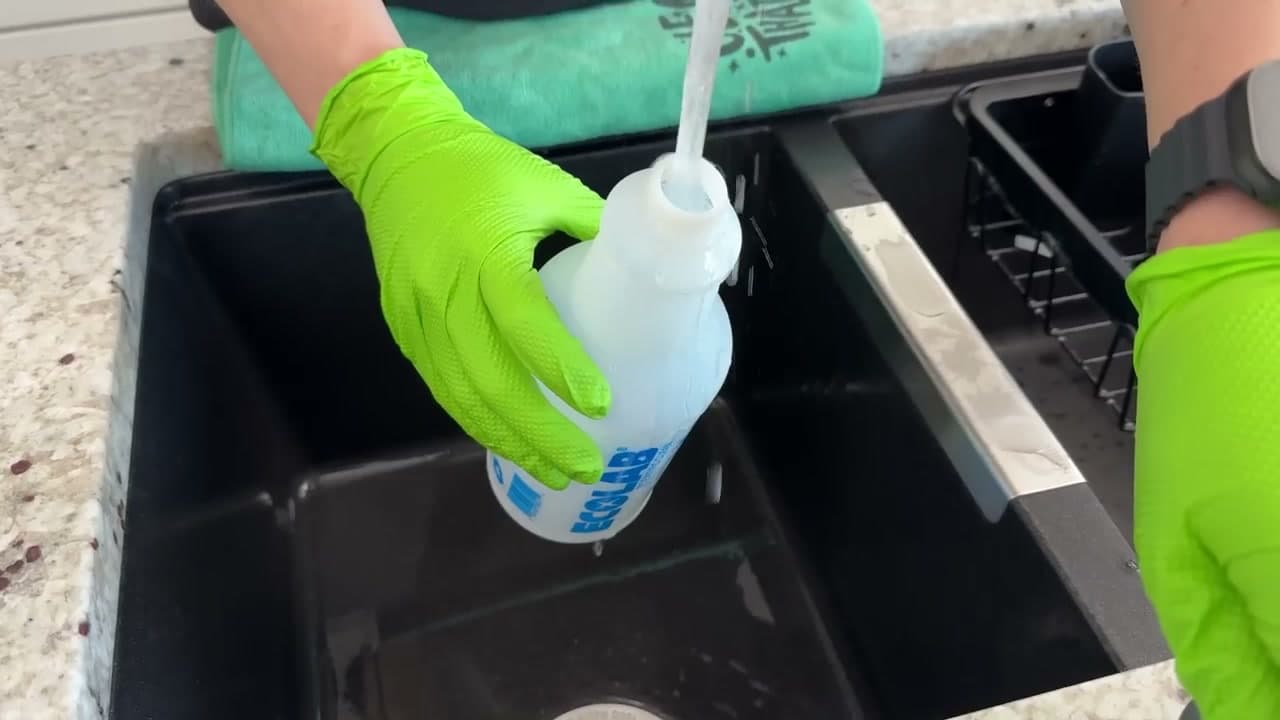
Grab any clean spray bottle and fill it with plain water. Add three or four drops of regular dish soap - Dawn, Method, whatever you already have at the sink. Give it a gentle swirl. You don't need bubbles, just a slight cloudiness.

Dish soap is the right call for two reasons. It cuts through the oily fingerprint residue that's actually causing the smudges, and it's gentle enough that it won't strip or dull the stainless finish over time.

Tip

Don't shake it hard or you'll get a bottle of foam. Swirl, don't shake.

3

Step 3: Tighten the nozzle to a fine mist

2:10
Step 3: Step 3: Tighten the nozzle to a fine mist

Most spray bottles have a twist nozzle that goes from a hard stream to a fine mist. Spin it as tight as it goes. You want the spray to land on the surface as tiny droplets that stay put, not a wet jet that runs down the door.

If the cleaner runs, it leaves watermark trails that you'll have to chase down on the next pass. A fine mist puts a thin, even film exactly where you need it and nowhere else.

Tip

Test the spray pattern on the inside of a cabinet door first. If it streams, twist tighter or hold the bottle further from the surface.

4

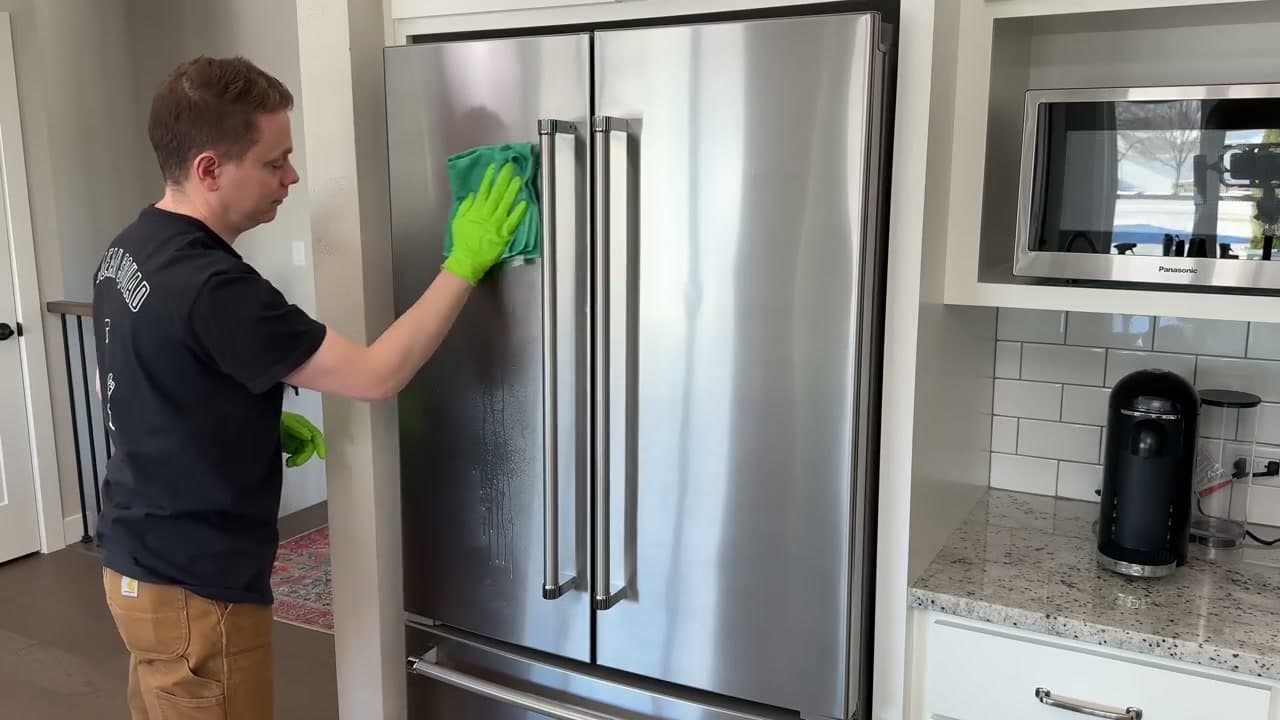
Step 4: Spray and wipe with the grain using a damp microfiber

1:20
Step 4: Step 4: Spray and wipe with the grain using a damp microfiber

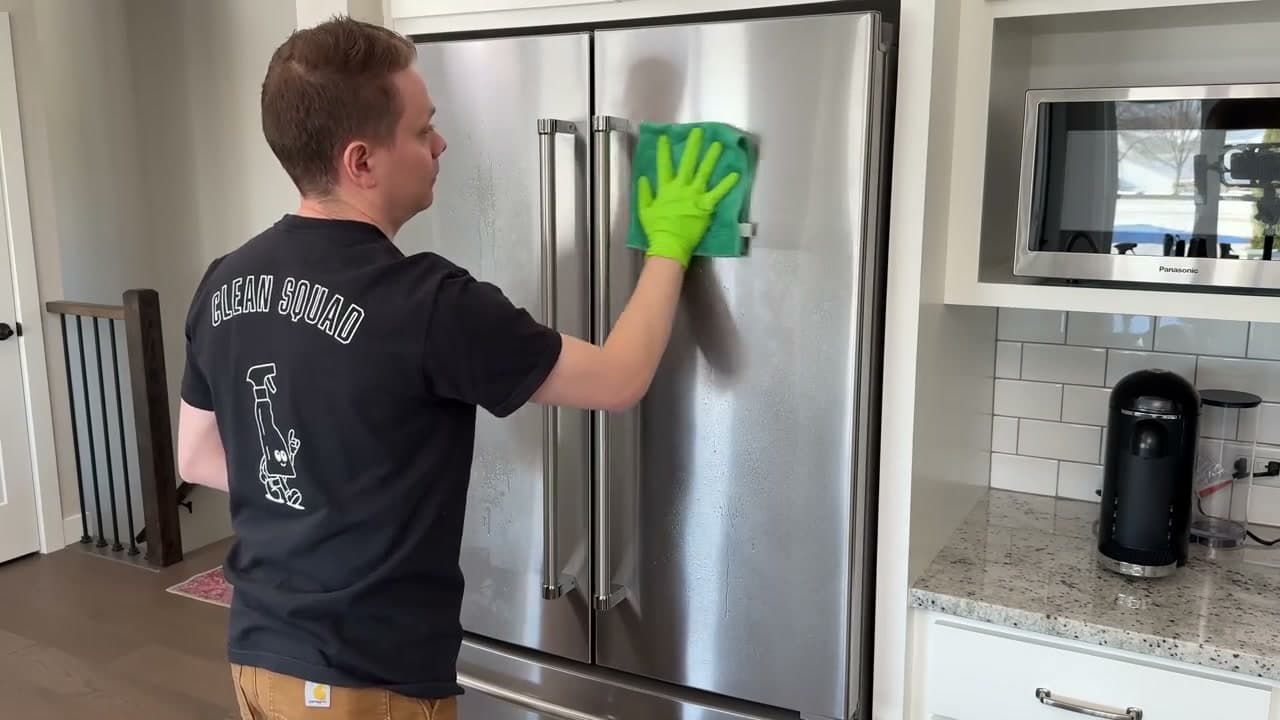
Mist the cleaner across one panel at a time. Don't drench it. Take a damp microfiber towel and wipe across the whole panel in long, even strokes - always in the same direction as the grain you identified in step one.

Use a fresh section of the towel as it picks up grime. Move from top to bottom so any drips land on areas you haven't cleaned yet. One panel, then the next. The smudges and fingerprints lift off without much pressure at all.

Tip

Green microfiber works as well as any color. The key is the cloth itself - paper towels lint, regular dish rags streak, and old t-shirts leave fibers behind.

Products used in this step

5

Step 5: Buff dry with a clean microfiber

1:40
Step 5: Step 5: Buff dry with a clean microfiber

This is the step most people skip, and it's the one that takes you from clean to mirror-shiny. Grab a second microfiber - this one bone dry - and buff the panel you just wiped. Same direction as the grain.

Buffing pulls up the last of the soapy moisture and any residue you couldn't see. The surface dries instantly with no streaks, no spots, no haze. That's the secret. One damp, one dry, every single time.

Tip

Keep the dry buffing cloth separate from the damp one. If you mix them up halfway through, you'll smear water back onto a dry panel and have to start over.

Products used in this step

6

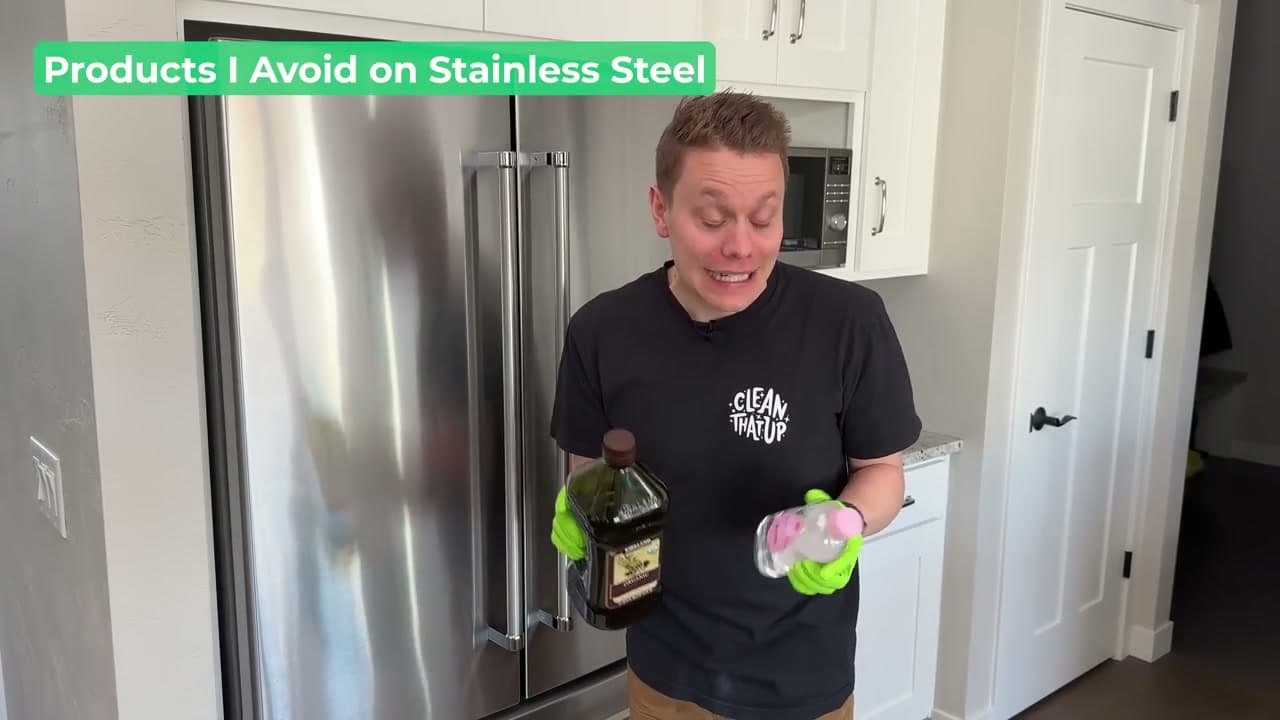
Step 6: Skip the hacks that ruin stainless steel

3:15
Step 6: Step 6: Skip the hacks that ruin stainless steel

You'll see plenty of videos online telling you to polish stainless with olive oil, baby oil, or Orange Glow. Don't. They make the surface shiny for about ten minutes, then they get sticky, attract more dirt, and build up a film that's miserable to remove later.

Two other things will permanently damage the finish: steel wool and those green-and-yellow scrub pads, which scratch every time, and bleach, which discolors stainless and ruins it for good. If you've been using any of these, stop now.

If your appliances have a fingerprint-resistant or black stainless coating, also skip anything abrasive in step seven - that coating is a thin layer that comes right off.

Tip

If you've already used oil and the surface feels tacky, run a normal dish-soap pass over it three or four times to strip the residue back off.

7

Step 7: For hard water spots or rust, use vinegar or Bar Keepers Friend

4:30
Step 7: Step 7: For hard water spots or rust, use vinegar or Bar Keepers Friend

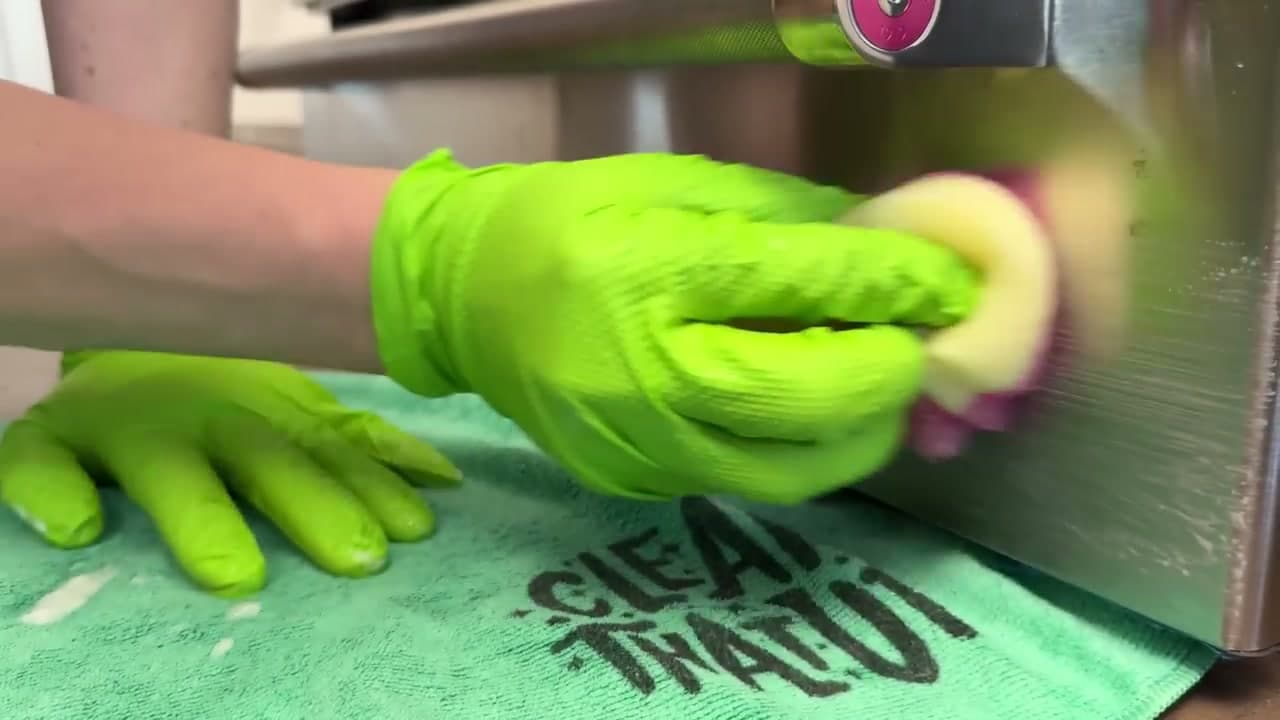
Stainless steel can still pick up hard water spots and surface rust over time. For light water staining, soak a microfiber in plain white vinegar and wipe with the grain. For anything stubborn, reach for Bar Keepers Friend Soft Cleanser - the liquid version in the squeeze bottle, not the powder.

Squirt a small amount onto a non-scratch scrub sponge, work it in along the grain with light pressure, then rinse with the damp microfiber and buff dry. Always test on a small hidden patch first to make sure the finish reacts well. Powder versions are too aggressive for this job.

Tip

Warm a Scrub Daddy or Scrub Mommy in hot water before you start - it softens up so it's gentler on the finish.

Products Used

☐ The Checklist

How to Clean Stainless Steel Appliances (Streak-Free Finish)

Tools
4
Materials
4
Steps
7
Video
6 min

Your Guide

Clean That Up

As an Amazon Associate we earn from qualifying purchases. Links on this page may be affiliate links - clicking them and buying doesn't change your price, but helps support ShowMeStepByStep.

Tags

What's next

Weekly Digest

Liked this lifestyle tutorial?

Pick the categories you want to hear about. Weekly digest of new step-by-step tutorials. No spam, easy unsubscribe.

Send me tutorials about

We only email about new tutorials. Easy unsubscribe anytime.