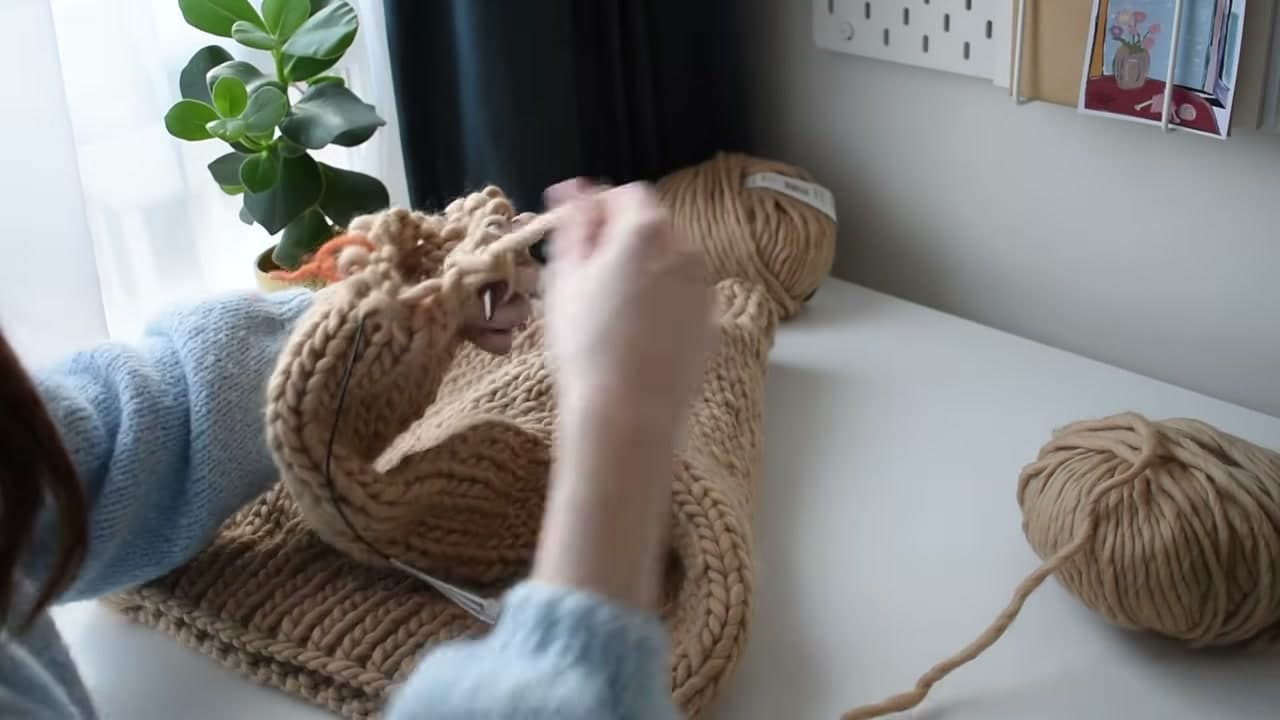
How to Knit a Chunky Sweater for Beginners

KnittingMedium13:3610 stepsPart of Crafting for BeginnersBrowse more →
The finished result: How to Knit a Chunky Sweater for Beginners

By Show Me Step by StepPublished

Based on a video by Well-Loved Knits.

A first sweater sounds like a big leap, but a chunky one is a friendly place to start. Bethany of Well-Loved Knits walks through her Cozy Mock Neck Sweater in super chunky wool on 12mm and 15mm needles. The body is two flat rectangles. You sew them together, then pick up stitches for the collar and the sleeves. Every technique is a basic one, and the big yarn means you see progress fast. One panel can be finished in an evening.

How to knit a sweater: what you need

  • Super chunky yarn. About 400 meters for a medium in this design, roughly 5 skeins of 80 meters each.
  • Two needle sizes. 12mm (US 17) for ribbing and the collar, 15mm (US 19) for the body and sleeves. Circular needles work for both flat and round knitting.
  • A darning needle. A large eye blunt needle for seams and ends.
  • A tape measure, scissors and a stitch holder or spare needle.

Pick your size and swap yarn safely

Patterns list sizes like S (M) L (XL). Circle every number for your size before you start so you never knit the wrong count. To use a different yarn, multiply skeins by meters per skein to get the total length, then buy enough of your yarn to match it. Always knit a gauge swatch with the new yarn. Super chunky yarns vary a lot in thickness.

The sweater pieces at a glance

PieceNeedlesStitch
Back panel12mm hem, then 15mm1x1 rib, then stockinette
Front panelSame as backPlus neck and shoulder shaping
Collar12mm circularPicked up, worked in the round
Sleeves (2)15mm, then 12mm cuffPicked up, stockinette, rib cuff

Getting the fit right

Measure a sweater you love to wear. Lay it flat and measure across the chest and from shoulder to hem. Knit your panels to that length. Chunky knits are forgiving, and this pattern is easy to make longer or cropped. Sleeves are knit down from the shoulder, so try the sweater on as you go and stop the sleeve when it hits your wrist.

Common problems

  • Cast on ran short. Leave a long tail. It doubles as seaming yarn.
  • Seams look bulky. Use mattress stitch on the right side, one bar at a time.
  • Holes at the collar. Pick up a stitch in every gap along the neckline.
  • Stitches hard to move. Knit the change row with one 12mm and one 15mm needle.

Caring for a chunky sweater

Hand wash in cool water with a little wool wash, then press the water out in a towel. Dry it flat and fold it for storage. A heavy knit stretches out of shape on a hanger, so give it a shelf.

Techniques to brush up on

New to any of these? See how to knit ribbing, how to decrease, mattress stitch and how to pick up stitches.

What you'll need

Step-by-Step Guide

10 steps · about 14 minutes.Check off each step as you go and your progress saves automatically.

1

Cast On the Sweater Back Panel With a Long Tail Cast On

2:30
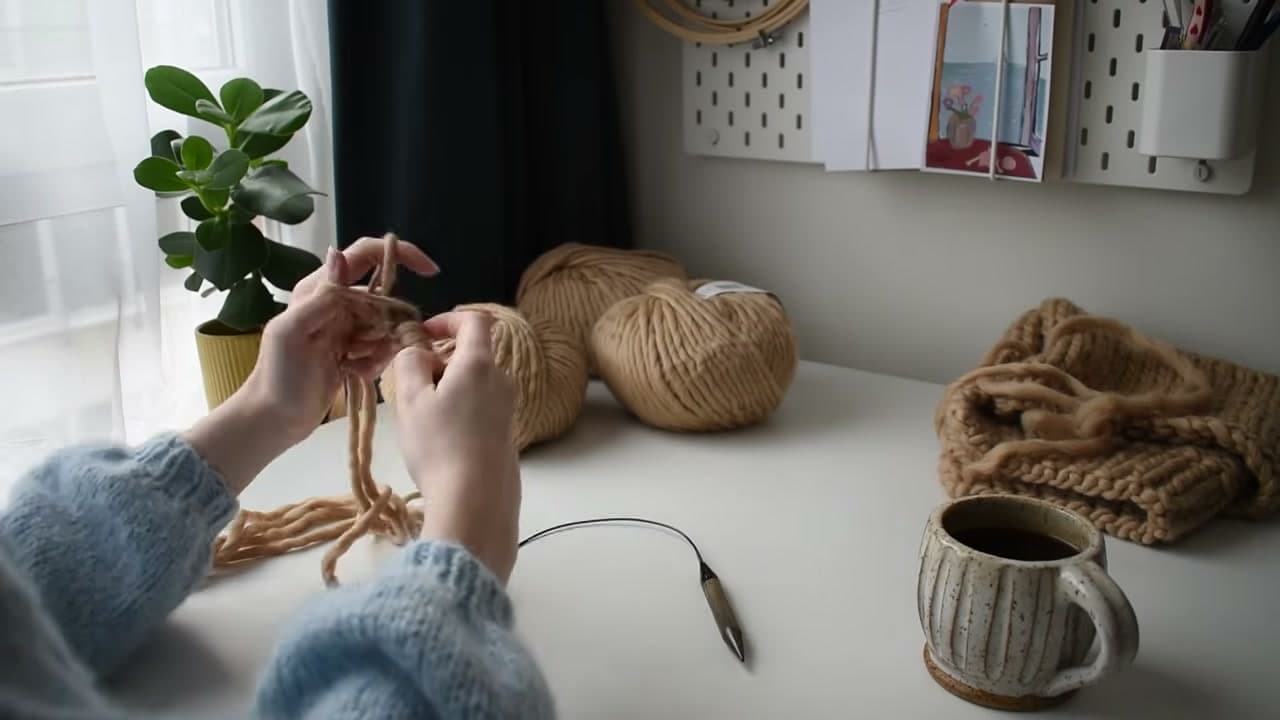
Step 1: Cast On the Sweater Back Panel With a Long Tail Cast On - How to Knit a Chunky Sweater for Beginners

Start with the back panel. Check your pattern for the cast on count in your size. Make a long tail cast on with super chunky yarn onto 12mm needles. Leave a generous tail, longer than you think. Bethany ran short and had to hold the strand tight for a few rows. A long tail also gives you yarn to sew the side seam later.

Tip

Wrap the yarn around the needle once per stitch to estimate the tail, then add a bit more.
2

Knit the 1x1 Rib Hem of the Sweater Panel

3:05
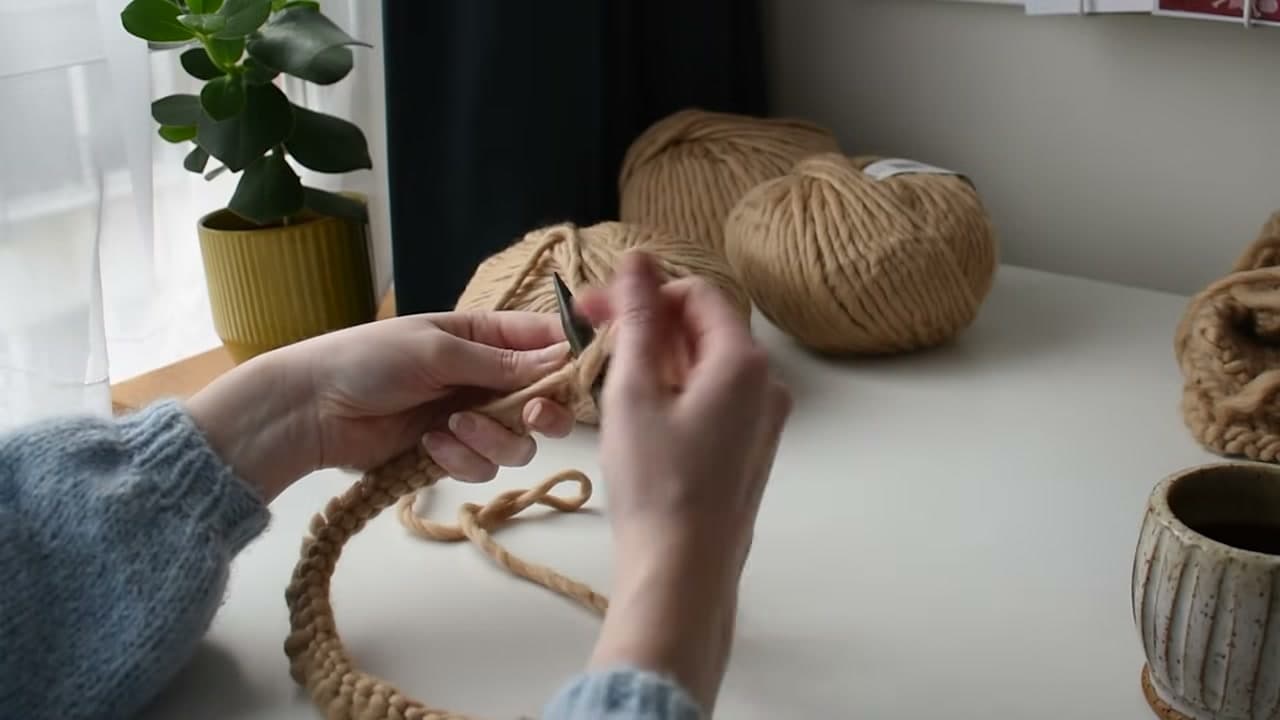
Step 2: Knit the 1x1 Rib Hem of the Sweater Panel - How to Knit a Chunky Sweater for Beginners

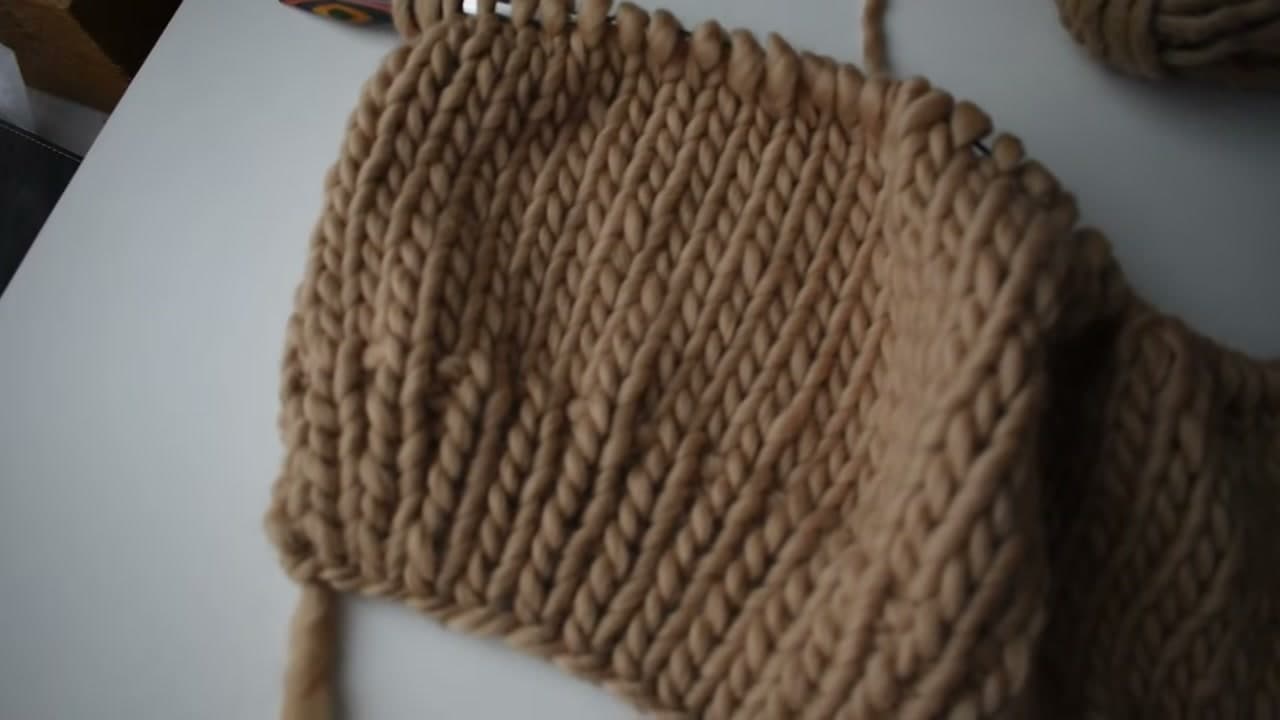
Work knit one, purl one across every row for the ribbed hem. Keep going until you reach the number of rows in the pattern, or the depth you like. Look at the bottom edge when you finish. One side shows a neat braided line along the cast on. That is your right side, so make sure the next row you work is a right side row.

Tip

Count rows in pairs of ridges. Chunky stitches are easy to see.

3

Switch to Larger Needles for the Sweater Body

4:05
Step 3: Switch to Larger Needles for the Sweater Body - How to Knit a Chunky Sweater for Beginners

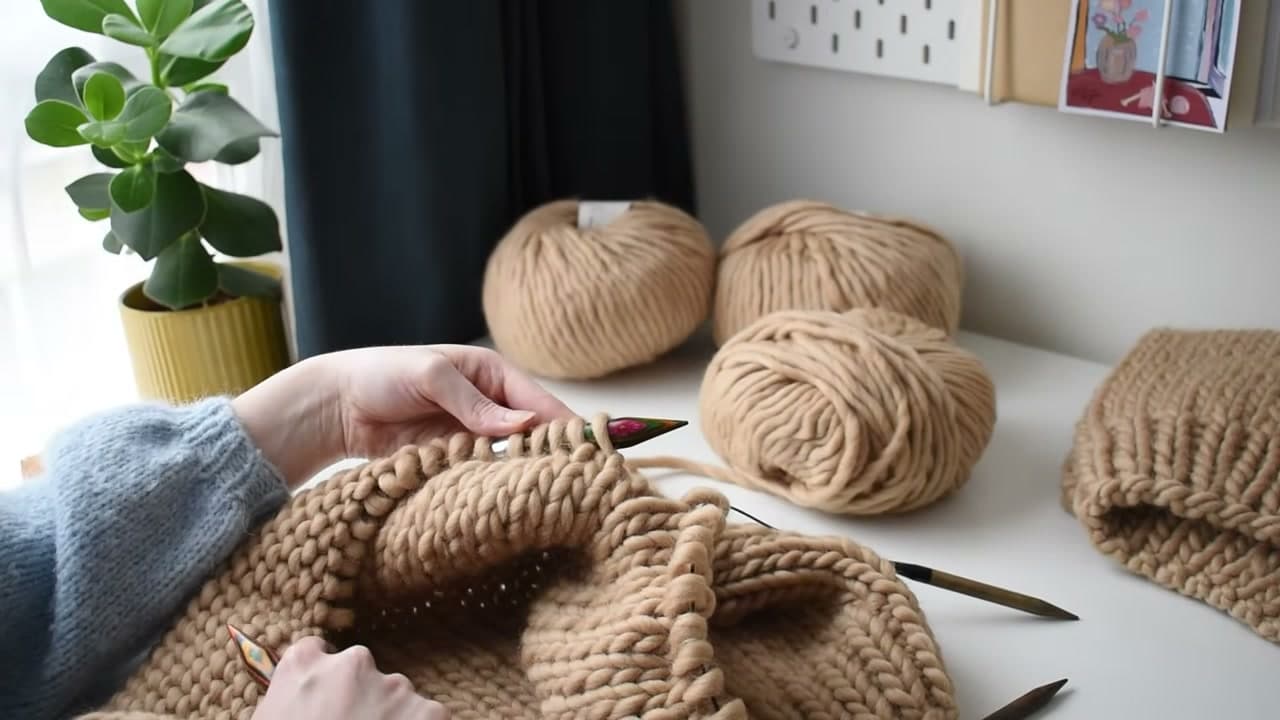
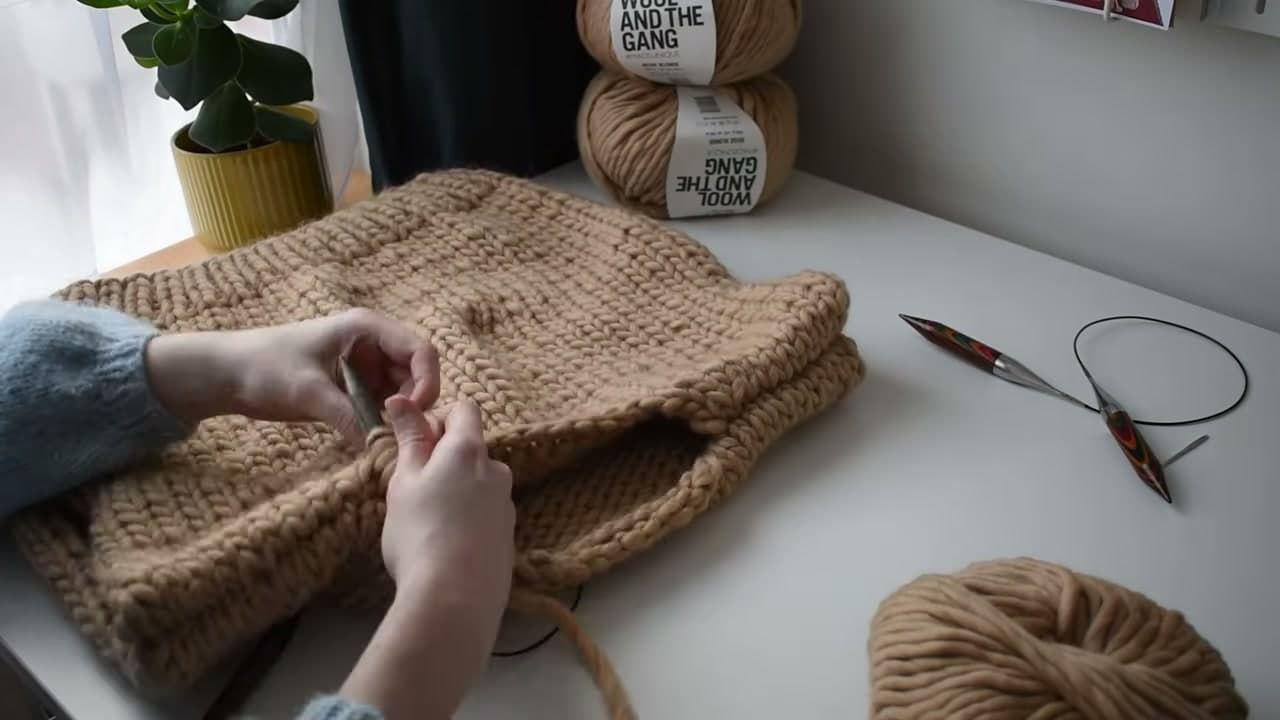
Now move up to 15mm needles for the body. With interchangeable needles you swap one tip at a time. Knit the next row with one 12mm tip and one 15mm tip. That makes it easier to slide big stitches off the left needle. On the next row put on the second 15mm tip.

Tip

Tighten interchangeable tips with the key so they do not unscrew mid row.

4

Knit the Sweater Panel in Stockinette to Length

5:44
Step 4: Knit the Sweater Panel in Stockinette to Length - How to Knit a Chunky Sweater for Beginners

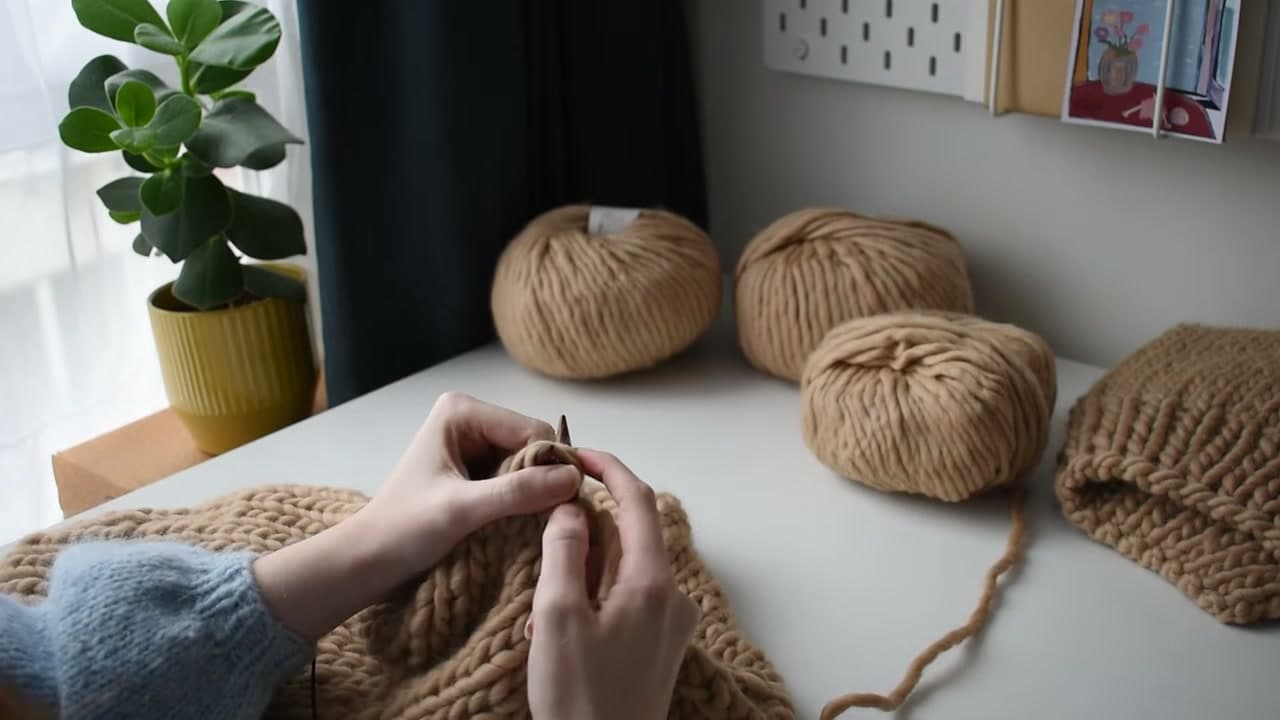
Work back and forth in stockinette stitch, knit one row and purl the next. From here it is steady, relaxing knitting until the panel reaches the length in your pattern. Check it with a tape measure. The back panel can be done in a few hours with yarn this thick. When it is long enough, bind off the back panel.

Tip

Measure on a flat table. Holding the panel up stretches it and reads long.

5

Shape the Sweater Front Panel Neckline

6:40
Step 5: Shape the Sweater Front Panel Neckline - How to Knit a Chunky Sweater for Beginners

Knit the front panel the same way until it matches the back up to the neck shaping. On a right side row, knit the stitches for the left shoulder and slip them onto a spare needle or stitch holder. Then bind off the center stitches for the neck opening. Knit two, lift the first over the second, and repeat for the count in your size.

Tip

Slip held stitches with the needle behind so none of them twist.

6

Decrease the Sweater Shoulders Toward the Neck

7:15
Step 6: Decrease the Sweater Shoulders Toward the Neck - How to Knit a Chunky Sweater for Beginners

Knit across the remaining stitches to work the right shoulder. At the start of each knit row on that side, knit one, then slip slip knit to decrease. For the left shoulder, knit until three stitches remain, knit two together, then knit the last one. Keep making the decreases as the pattern says, then bind off each shoulder.

Tip

Ssk leans left and k2tog leans right, so the neck curves evenly on both sides.

7

Weave In the Loose Ends on the Sweater Panels

8:10
Step 7: Weave In the Loose Ends on the Sweater Panels - How to Knit a Chunky Sweater for Beginners

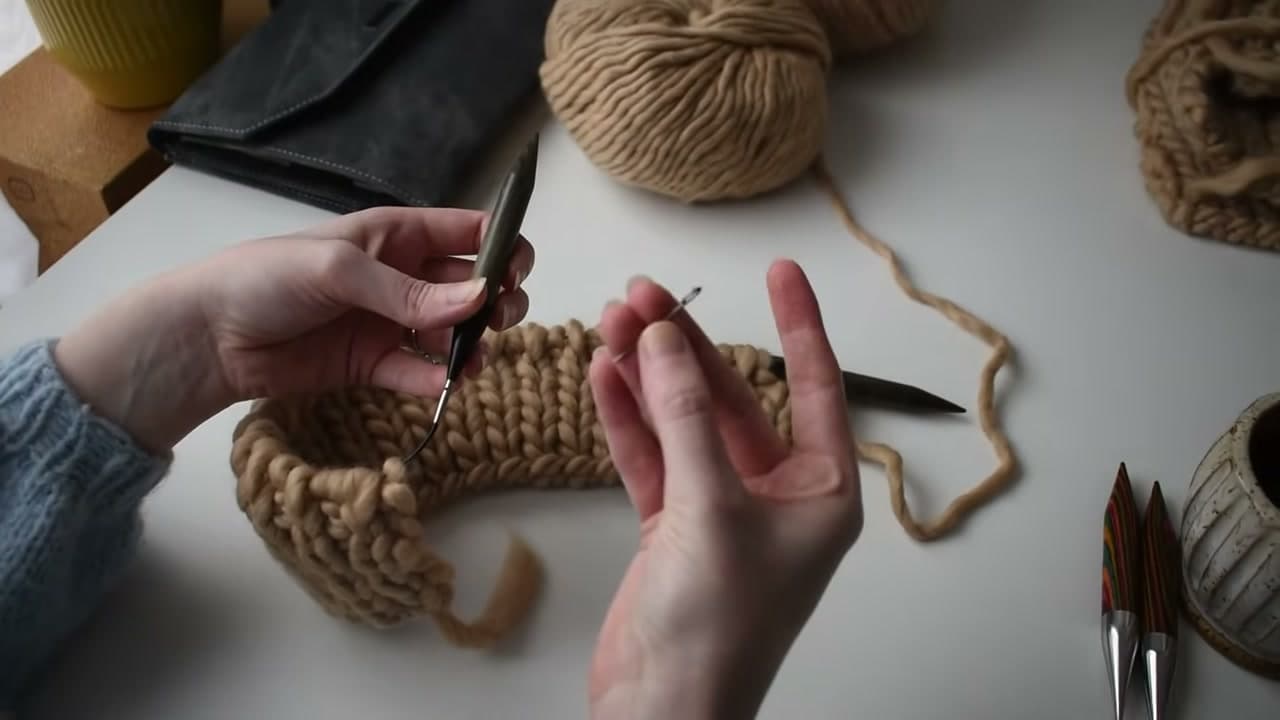
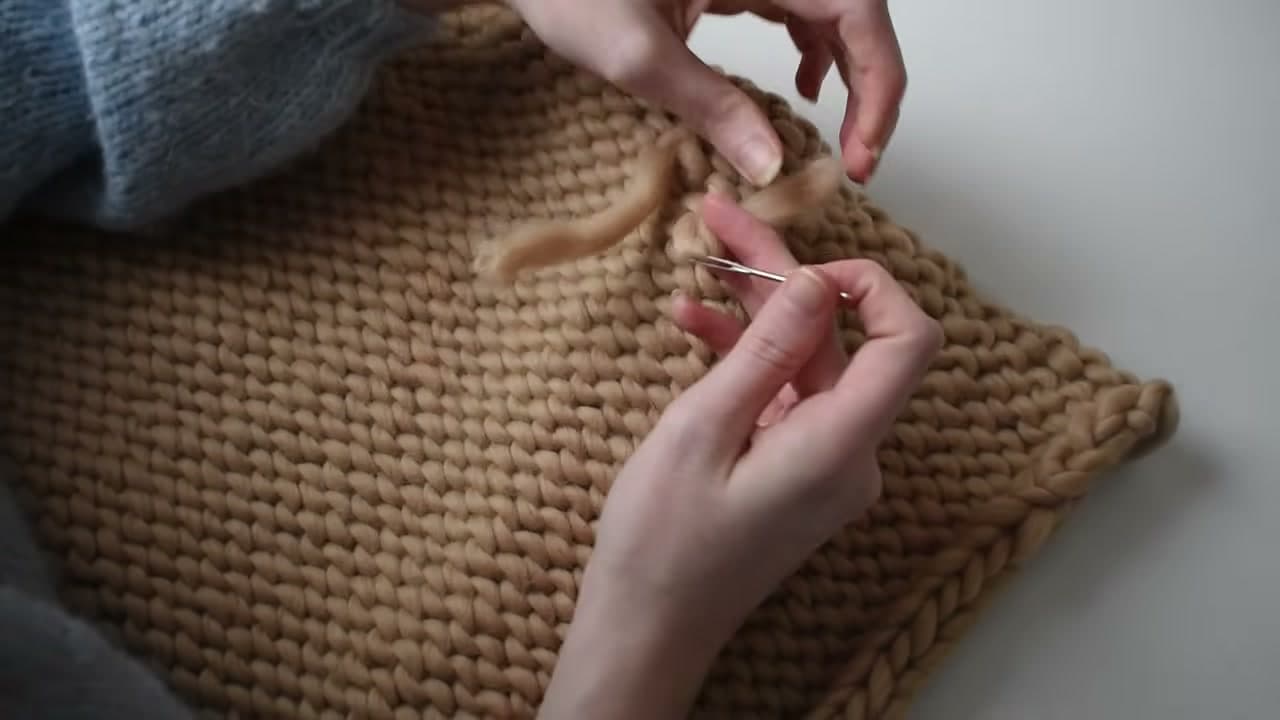
Before sewing anything, weave in the loose ends you will not use for seams. Thread a darning needle and run the tail through the backs of a few stitches in one direction. Then turn and go back the other way to lock it. Trim what is left. Doing it now keeps tails out of the way while you seam.

Tip

Weave super chunky ends along the purl bumps so they stay hidden.

8

Seam the Sweater Sides With Mattress Stitch

10:00
Step 8: Seam the Sweater Sides With Mattress Stitch - How to Knit a Chunky Sweater for Beginners

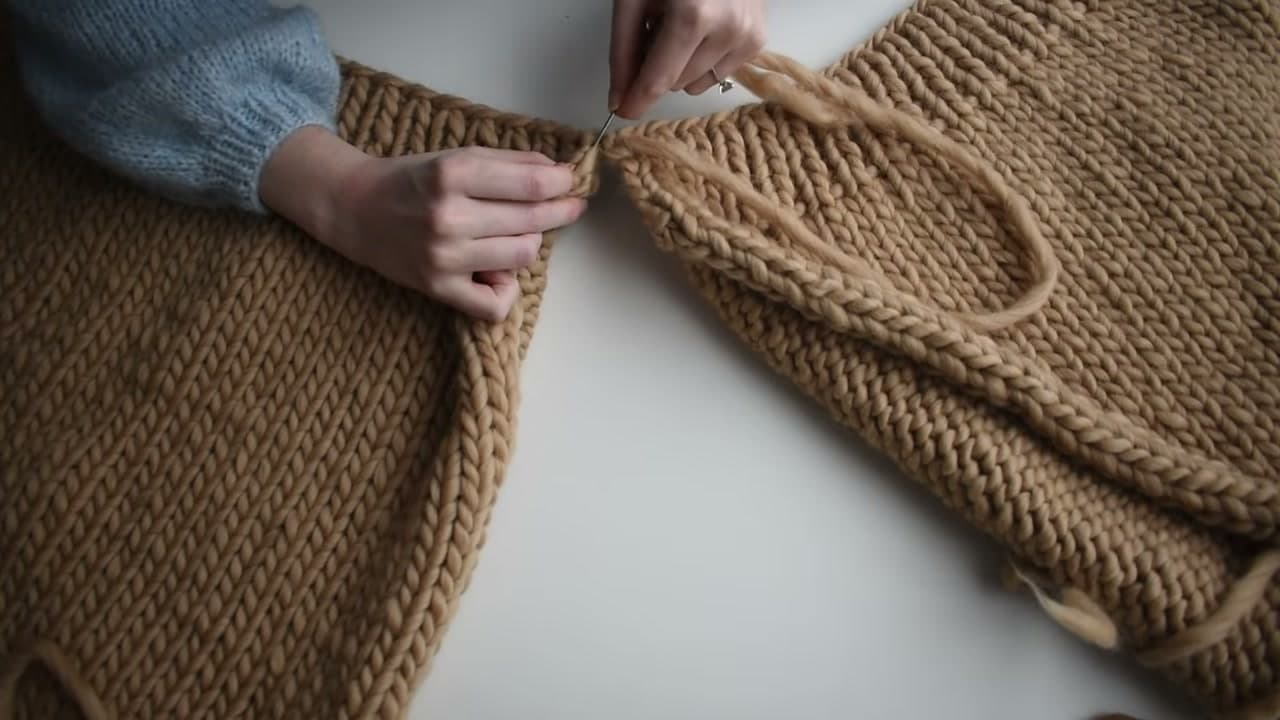
Lay the front and back panels side by side, right sides up. Start at the hem using the cast on tail. Find the column of V shapes along each edge and the little bar between them. Slip the needle under one bar on the left panel, then the matching bar on the right. Pull snug as you go, and stop where the sleeve opening begins.

Tip

Sew the shoulder seams the same way once both sides are done.

9

Pick Up Stitches Around the Sweater Neckline for the Collar

11:30
Step 9: Pick Up Stitches Around the Sweater Neckline for the Collar - How to Knit a Chunky Sweater for Beginners

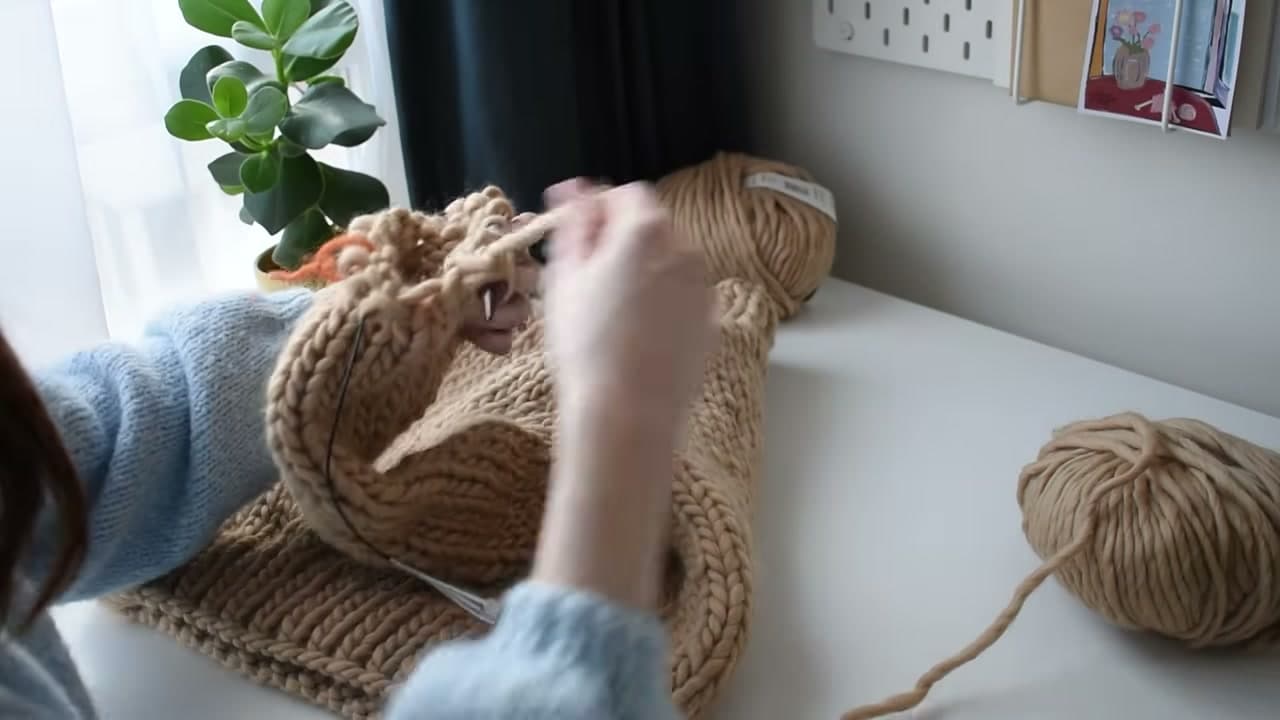
With 12mm circular needles, start at a shoulder seam. Push the needle tip into a stitch along the neck edge, wrap the working yarn around it and pull a loop through. Repeat all the way around. Pick up the number of stitches your pattern gives, then knit the mock neck in the round in 1x1 rib. Bind off loosely in rib.

Tip

A loose bind off lets the collar stretch over your head.

10

Knit the Sweater Sleeves From the Armhole Down

12:15
Step 10: Knit the Sweater Sleeves From the Armhole Down - How to Knit a Chunky Sweater for Beginners

Pick up stitches around one armhole the same way, this time on 15mm needles. Knit in the round in stockinette down toward the wrist. Near the end, knit two together evenly around to narrow the sleeve, then switch to 12mm needles for the 1x1 rib cuff. Bind off in rib and repeat for the second sleeve.

Tip

Try the sweater on before the cuff so the sleeve length fits your arm.

How to Knit Fair Isle Stranded Colorwork for Beginners

Keep going

How to Knit Fair Isle Stranded Colorwork for Beginners

Products Used

The Checklist

How to Knit a Chunky Sweater for Beginners

Tools
6
Materials
1
Steps
10
Video
14 min

Tools we recommend

Your Guide

Well-Loved Knits

As an Amazon Associate we earn from qualifying purchases. Links on this page may be affiliate links - clicking them and buying doesn't change your price, but helps support Show Me Step by Step.

Tags

Sunday How-To

New knitting tutorials, every Sunday

One short email with the week's best step-by-step guides. Free, no spam, unsubscribe anytime.

Did this work for you?

What's next

Weekly Digest

Liked this knitting tutorial?

Pick the categories you want to hear about. Weekly digest of new step-by-step tutorials. No spam, easy unsubscribe.

Send me tutorials about

We only email about new tutorials. Easy unsubscribe anytime.