How to Build a Cedar Birdhouse

GardeningEasy4:207 stepsBrowse more →

By ShowMeStepByStepPublished

Based on a video by How I Do Things Woodworking.

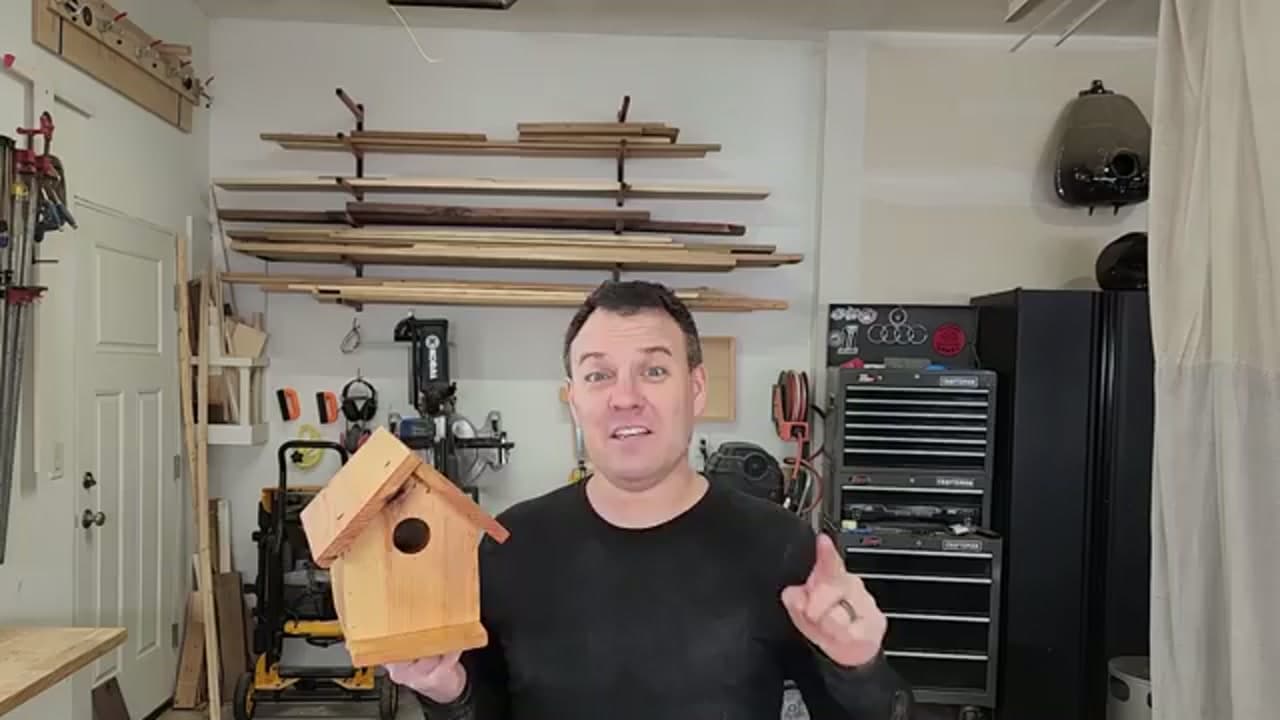
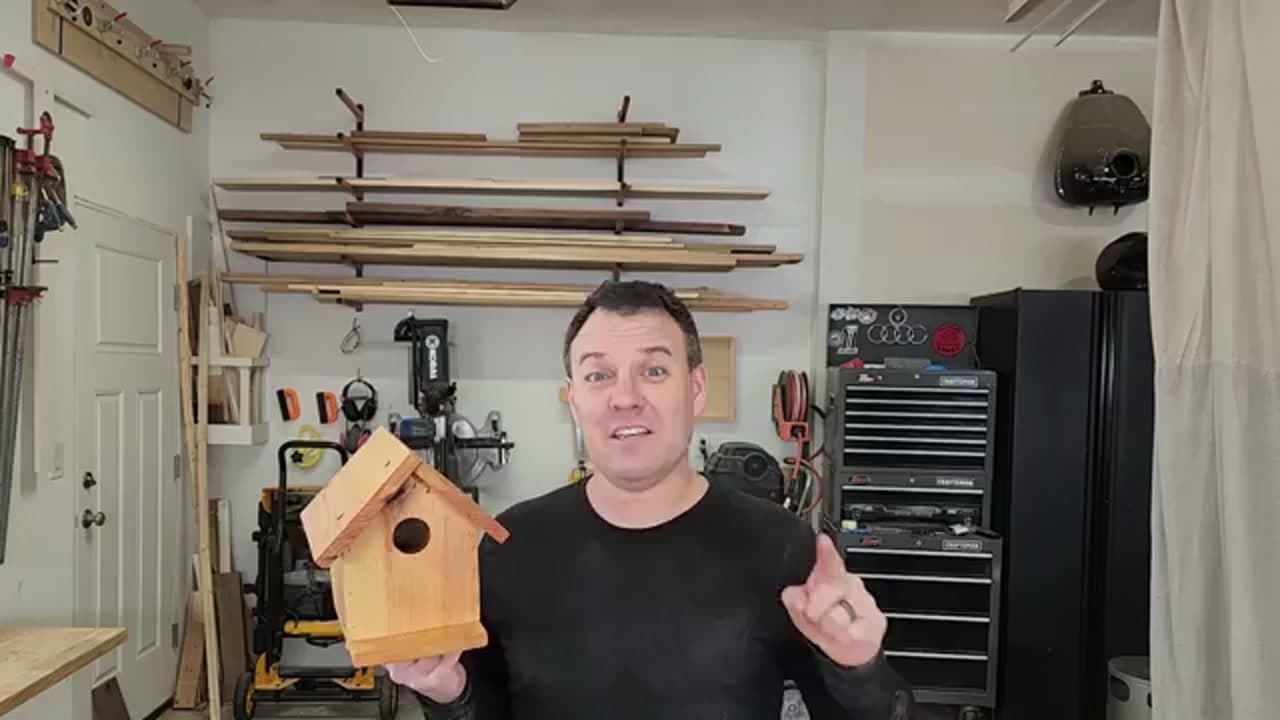
You do not need a shop full of gear to build something birds will actually nest in. Travis from How I Do Things Woodworking shows how one cedar fence picket, roughly three dollars at the home center, becomes a full birdhouse.

He cuts every piece with a circular saw and a jigsaw, drills a clean entrance hole, then glues and nails the body together. Cedar is naturally rot resistant, so it holds up outside for years.

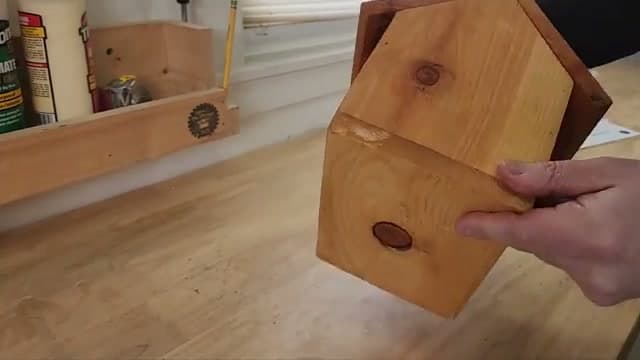
By the end you will have a peaked-roof house with a removable clean-out panel, ready to hang from a tree or mount on a pole.

Step-by-Step Guide

1

Cut the Cedar Picket to Size

0:30
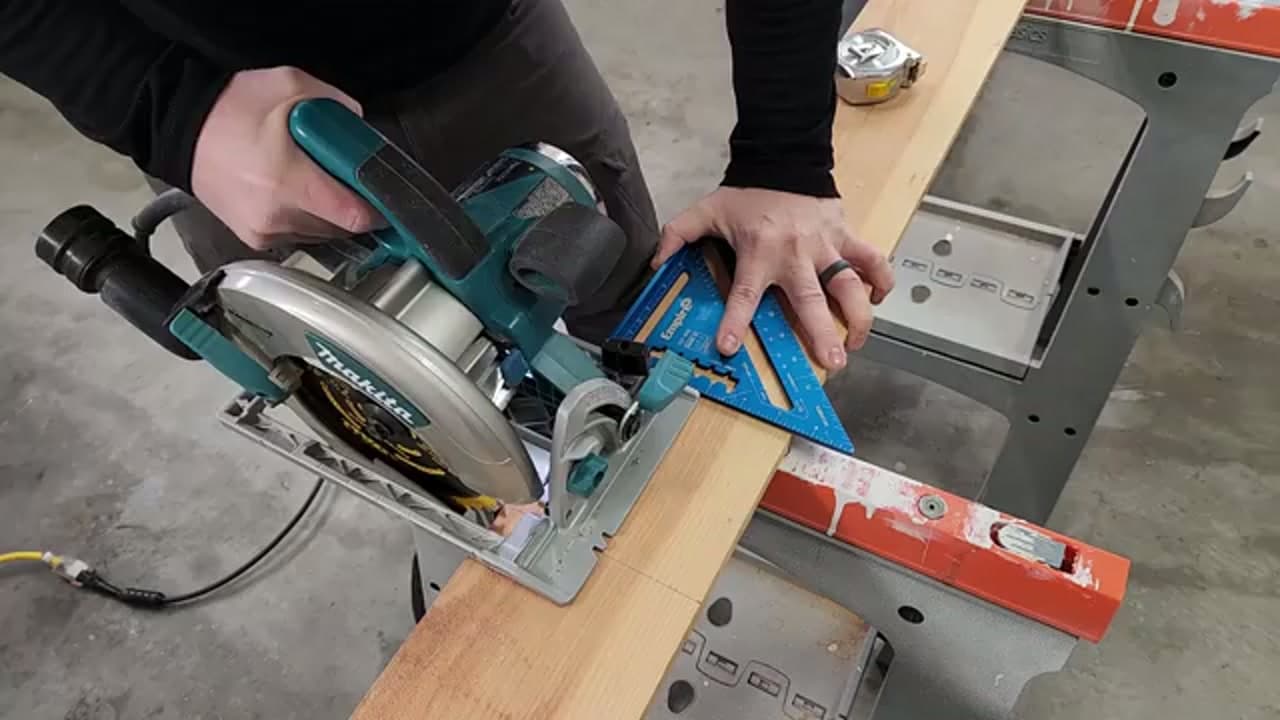
Step 1: Cut the Cedar Picket to Size

Start with a single four-foot cedar fence picket. Cut all the pieces from the picket following the cut list, using a circular saw with a straightedge clamped down as a guide for straight lines. Label each piece as you go so assembly is painless later. One picket is enough for the whole house, but a spare picket is cheap insurance if you miscut.

Tip

A straightedge guide turns a basic circular saw into a precise crosscut tool. No table saw needed.

Products used in this step

2

Cut the Roof Angles With a Jigsaw

1:22
Step 2: Cut the Roof Angles With a Jigsaw

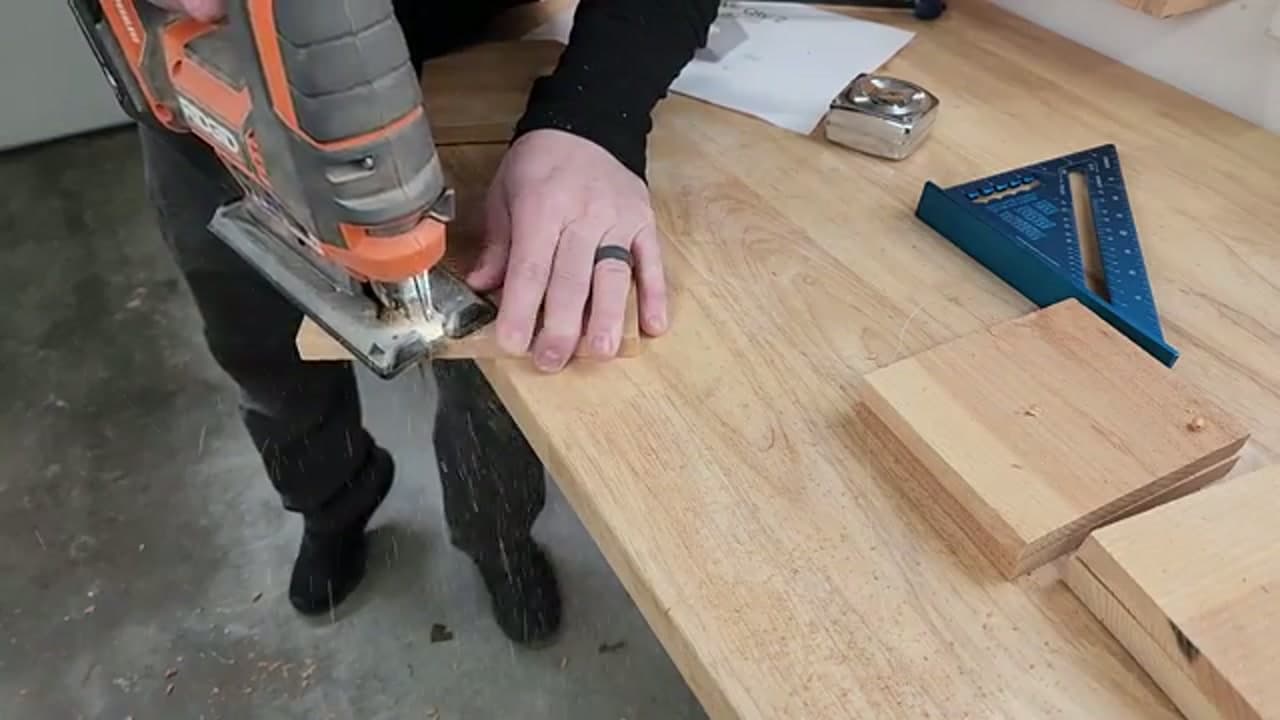
The front and back pieces need 45-degree cuts at the top so the roof sits at a peak. Switch to a jigsaw for these. The pieces are small, and running them through a circular saw here would put your hands too close to the blade. Take your time and follow your marked lines. A jigsaw also handles the thin roof rip if your plans call for one.

3

Drill the Entrance Hole

1:45
Step 3: Drill the Entrance Hole

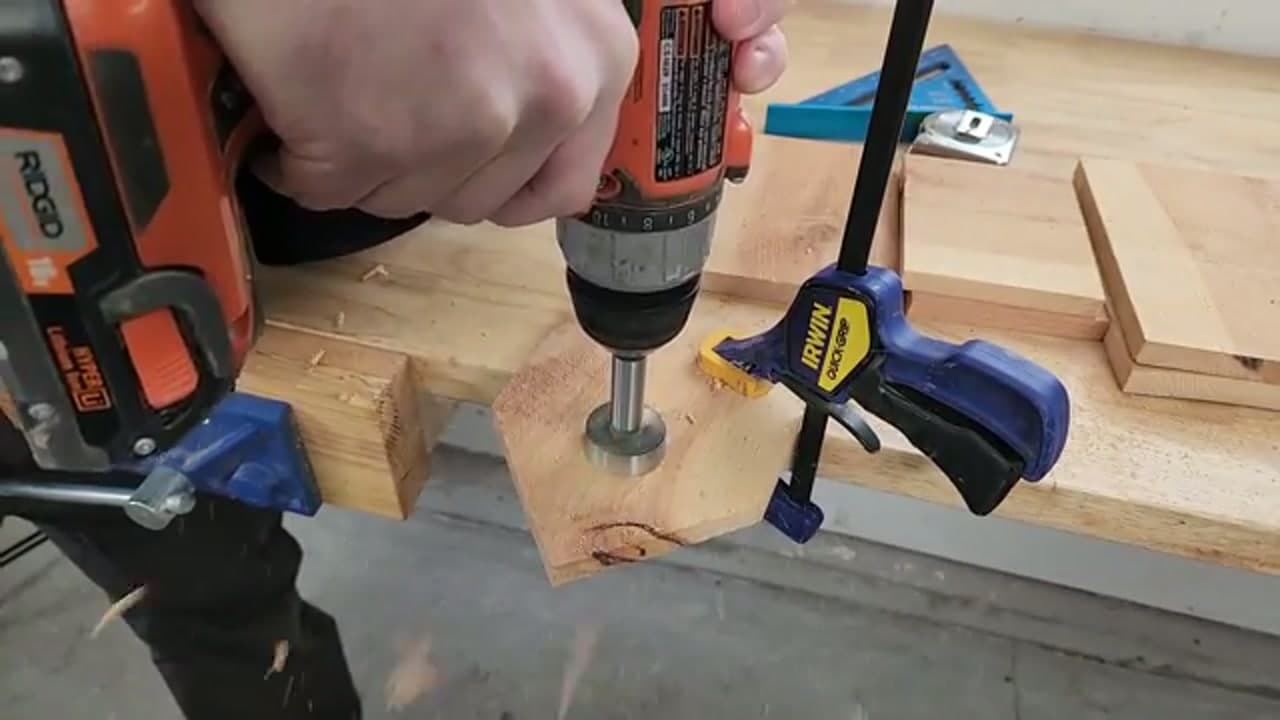
A 1.5-inch hole suits a lot of common backyard birds, but check the size for the species you want to attract. Clamp the front piece down and drill with a spade or forstner bit. Go halfway through, then flip the board and finish from the back. That two-step trick leaves a clean hole with no torn-out fibers on either face.

Tip

Start with a small pilot hole so the bit stays centered when you flip the board.

Products used in this step

4

Glue and Nail the Body Together

2:15
Step 4: Glue and Nail the Body Together

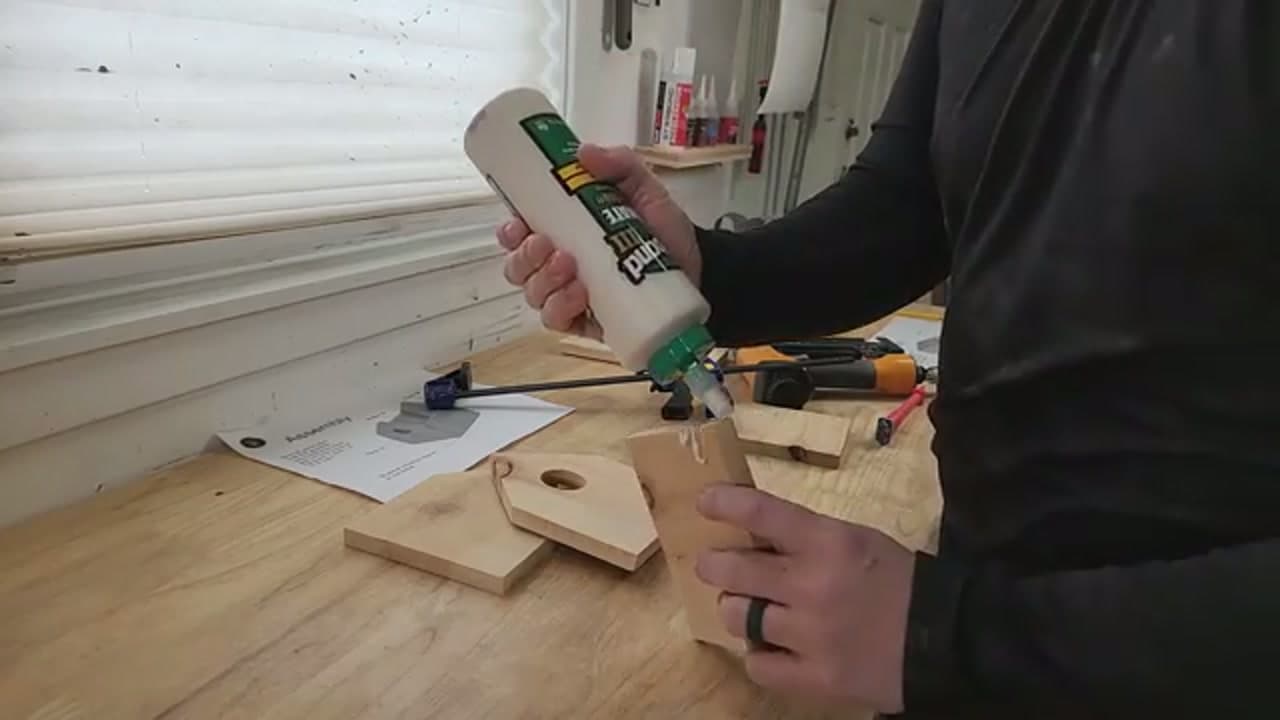
Sand the pieces before assembly. It is much easier now than after the box is built. Run an even bead of waterproof wood glue along each edge, then join the front, back, sides, and floor. Brad nails hold everything while the glue dries. No brad nailer? Finishing nails and a hammer work too. Wipe off any glue that squeezes out before it sets.

Tip

Keep fasteners centered and perpendicular to the surface so the tip does not blow out the side.

5

Attach the Roof and Clean-Out Panel

3:20
Step 5: Attach the Roof and Clean-Out Panel

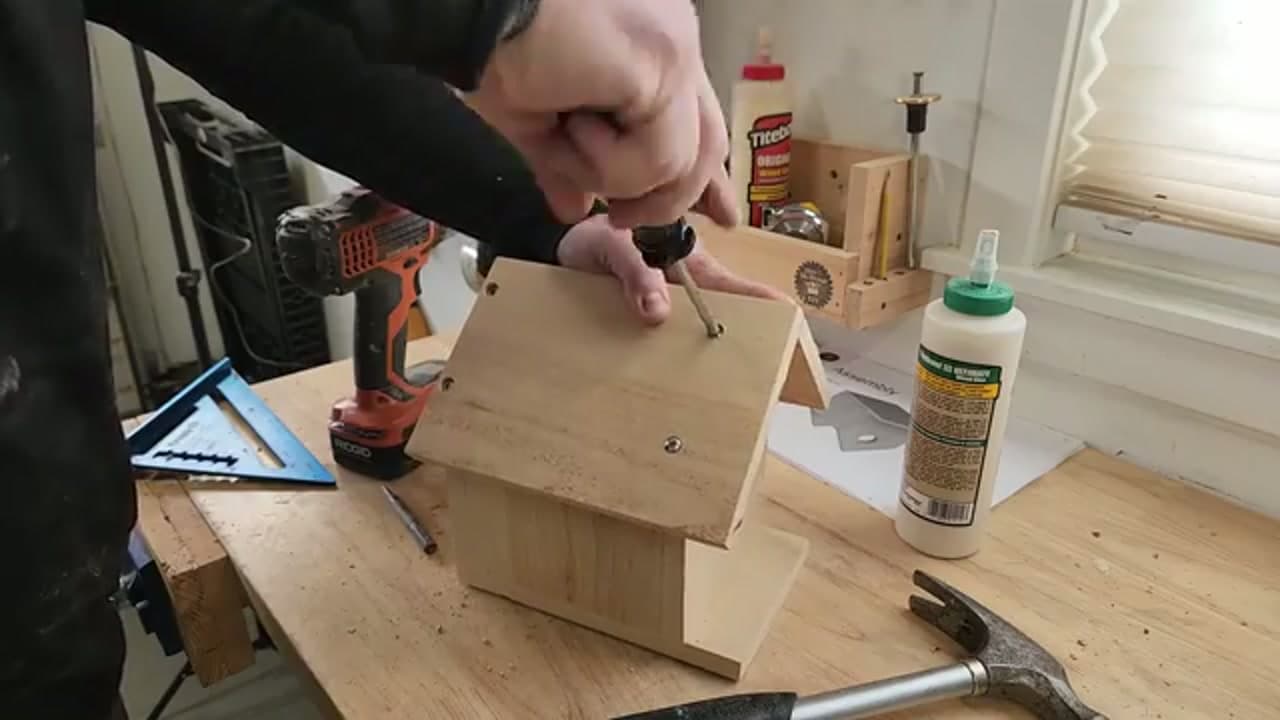
Fasten one roof panel down with screws only, no glue. That way you can pop it off later to clean the house out between nesting seasons. Mark and countersink the screw holes first so the heads sit flush and hidden. Pre-drill before driving the screws to keep the cedar from splitting. Stainless screws are worth it here since the house lives outside.

6

Apply a Natural Oil Finish

3:50
Step 6: Apply a Natural Oil Finish

Fill any nail holes with a dab of wood glue and sand smooth. Cedar resists rot on its own, but a coat of natural oil brings out the warm color and adds a little protection. Work a food-safe, natural oil into the surface with a rag and wipe off the excess. Skip anything with harsh solvents. The birds will be living in here.

7

Hang Your Finished Birdhouse

4:12
Step 7: Hang Your Finished Birdhouse

That is it. Your cedar birdhouse is done. Remove the clean-out panel and drive screws straight into a tree or post, or add a pair of threaded eye hooks on top and hang it from a branch. Set it at a height that suits the birds you are hoping for. Want to give visitors a snack too? Pair it with a matching how to make a bird feeder project.

Products Used

☐ The Checklist

How to Build a Cedar Birdhouse

Tools
3
Materials
2
Steps
7
Video
4 min

Your Guide

How I Do Things Woodworking

As an Amazon Associate we earn from qualifying purchases. Links on this page may be affiliate links - clicking them and buying doesn't change your price, but helps support ShowMeStepByStep.

Tags

Did this work for you?

What's next

Related collections

Curated theme pages that include this tutorial.

Weekly Digest

Liked this gardening tutorial?

Pick the categories you want to hear about. Weekly digest of new step-by-step tutorials. No spam, easy unsubscribe.

Send me tutorials about

We only email about new tutorials. Easy unsubscribe anytime.