How to Make a Bird Feeder

GardeningMedium7:008 stepsBrowse more →
Also in:Pets

By ShowMeStepByStepPublished

Based on a video by Specific Love Creations.

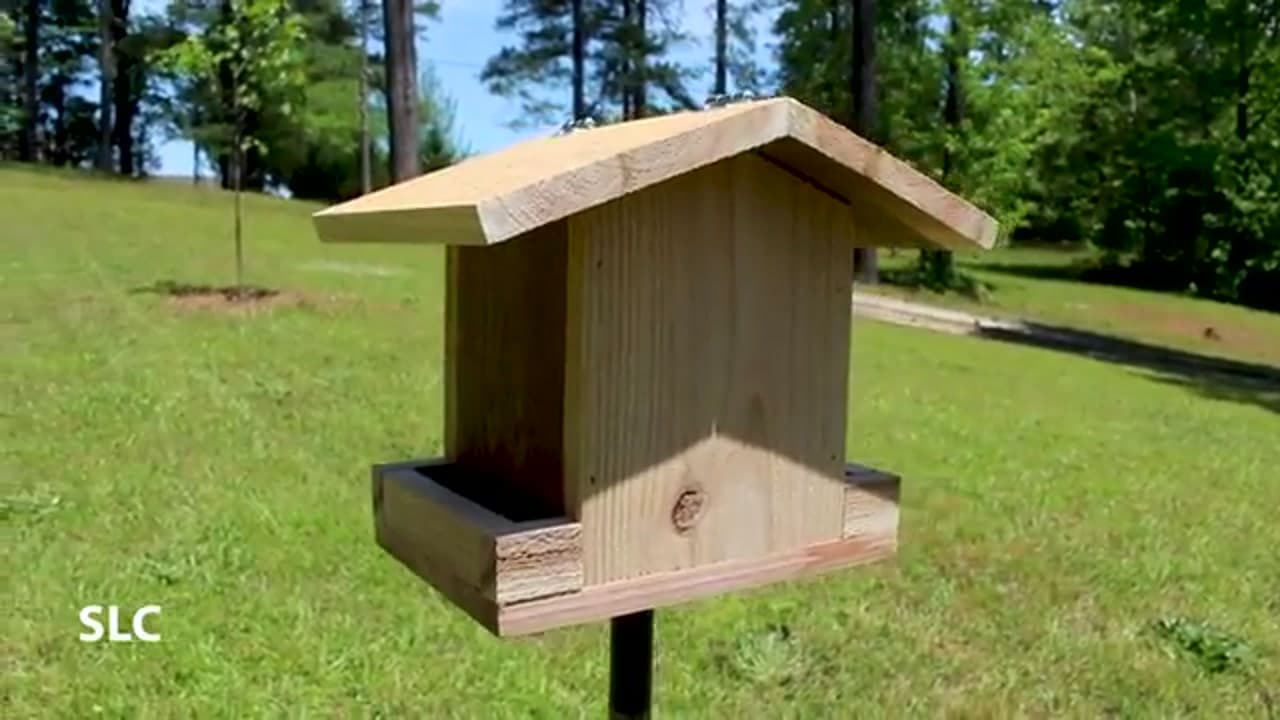
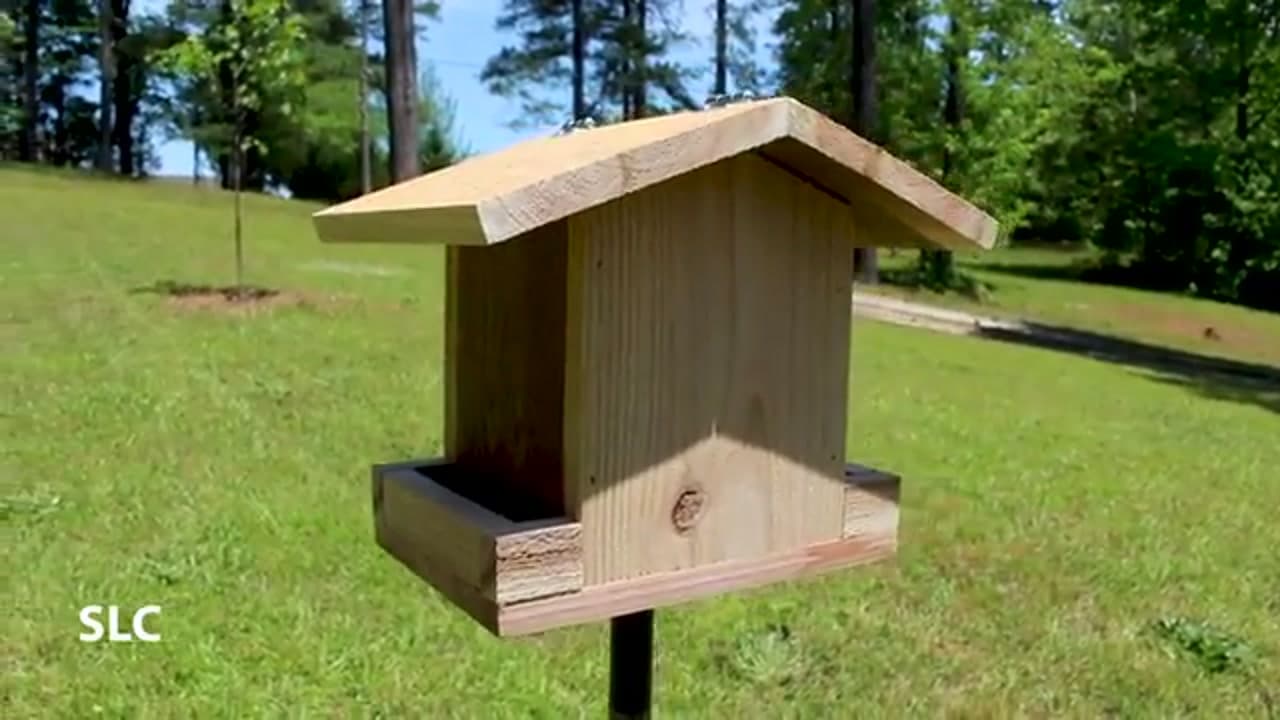
A birdhouse pulls in a bird or two, but a feeder brings a whole crowd. In this build from Specific Love Creations, you turn one cedar fence picket into a tidy little feeder with a peaked roof and a seed tray that keeps the food from spilling.

Cedar handles rain and sun well, so this feeder can sit outside for years. The roof is hinged, so you just lift it to top off the seed. You can mount it on a post like the video shows, or hang it with wire if that suits your yard better.

Nothing here is fussy. A few straight cuts, some waterproof glue, and a couple of brad nails, and you have a feeder the birds will find fast.

Step-by-Step Guide

1

Step 1: Cut the Base

0:30
Step 1: Step 1: Cut the Base

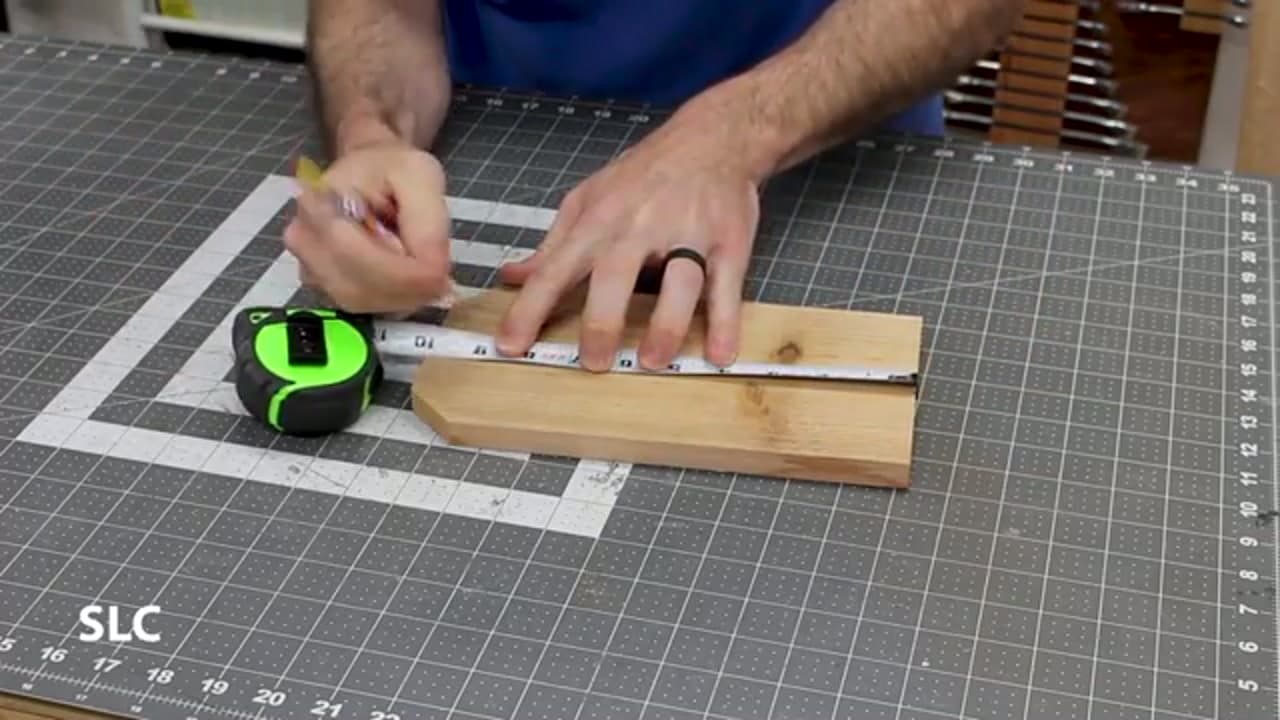
Start with the base. Measure about 8.5 inches along your cedar picket, make a mark, and cut it off. This piece sits under everything and gives the feeder a solid footing. The whole project runs off one picket, so keep your offcuts nearby. You will use the scraps for the sides, roof, and the little border strips later on.

Tip

Cedar splits easily, so mark your line clearly and cut on the waste side of the pencil mark.

Products used in this step

2

Step 2: Cut the Side Walls with an Angle

0:50
Step 2: Step 2: Cut the Side Walls with an Angle

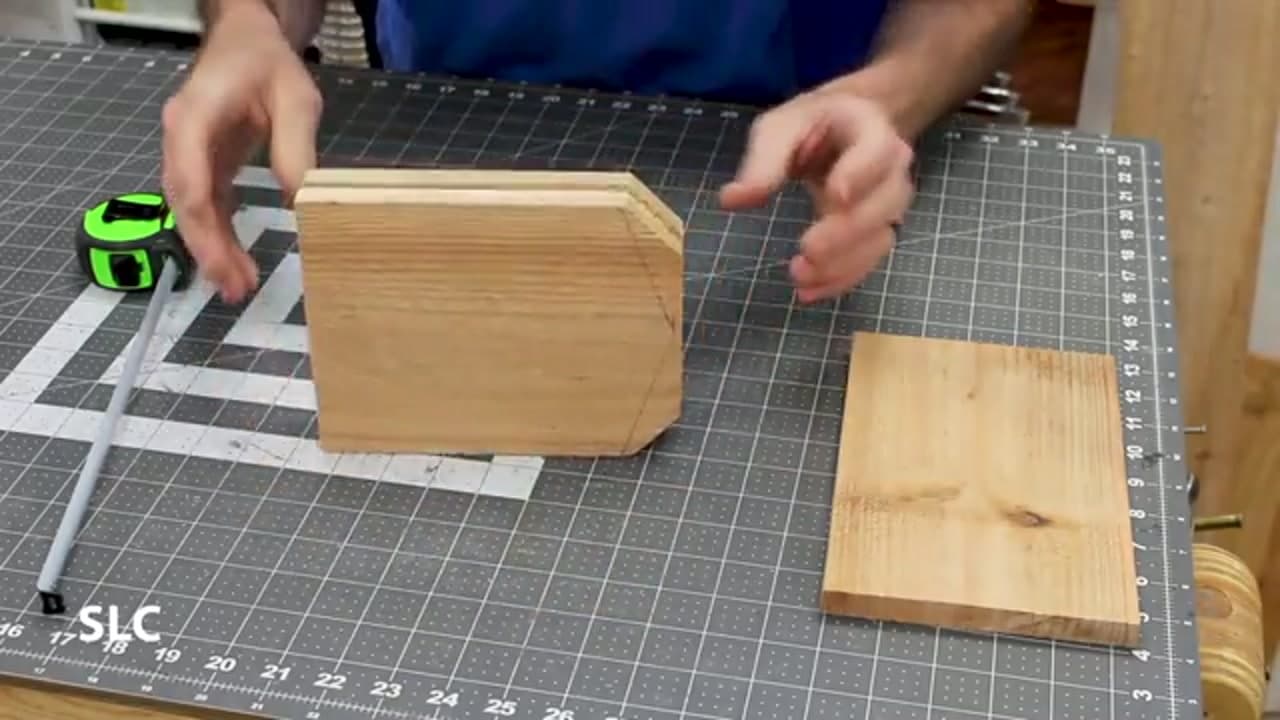
Now cut the two tall side walls to about 7 inches. The key move here is a 20-degree angle on each top edge. That angle is what gives the roof its peak. Cut both boards at once so the angles match. Then cut two shorter, narrower walls for the front and back, leaving about 3/4 inch of clearance at the bottom so seed can flow down to the tray.

Tip

Cutting the two matching sides together, taped or clamped, keeps the angles identical.

3

Step 3: Angle the Roof Panels

2:10
Step 3: Step 3: Angle the Roof Panels

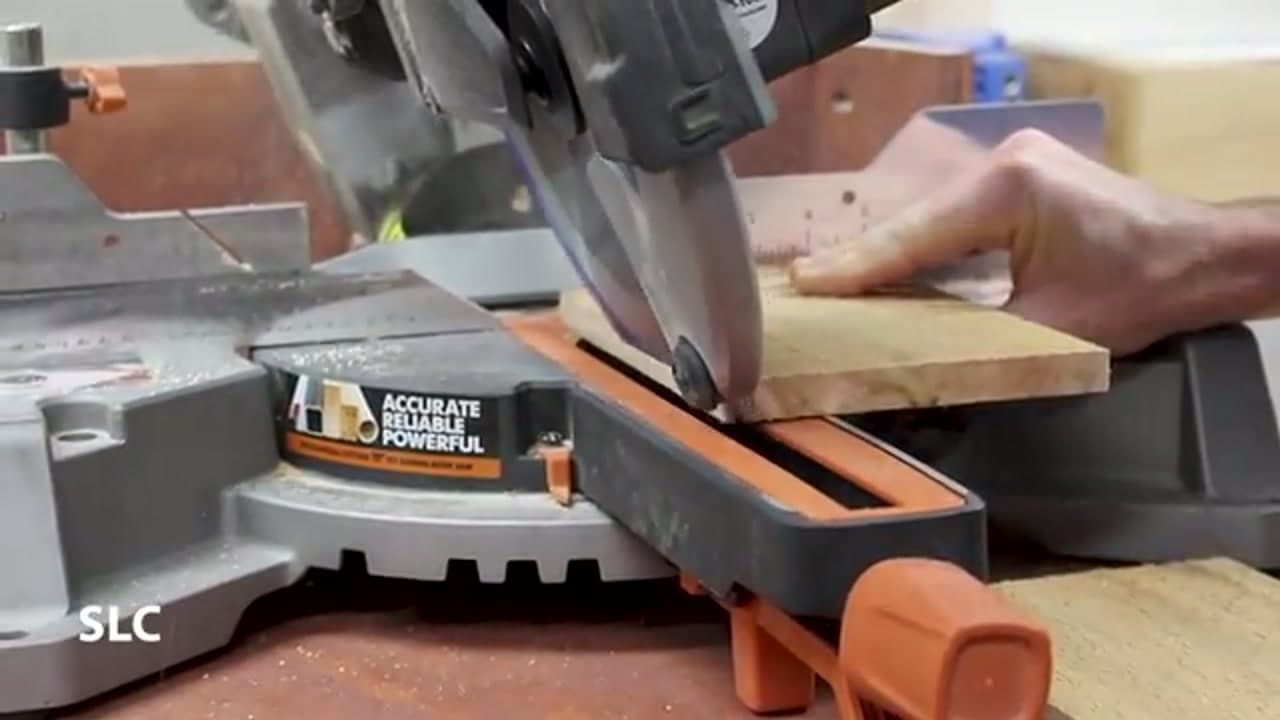
Cut two roof panels about 8 inches wide, one for each side. Each one gets a 20-degree angle along its long edge so the two halves meet cleanly at the peak. The video does this on a miter saw. Keep in mind a miter saw is built for crosscuts, not long rip-style cuts, so go slow and keep your hands well clear of the blade.

Tip

Test-fit the two roof panels against the angled side walls before you glue anything down.

4

Step 4: Cut the Seed Border Strips

2:40
Step 4: Step 4: Cut the Seed Border Strips

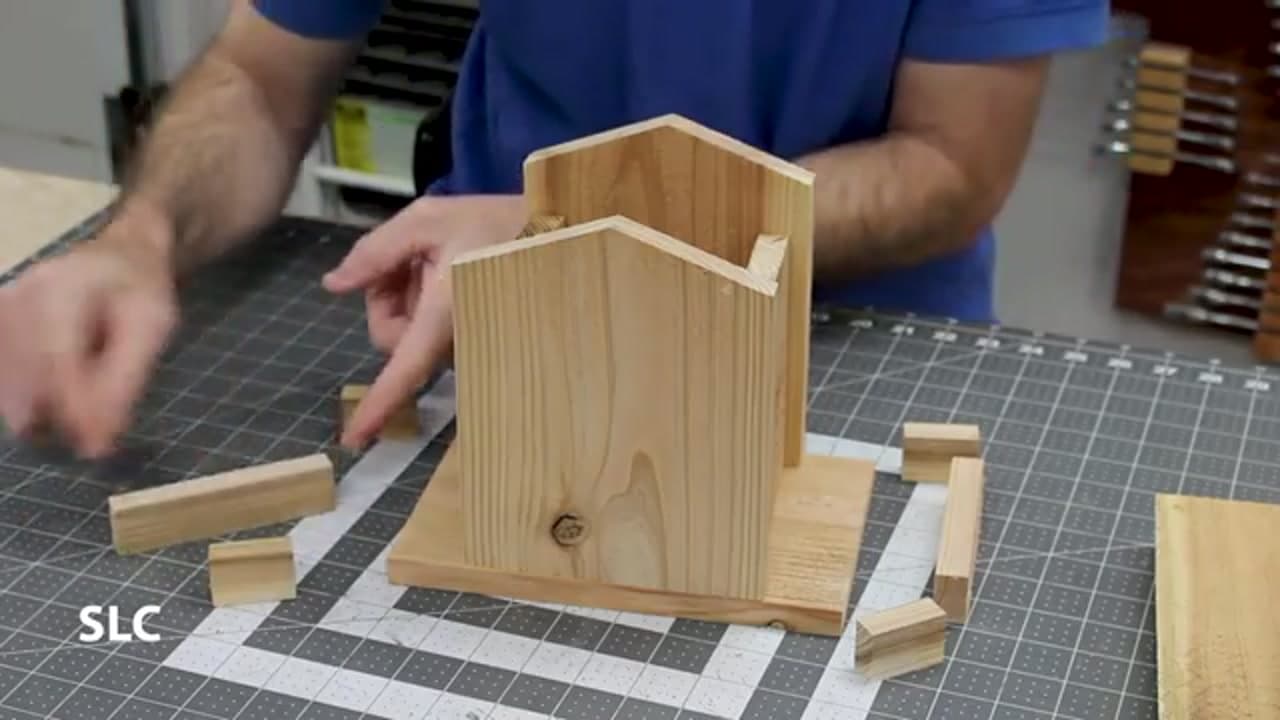
The border strips ring the tray and keep birdseed from rolling off as the birds eat. Cut a few short pieces from your scrap, roughly an inch tall, with two running along the sides and one across the front. They do not have to fit at 100 percent. This thing lives outdoors with birds on it, so close enough looks right once it is together.

Products used in this step

5

Step 5: Glue and Clamp the Walls

3:30
Step 5: Step 5: Glue and Clamp the Walls

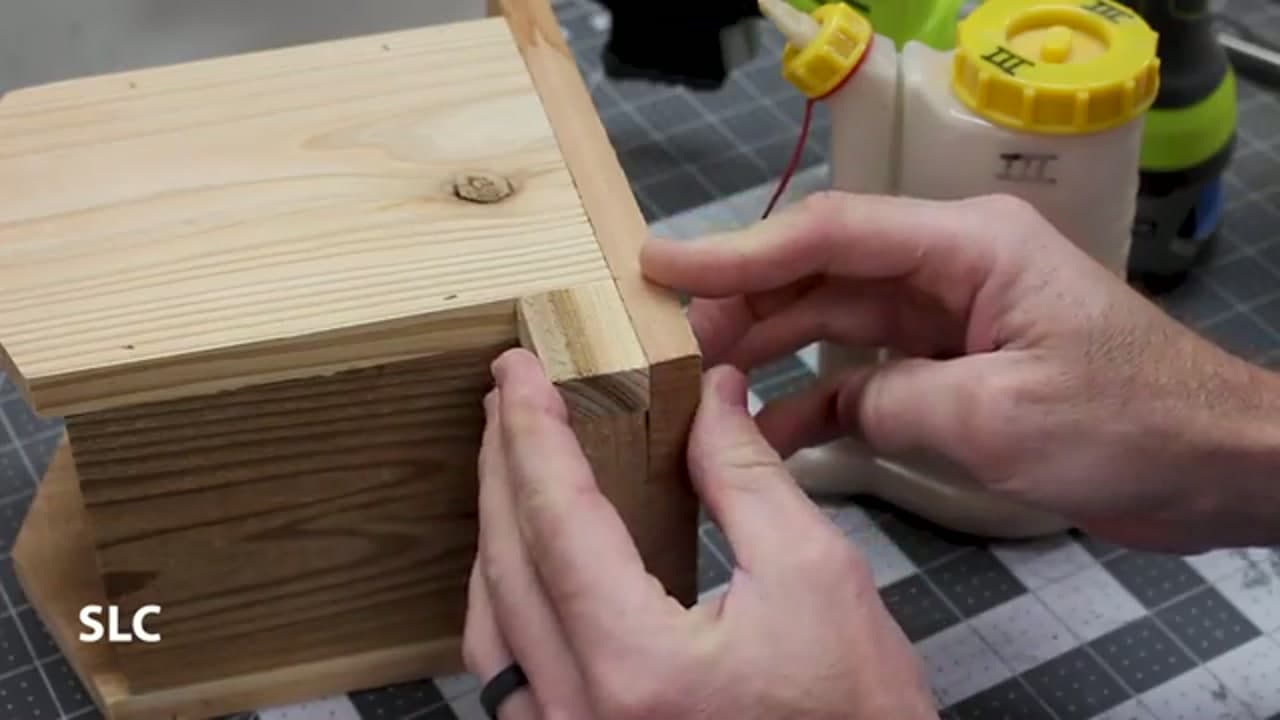
Bring the four walls together into a box. Come up about 3/4 inch from the bottom so there is room for seed to pass through to the tray. Use a waterproof Type 3 glue since this lives outside. Clamp it and give it time to set. To speed things up, the video adds a few brad nails so you are not waiting on the glue to hold everything in place.

Tip

Keep the box as wide as you can for more seed capacity, or narrow it a touch to give the birds more perch room.

Products used in this step

6

Step 6: Attach the Box to the Base

4:50
Step 6: Step 6: Attach the Box to the Base

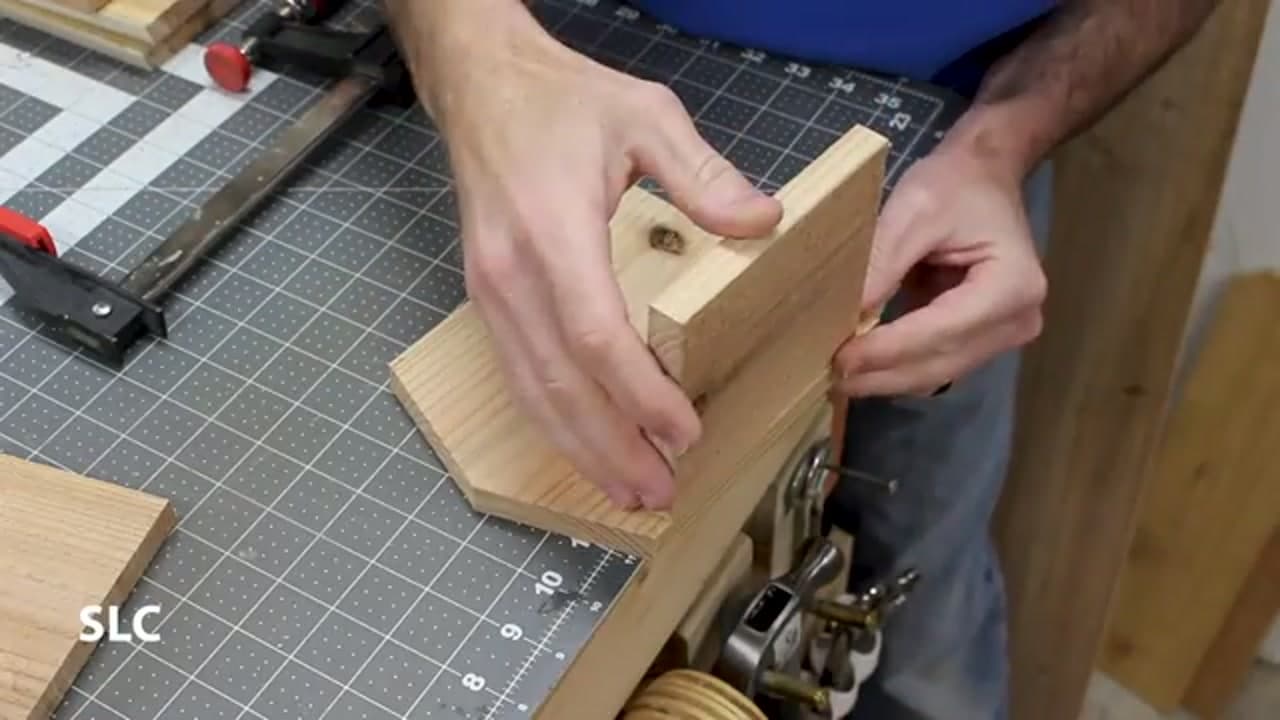
Center the box on the base using the outer pieces as a guide. Mark the sides with a pencil so you know where it lands, then flip it over, add glue, and secure it with brad nails. Cedar end grain drinks up glue, so lay down a first coat, wait a few minutes, then add a second before you fasten. Glue the border strips around the tray edges to finish the seed lip.

7

Step 7: Add the Hinged Roof

5:30
Step 7: Step 7: Add the Hinged Roof

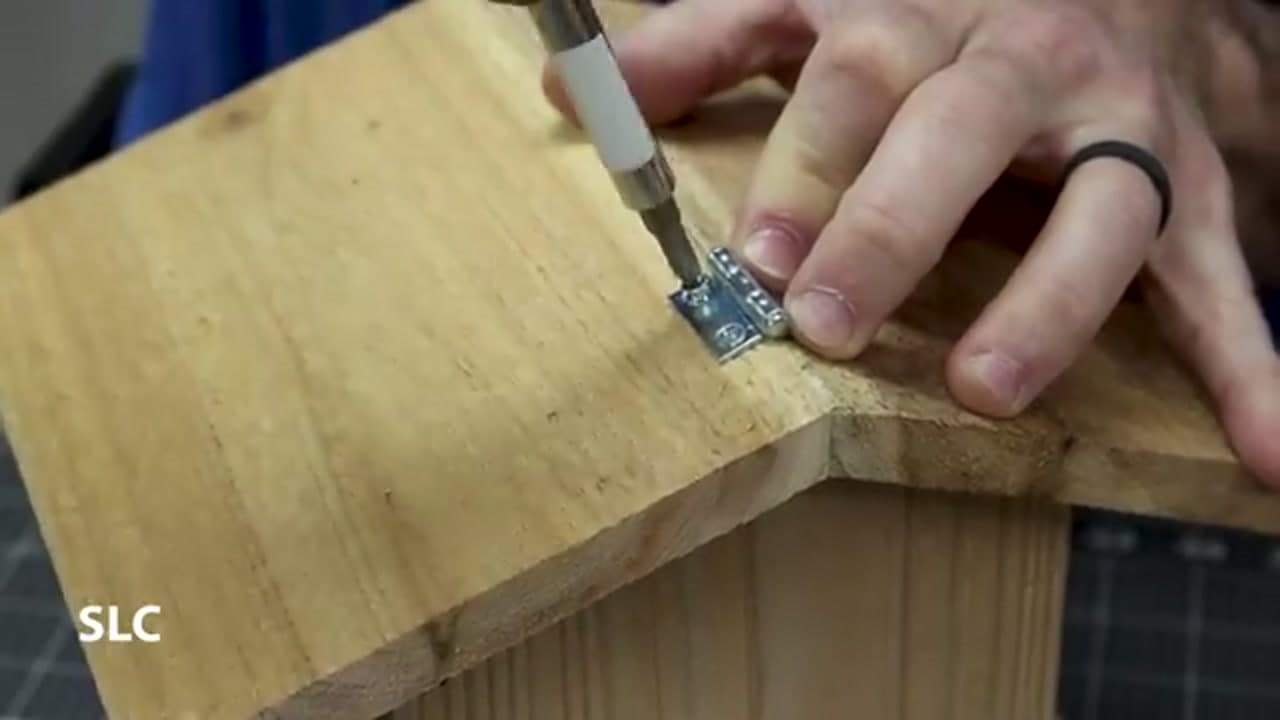
Attach one roof panel with glue and a couple of brad nails so it is fixed in place. The other panel gets a hinge on each side so it can flip up. Come in about an inch from each end and center the hinge over the side walls. Screw them down. Now you can lift that side of the roof anytime you need to refill the feeder with seed.

Tip

Center the fixed panel carefully so the peak looks symmetrical from the front.

Products used in this step

8

Step 8: Mount It in Your Yard

6:37
Step 8: Step 8: Mount It in Your Yard

Your feeder is done. To post-mount it like the video, grab a floor flange and a length of pipe, sink part of the pipe in the ground, and screw the flange to the bottom. Prefer to hang it? Run galvanized wire side to side across the top instead. Fill the tray with seed and set it out. The birds tend to find a fresh feeder fast.

Tip

For extra weather protection, add copper flashing across the roof or brush on an exterior finish before mounting.

Products used in this step

Products Used

☐ The Checklist

How to Make a Bird Feeder

Tools
7
Materials
6
Steps
8
Video
7 min

Your Guide

Specific Love Creations

As an Amazon Associate we earn from qualifying purchases. Links on this page may be affiliate links - clicking them and buying doesn't change your price, but helps support ShowMeStepByStep.

Tags

Did this work for you?

What's next

Related collections

Curated theme pages that include this tutorial.

Weekly Digest

Liked this gardening tutorial?

Pick the categories you want to hear about. Weekly digest of new step-by-step tutorials. No spam, easy unsubscribe.

Send me tutorials about

We only email about new tutorials. Easy unsubscribe anytime.